Home › Forums › 11′ 10″ ARRIBA / OONAGH Dinghy – Official Step-by-Step Boatbuilders’ Forum › ARRIBA / OONAGH – 13 – Molds & Dagger Board Trunk › Daggerboard Slot
- This topic has 5 replies, 6 voices, and was last updated 5 years, 2 months ago by
Donald Ulrich.
-
AuthorPosts
-
-
April 21, 2021 at 8:51 am #43562
 Bob DonaldsonParticipant
Disclaimer: This is not meant to be an instructional blog on how to build this boat. Off-Center Harbor’s videos will do that. This blog is simply meant to document my experience trying to build the boat without waiting for the videos. In case you didn’t notice, this is my first boat-building experience. I have made plenty of mistakes, but as Steve Stone told me, “even professional boat builders make mistakes, and then they fix them.” I will try to document my progress, mistakes, and all. I made the decision to cut the daggerboard slot before I flipped the boat over because I didn’t have any better information to go on. OCH Video # 13, which came out later, shows a better way to cut the daggerboard slot after the boat is flipped over.
2/26/21 – I was originally going to put on the Dynel before cutting the daggerboard slot, but I decided it would be easier working on the bare wood bottom where I could still see my markings. The old adage “measure twice and cut once” is very wise. I used my laser level again with additional points of reference on the mold and determined that my initial location of station #6 was off by 1/2″, so I started over, laying out the measurements.

The slot is offset 1/2″ from the centerline.
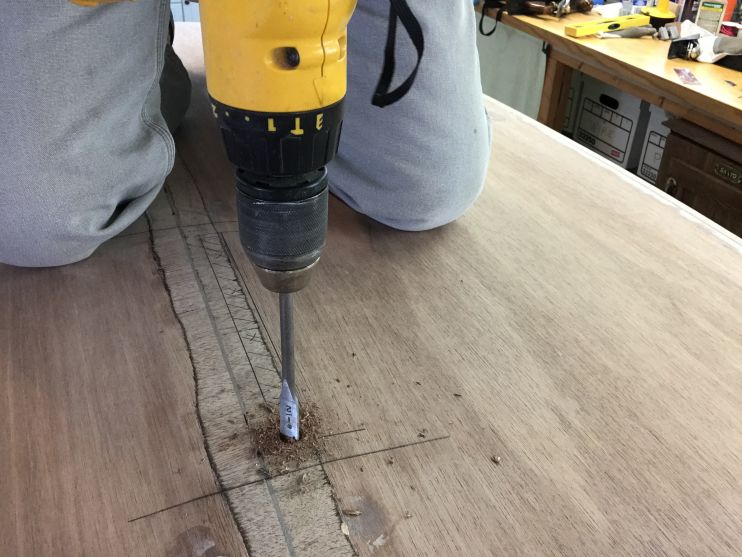
Then I drilled two 1/2″ holes at opposite corners to insert my jigsaw.

Then I used my jigsaw to square up the opening.

I then reinstalled the keel and made sure it was on the centerline.
With the keel reinstalled, it overlapped the centerboard slot by about 1/4″ as shown in the plans. I then used the jigsaw to notch out the keel, even with the daggerboard slot.

The notch in the keel basically removes the 1/4″ bevel from the keel.

Scorch marks in the keel indicate I need a new table saw. :)

The next step, remove the keel and apply the Dynel.
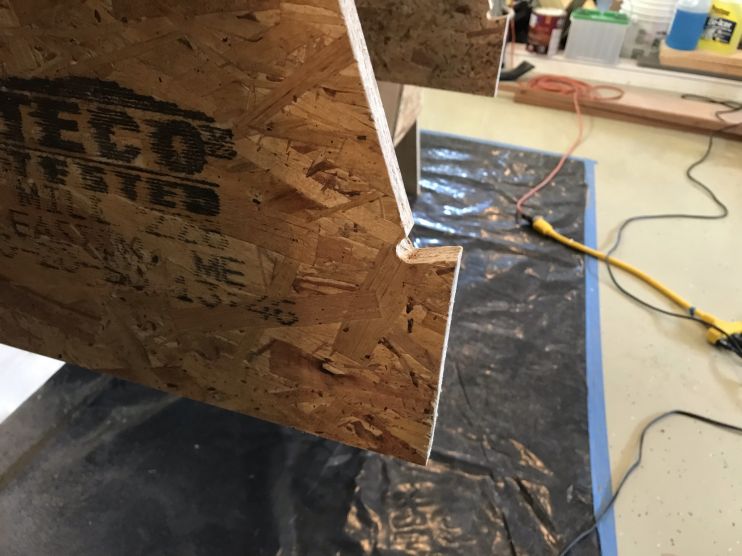
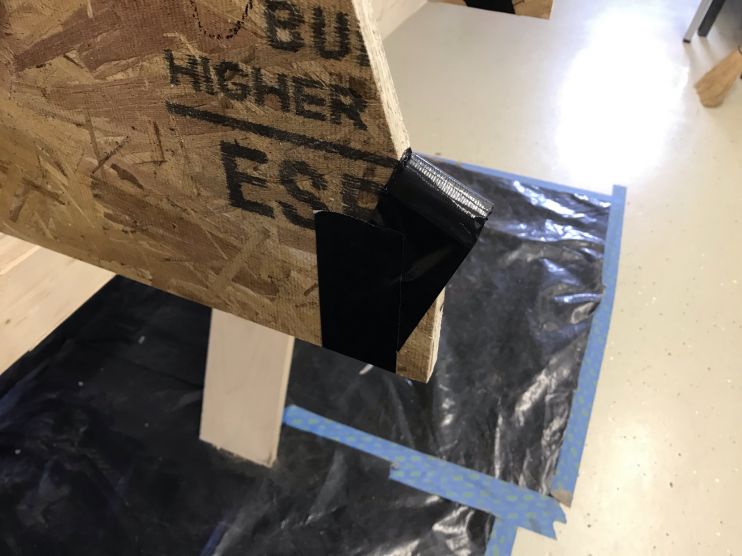
2/27/21 – This day didn’t start well and only got worse. First of all, a warning. The mold has some sharp points to hold the sheer plank.
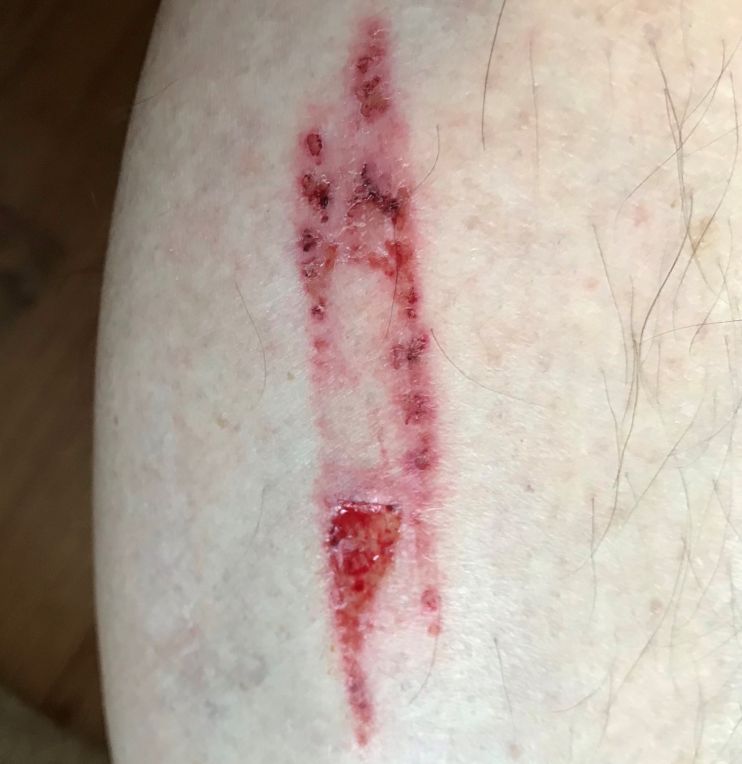
While sliding off the bottom of the boat I gouged my leg pretty good, even through some tough pants.
To prevent further incidents, I taped some cardboard over the points.
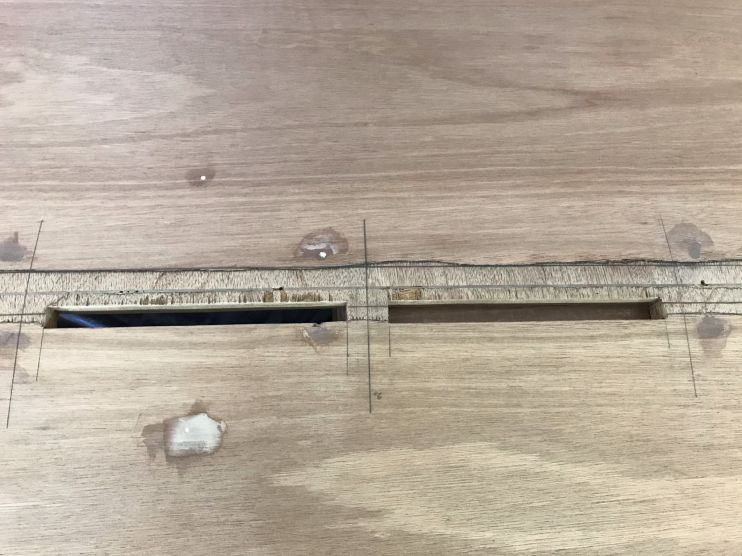
Second, the old adage “measure twice, cut once” should be “measure 3 times, cut once”. The problem wasn’t with my measurements, they were fine. My brain just wasn’t working right. I used my laser level to locate station #6 on the bottom, then promptly marked it #5. Then measured to the right to get #6. I should have measured to the left to locate #5. So the daggerboard hole was on the wrong side of station #6.

Yesterday’s hole is on the right, today’s hole will be on the left.
Not to worry. It’s fixable, but it will chew up three more days to fix it when I thought I was going to be doing the Dynel today. Step 1, cut the hole in the right place this time.
Then, fill in the old hole. Fortunately, I still had the piece I cut out.
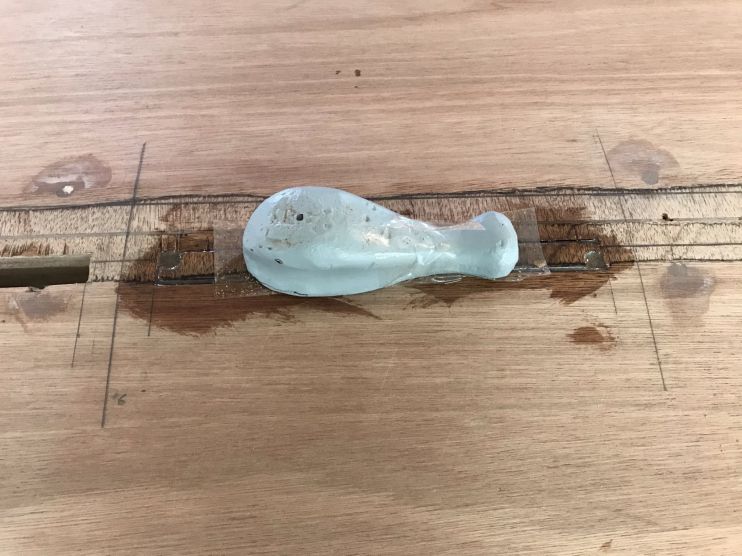
To epoxy it in place, I first got a piece of plywood, covered it in packing tape, and screwed it to the underside of the inner keel.
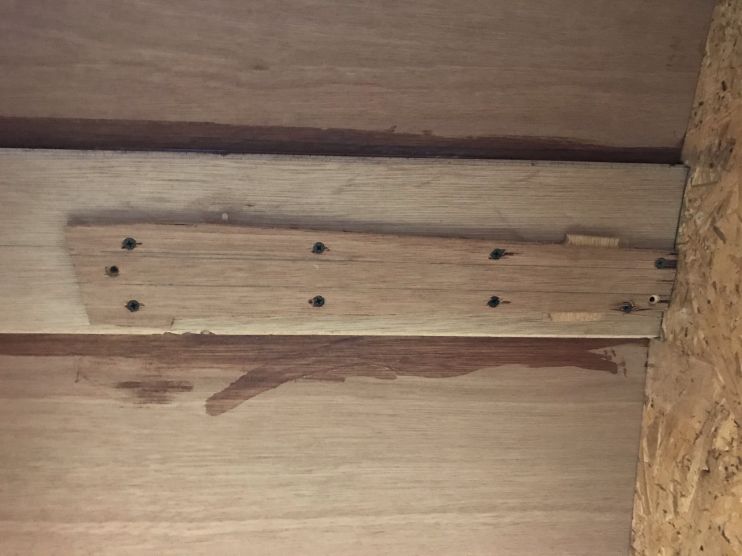
Then I poured in some lightly thickened epoxy while holding the piece down with my lead whale.

This is going to be a pain to clean up, but it will all be covered up by the outer keel and a lot of filler and paint. Hopefully, the packing tape will keep my lead whale from becoming a permanent fixture.
Lastly, I used the rest of the epoxy to try and repair the notch in the outer keel.

Tomorrow I’m taking a day off. Monday I will tackle cleaning up this mess and then putting the notch in the right position.

Tomorrow I will be able to reapply the outer keel and cut the notch for the daggerboard.
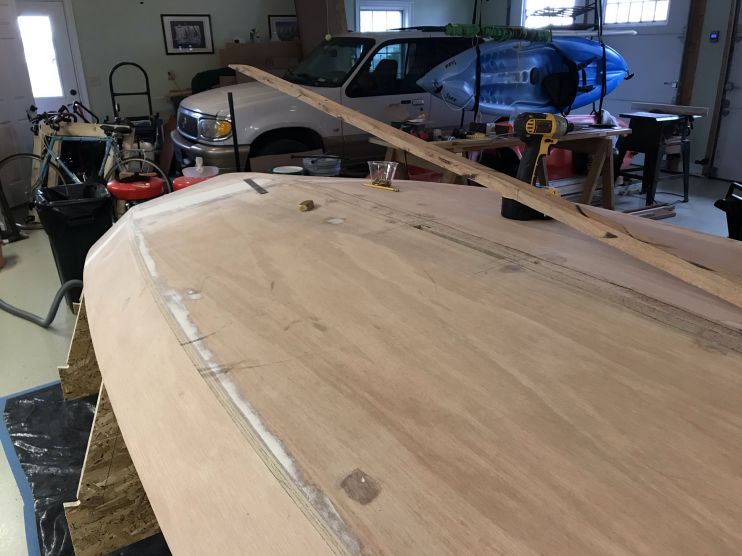
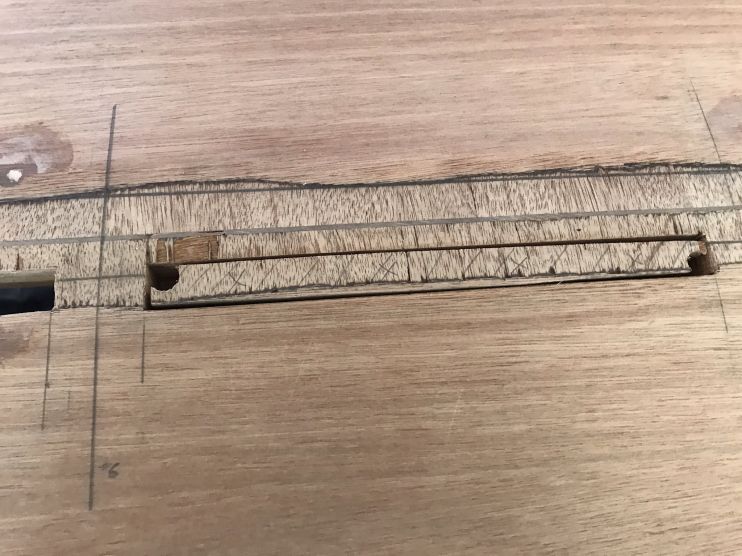
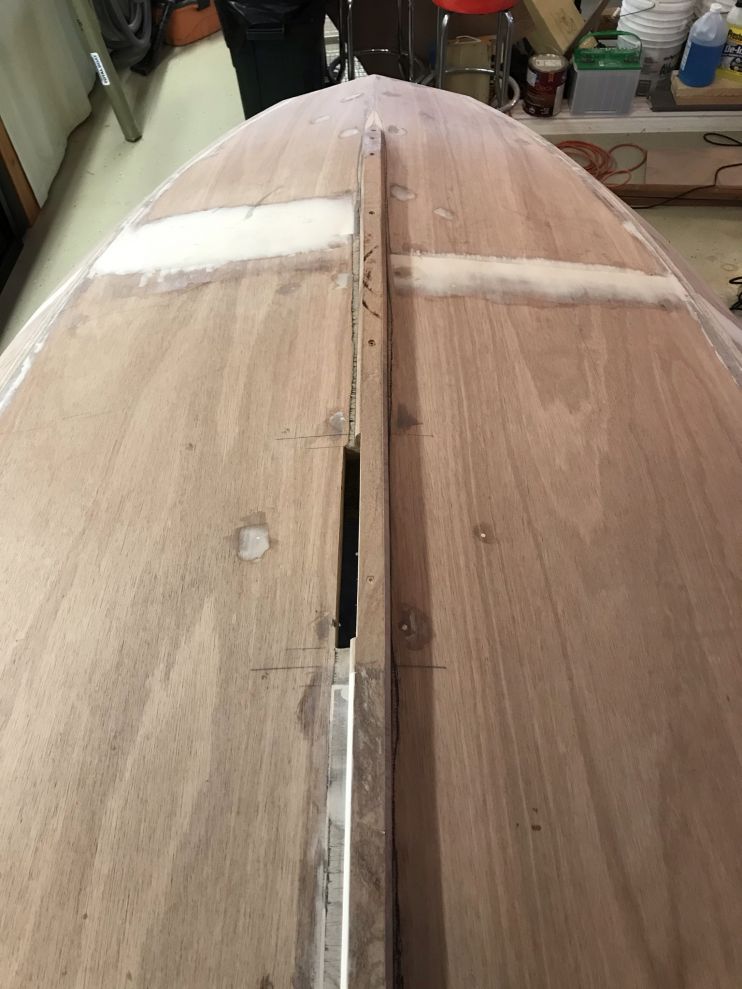
3/1/21 – Sanded the fairing filler on the bottom and on the notch in the outer keel. Then I reinstalled the outer keel. In the photo below you can see the old slot is filled and the notch in the keel repaired. I used a combination of brown adhesive filler and white fairing filler. When primed you won’t notice it was ever there. I also cut the notch for the new slot.
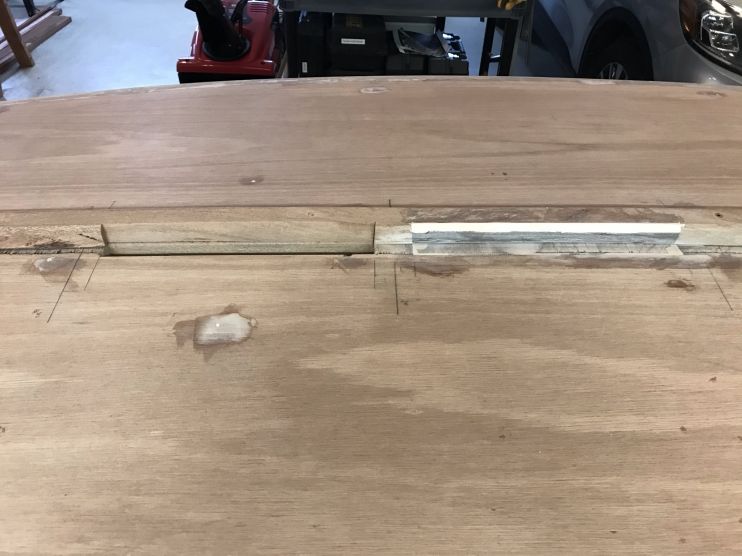
New centerboard slot.

New centerboard slot.

Tomorrow I will start on the Dynel.
3/2/21 – Oops. When I rolled out the Dynel, it was only 1 yd instead of 4 yds. Looks like I won’t be doing this after all. I will need to see how the order got screwed up and order 4 more yds.

-
April 25, 2021 at 9:18 am #43607
Bob Scribner
ParticipantNice recovery! I’m not sure I could have written that post so unemotionally and matter of fact. Excellent work.
-
April 25, 2021 at 10:03 am #43608
John Burgess
ParticipantThank goodness for epoxy!
-
April 25, 2021 at 5:04 pm #43611
Dirk Faegre
ParticipantI not so sure about “needing a new table saw”. I assume you were joking.
-
April 28, 2021 at 11:09 am #43641
Stephen Morton
ParticipantGood recovery! Thanks for writing this, you make me feel better about my own cut errors (also recovered but I can see the ‘scars’ even if others don’t notice them)
-
April 28, 2021 at 12:07 pm #43643
Donald Ulrich
ParticipantPerfect timing for this post. I’ve made a couple of holes not quite where they should be and its a total moral killer. I just have to keep reminding myself that epoxy can fill the skill gap and the hole in the wood…
-
-
AuthorPosts
- You must be logged in to reply to this topic.