Home › Forums › 11′ 10″ ARRIBA / OONAGH Dinghy – Official Step-by-Step Boatbuilders’ Forum › ARRIBA / OONAGH – 15 – Daggerboard Trunk › Daggerboard Trunk
- This topic has 1 reply, 2 voices, and was last updated 5 years, 2 months ago by
 Doug Hermann.
-
AuthorPosts
-
-
May 2, 2021 at 3:57 pm #43685
 Bob DonaldsonParticipant
5/2/21 – The daggerboard trunk is an integral part of the center partition. As I focus on finishing the daggerboard trunk, I will recap some of the work done so far.
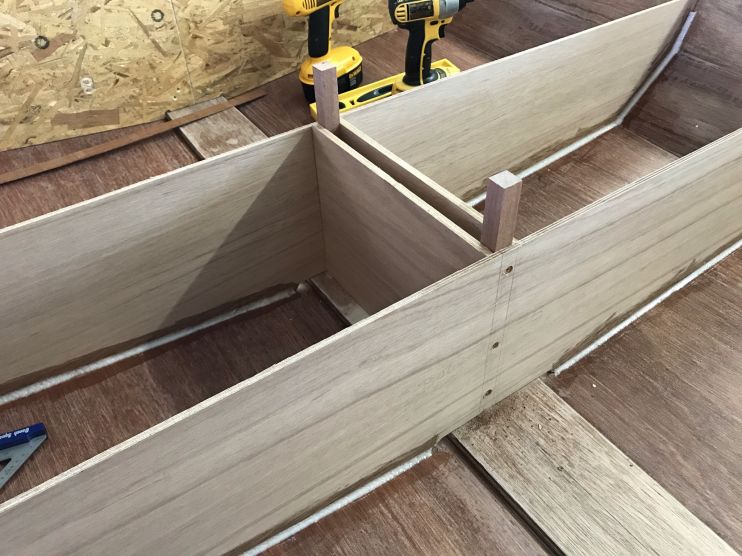
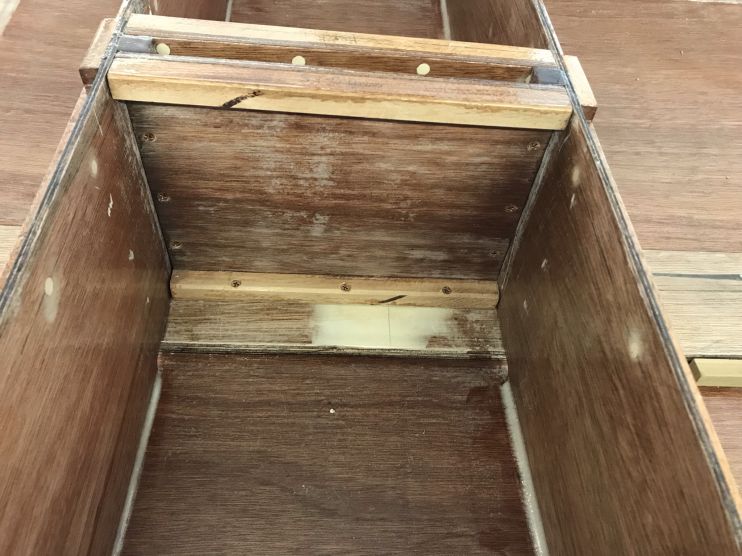
4/9/21 – I did some prep work on the daggerboard trunk. To make sure I install the trunk exactly perpendicular to the 3/4″ hole in the bottom, I inserted two 3/4″ scraps into the hole. Then I clamped the daggerboard trunk panels on each side, made sure the boards were completely vertical, and then marked where the two 3/4″ daggerboard supports will be installed.

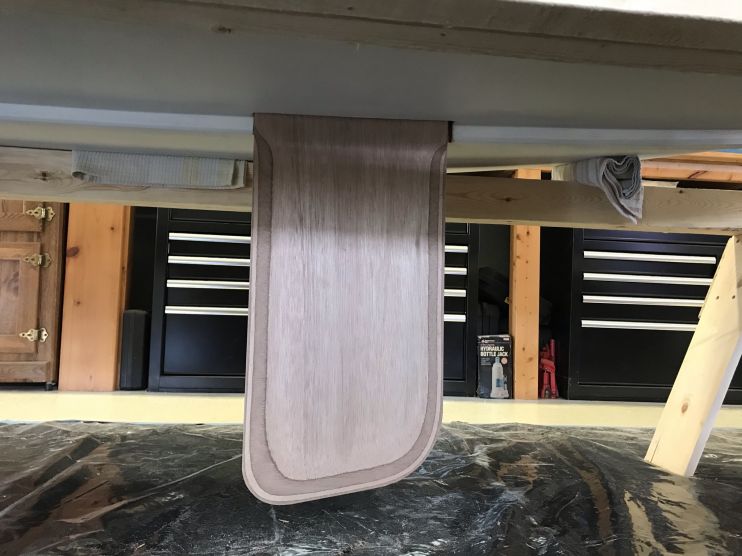
4/10/21 – I installed the vertical supports and test-fit the trunk panels.
And the daggerboard fits! Yeah.
4/15/21 – I started working on the daggerboard trunk. Then a test fit before gluing them up.
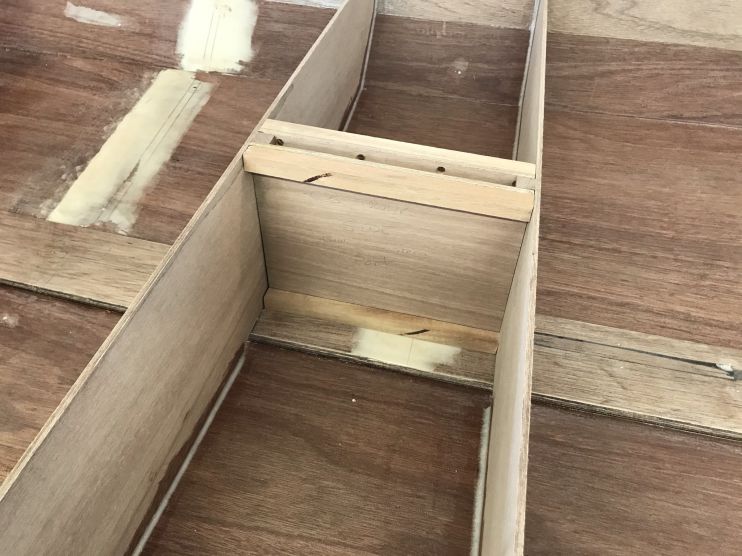
Then I mixed some epoxy and glued the daggerboard supports.

Then I glued the daggerboard trunk pieces. The trunk sides didn’t fit tight to the keel, so I added some epoxy filler along the bottom.

Because the daggerboard trunk is going to be wet whenever the boat is in the water, I need to make sure it is completely impregnated with epoxy. It may take me several days to fill the screw holes and apply at least two coats of epoxy to the inside of the trunk before gluing everything together.
4/16/21 – I finished up today putting a coat of epoxy on the daggerboard trunk.
And filling the screw holes that will be inside the trunk. I need to fill those holes before I can start applying two coats of epoxy on the inside face.
4/17/21 – Sanded the screw holes on the daggerboard trunk sides. Then I applied a coat of epoxy.

I ended the day by putting a coat of epoxy on the daggerboard trunk supports and inside the hole through the keel.

4/24/21 – I put a second coat of epoxy on the daggerboard trunk partitions.
4/30/21- Today, I countersank the screws necessary to hold the daggerboard trunk in place.
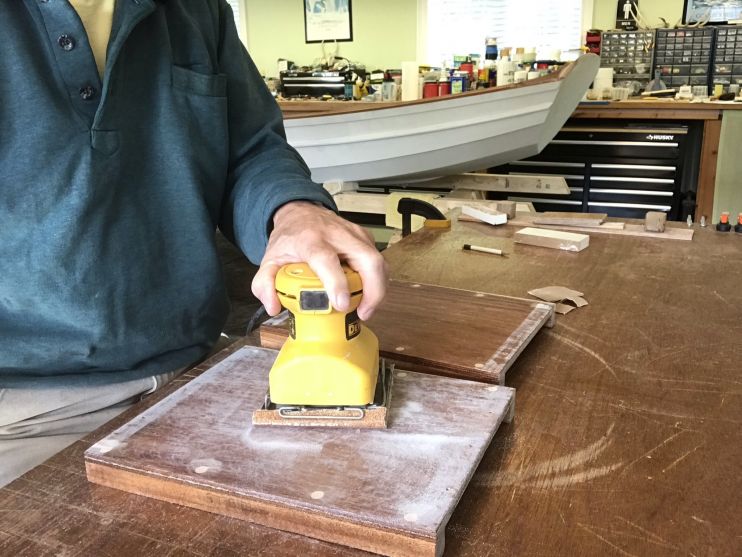
Then I decided that inside of the trunk should match the rest of the interior, so I will add a layer of primer and then a finish coat before assembling it and epoxying it in place. To accomplish this, I first sanded the entire trunk and then taped off the areas that will be epoxied. It seems to me that an epoxy to epoxy bond will be better than having paint in the middle.
Then a coat of Petitt EZPrime.
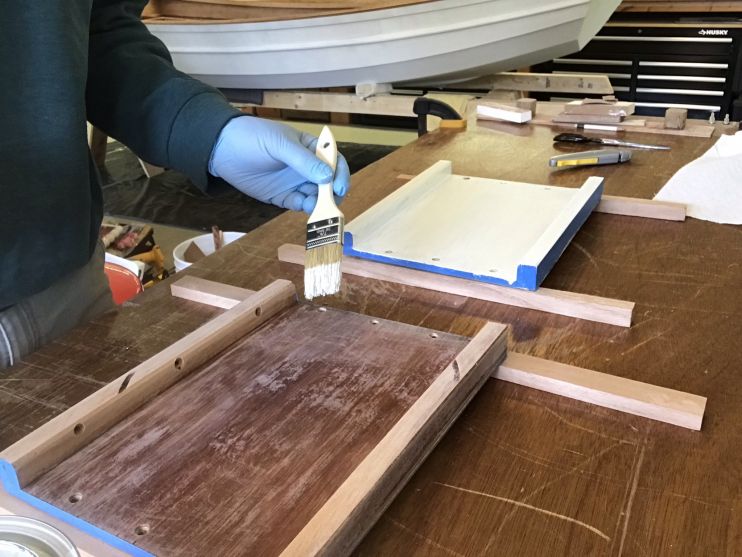

5/1/21 – Today I put a finish-coat of Epifanes monourethane on the daggerboard trunk.
I also started putting a coat of clear epoxy on some of the remaining plywood parts.


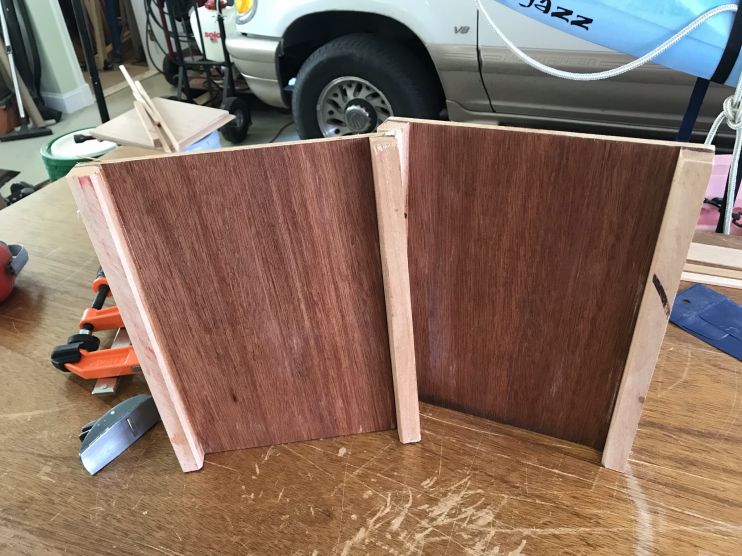
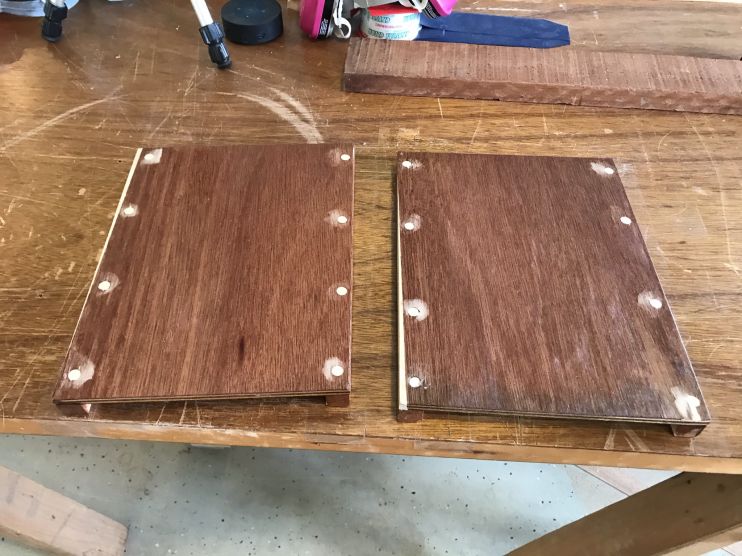
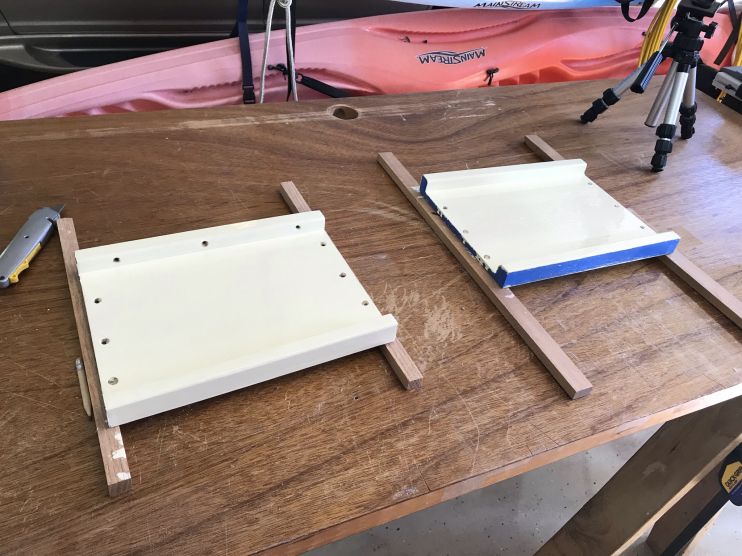
5/2/21 – Today is the big day. I will glue up the daggerboard trunk. Here are the two trunk parts ready for assembly.
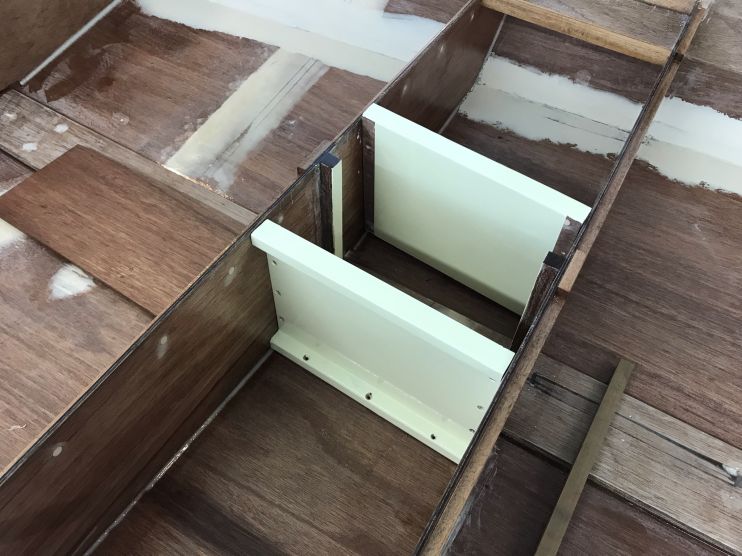
Then, halfway complete. I can clean up the squeeze-out on this side.
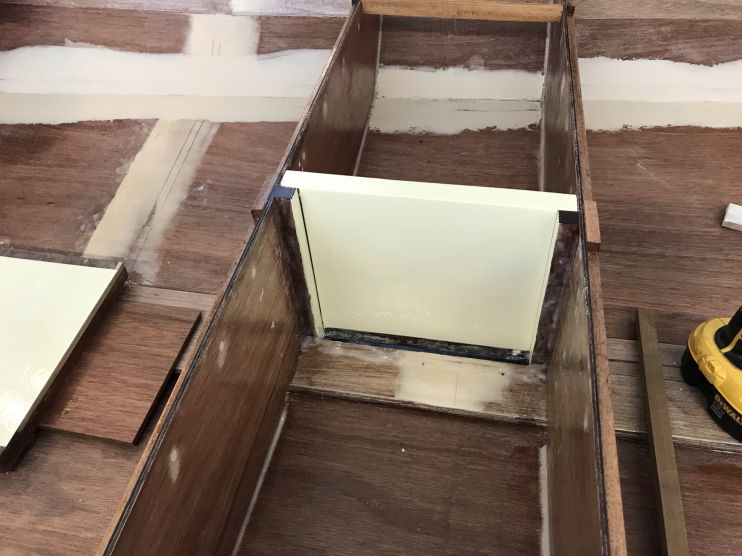
Then the final side and it’s complete. It seems anti-climactic.

I am a bit anxious about whether I used enough epoxy to make it watertight. I won’t know until I put her in the water.
-
May 2, 2021 at 8:32 pm #43686Doug HermannParticipant
Bob – That was a remarkable documentary of how you built and installed the trunk. Well Done.
-
-
AuthorPosts
- You must be logged in to reply to this topic.