Home › Forums › 11′ 10″ ARRIBA / OONAGH Dinghy – Official Step-by-Step Boatbuilders’ Forum › ARRIBA / OONAGH – 08 – Protecting the Bottom (with Dynel) › Dynel
- This topic has 5 replies, 3 voices, and was last updated 5 years, 2 months ago by
THOMAS HATCH.
-
AuthorPosts
-
-
April 16, 2021 at 8:00 am #43506
 Bob DonaldsonParticipant
From my Blog: https://house-doc.net/Oonagh/?p=465
3/5/21 – Last night I received my 4 yards of Dynel from Jamestown Distributors. It just took a few days for the reorder. The 4 yards cover the length completely with just a few inches of the chines exposed on the sides and that part will be beveled for the topside plank.

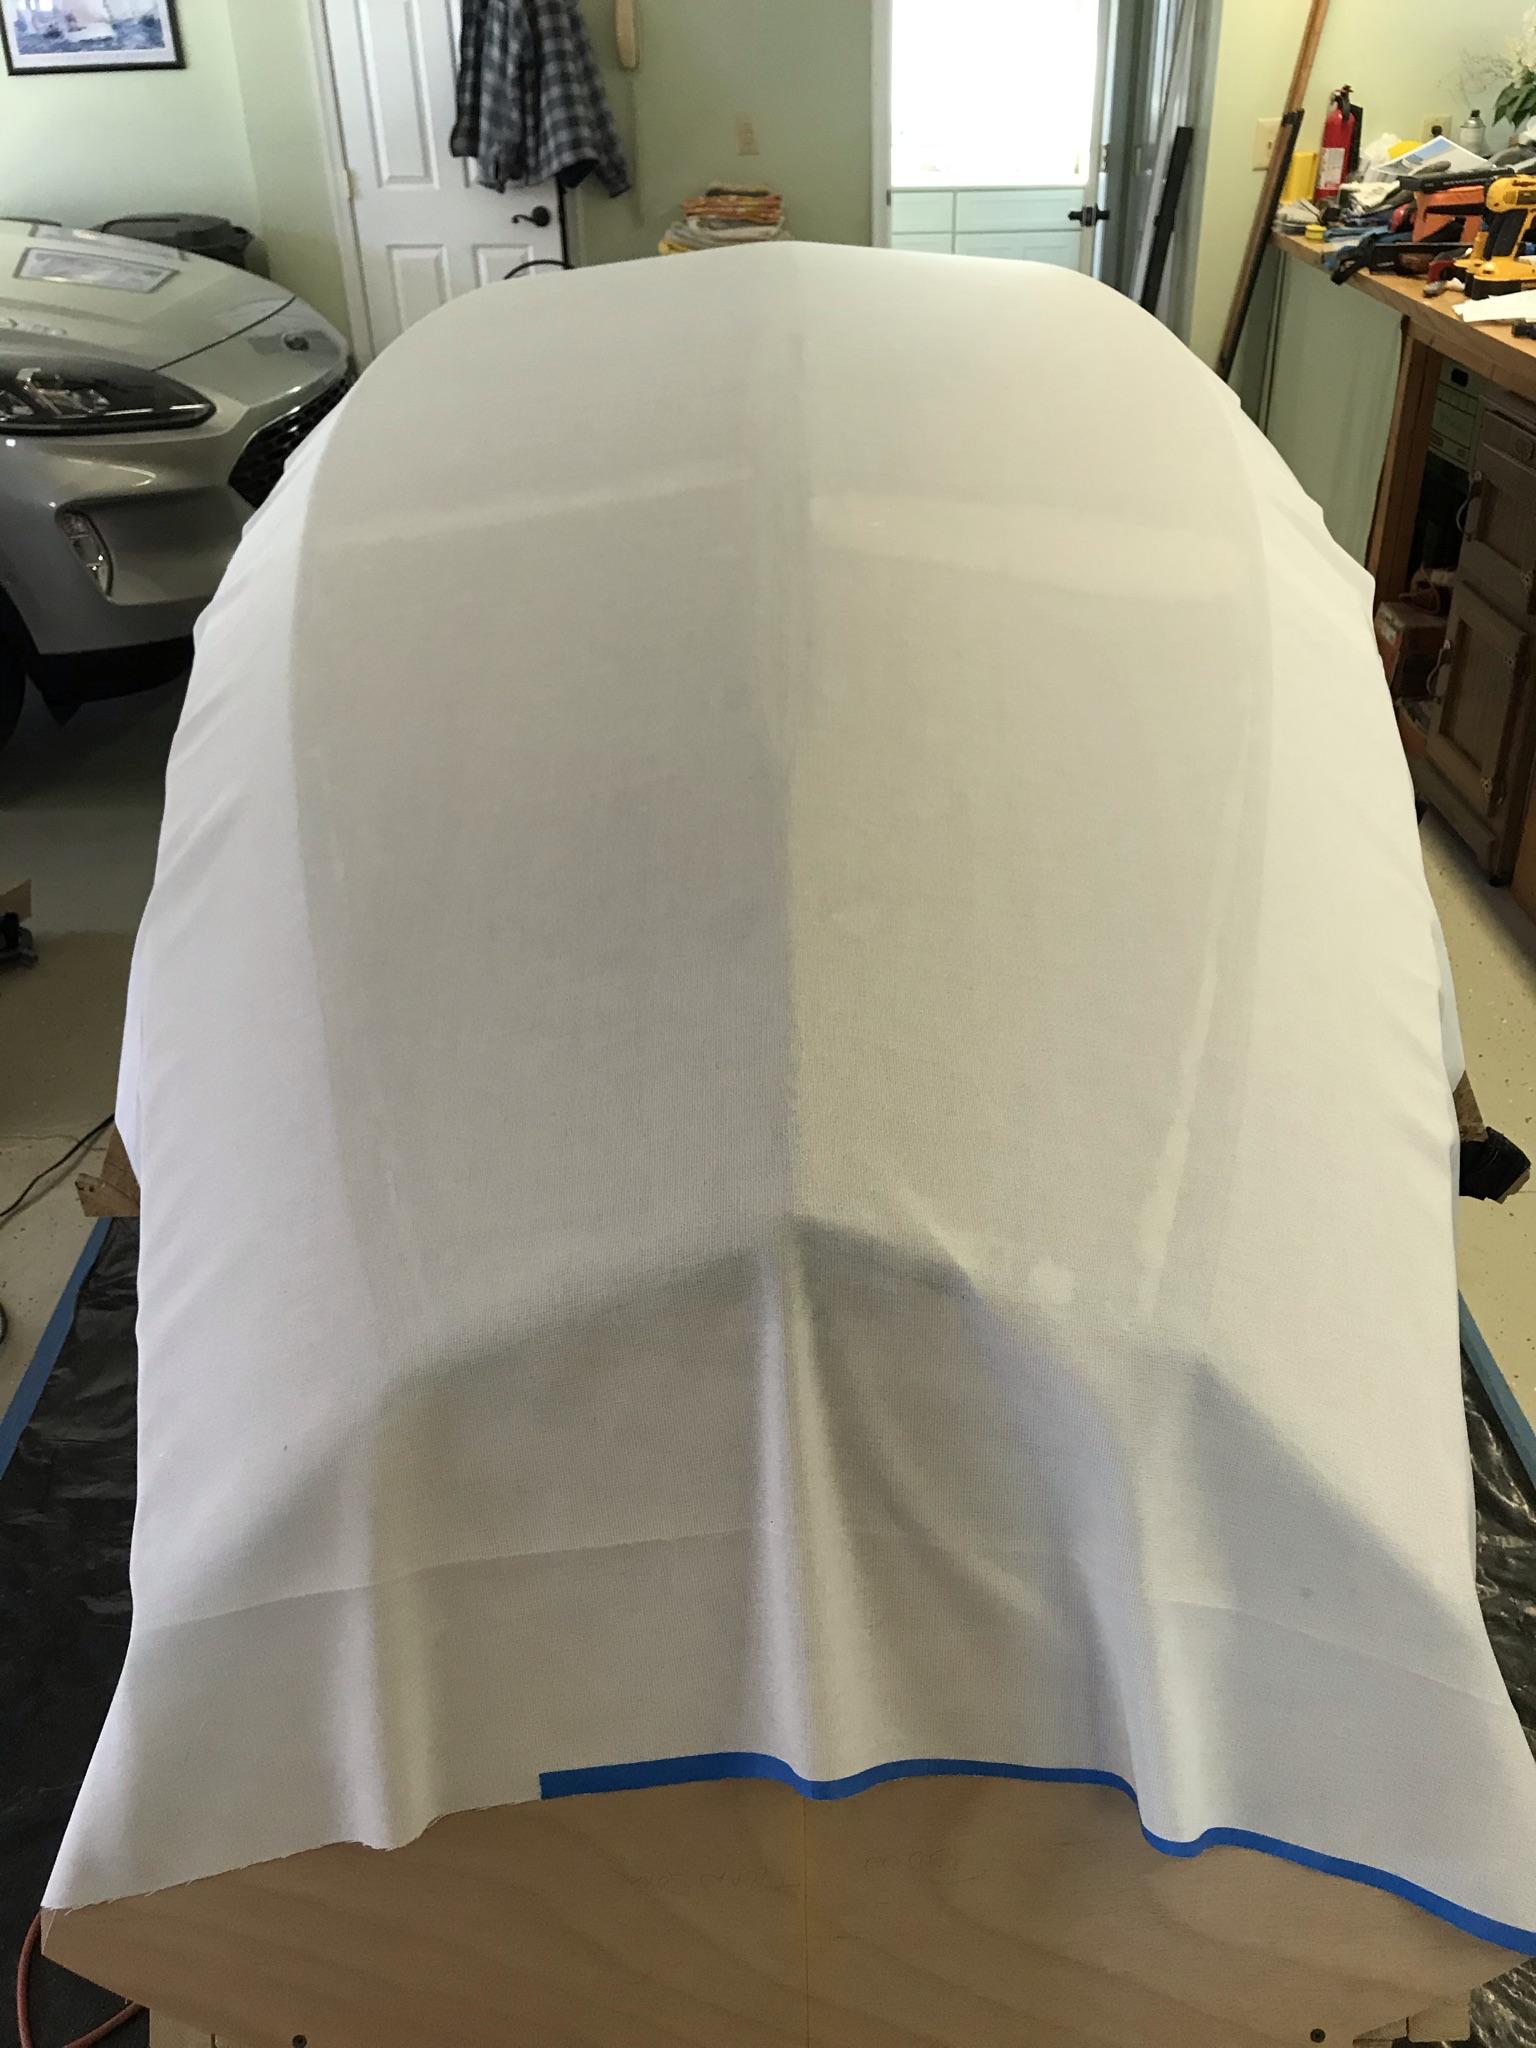
I mixed up 10 ounce batches of 105 resin with 207 hardner. The 207 is slower to cure and is less viscous, so spreads more easily. It took a lot more epoxy than I imagined it would, probably because the wood is soaking it up. In the end I made 7 batches totaling 70 ozs of epoxy to cover the bottom.
I used a foam roller with a short nap, but I should have cut the roller to a smaller size. It would have made rolling easier.


I then cut the Dynel covering the centerboard slot and wrapped the ends into the opening.

Next step, wait a couple of hours and apply the fill coat.
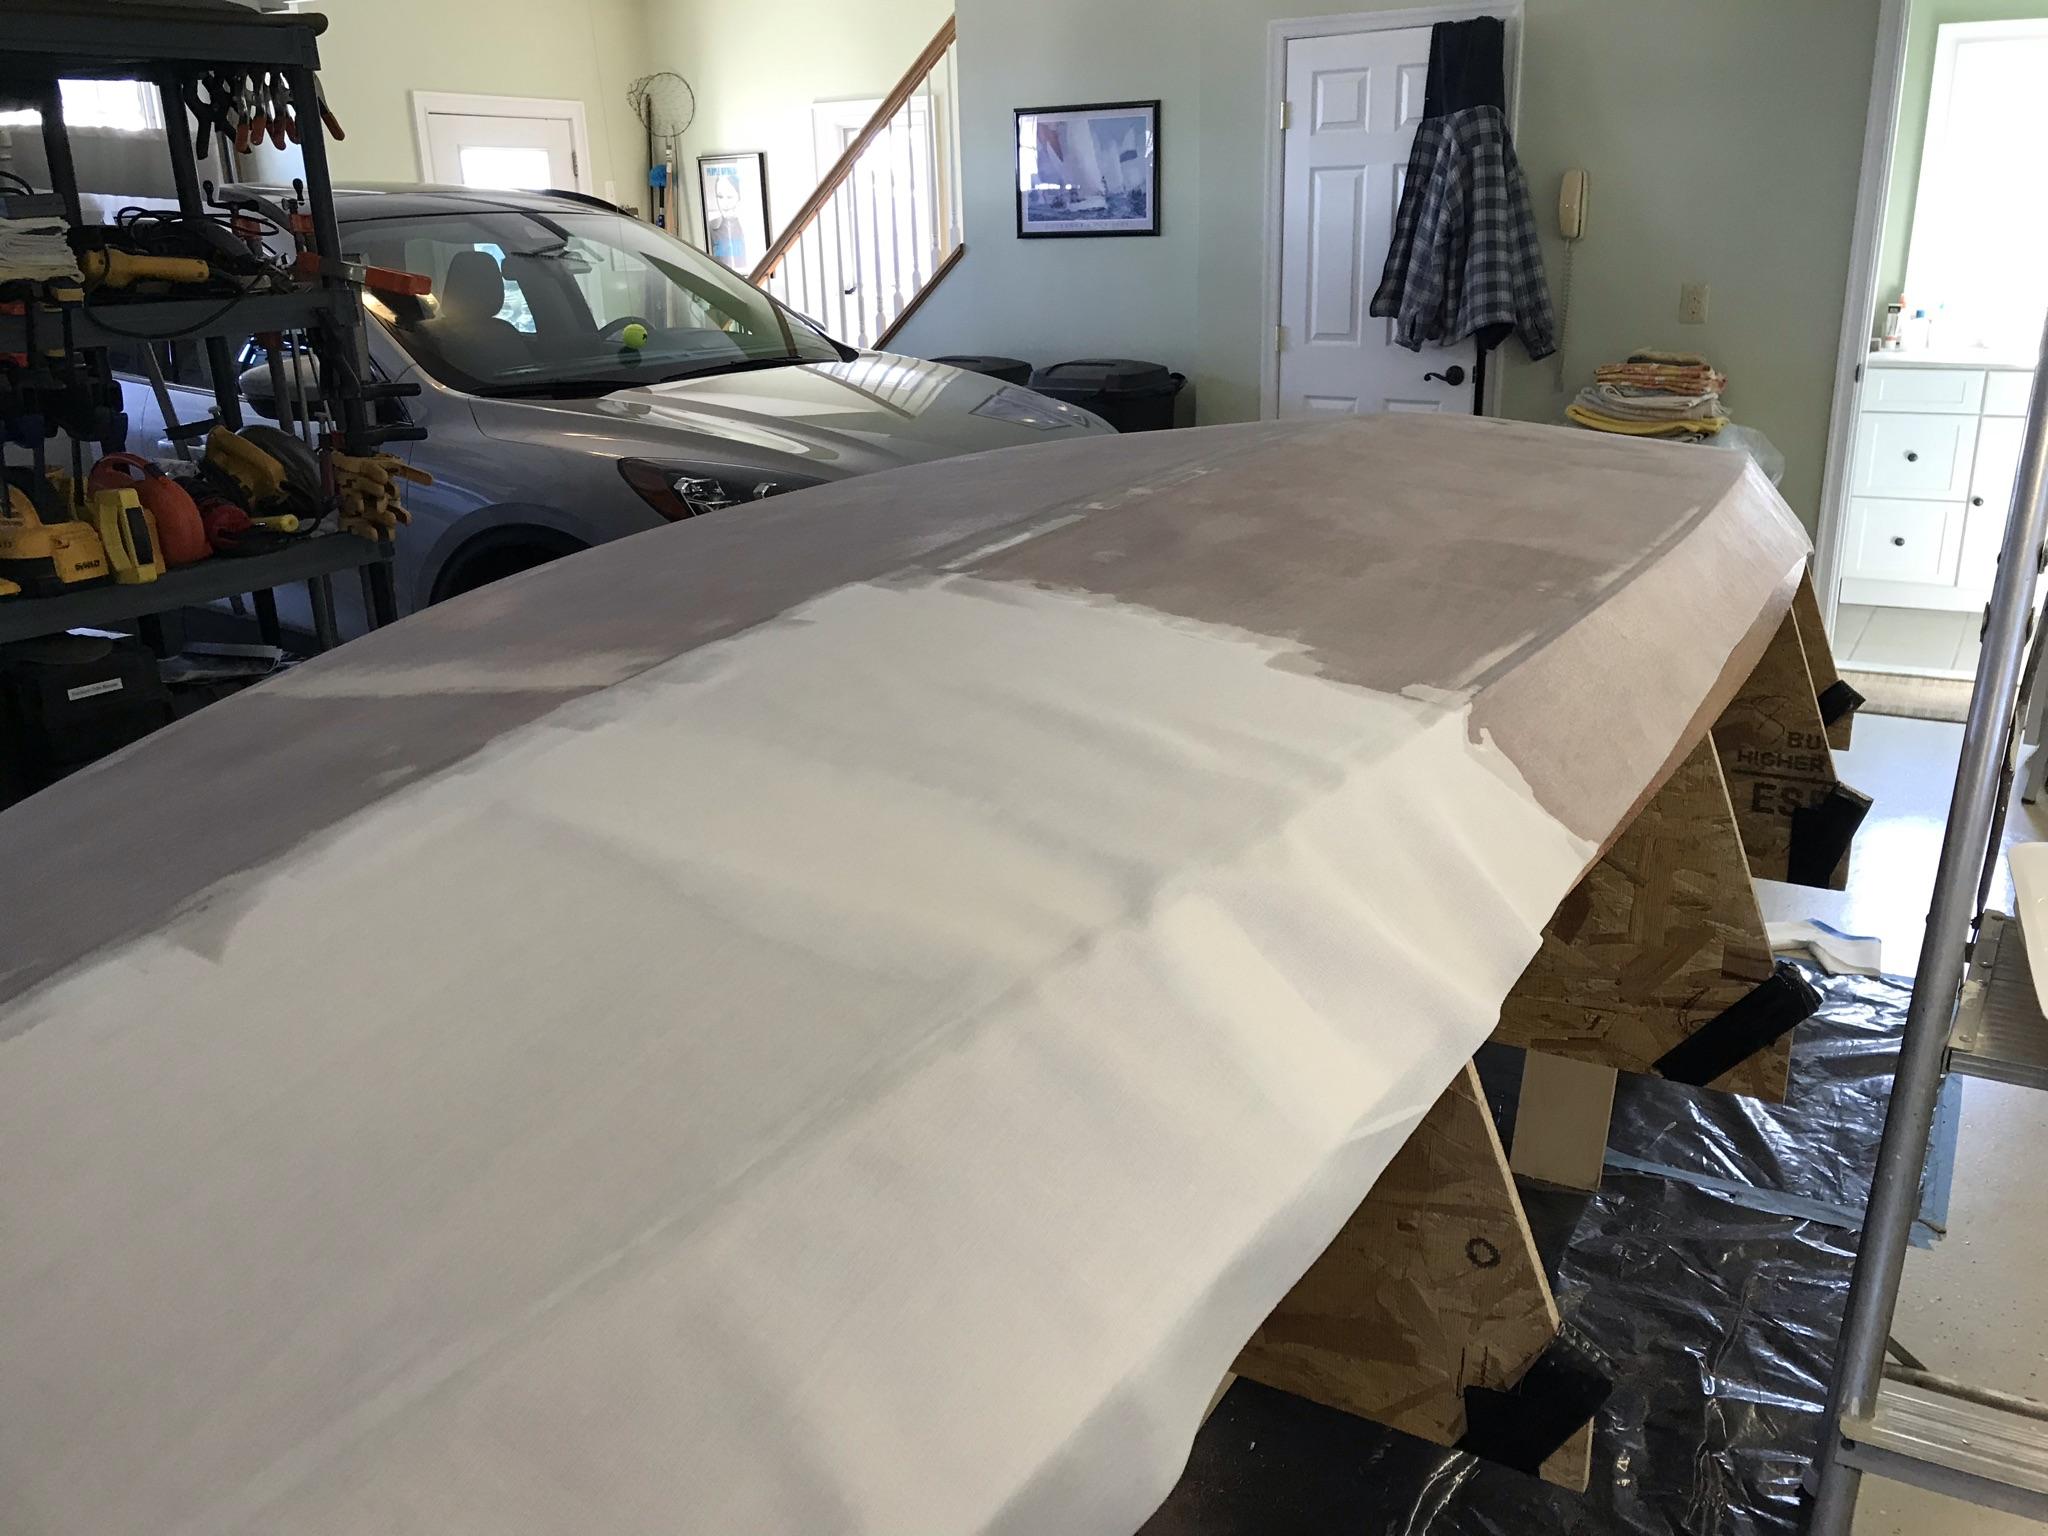
4:00 pm – After about 2 1/2 hours the clear coat epoxy was very tacky and ready to apply the fill coat. Russell Brown recommended using a standard paint roller to apply the fill coat as quickly as possible and use that roller to make sure that coat is as even as possible. Then use a foam roller to smooth out the epoxy fill coat.
I used West Systems 105 resin mixed with 207 hardner to make a 6-oz batch. After mixing for 1 minute, I added 3 oz. of 410 fairing filler. This makes a mixture about the consistency of a thick paint. It took 4 batches to cover the whole boat.

After applying the fill coat I used a razor knife to cut off the excess fabric from the lower part of the chine plank. That part will be planed off later when I apply the topside planks.

Maybe tomorrow I will be able to install the outer keel permenantly.
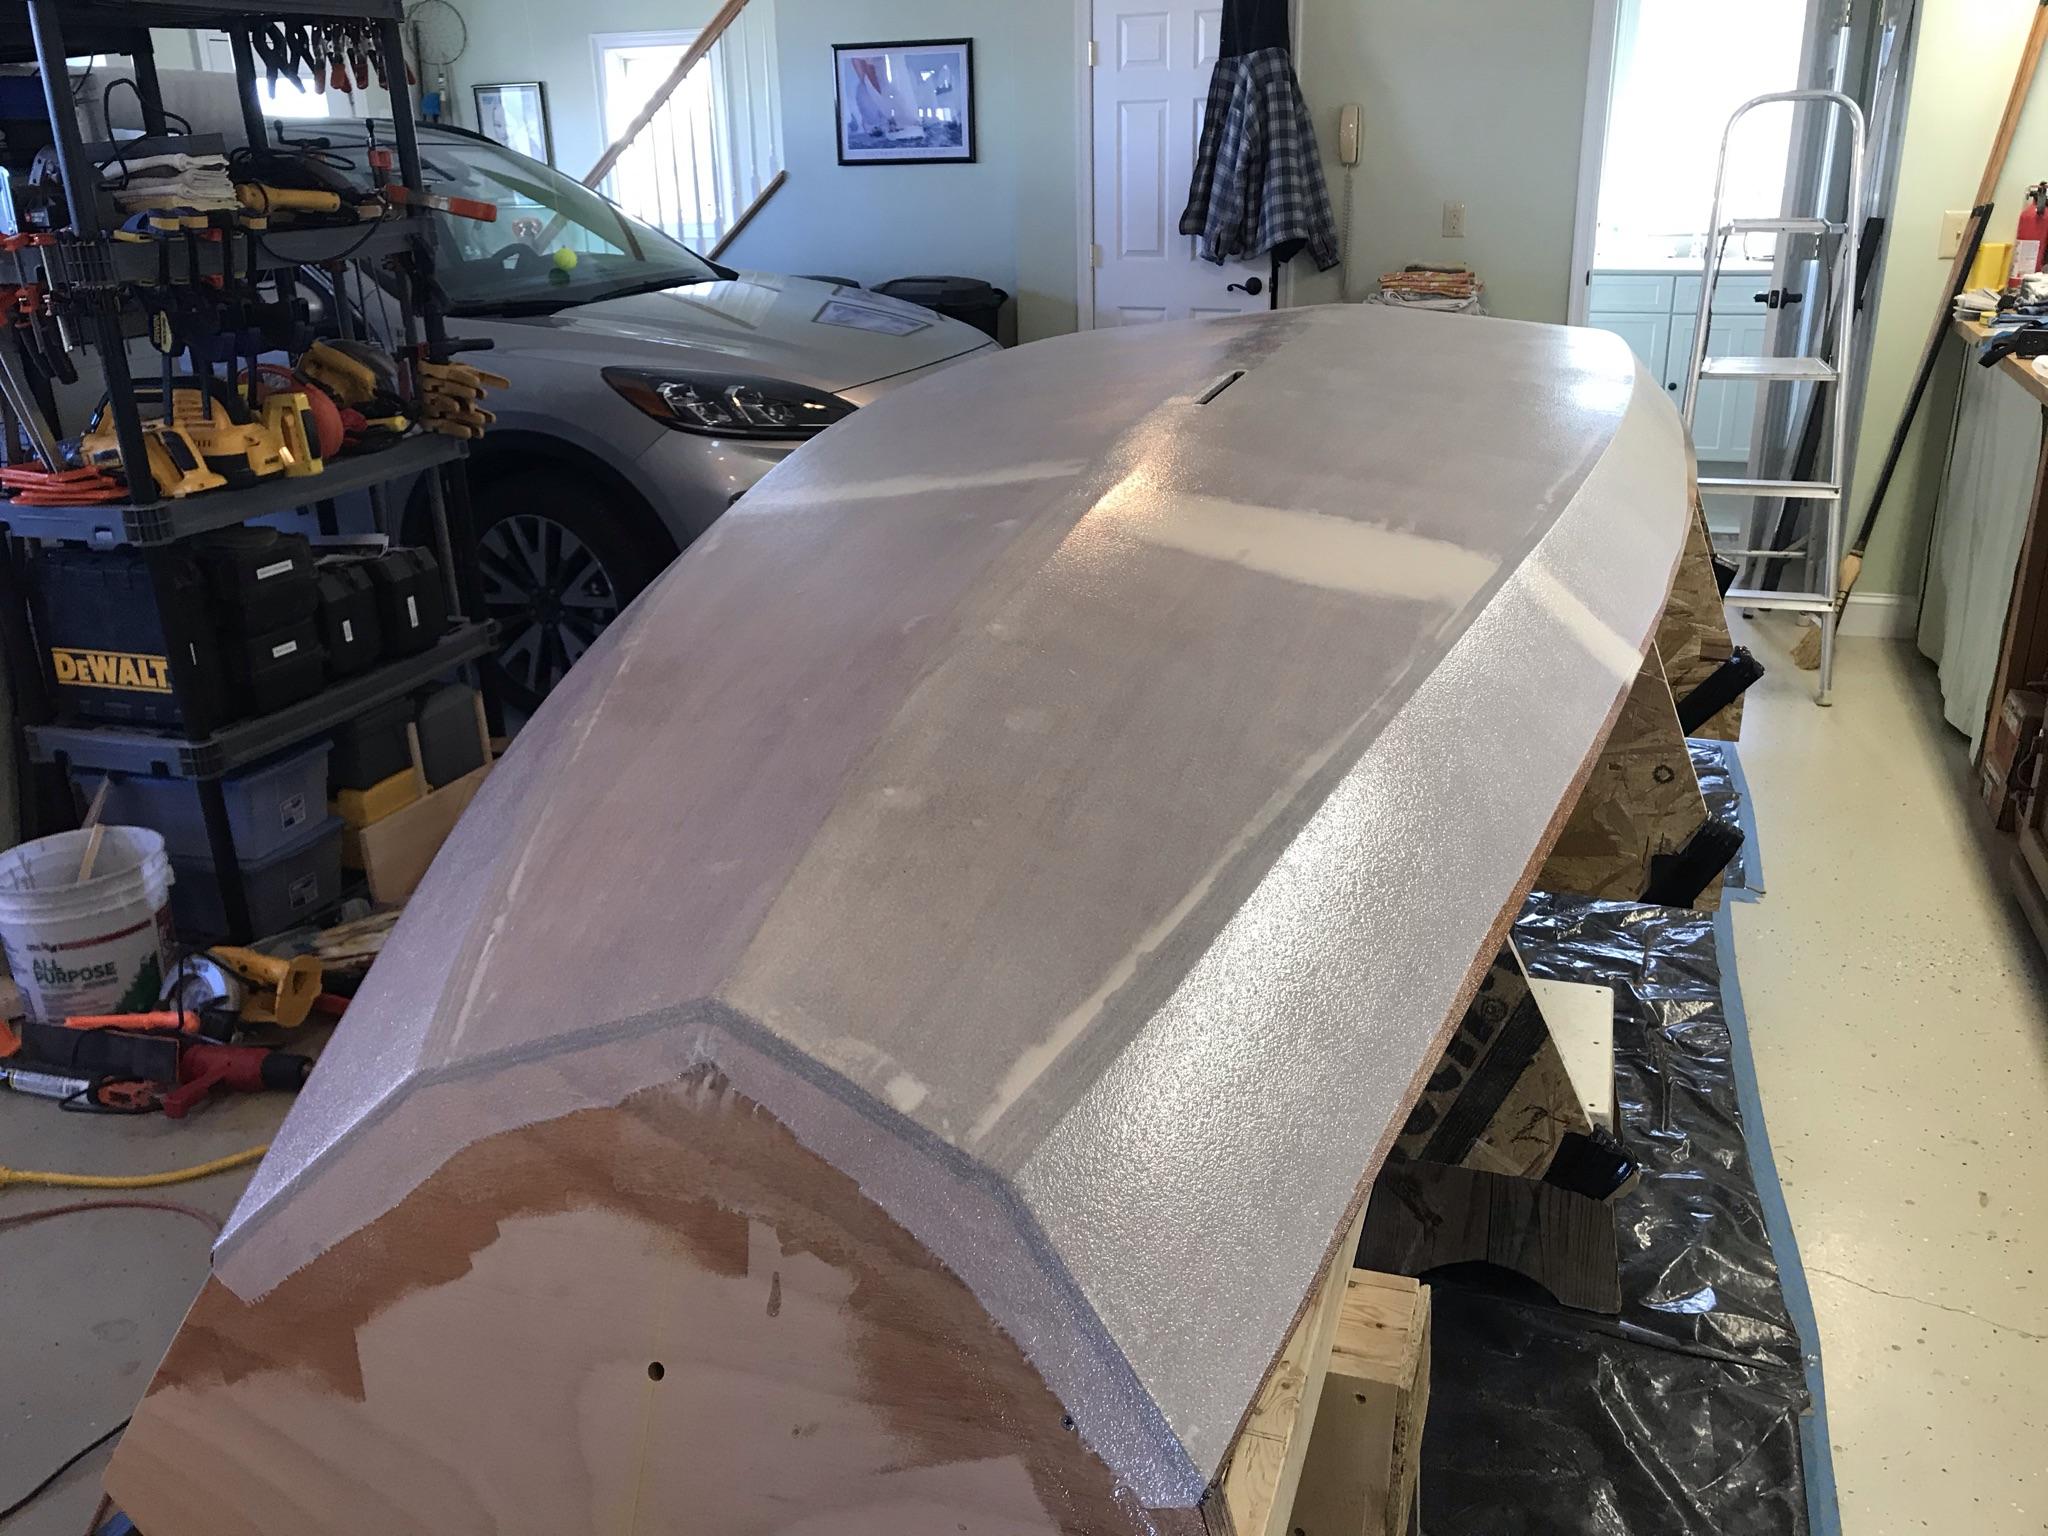
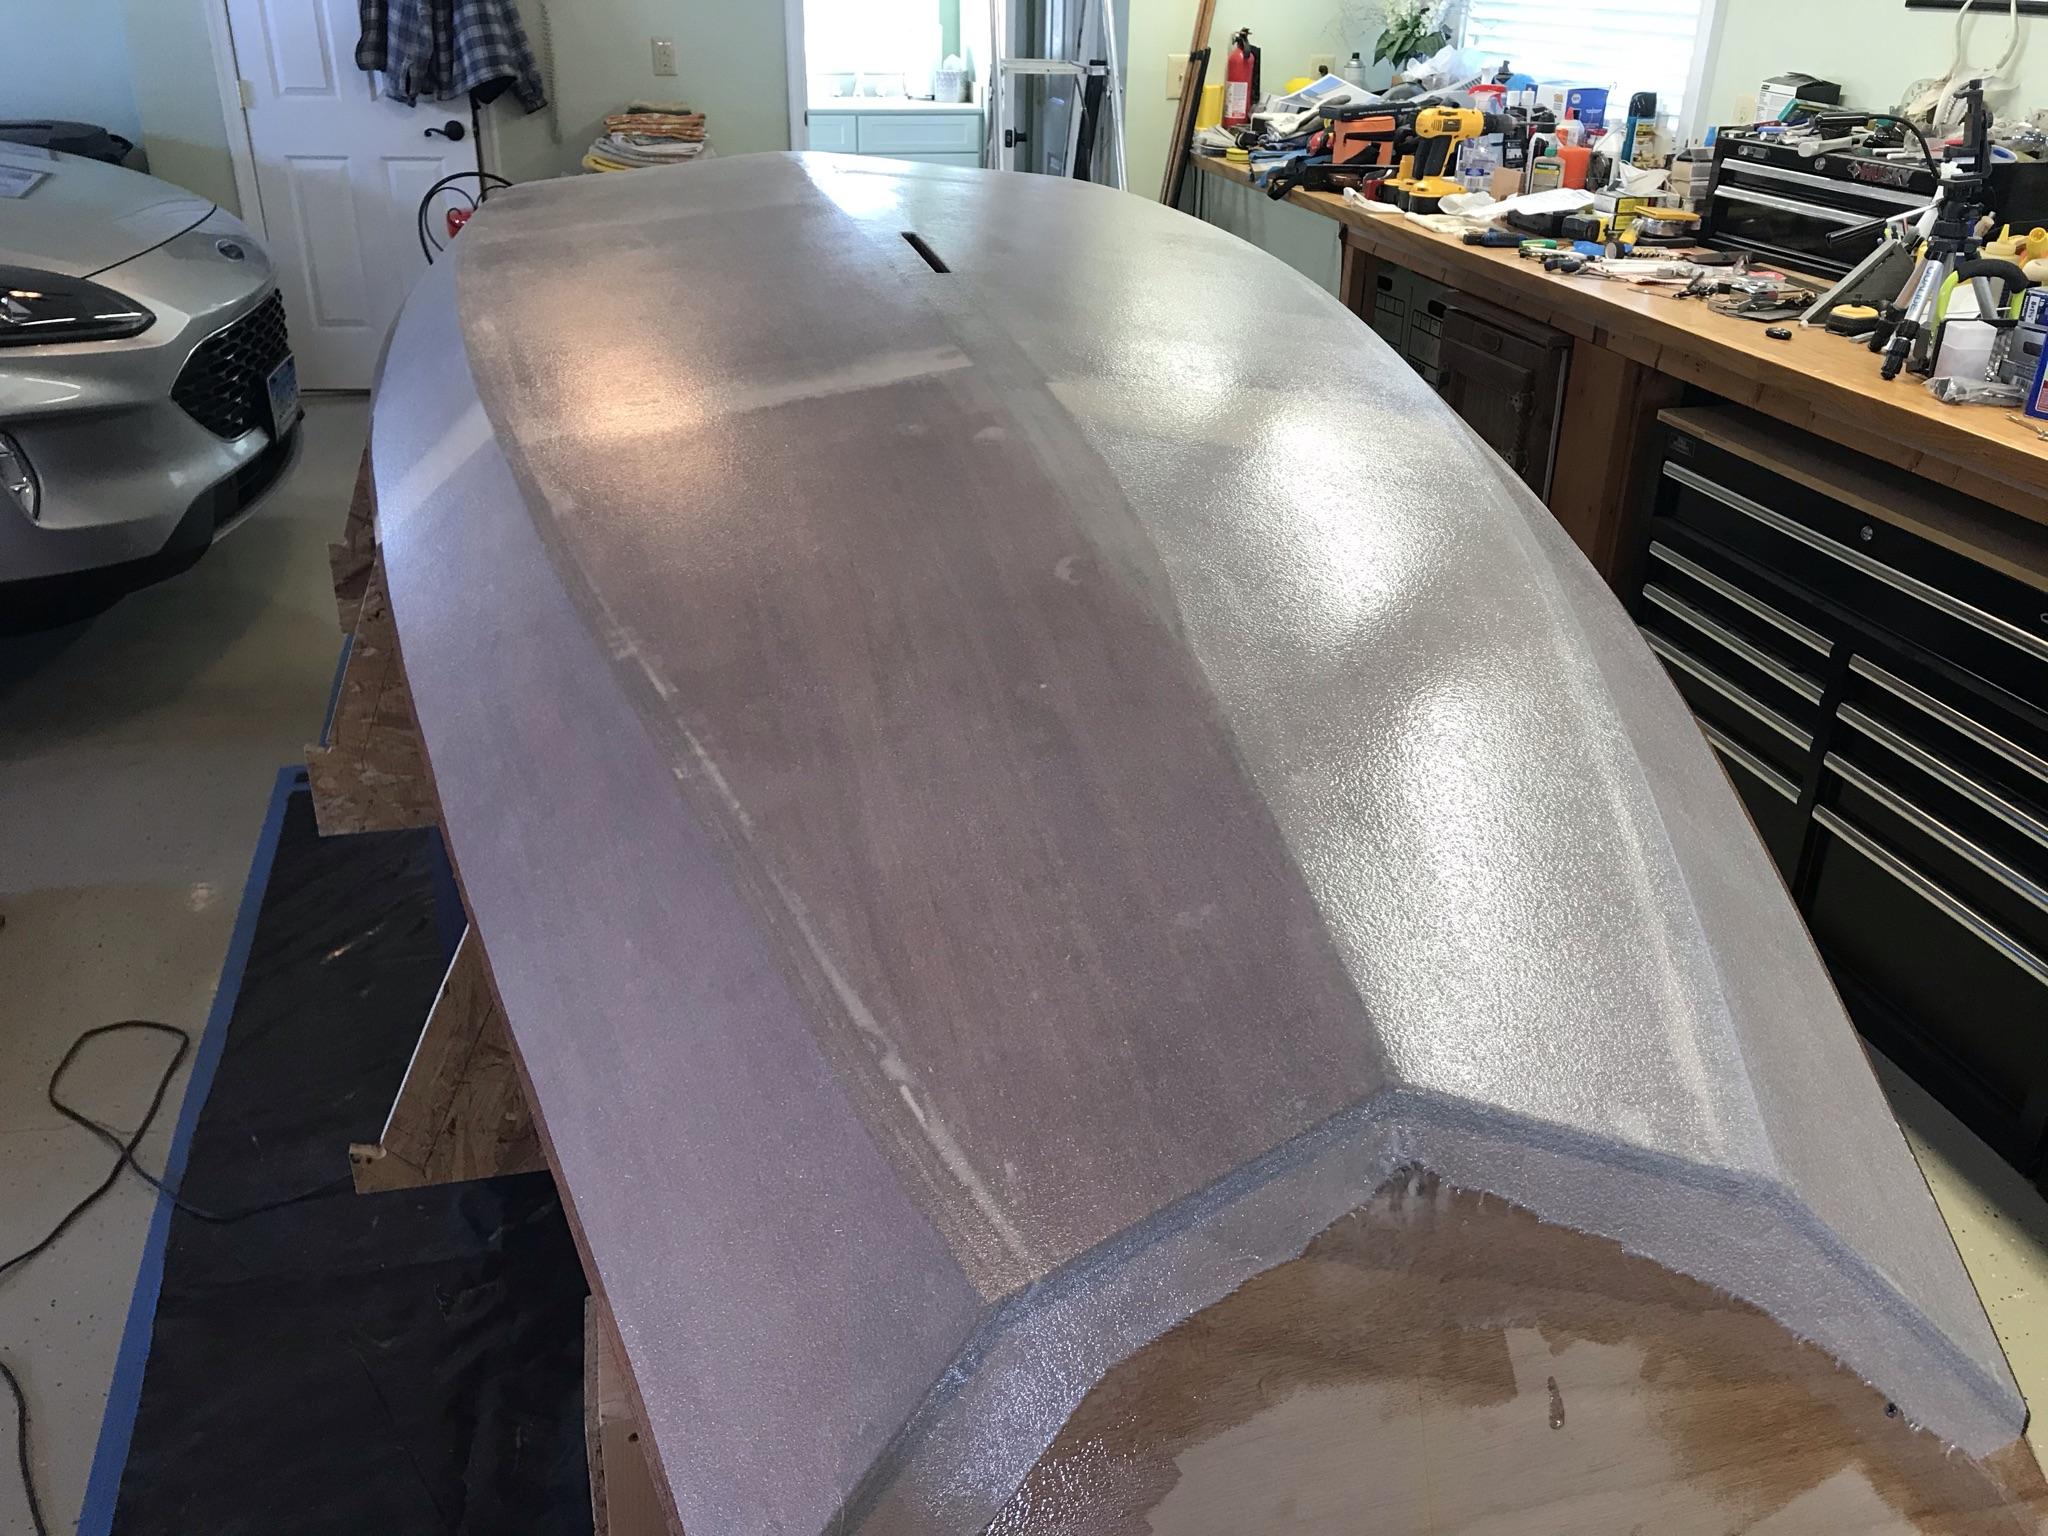
3/6/21 – Sanded fill coat. Re-installed the outer keel. The bottom is probably going to require another fill coat, so I will hold off epoxying it in place.

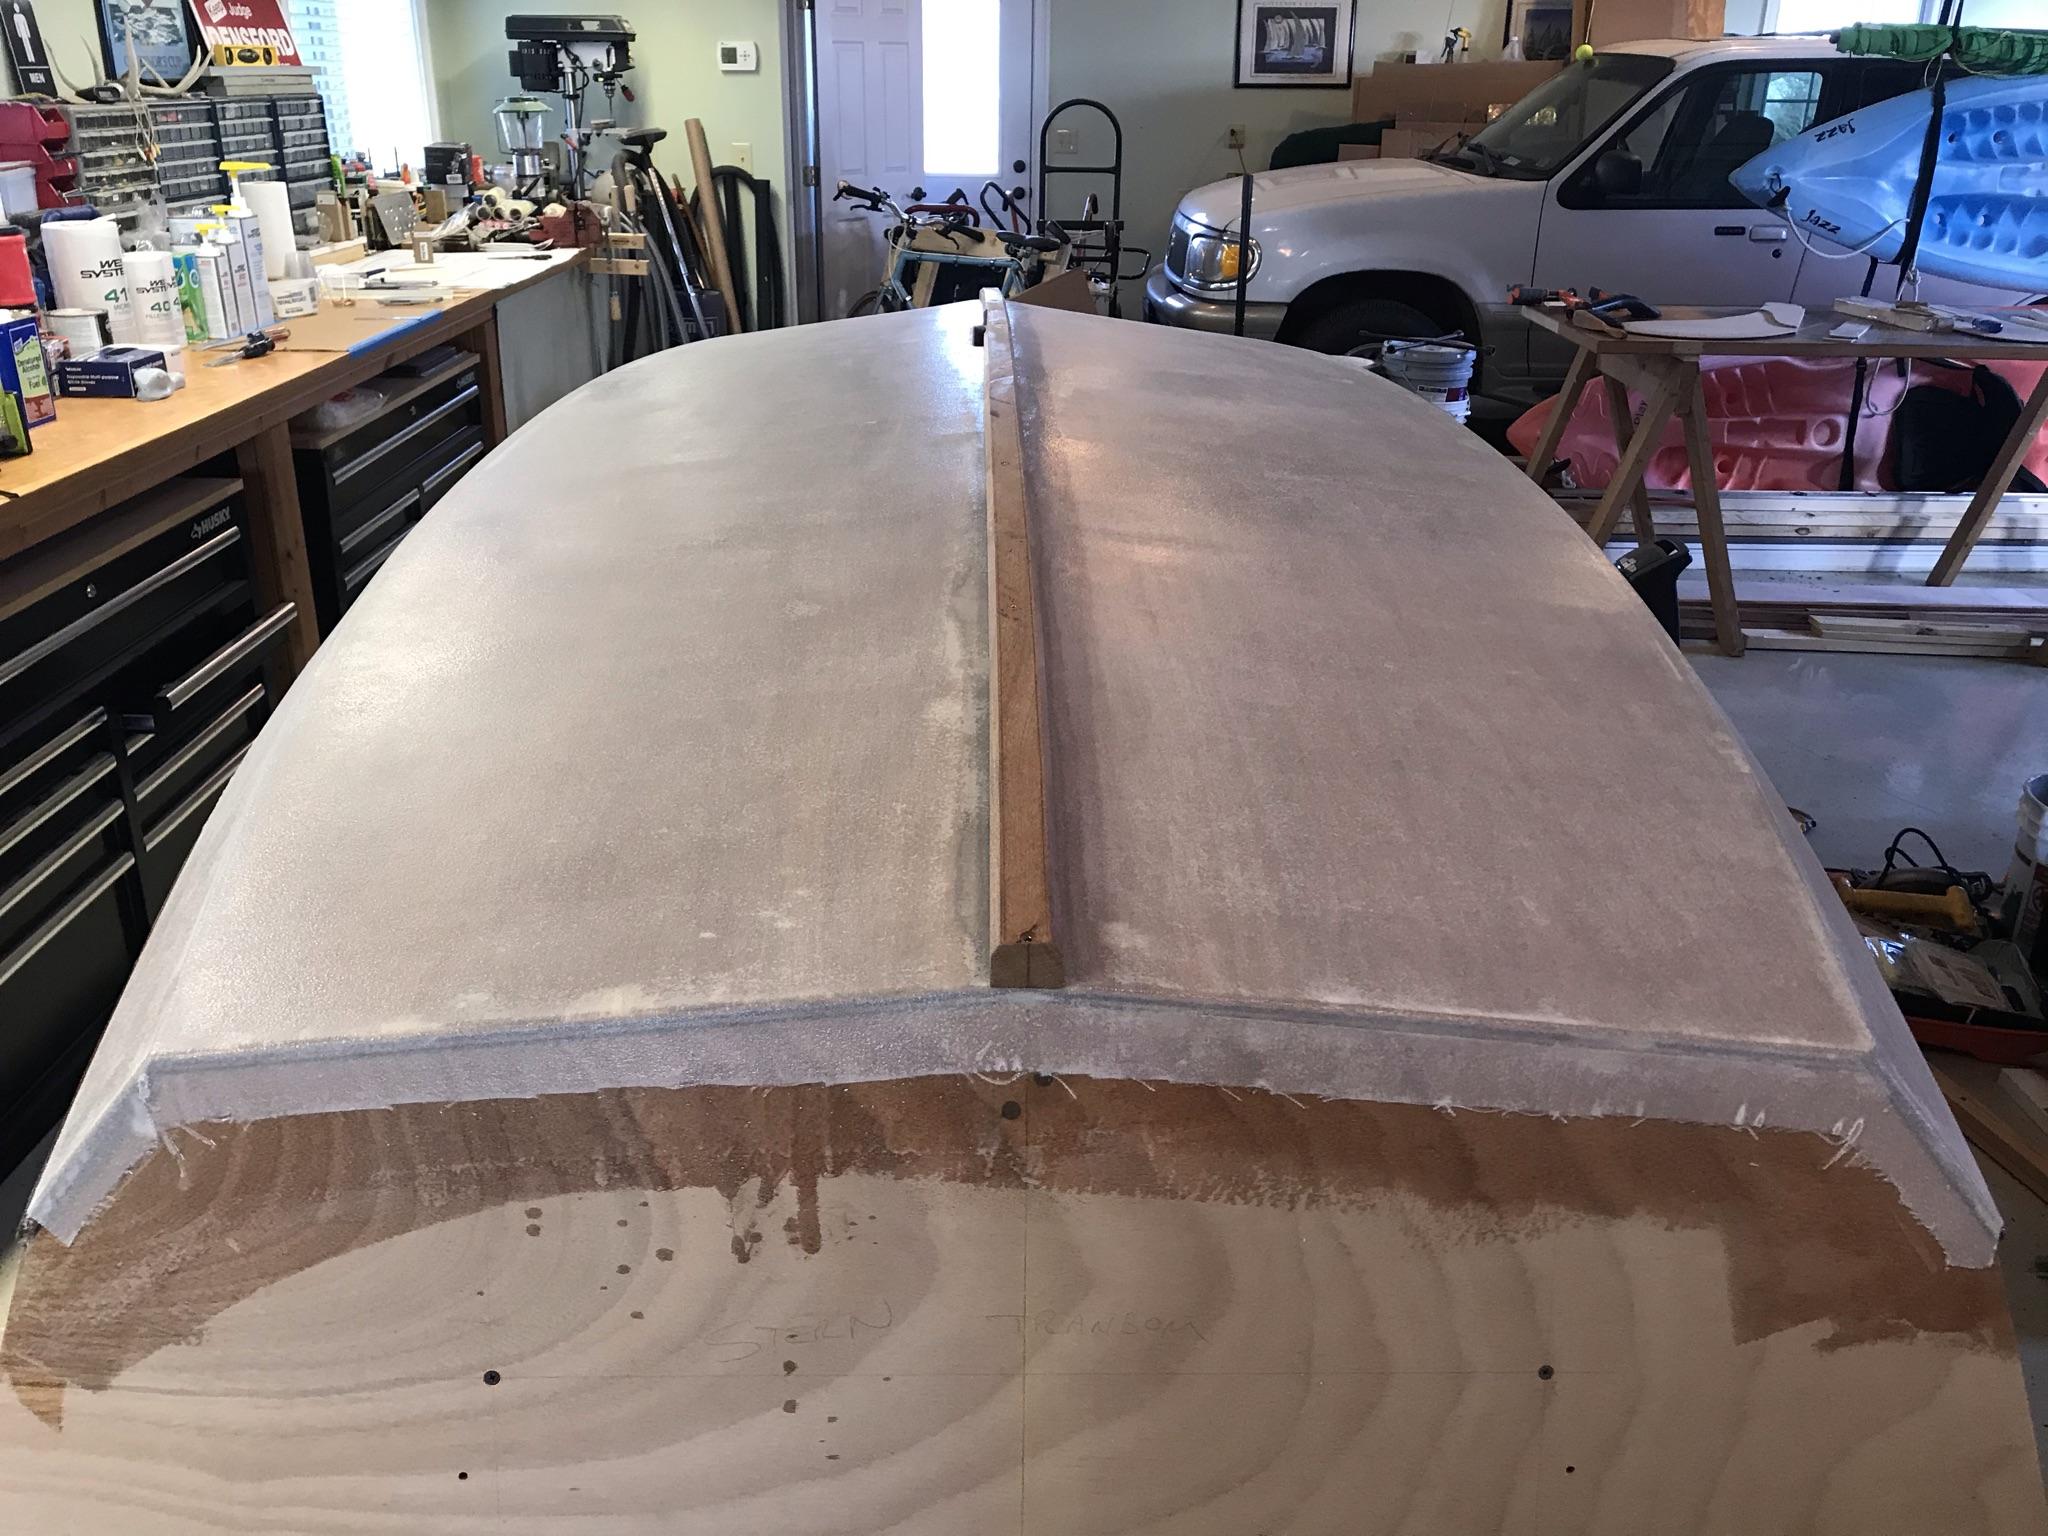

Looks like some additional fill coating will be required because the weave in the fabric is still noticable. I may start working on beveling for the topside planks and come back to sanding the bottom later.
-
April 16, 2021 at 12:05 pm #43509
 Steve StoneKeymaster
Bob, I’m blown away by your work, even more so as a first time boatbuilder.
-
April 16, 2021 at 12:37 pm #43510Bob DonaldsonParticipant
I’ve made plenty of mistakes, but like you said, they can be fixed.
-
April 18, 2021 at 9:36 am #43525
THOMAS HATCH
ParticipantBob – I’m just about to start this process, but I see you already cut the slot for the centerboard. Is this important to do before I start? Your blog is of great help. Thanks!
Tom Hatch
-
April 18, 2021 at 10:56 am #43526Bob DonaldsonParticipant
Tom, I recommend doing it the way OCH recommends in the videos. If you don’t have a plunge router you can still use a jigsaw. I am ahead of the videos and when I was doing the bottom, I had no idea when the daggerboard slot should be cut. I was concerned about how to find the location of the stations after it was taken off the mold. Silly me. In one of the later videos, Kit suggested tracing the location of each mold on the inside of the boat before taking it off the mold. That solves the problem of locating the daggerboard slot. It is very important to trace the mold locations onto the inside because you use the station locations for all the measurements on the inside of the boat.
-
April 18, 2021 at 2:35 pm #43529Participant
Thanks for the advice! I have a plunge router at the ready.
-
-
AuthorPosts
- You must be logged in to reply to this topic.