Home › Forums › 11′ 10″ ARRIBA / OONAGH Dinghy – Official Step-by-Step Boatbuilders’ Forum › ARRIBA / OONAGH – 05 – Scarfing Planks Together › Gluing up the planks
- This topic has 1 reply, 2 voices, and was last updated 5 years, 2 months ago by
 Steve Stone.
-
AuthorPosts
-
-
April 2, 2021 at 3:50 pm #43448
 Bob DonaldsonParticipant
From my Blog: https://house-doc.net/Oonagh
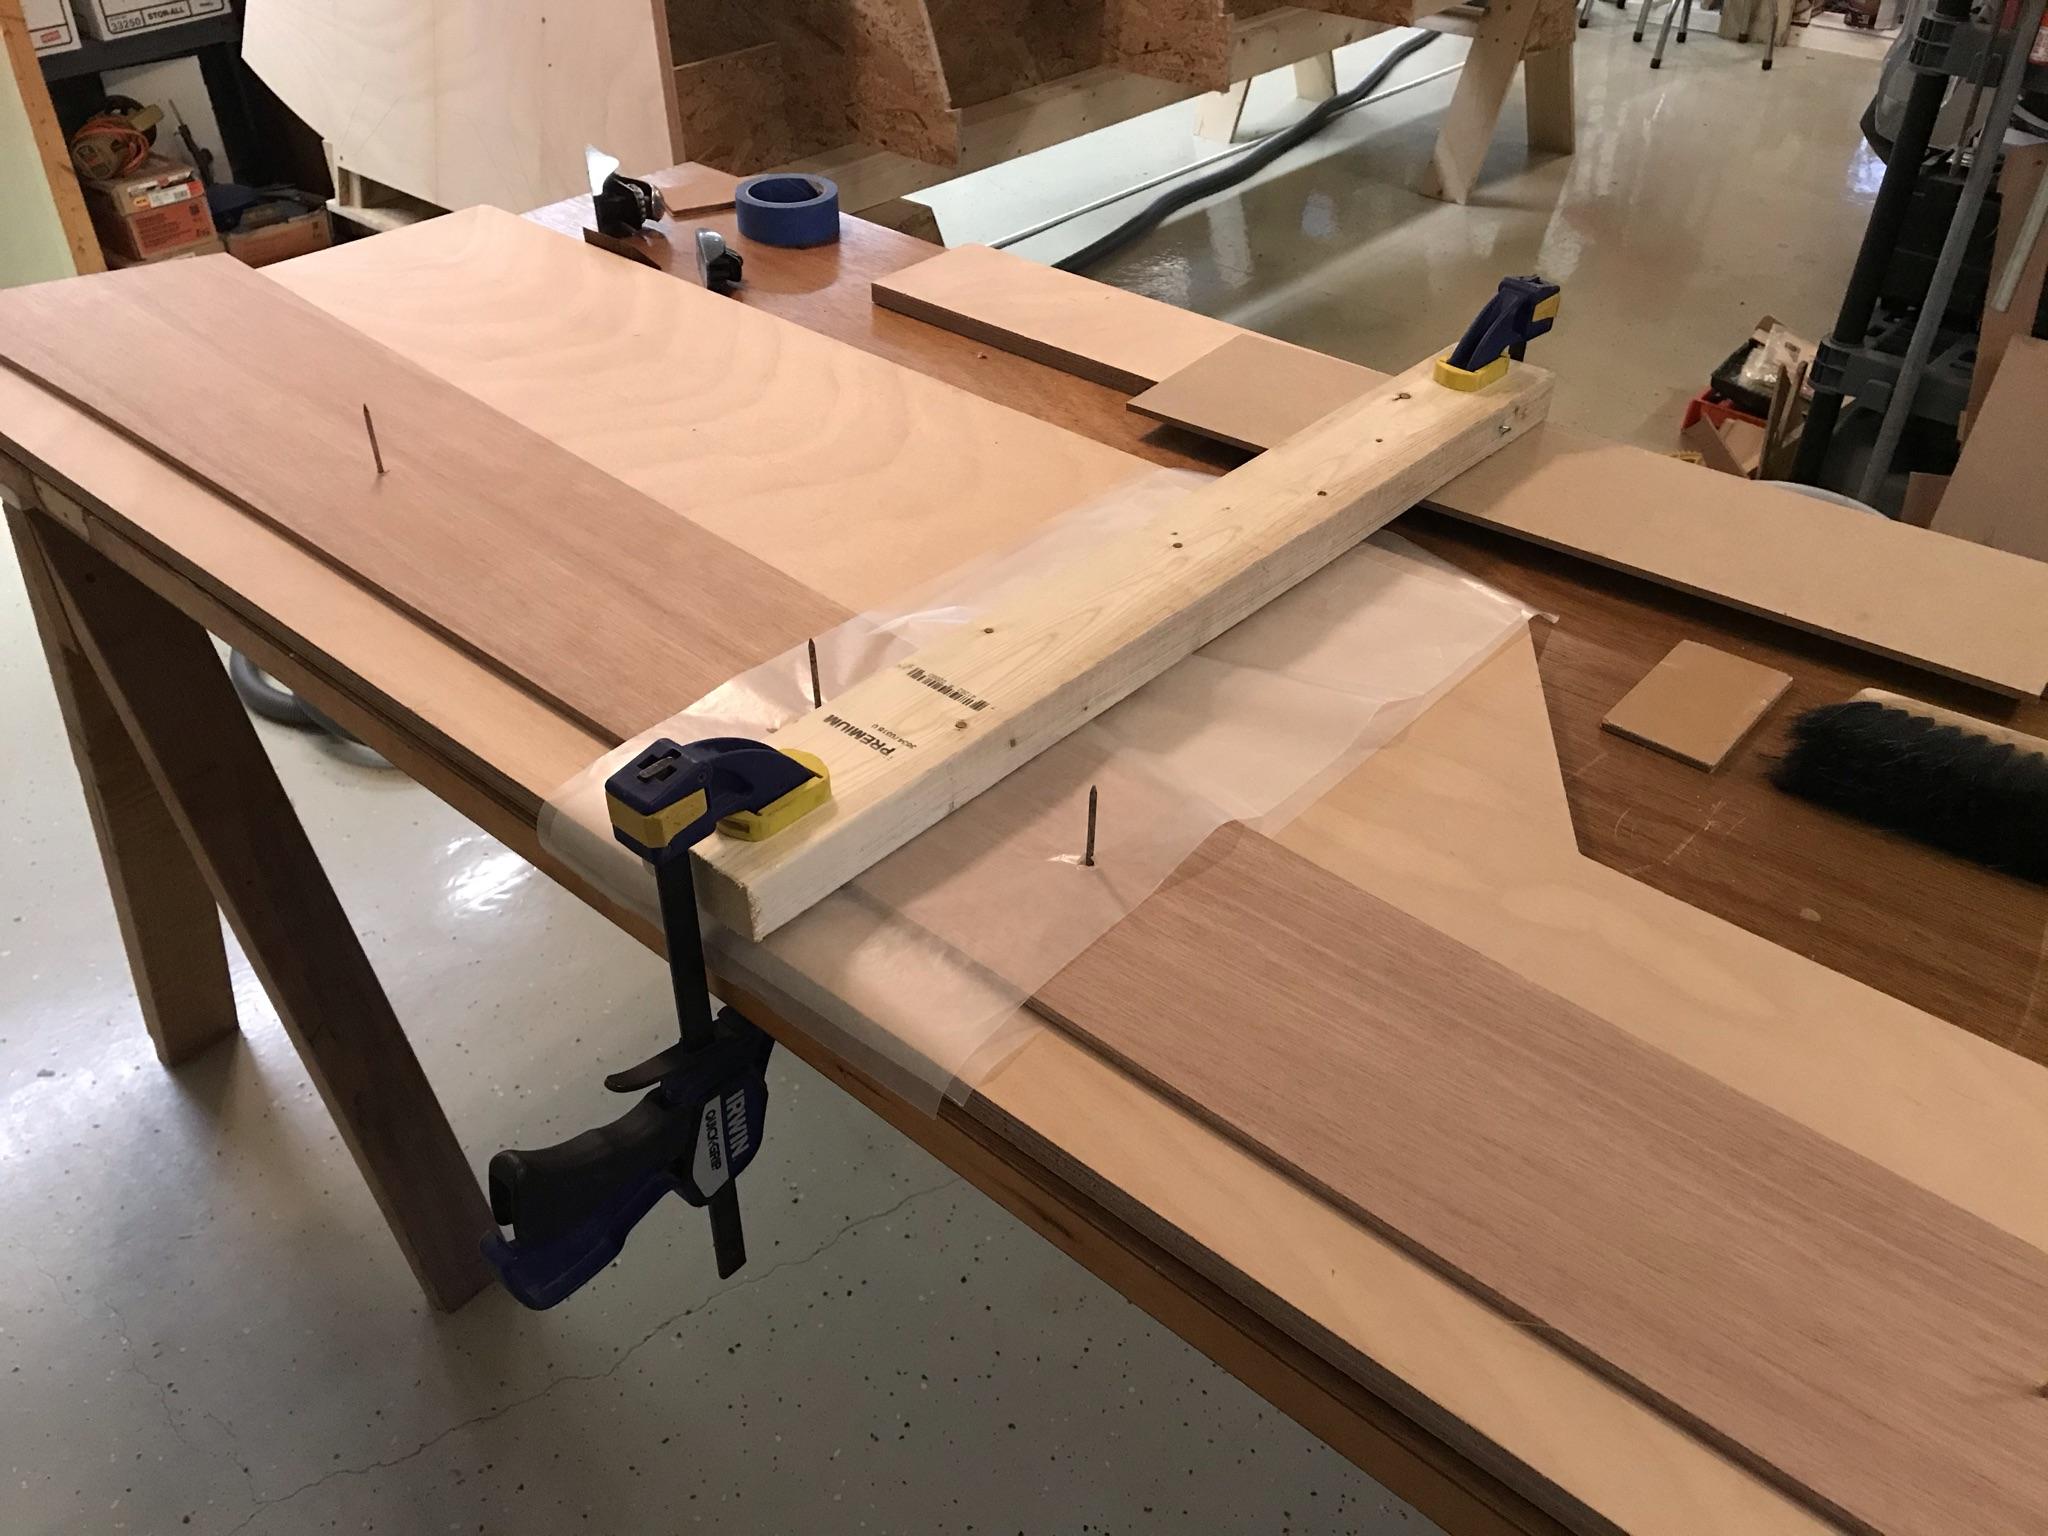
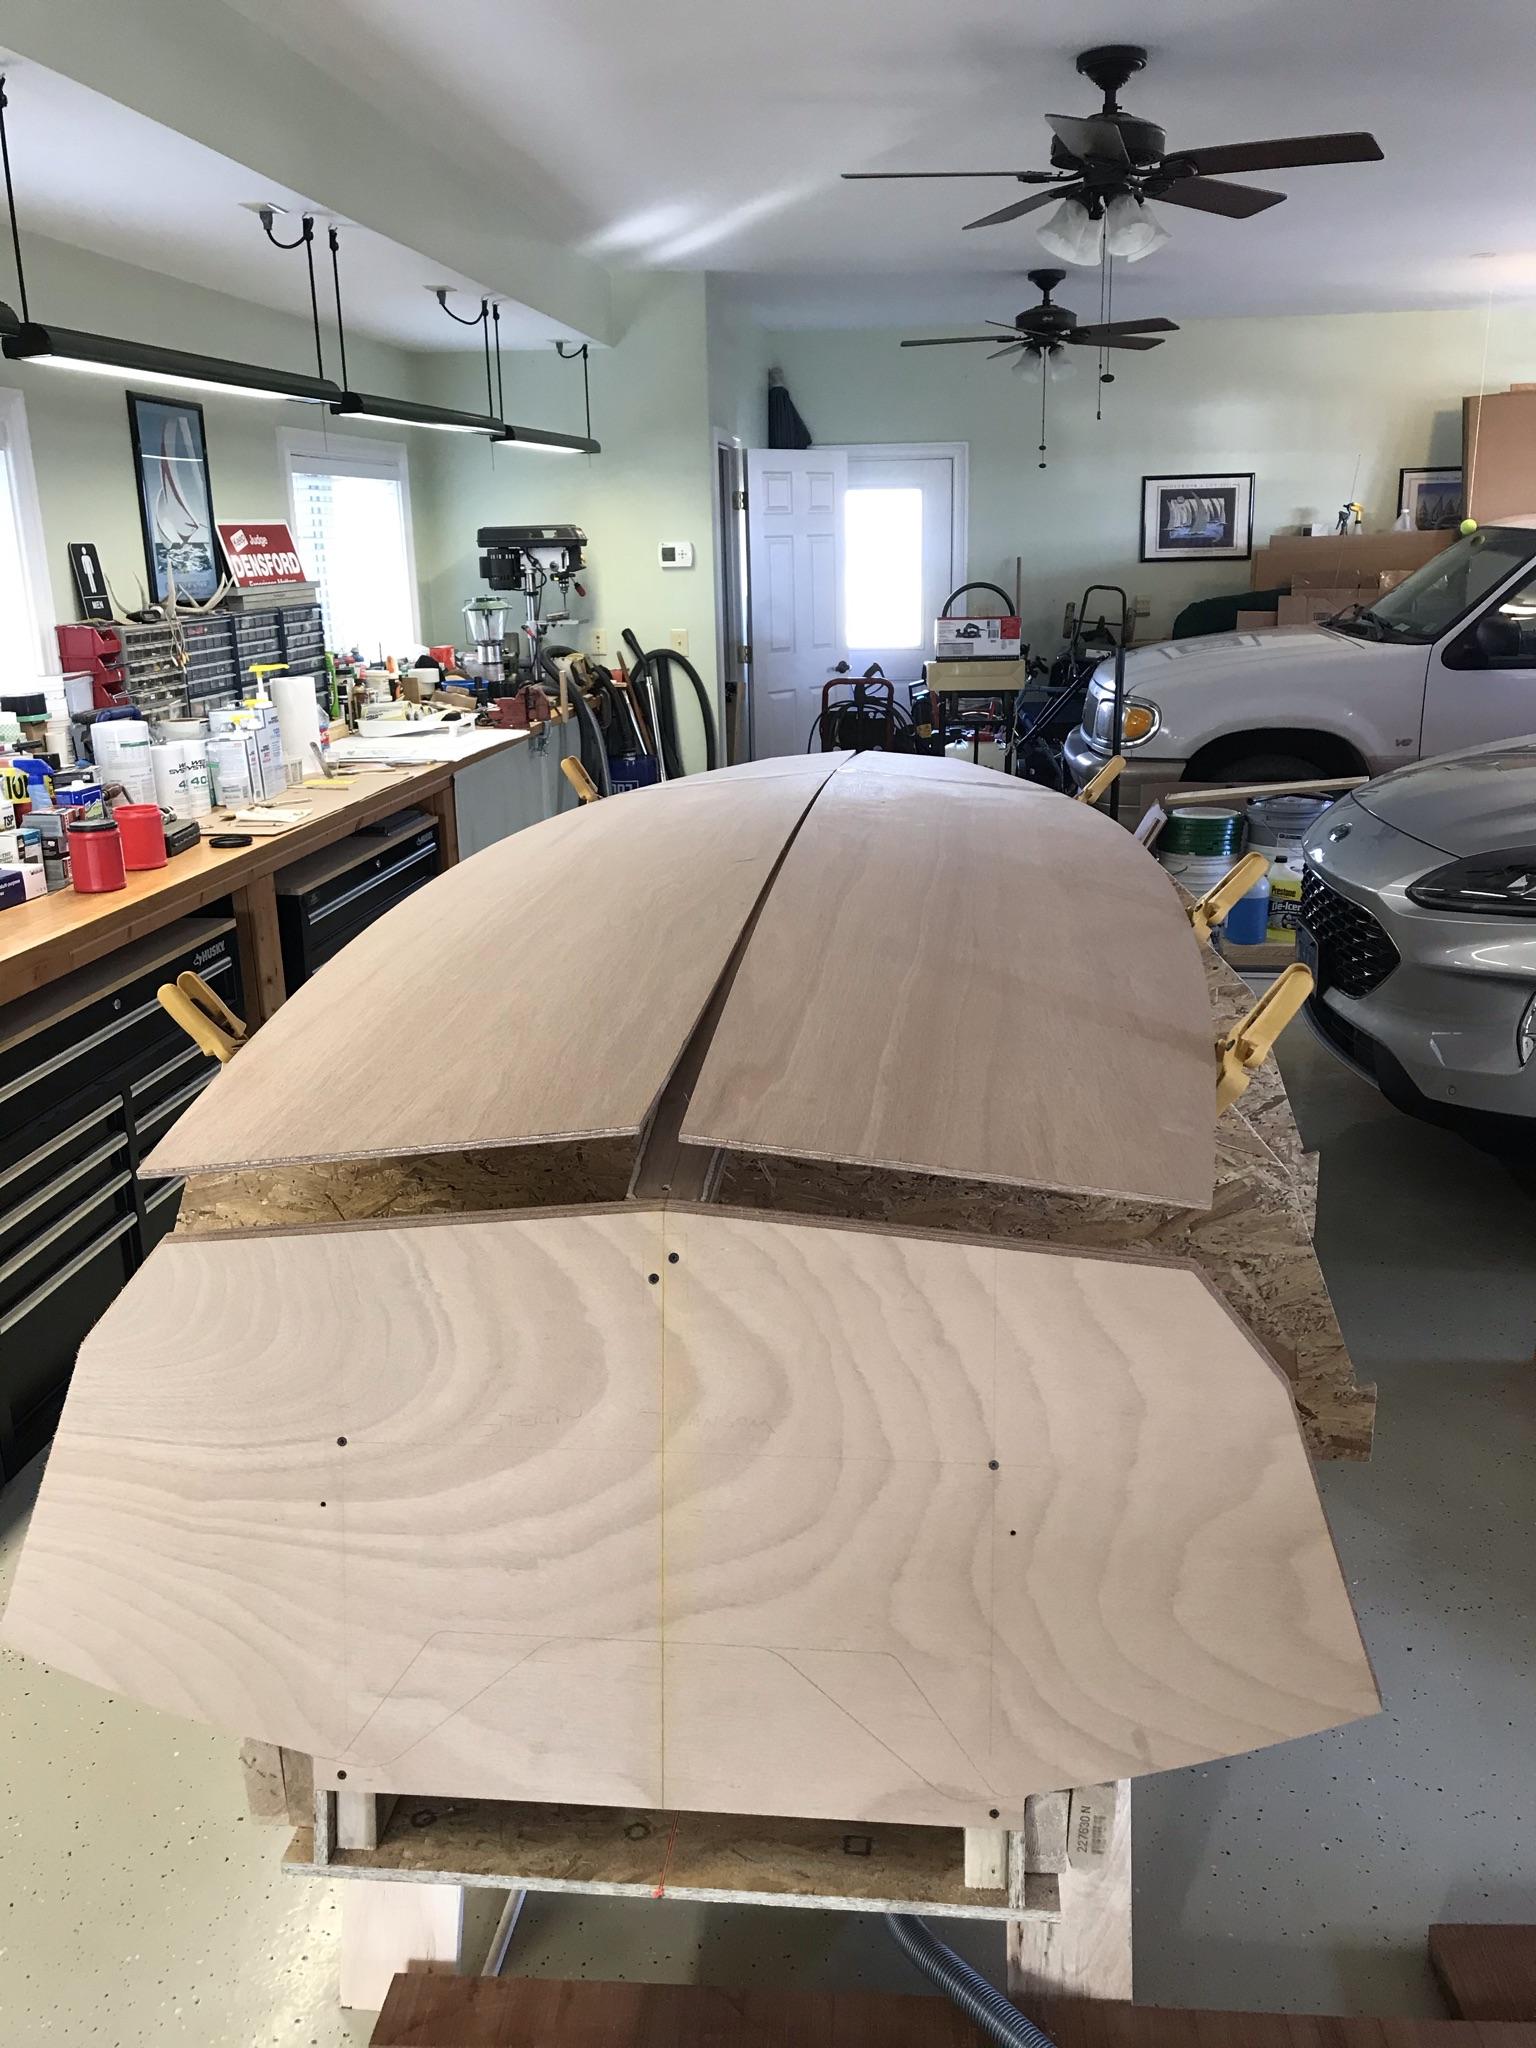
The boat is made using what is called Plywood Lap-Strake construction. This means that the hull is made up of plywood panels that overlap each other. There are a total of 6 planks. Two bottom planks, two side planks and 2 top planks. The planks need to be nearly 12 feet long, but the plywood parts are constrained to 4×8 sheets of plywood. This requires that each plank be made of two parts that are epoxied together. The planks come with what is called a scarf-joint pre-cut so that the two pieces fit together with a wide glue joint.

The epoxy will adhere to almost anything but wax paper and some plastics, so wax paper is laid under and over the joint and it is clamped overnight to harden.
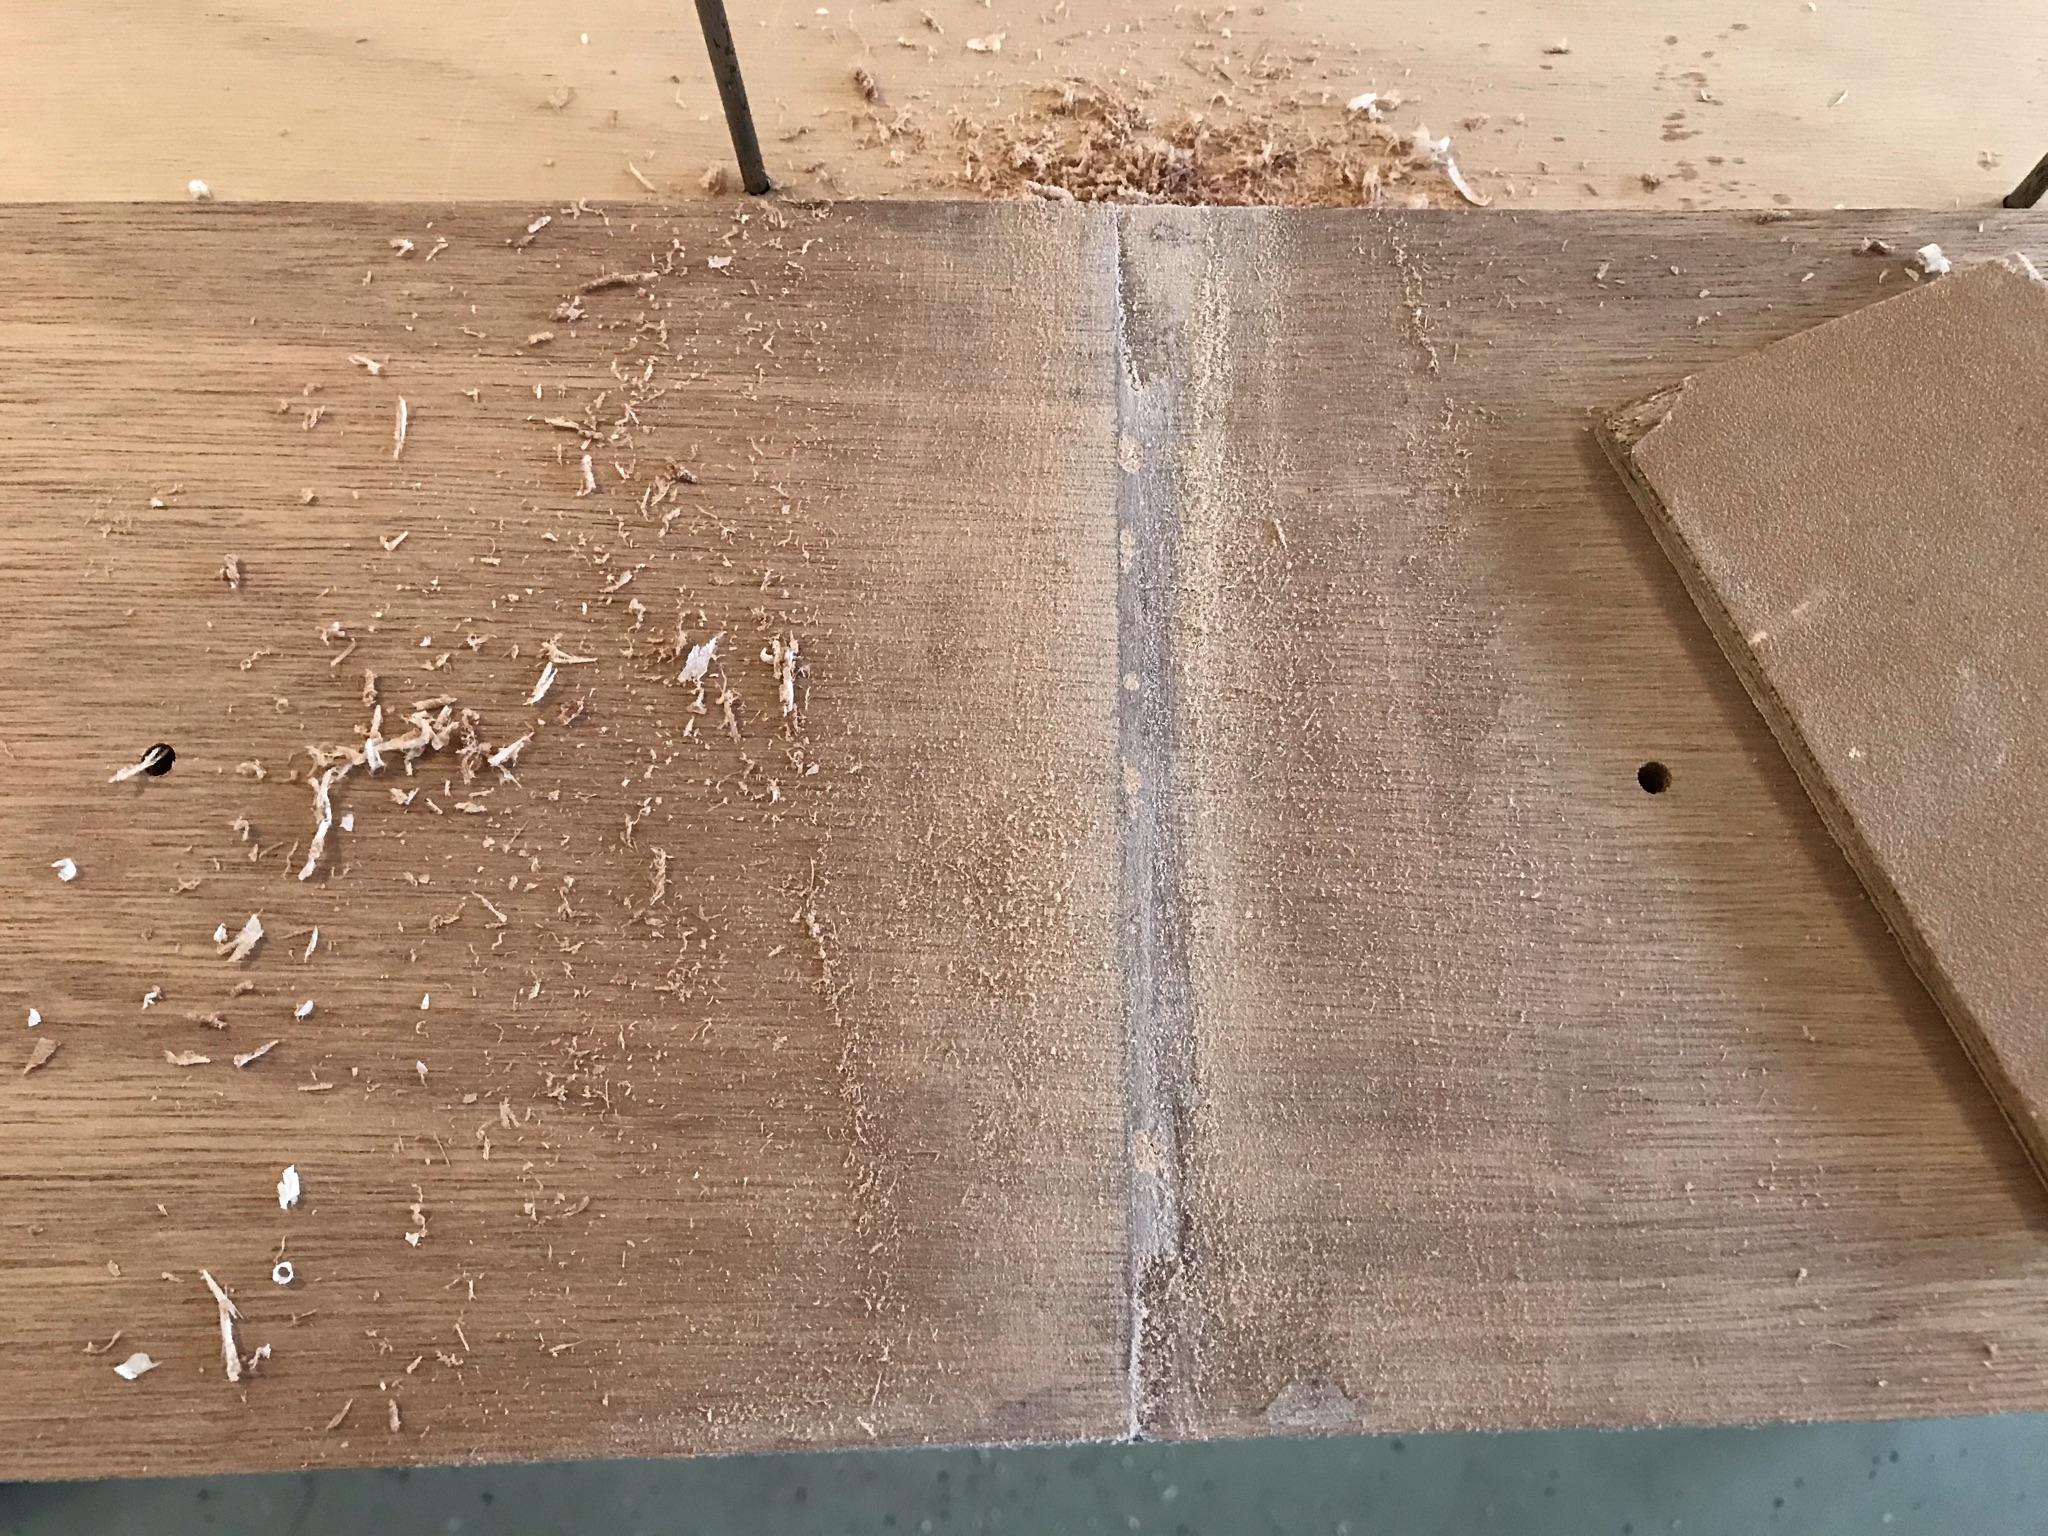
The epoxy takes several days to fully harden, but while it is still easier to work with, I take the time to plane off the excess epoxy and smooth out the joint.
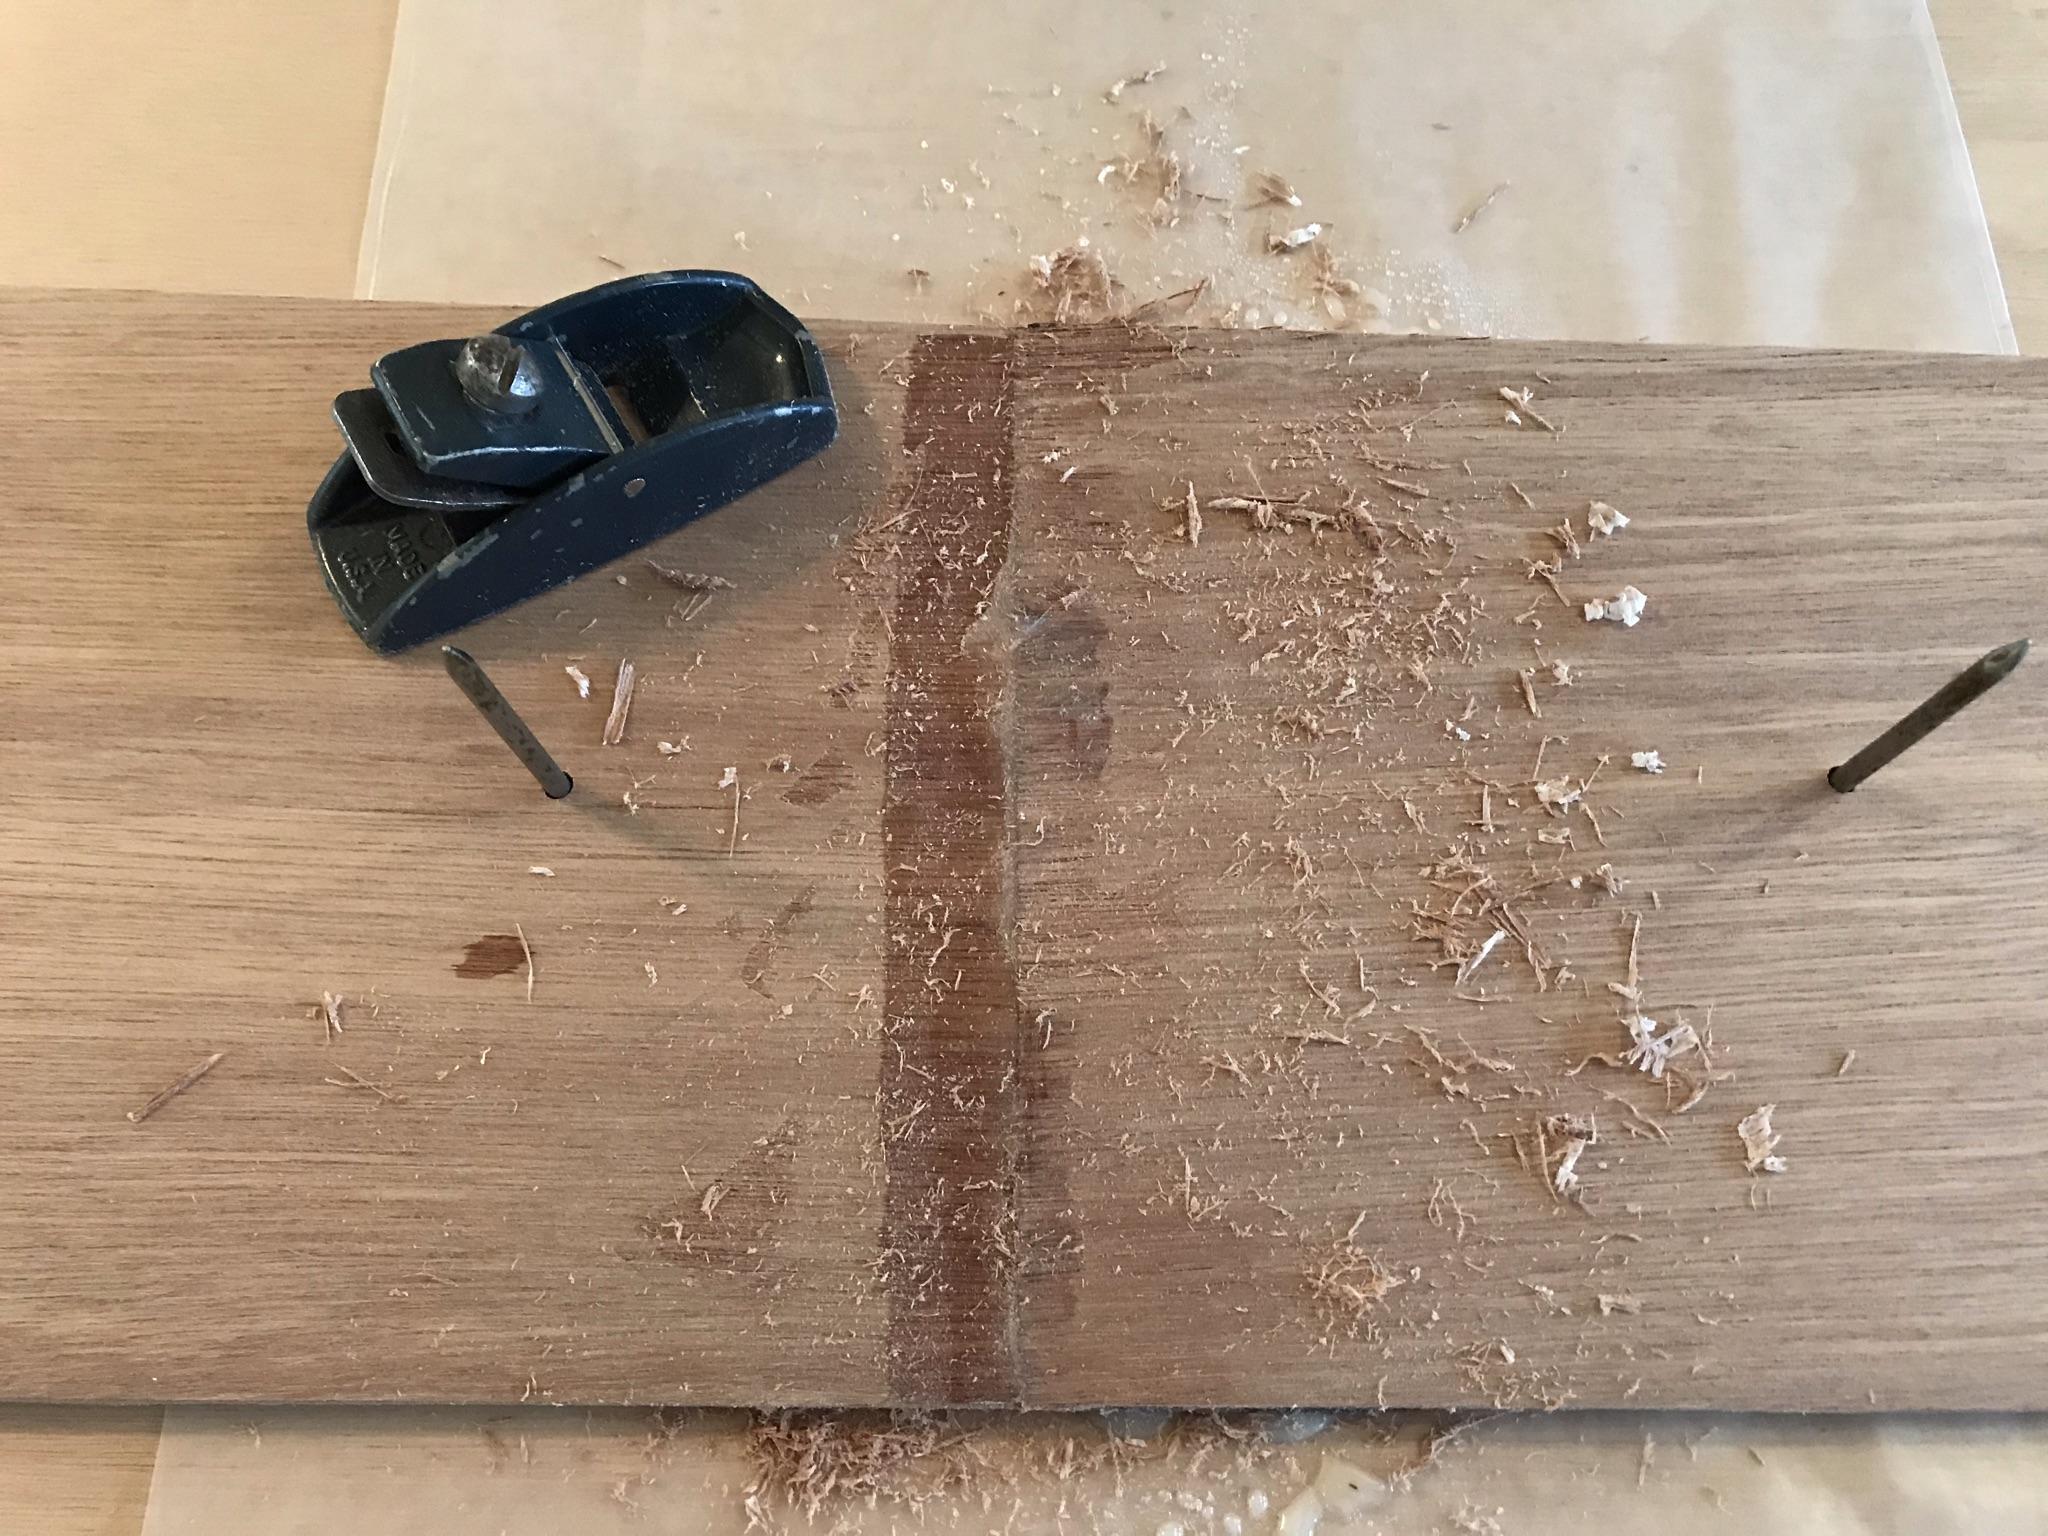
Then a light sanding.
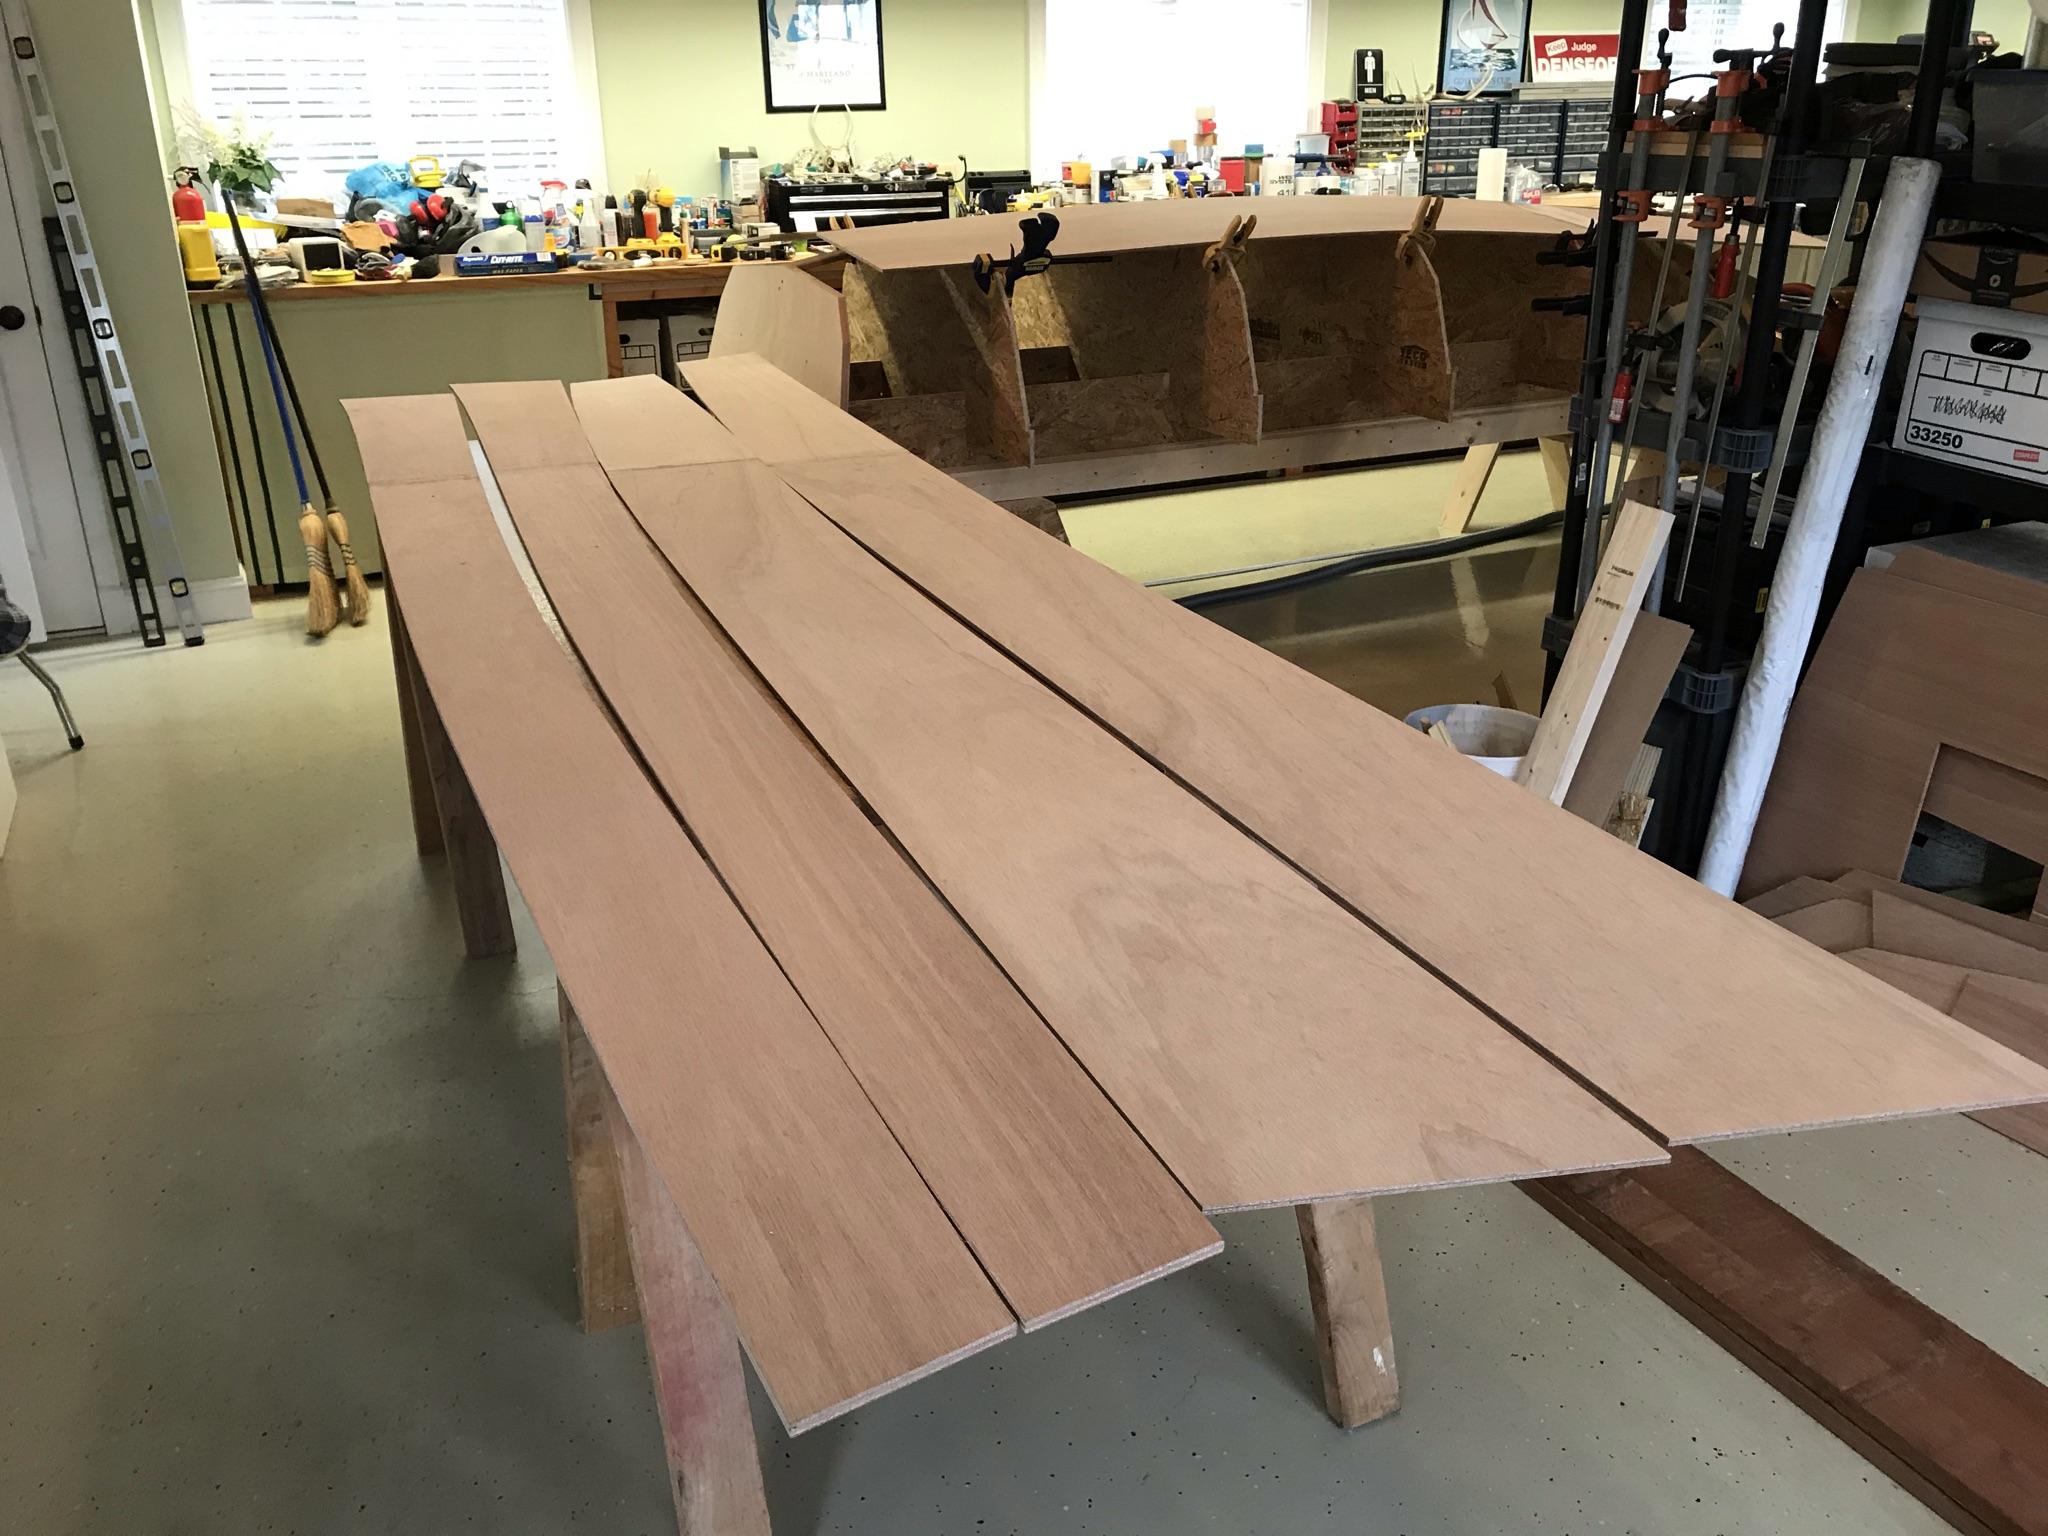
The four side planks after scarfing.
Steps in fairing the planks; (1) Mix the 2 part epoxy; (2) Prime the joint with unthickened epoxy; (3) Mix in filler to thicken the epoxy into a thick paste; (4) Fill the joint with the thickened epoxy mixture; (5) After a couple days, sand the joint smooth.
Note: I wrote this before the latest video was released. Follow the instructions in Video #5 and you will not have as much sanding and fairing to do. I didn’t realize that the scarf joints needed more sanding and fitting before epoxy, so the fit was not as good as it could have been. You need to make sure the rough edges are cleaned up and the joint is perfectly flat before epoxy.
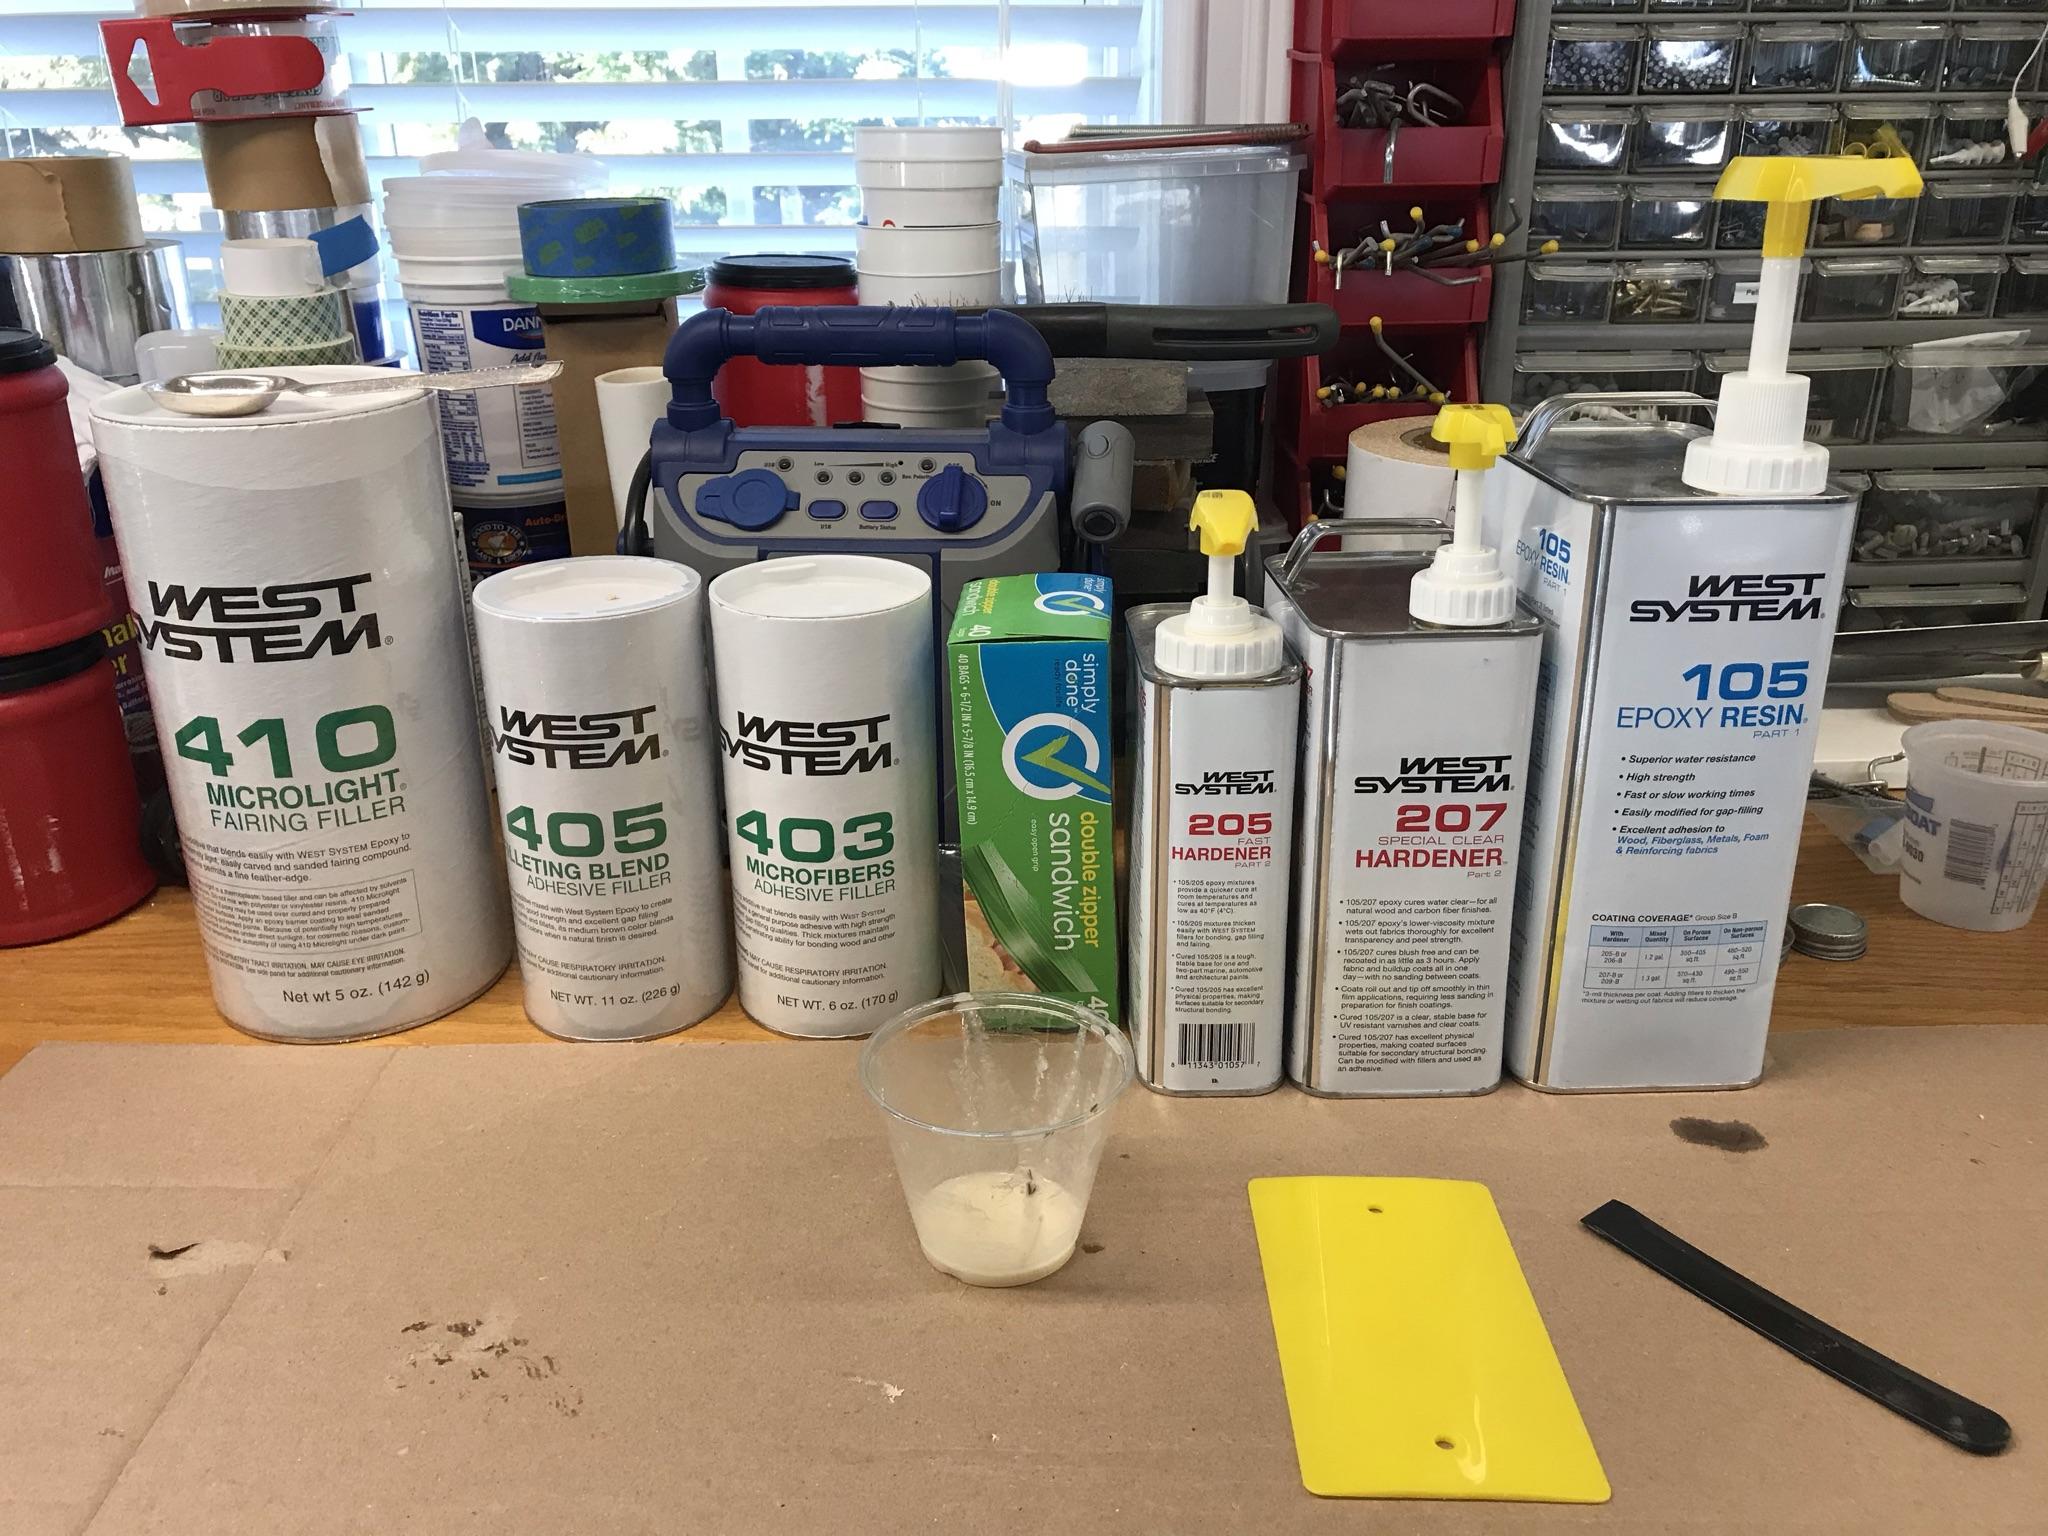
The boat will be constructed with silicon bronze screws and a lot of epoxy. Every joint on the boat will be epoxied, even the ones with screws. A lot of epoxy will be required in a variety of mixtures. Here is my epoxy station.
Test fitting the bottom planks.

1/2/2021 – To be continued. The plans are very detailed in all the measurements, but there are no step by step instructions on how to assemble all these parts. Off Center Harbor has promised videos showing the construction steps and the first 4 videos have been very helpful in understanding the process. I am currently caught up with the videos and am awaiting video #5 to continue the construction. At least the delay has given me time to put togeher this blog.
1/31/2021 – Update – 2 new videos came out on how to glue up the planks (#5) and finish beveling the keel (#6). Of course, I have already completed those steps and am now waiting on the next video about attaching the planks.
-
April 17, 2021 at 9:12 am #43520Steve StoneKeymaster
A heat gun and scraper can be used as the first action to get rid of the extra cured epoxy, and that will enable a quick easy sanding job that doesn’t cause the need for over aggressive sanding that creates an unfair “peak” across the plank where the epoxy was and “valleys” in the wood on each side of the epoxy joint (from the epoxy being harder than the soft wood when you’re sanding). Take care not to get the joint too hot, and only heat the extra epoxy JUST enough to scrape it then let it cool as the heat gun will cause the epoxy within the joint to foul if you keep the heat on it too long.
-
-
AuthorPosts
- You must be logged in to reply to this topic.