Home › Forums › 11′ 10″ ARRIBA / OONAGH Dinghy – Official Step-by-Step Boatbuilders’ Forum › ARRIBA / OONAGH – 11 – Guards › Guards
- This topic has 0 replies, 1 voice, and was last updated 5 years, 2 months ago by
 Bob Donaldson.
-
AuthorPosts
-
-
April 12, 2021 at 8:41 am #43480Bob DonaldsonParticipant
From my Blog: https://house-doc.net/Oonagh/?p=533
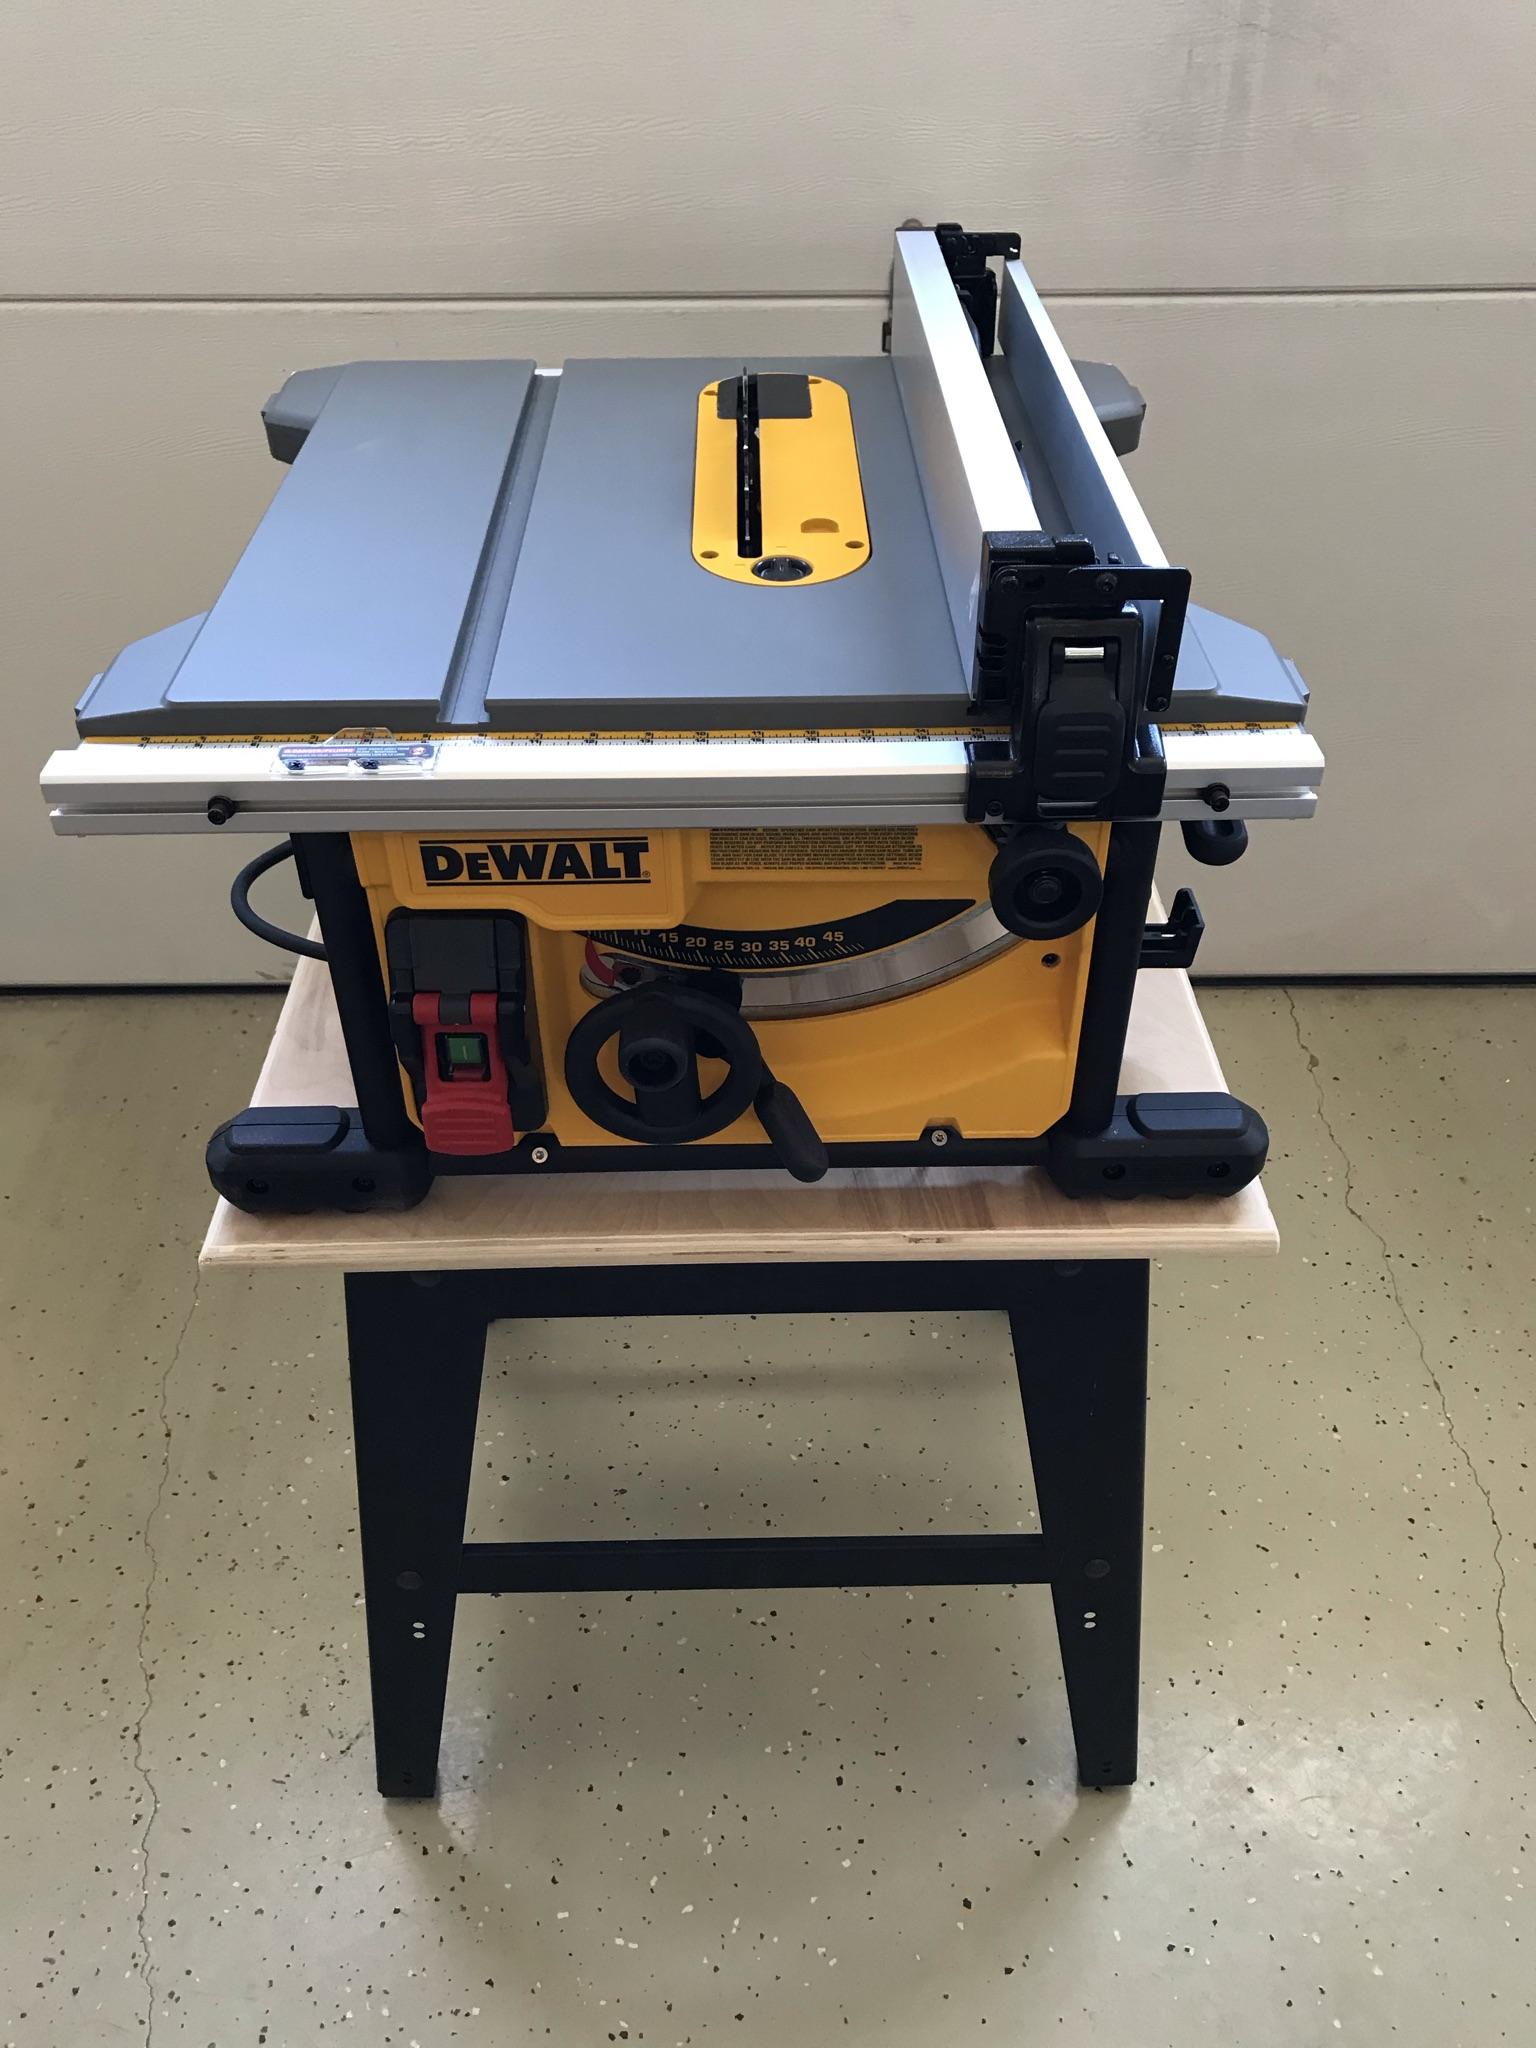
Now that the topside planks are in place, I can begin working on the guards. The first step is to make a stand for the new table saw. I was able to reuse the base of the old saw.
Next, I get to move outside because it was in the high 60’s today. I was able to make both of the top guards and one of the lower guards before I ran out of wood. I initially bought enough rough-cut African Mahogany to do the guards, skeg, and keel, but I wasted some of the first board because of problems with my old saw.
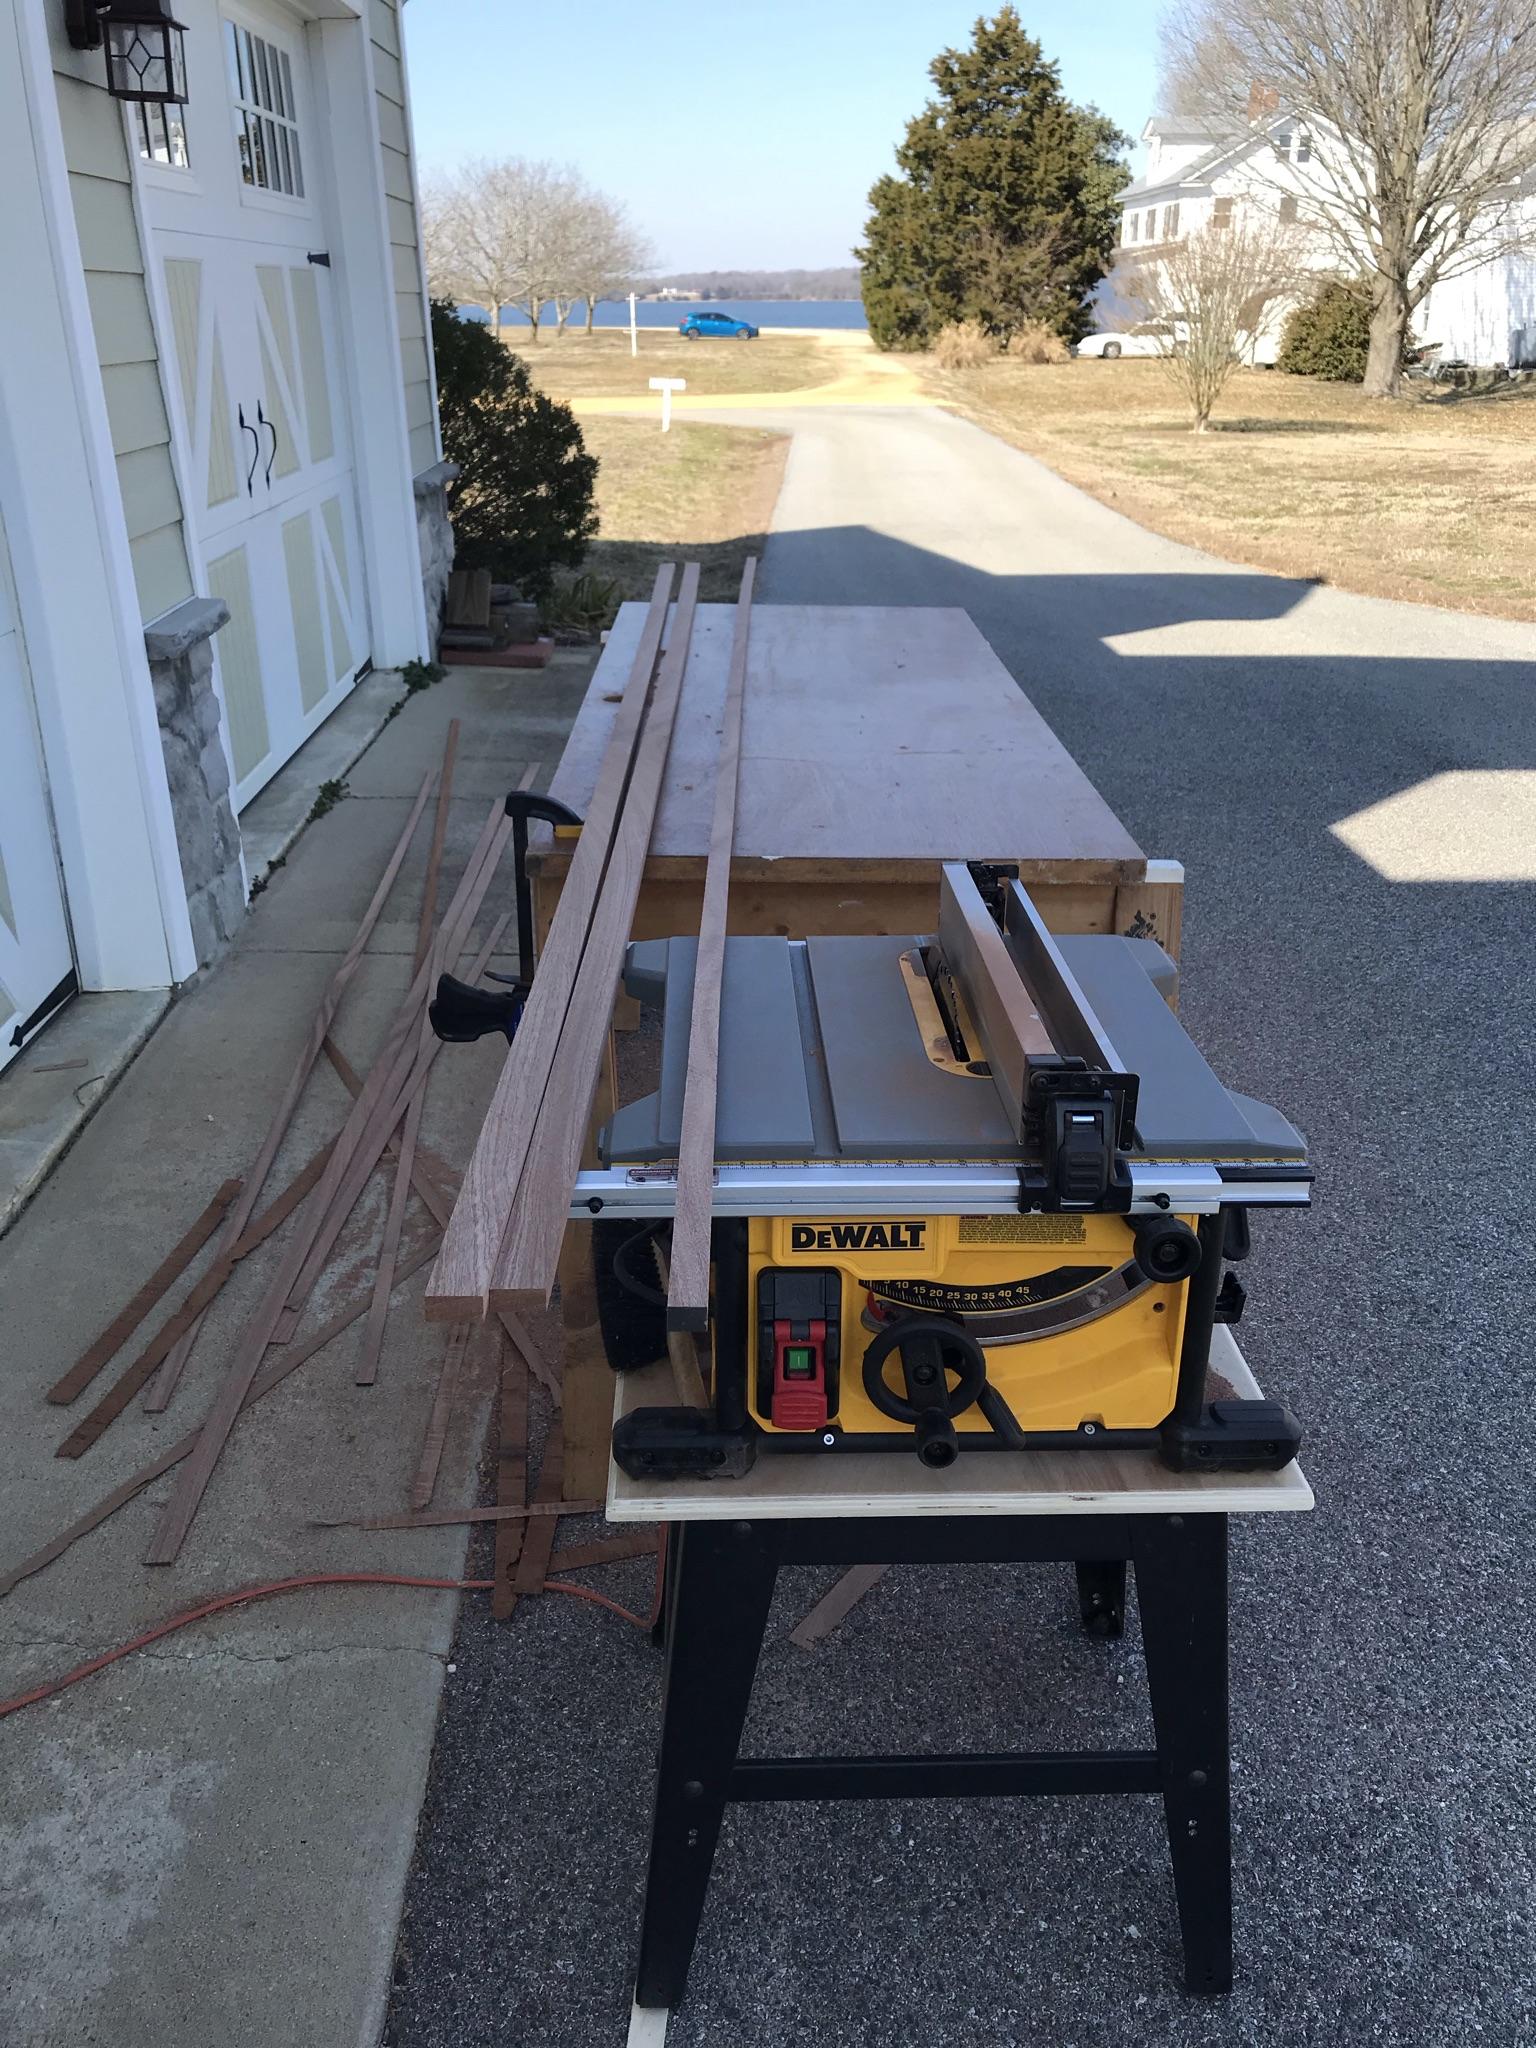
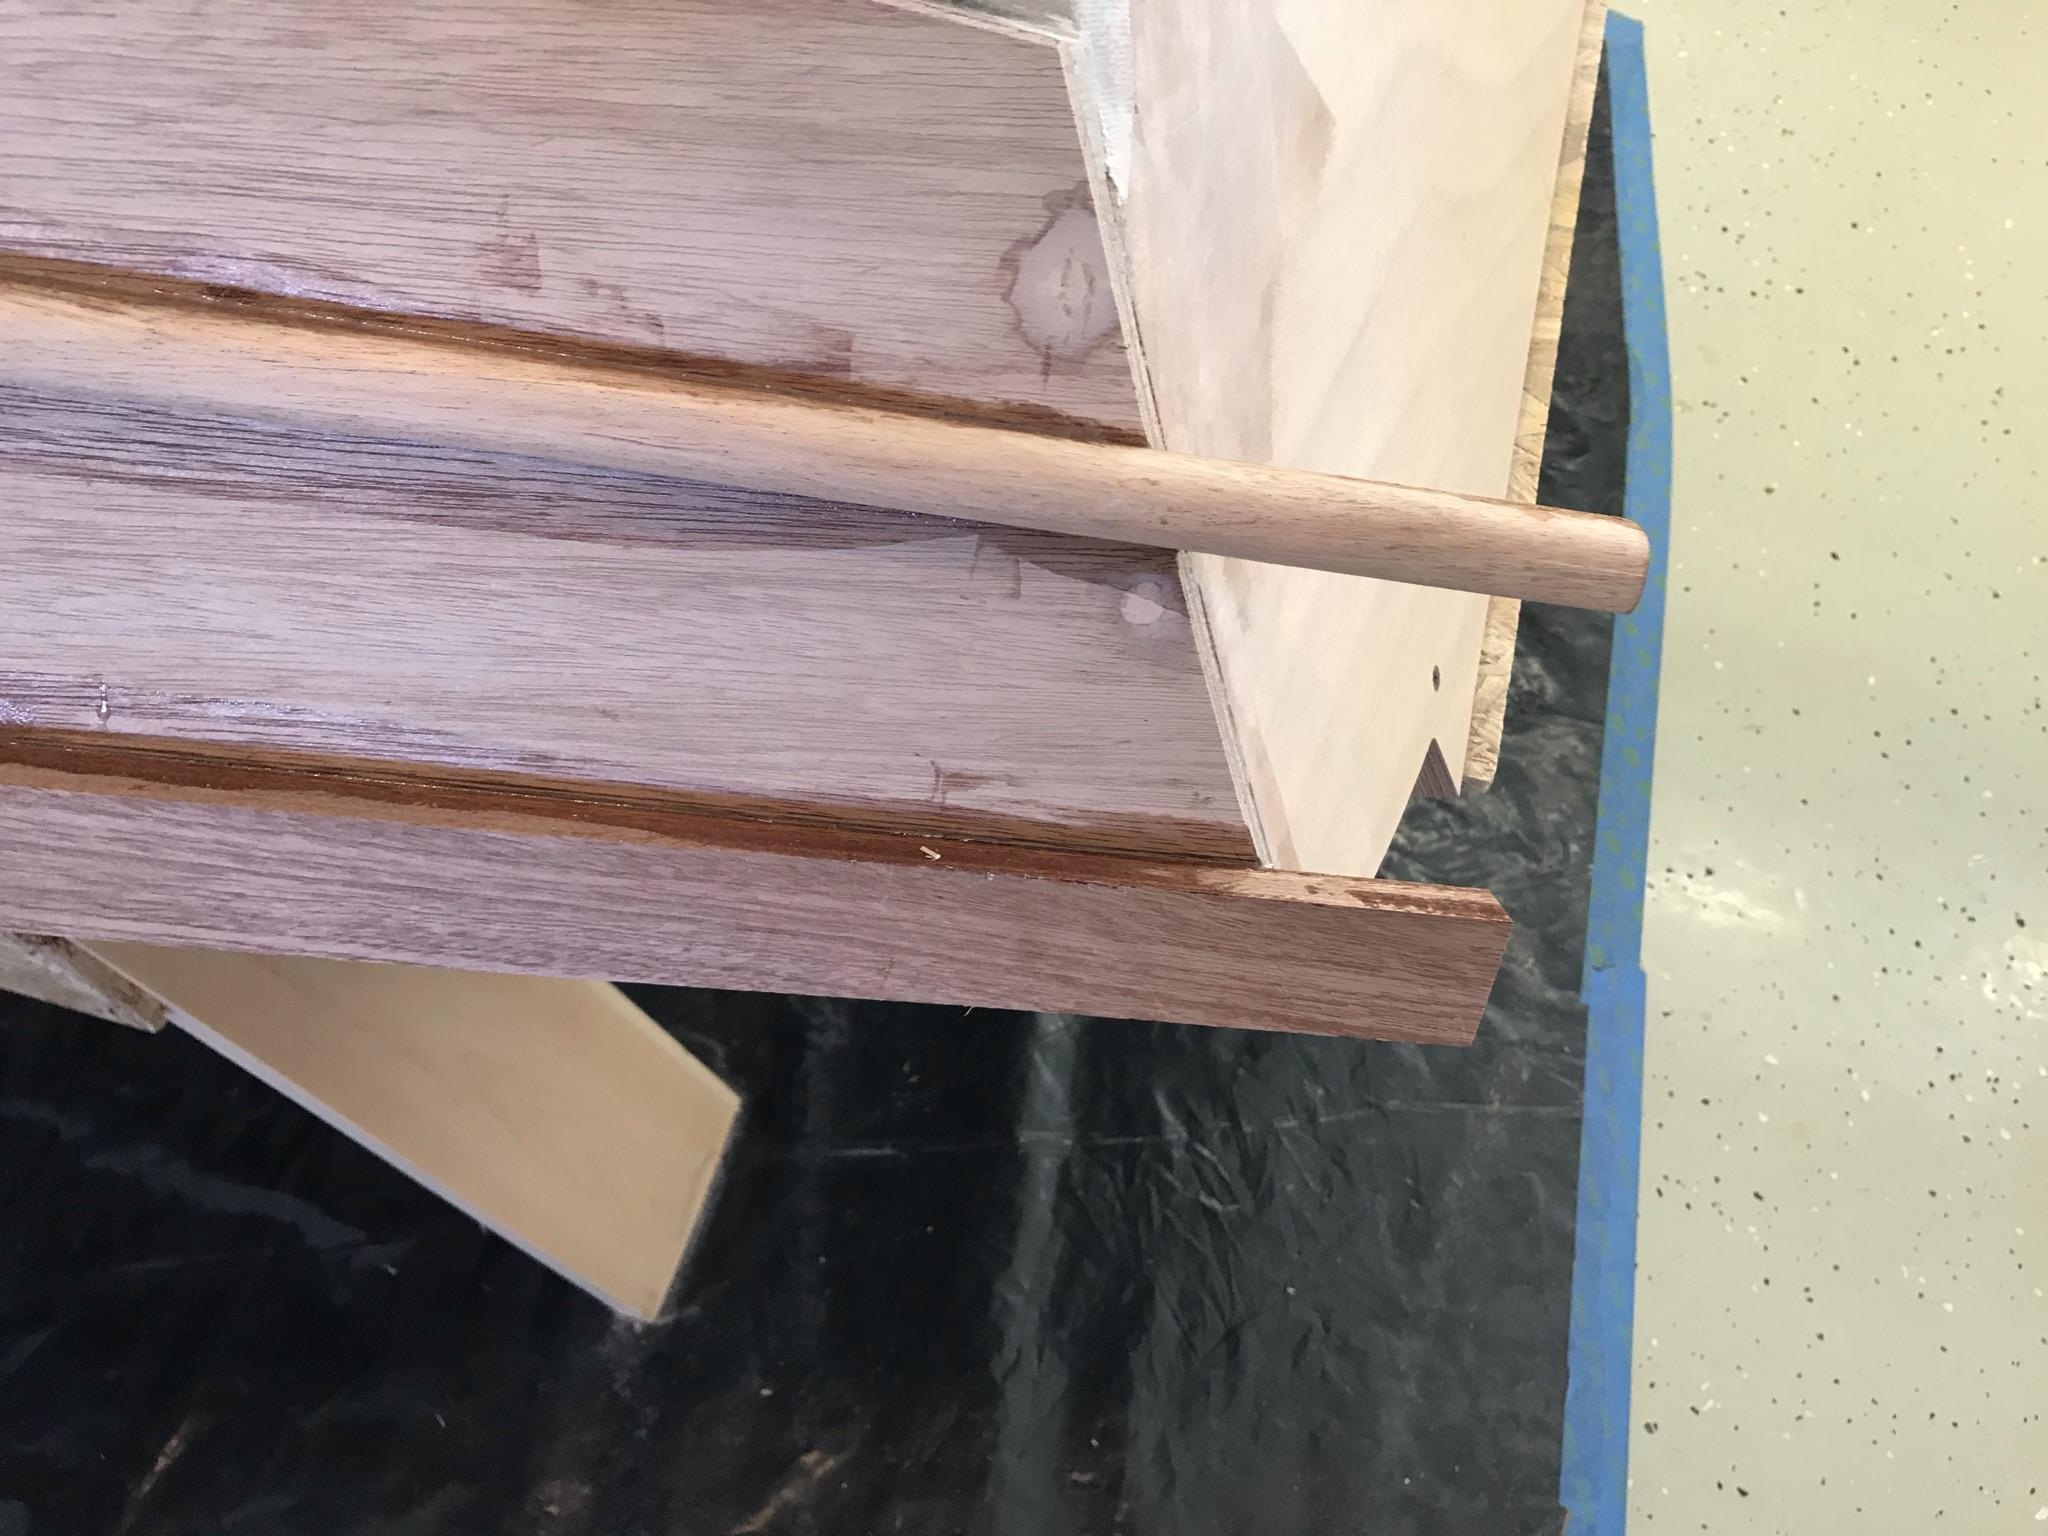
There was more waste than I expected with the rough-cut lumber. To get to the right dimensions, you have to trim off the rough sides. The written description of the guards has only one size, but this can’t be right since the finished photos of the boat and the plans show a large upper guard and a smaller lower guard. In the end, I decided to make the upper guards 1 1/2″ x 3/4″ and the lower guards 3/4″ x 3/4″.
Looks like I will be heading back to the lumber yard tomorrow.
3/11/21 – Located a closer lumber yard with mahogany. Dyson Lumber in Great Mills, MD.

I was able to get a 2″ x 9″ x 12′ slab. It was was perfectly straight and square and only rough cut on the 2″ sides. That should be enough for the rest of the project.
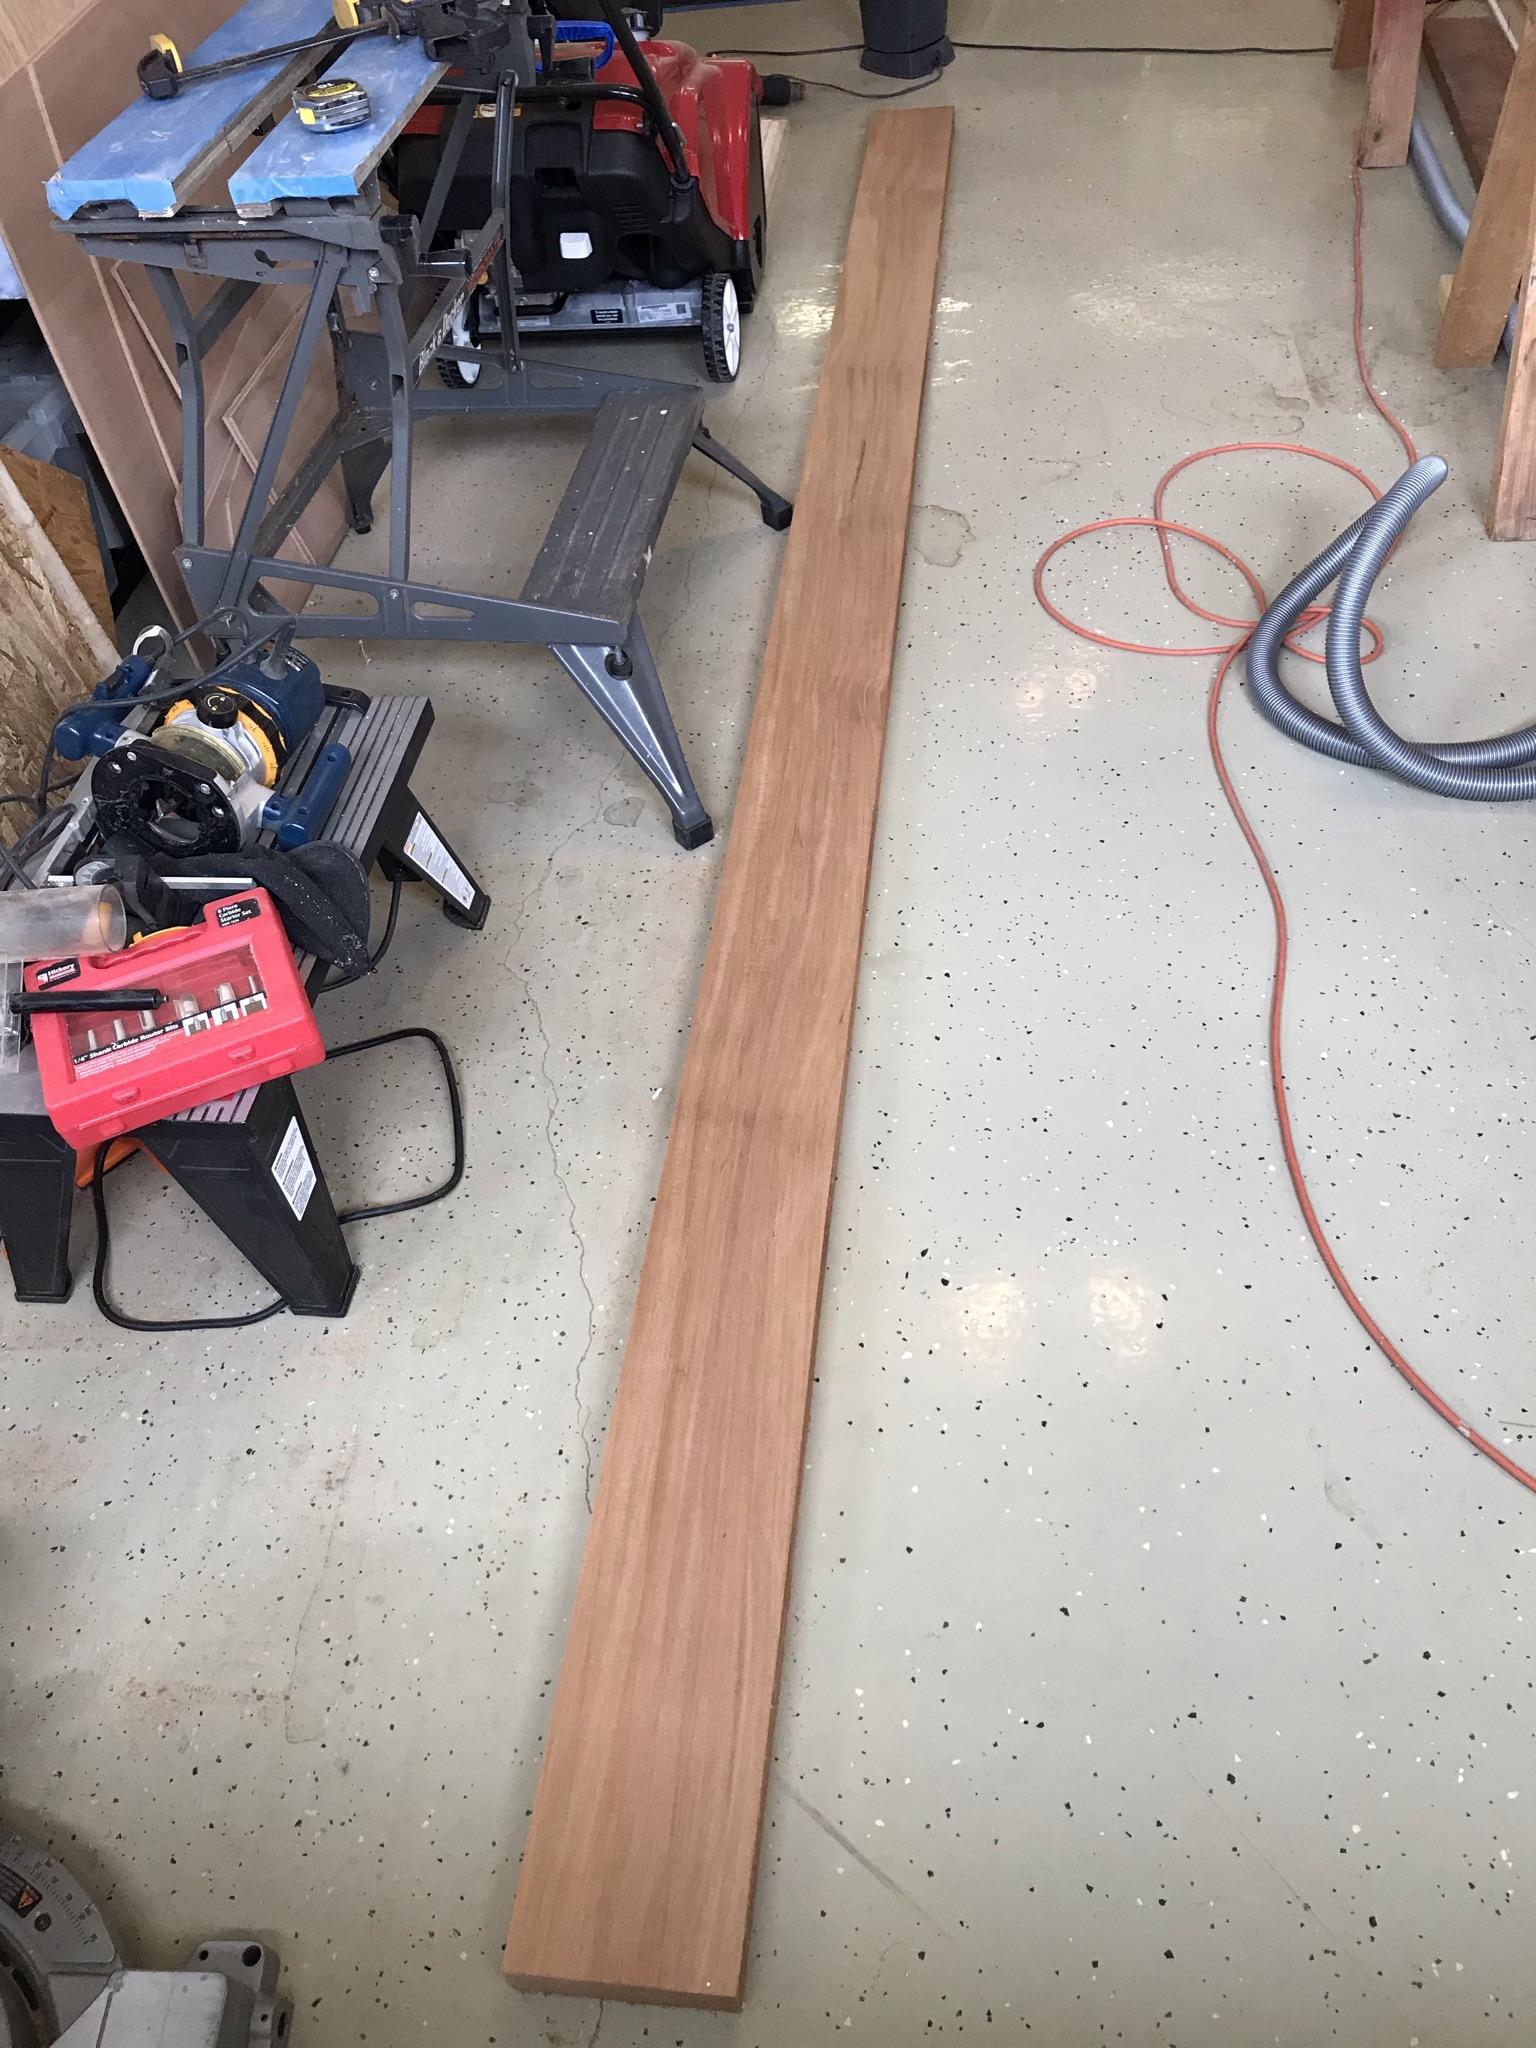
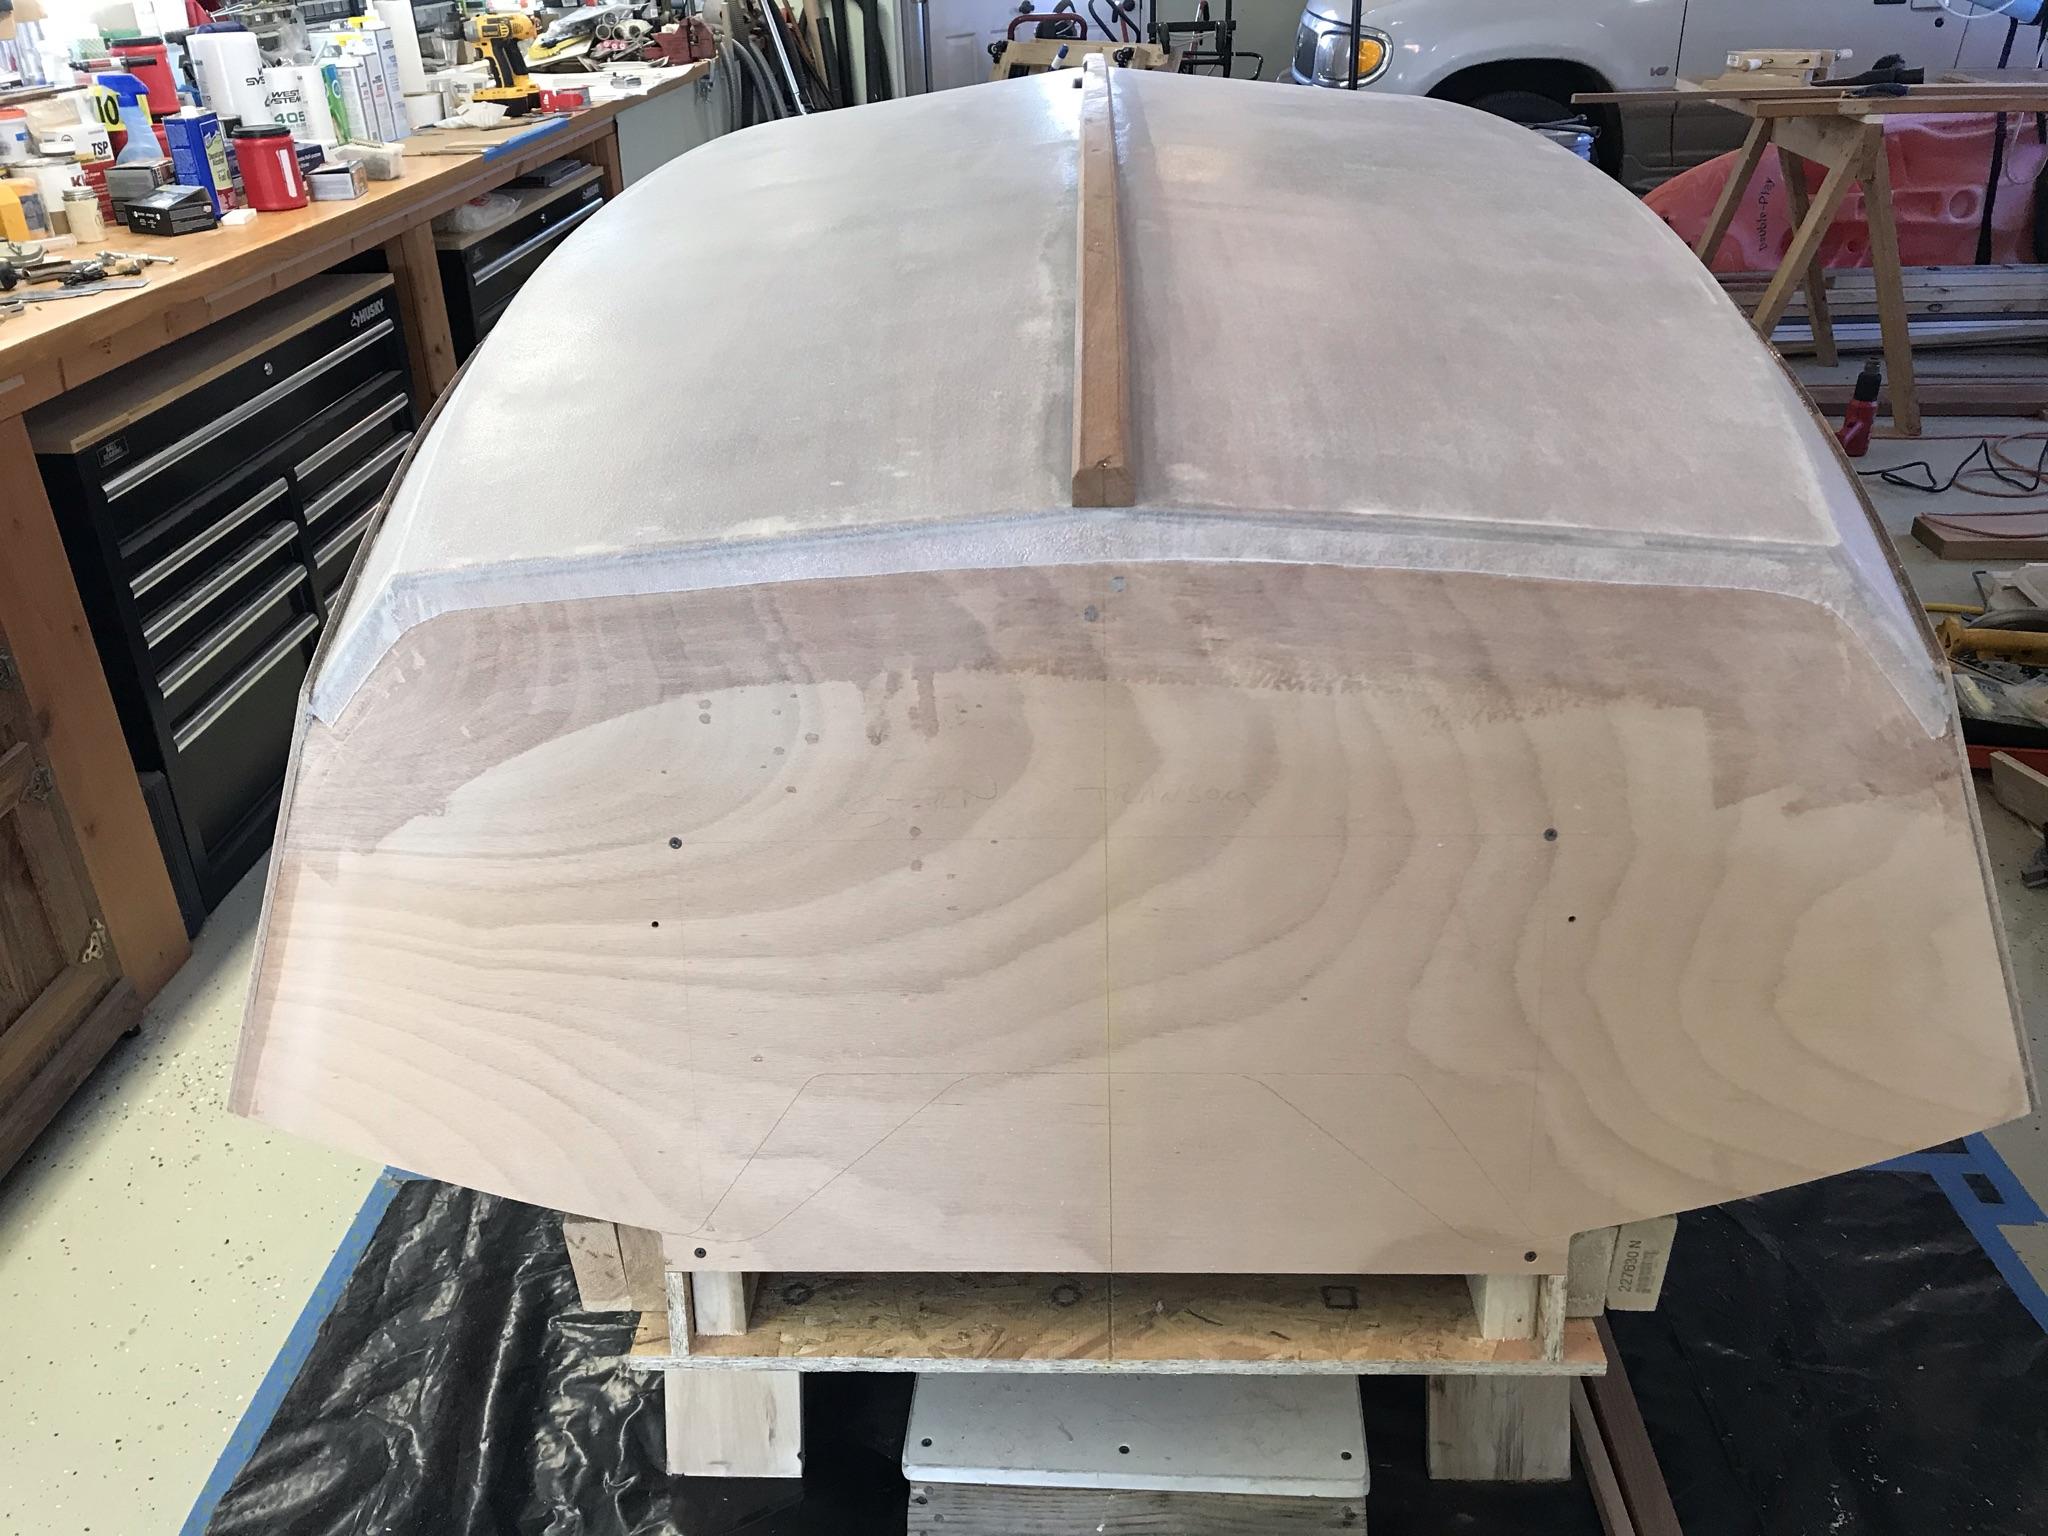
This is what is left after cutting out the guards. I cut enough off the slab to do all 4 guards. The first guard is dry fit.
3/12/21 – I had other projects today, but I did spend some time puzzling out where exactly the lower guard should go. It’s not obvious from the plans, but it appears the gap between the upper and lower guards increases from bow to stern, but not bisecting the plank exactly.
Tomorrow I will drill some pilot holes to attach them. and work on the other side.
3/13/21 – Video #11 came out last night covering the sizes and location of the guards. Fortunately, I have not drilled any holes yet so I will take some time to reposition and possibly re-cut from 3/4″ thick to 5/8″ thick guards. That will also mean I will need to order some smaller screws to secure them from the inside. I will also need to use the router on the lower guards before installing it.
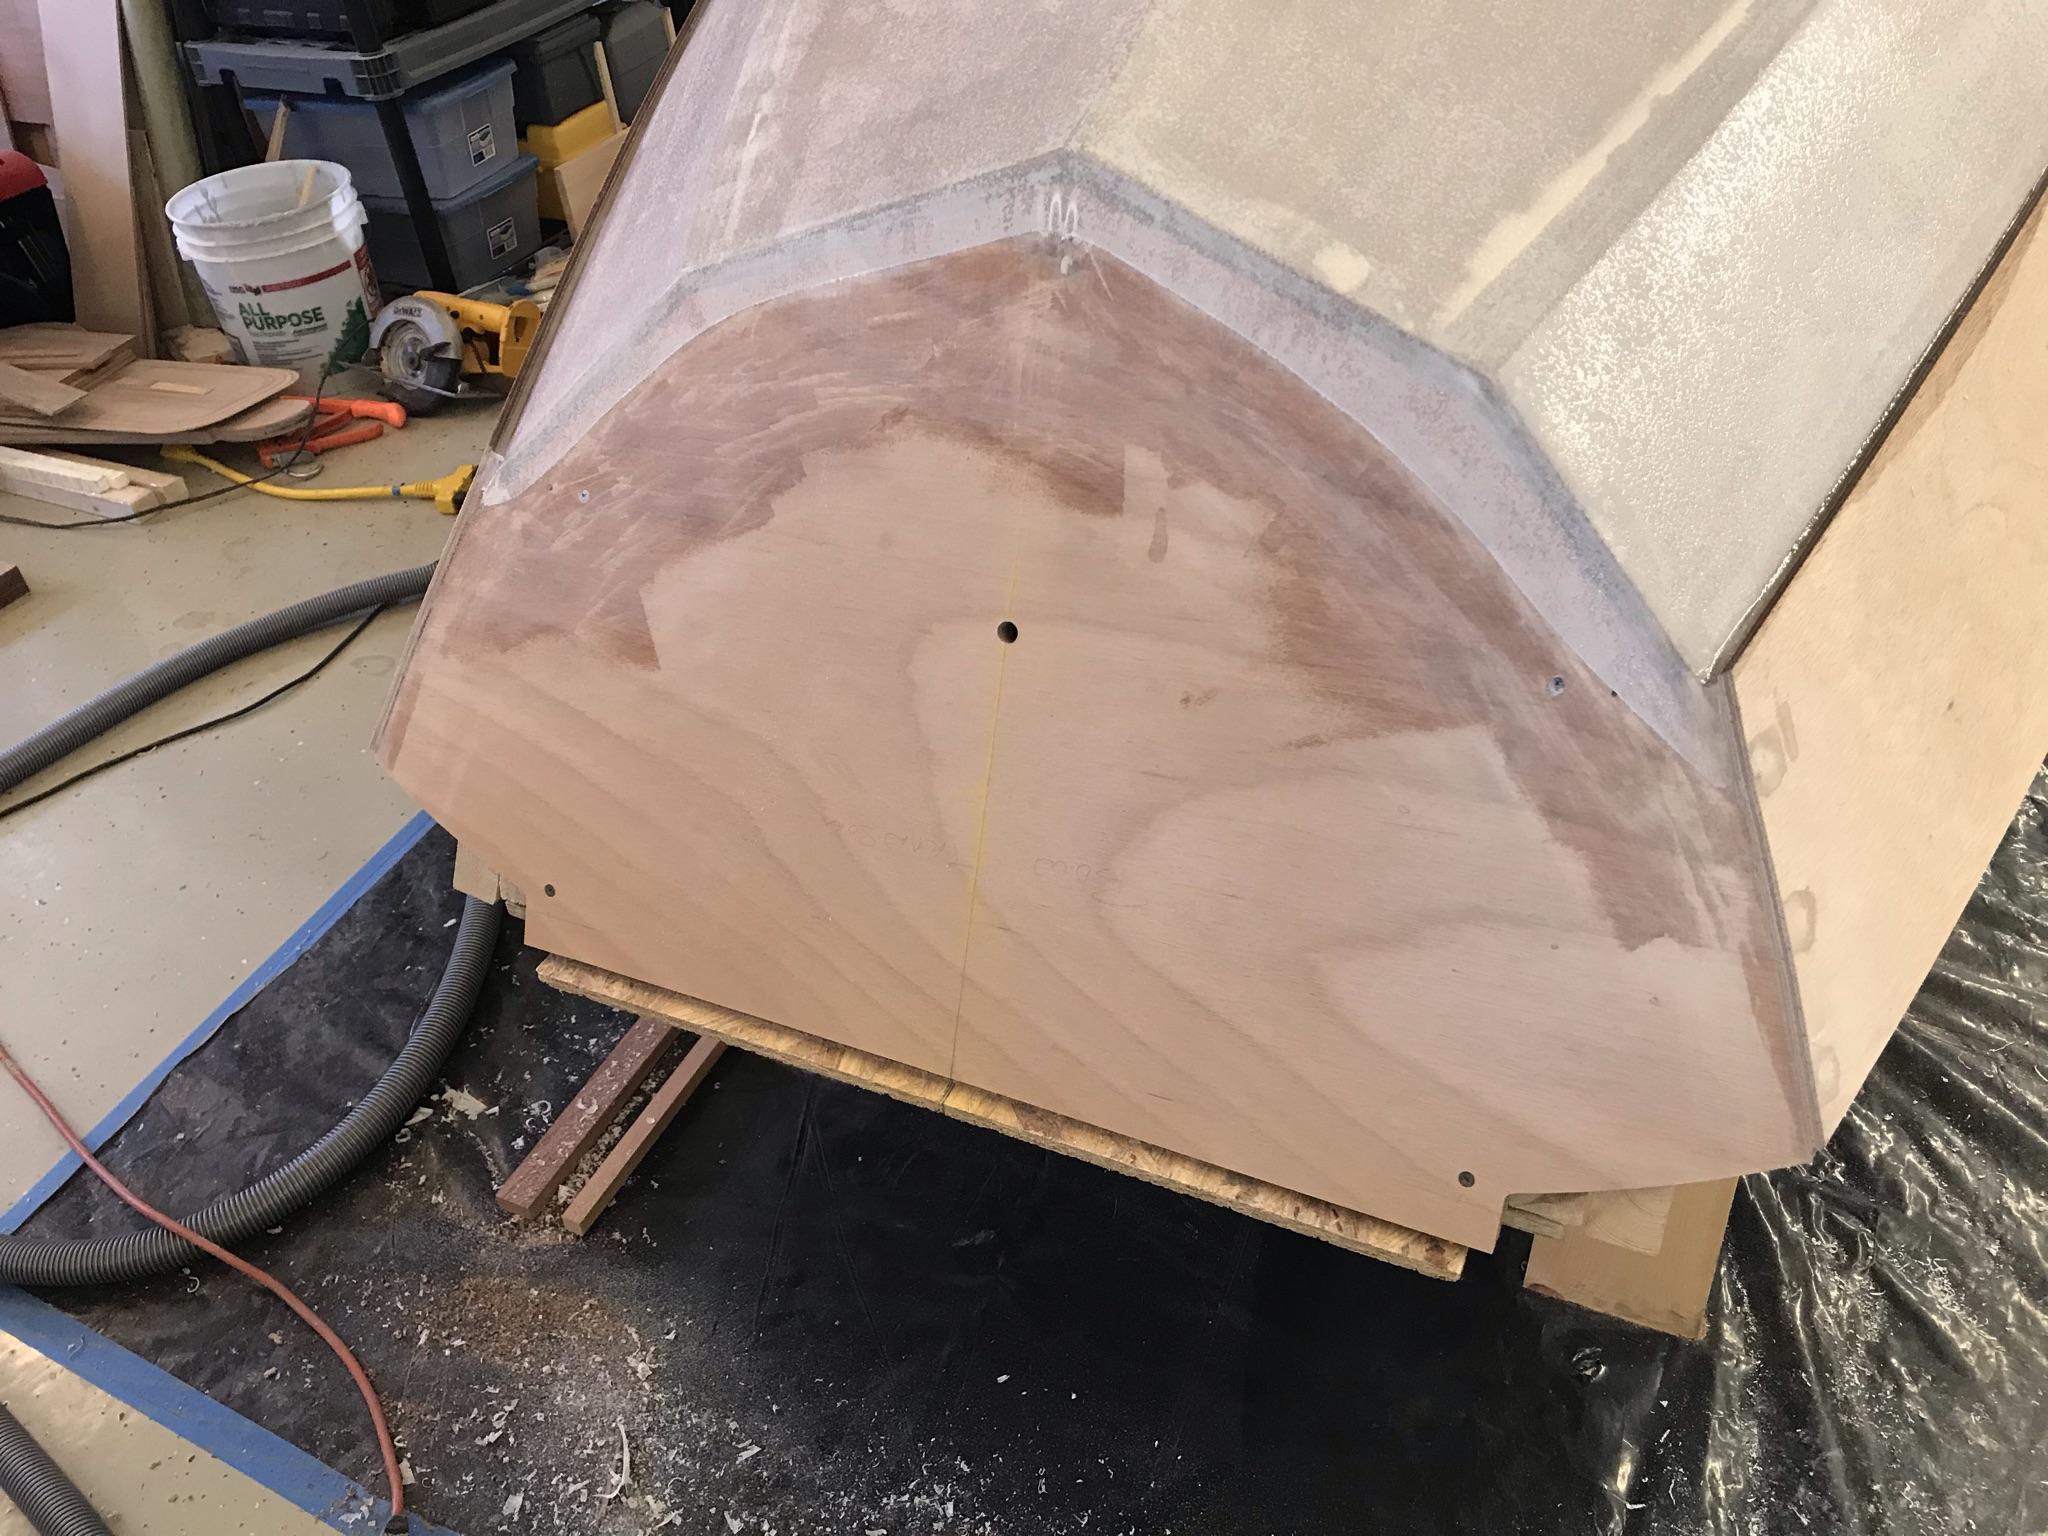
3/14/21 – I decided to re-cut the guards to 5/8″ thick. I ordered some smaller screws yesterday and they should be here mid-week. In the meantime, I planed off the overhang on the bow and stern ends of the topside planks and sanded the filled screw holes.
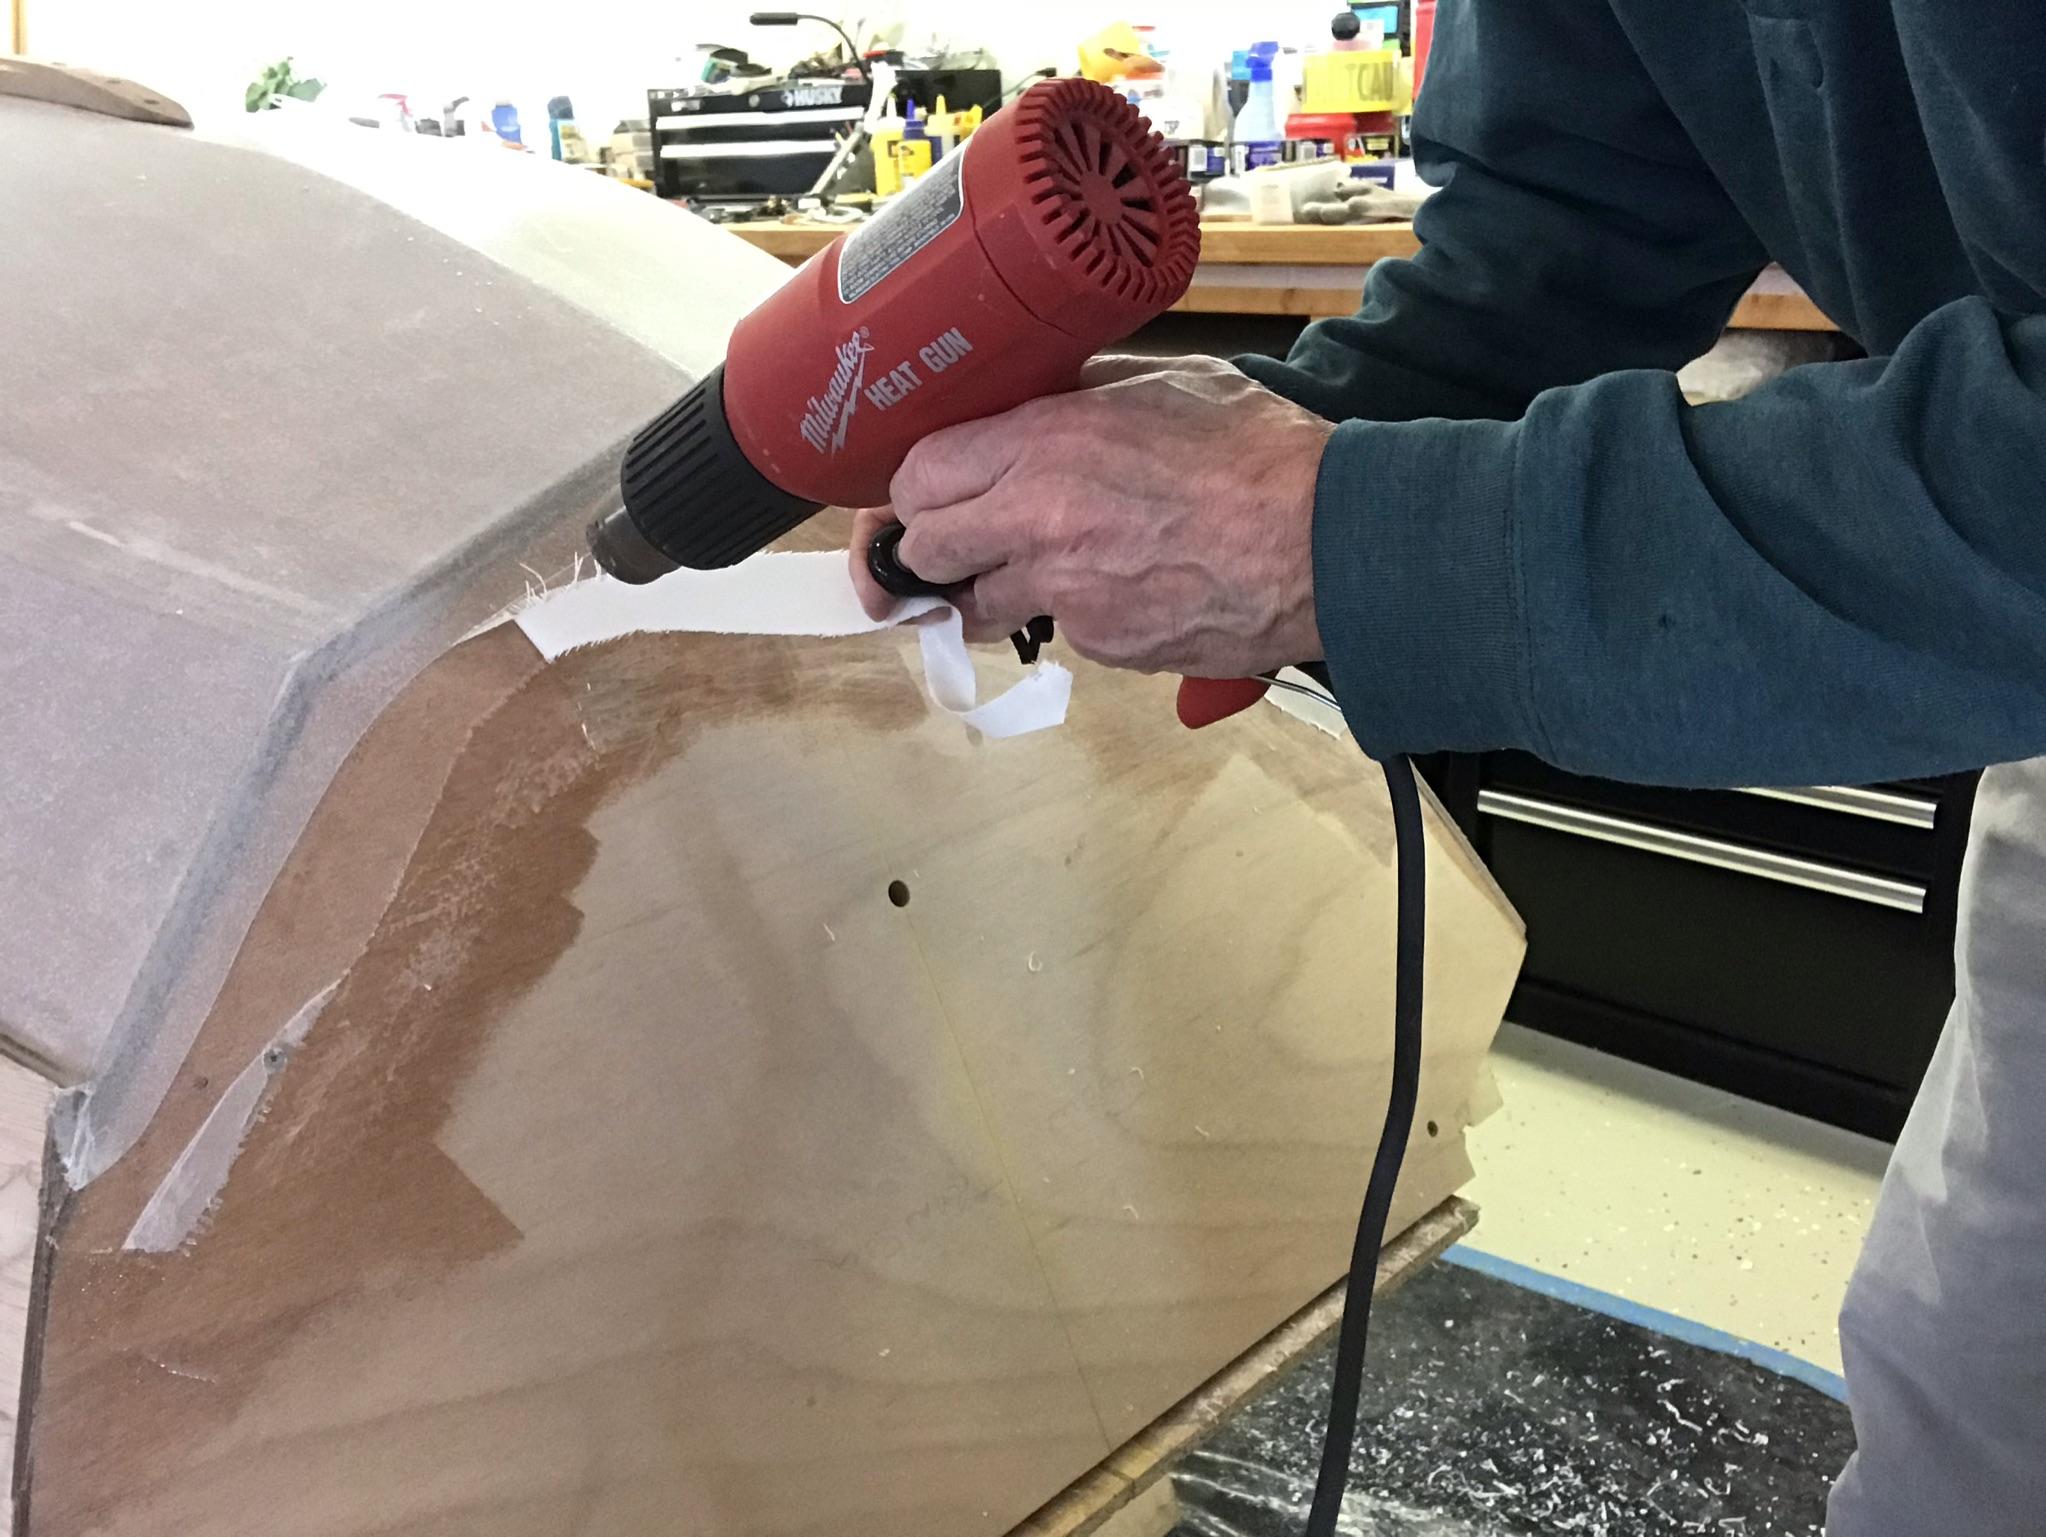
I also worked on the bow and transom with a heat gun and scraper to remove the excess epoxy from applying the Dynel and I trimmed some of the excess Dynel.
Next, I started over, positioning the guards. I took the measurements off the plans and what I came up with for the lower guard position is: 5″ @ the bow, 5″ @ station #2, 5 1/4″ @ station #6, 5 1/2″ @ station #10 and 5 3/4″ @ the stern.
Tomorrow I will use the router on the lower guards and trim both upper and lower guards to 5/8″.
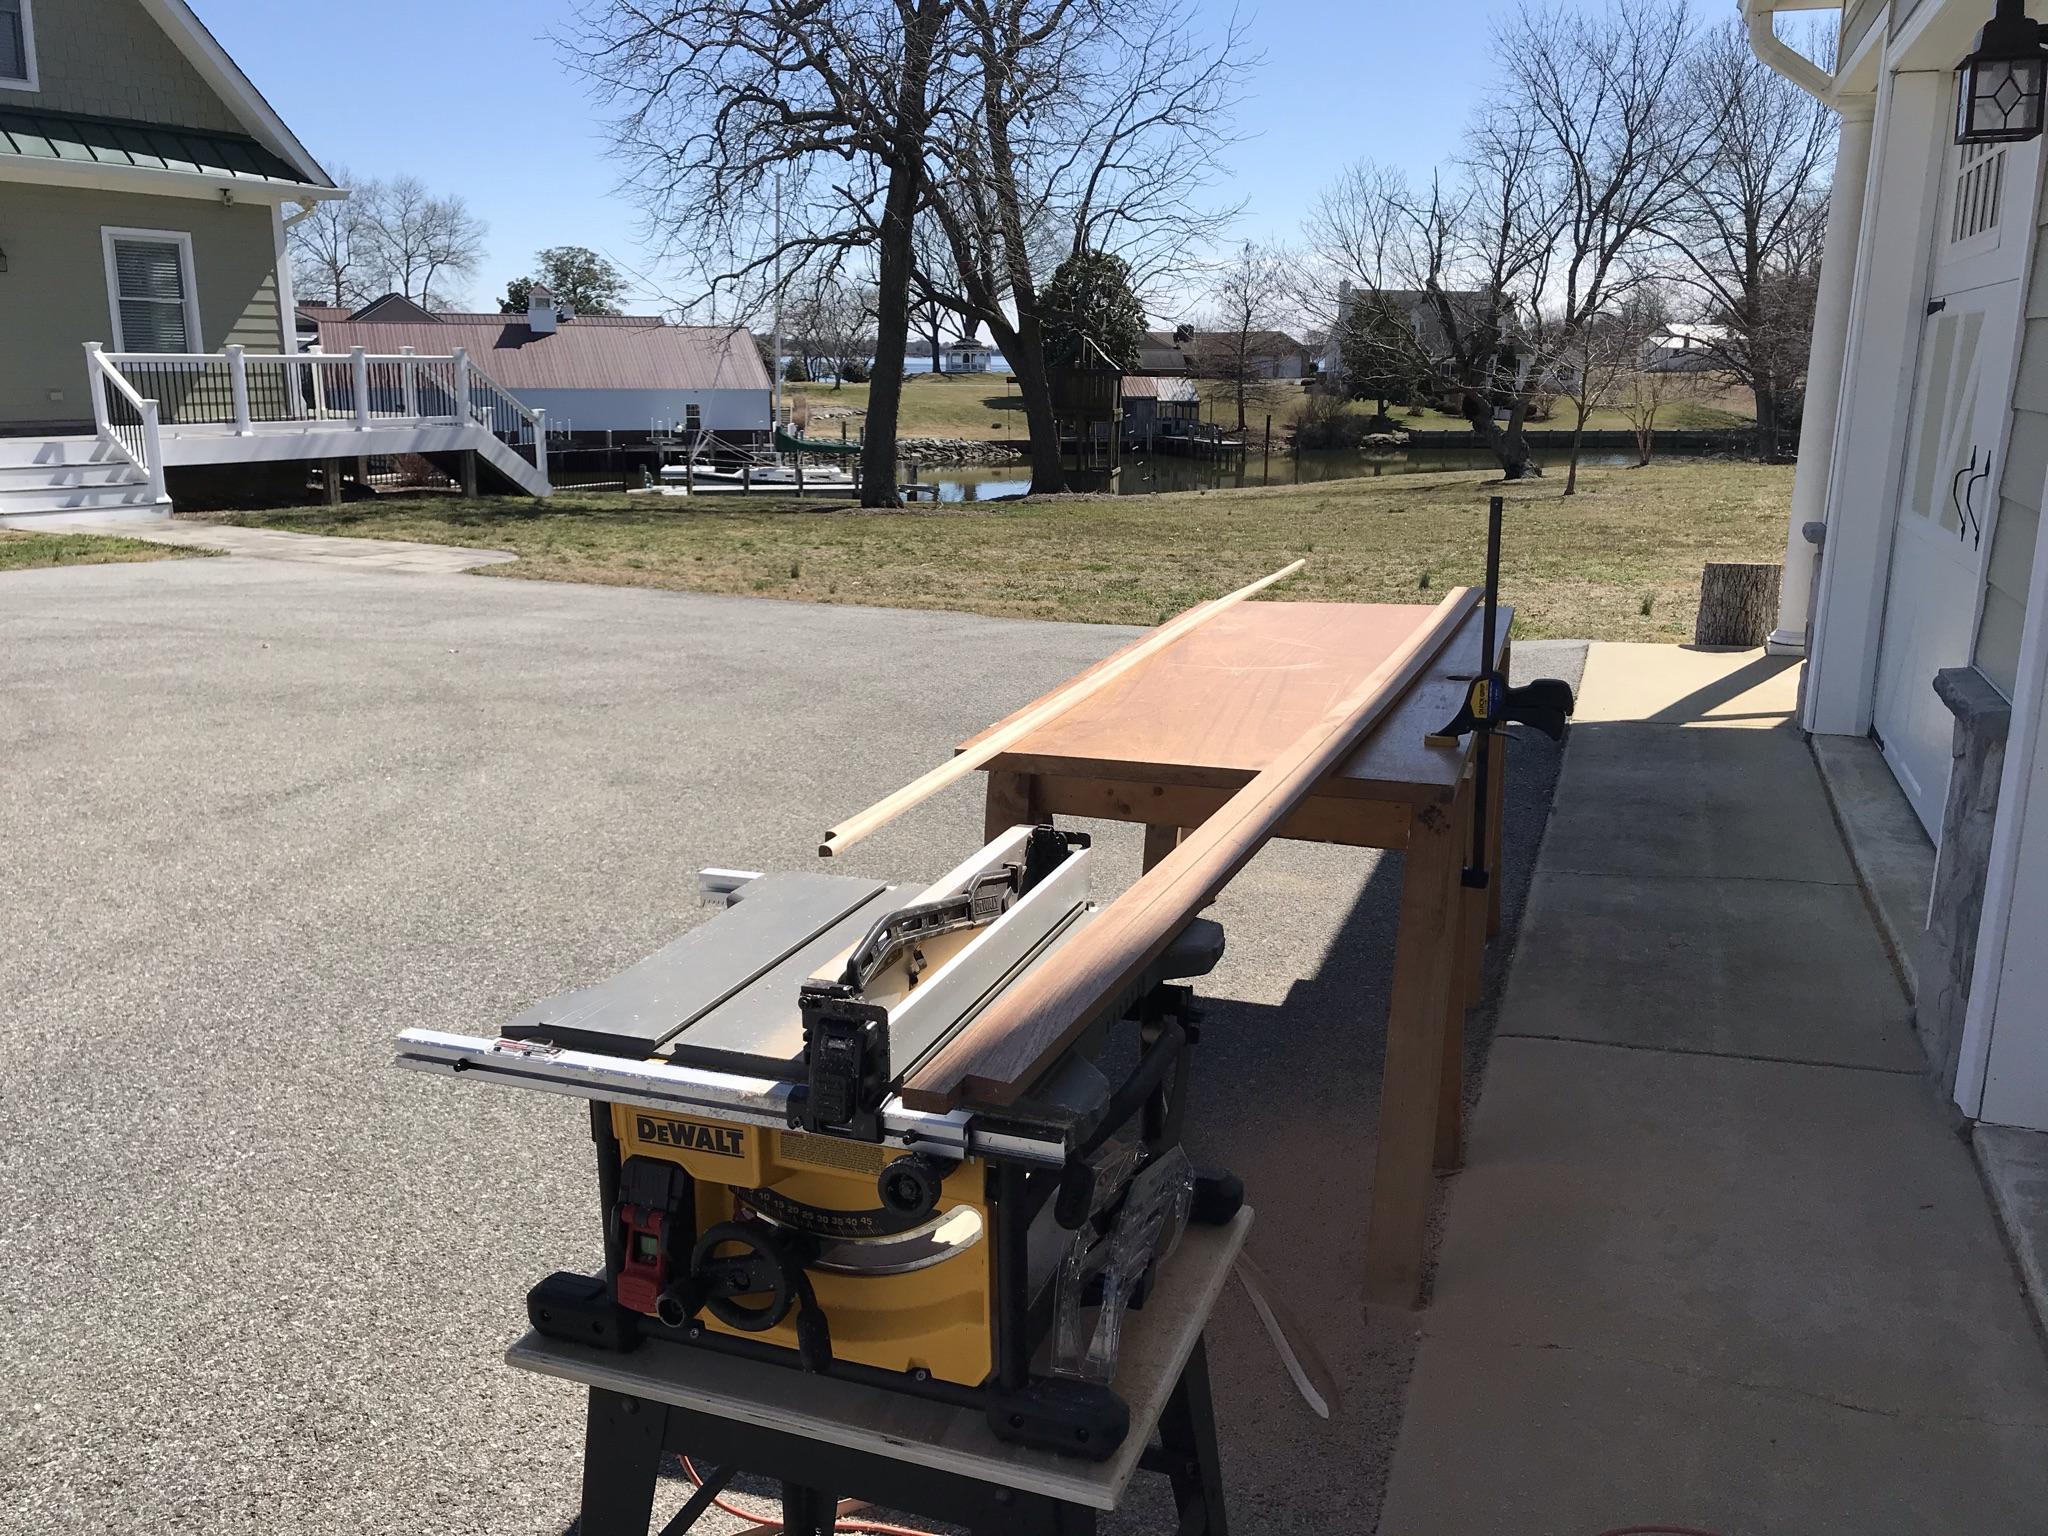
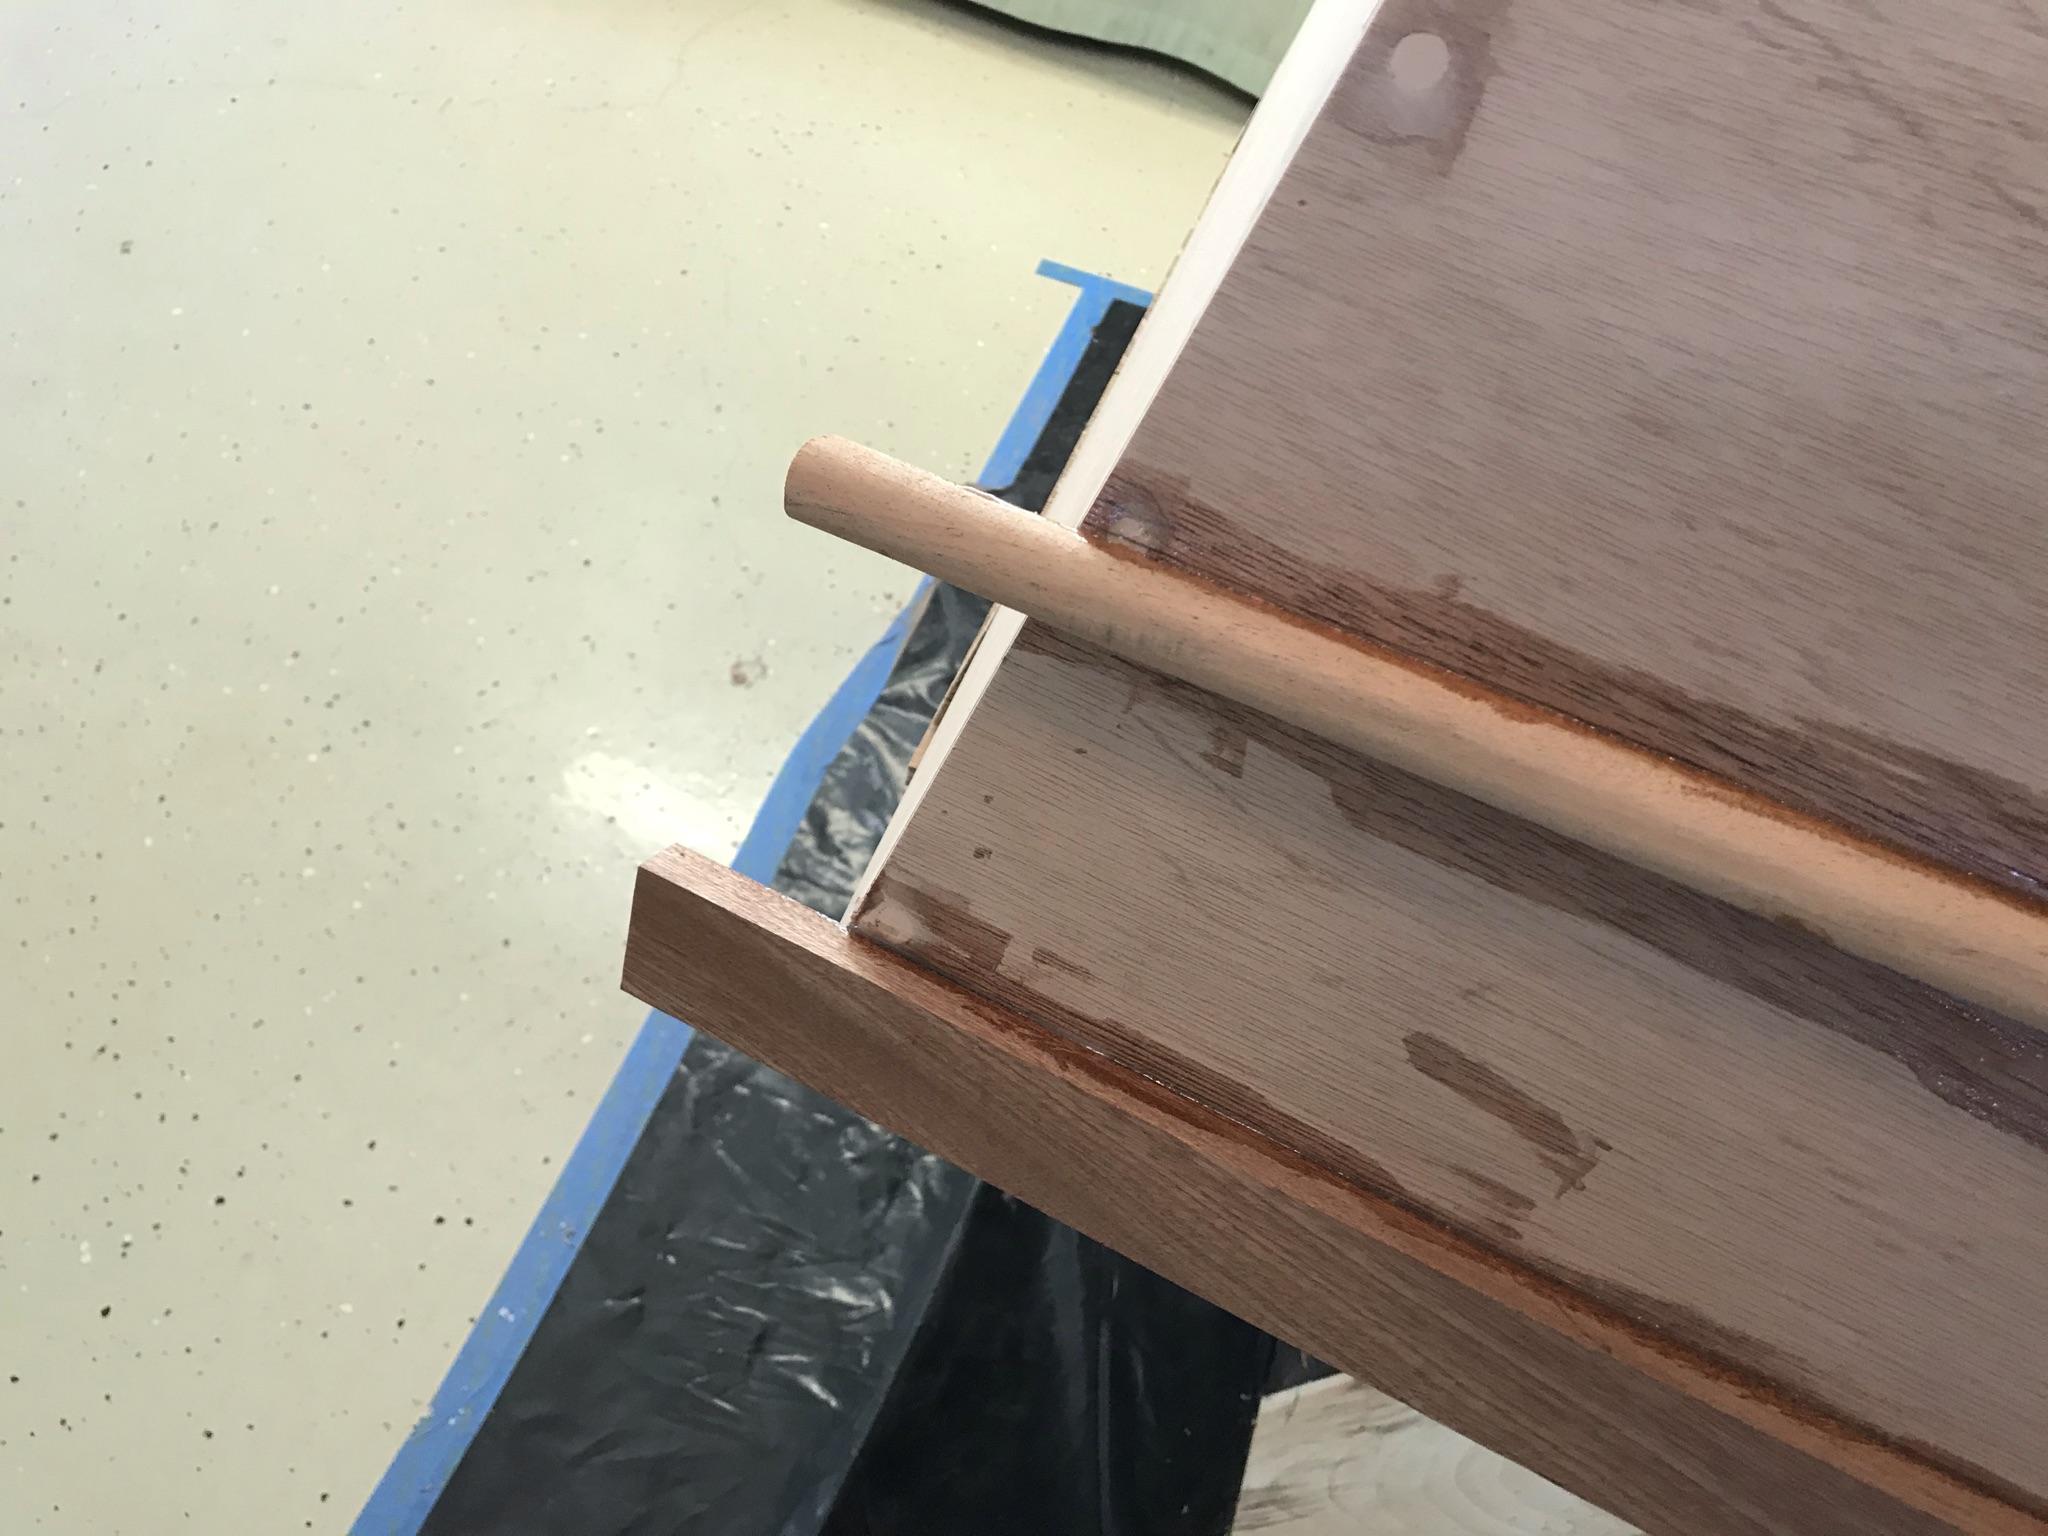
3/15/21 – Used my router to round over 2 corners of the 3/4″ x 3/4″ guards.
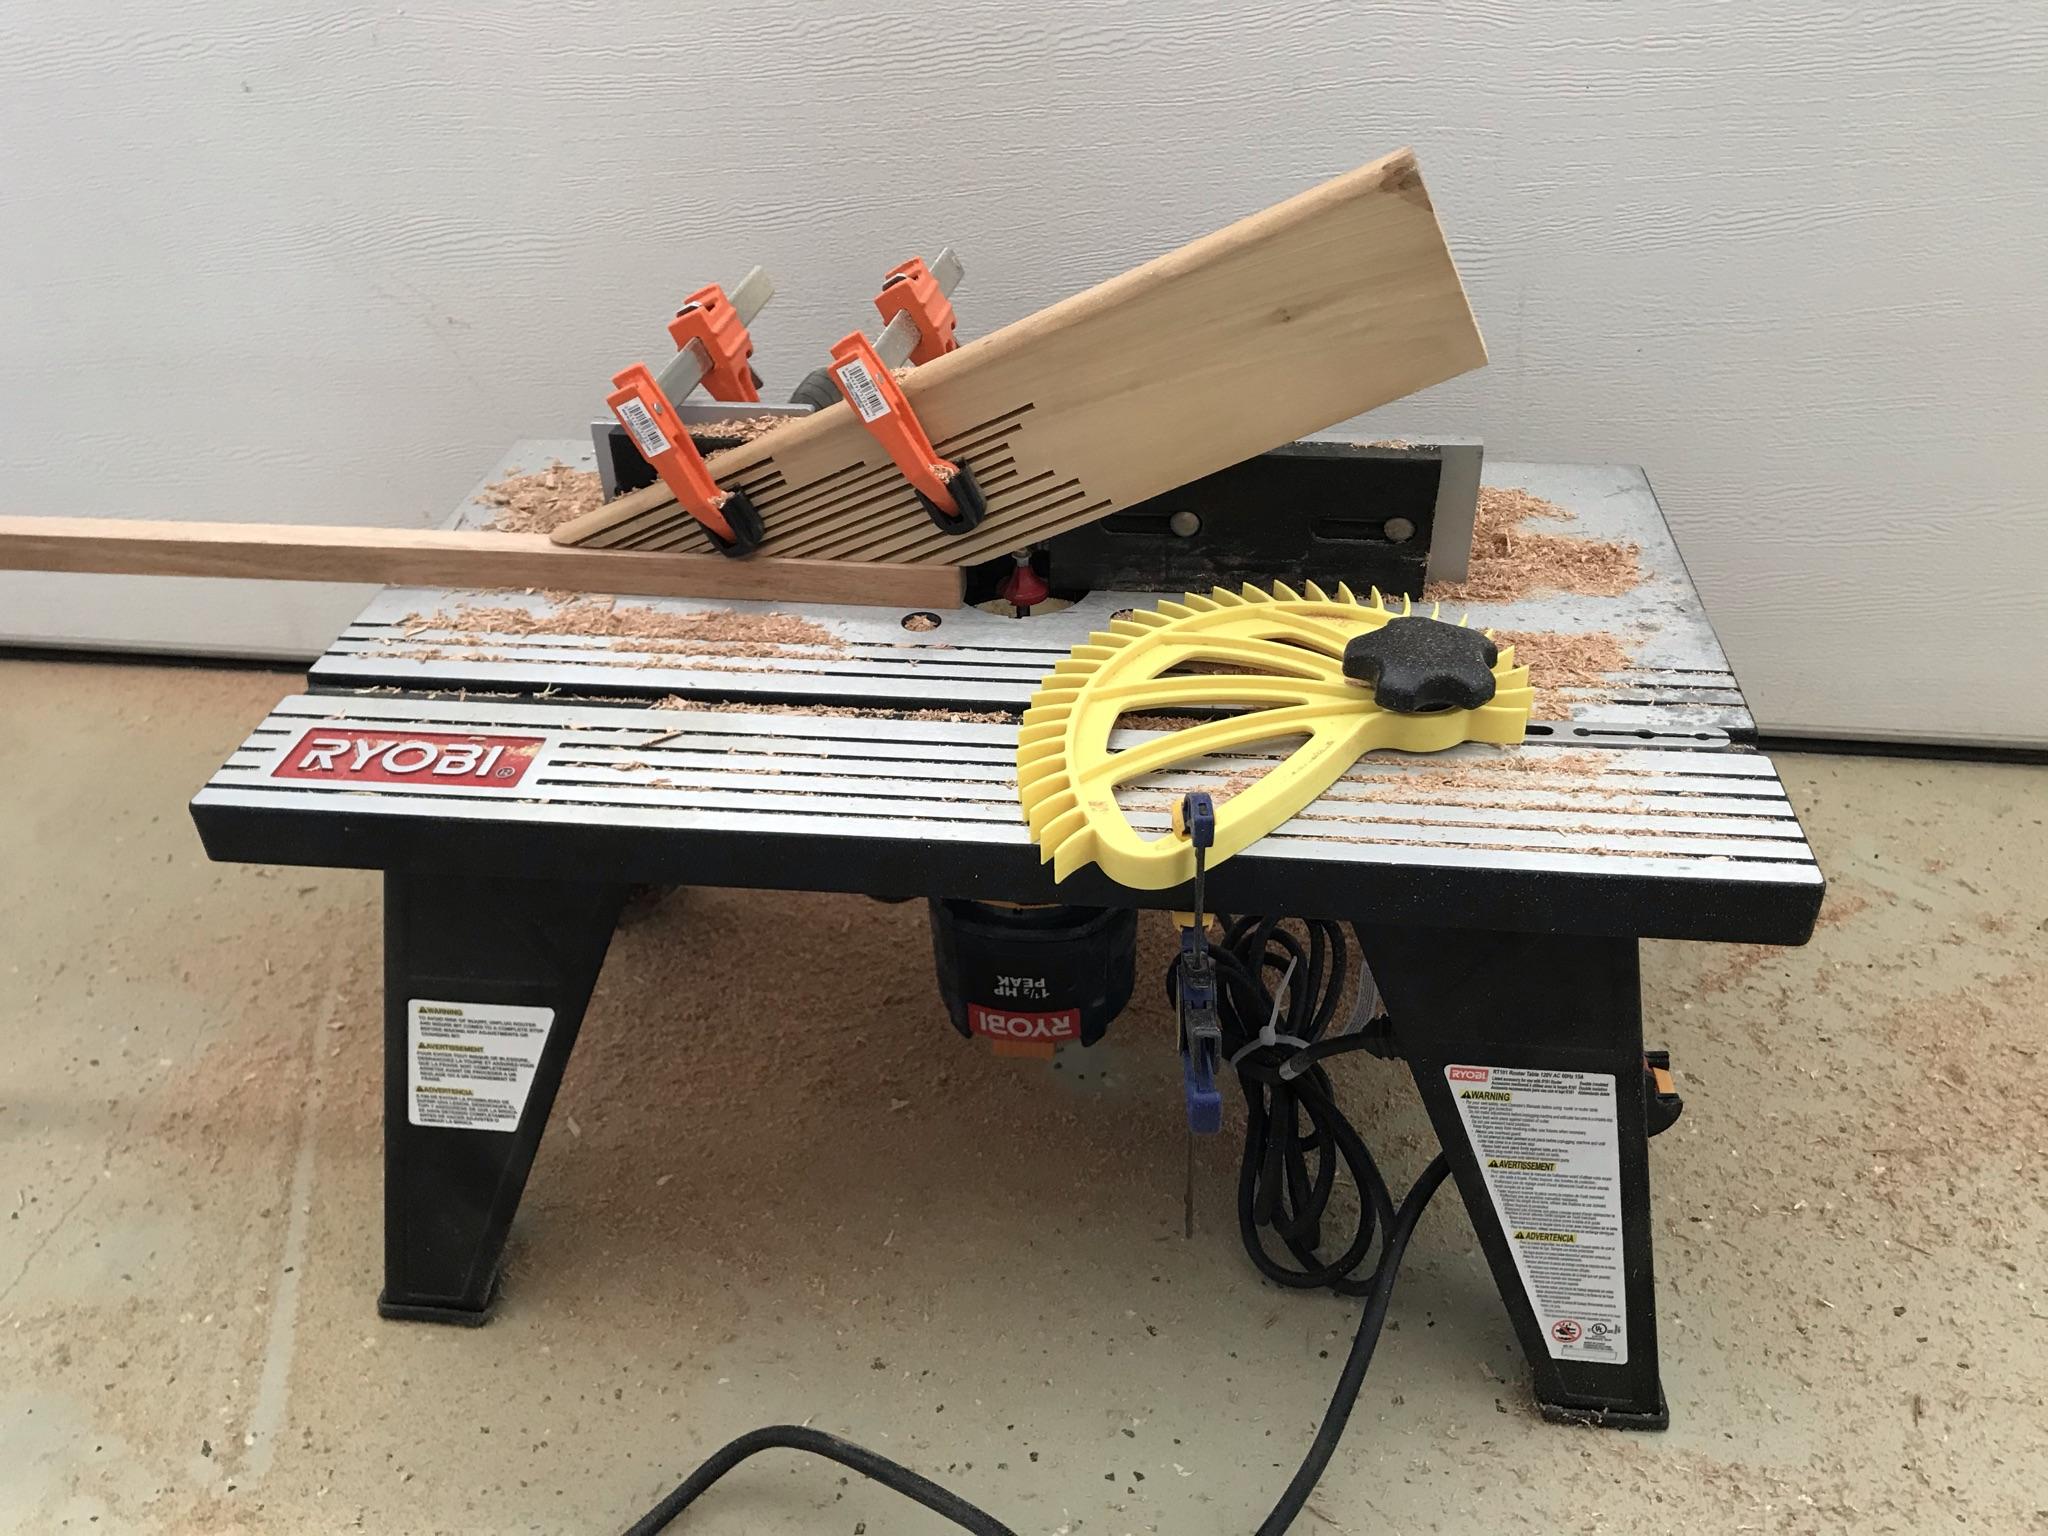
Then I took the mess outside and used my table saw to cut down all 4 guards from 3/4″ to 5/8″.
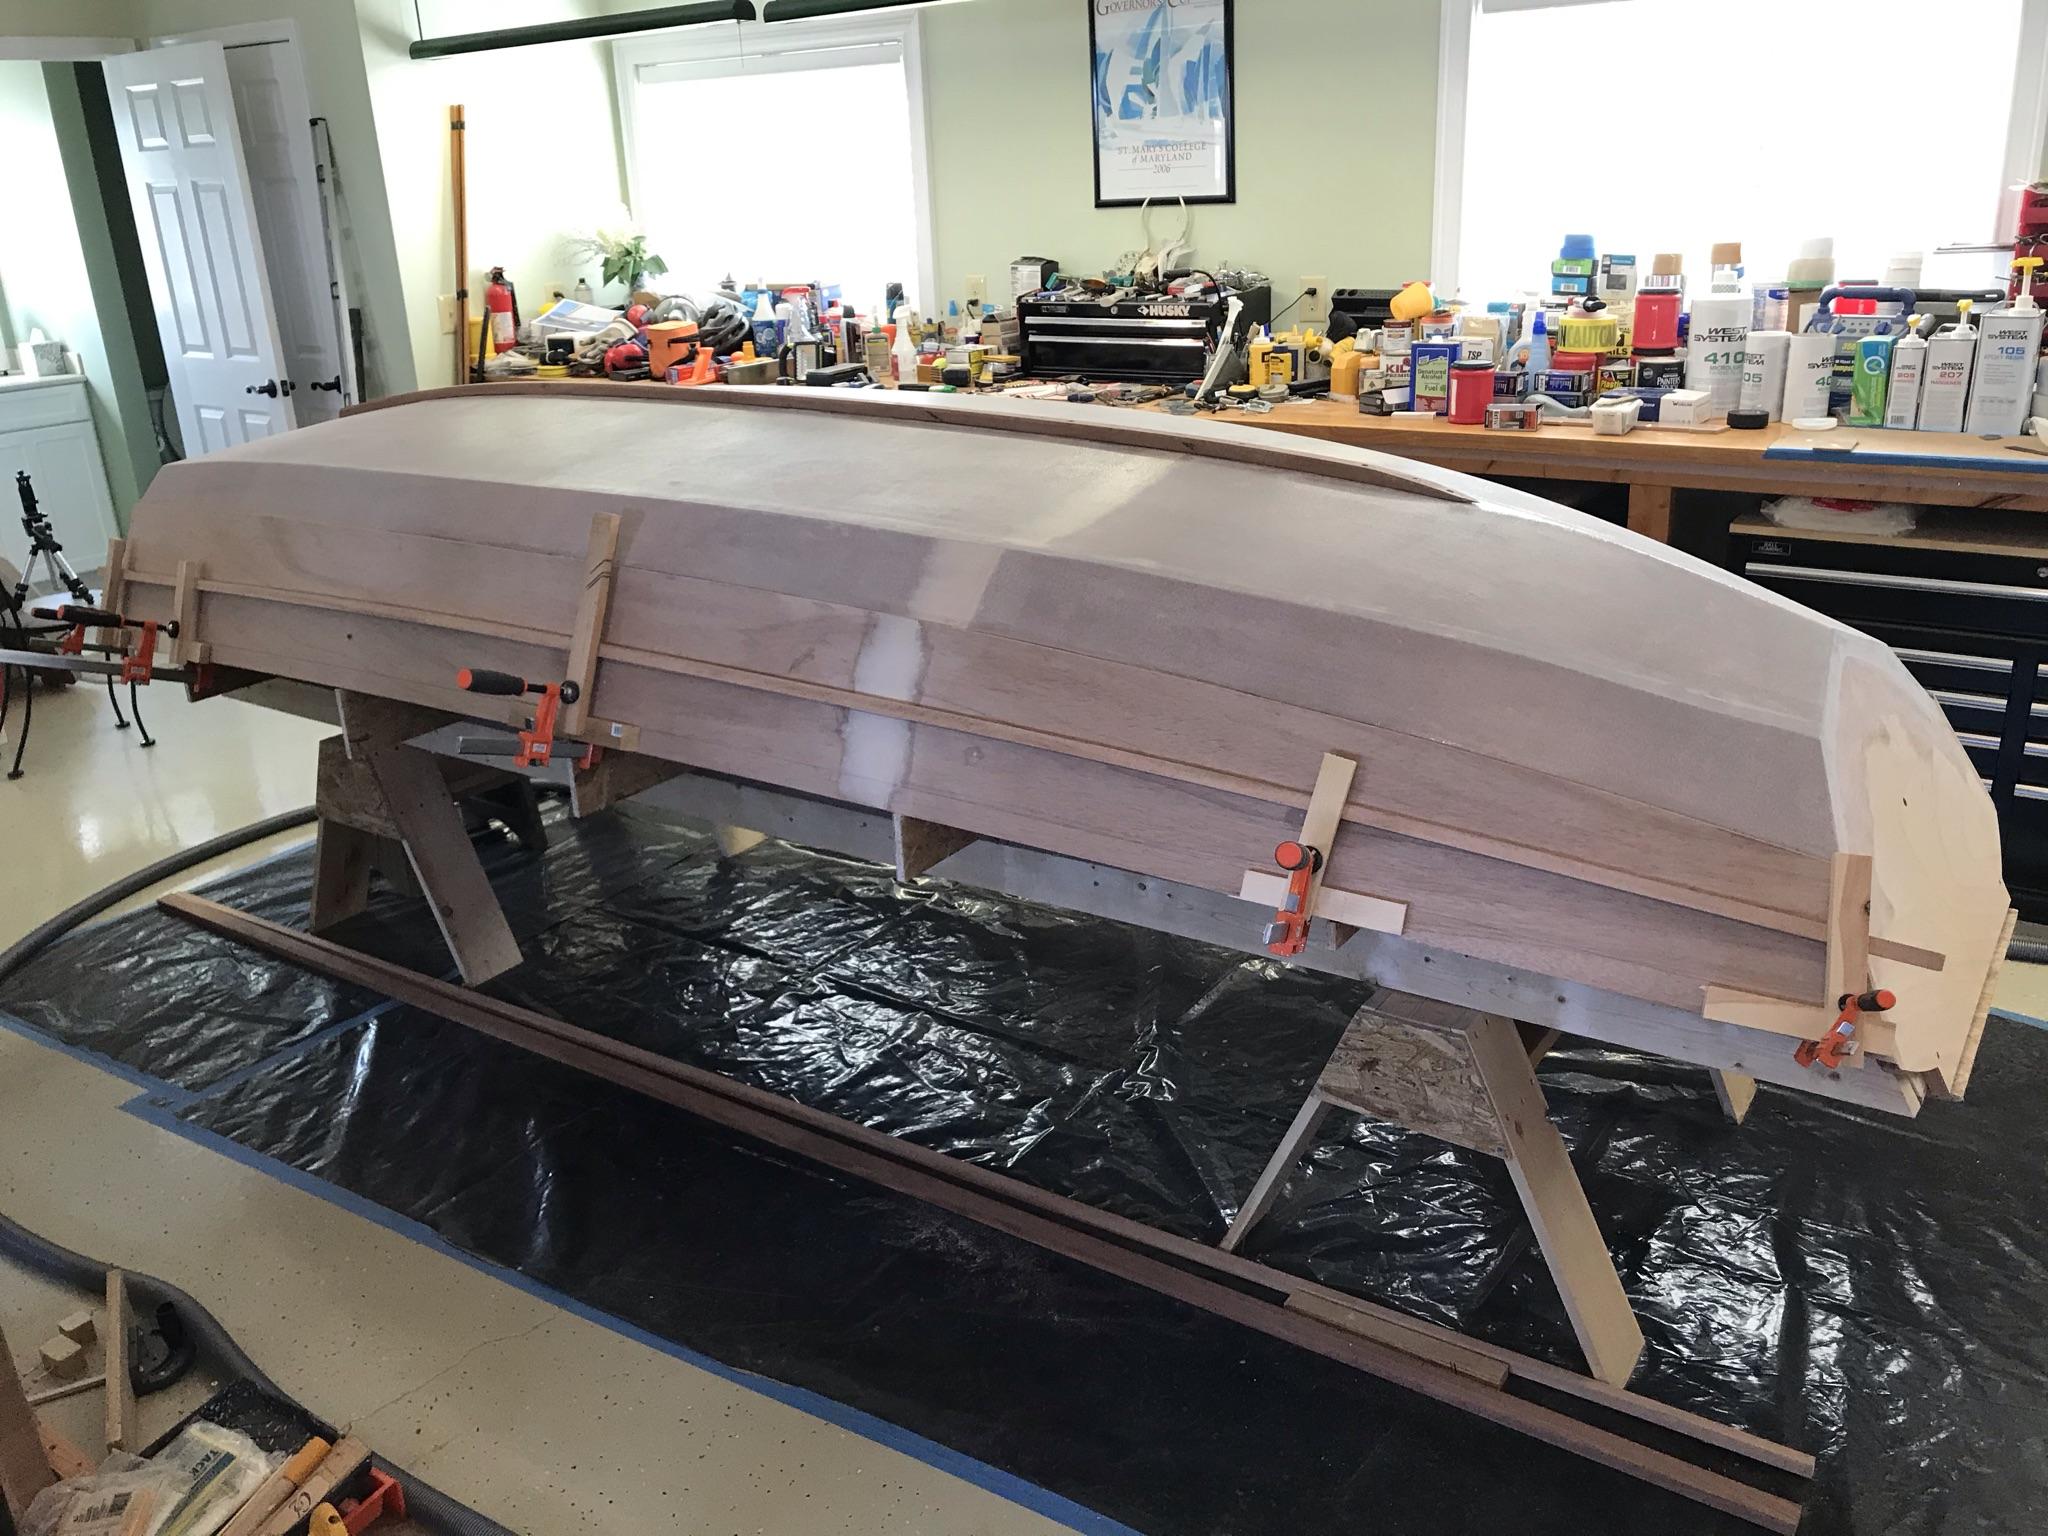
I then dry-fit the guards using the measurements from yesterday.
Now I will have to wait for the screws to arrive. I ordered a box of 5/8″ #8 screws. I hope they are not too long. The guards are 5/8″ and the plank is 1/4″, so that makes the total 7/8″. The upper guards can be left flush, leaving 1/4″ to spare. The lower guards will need to have the heads recessed 1/8″, leaving only 1/8″ before it comes through. I will have to be very careful when countersinking. I am afraid 1/2″ screws would not have enough bite into the guards.
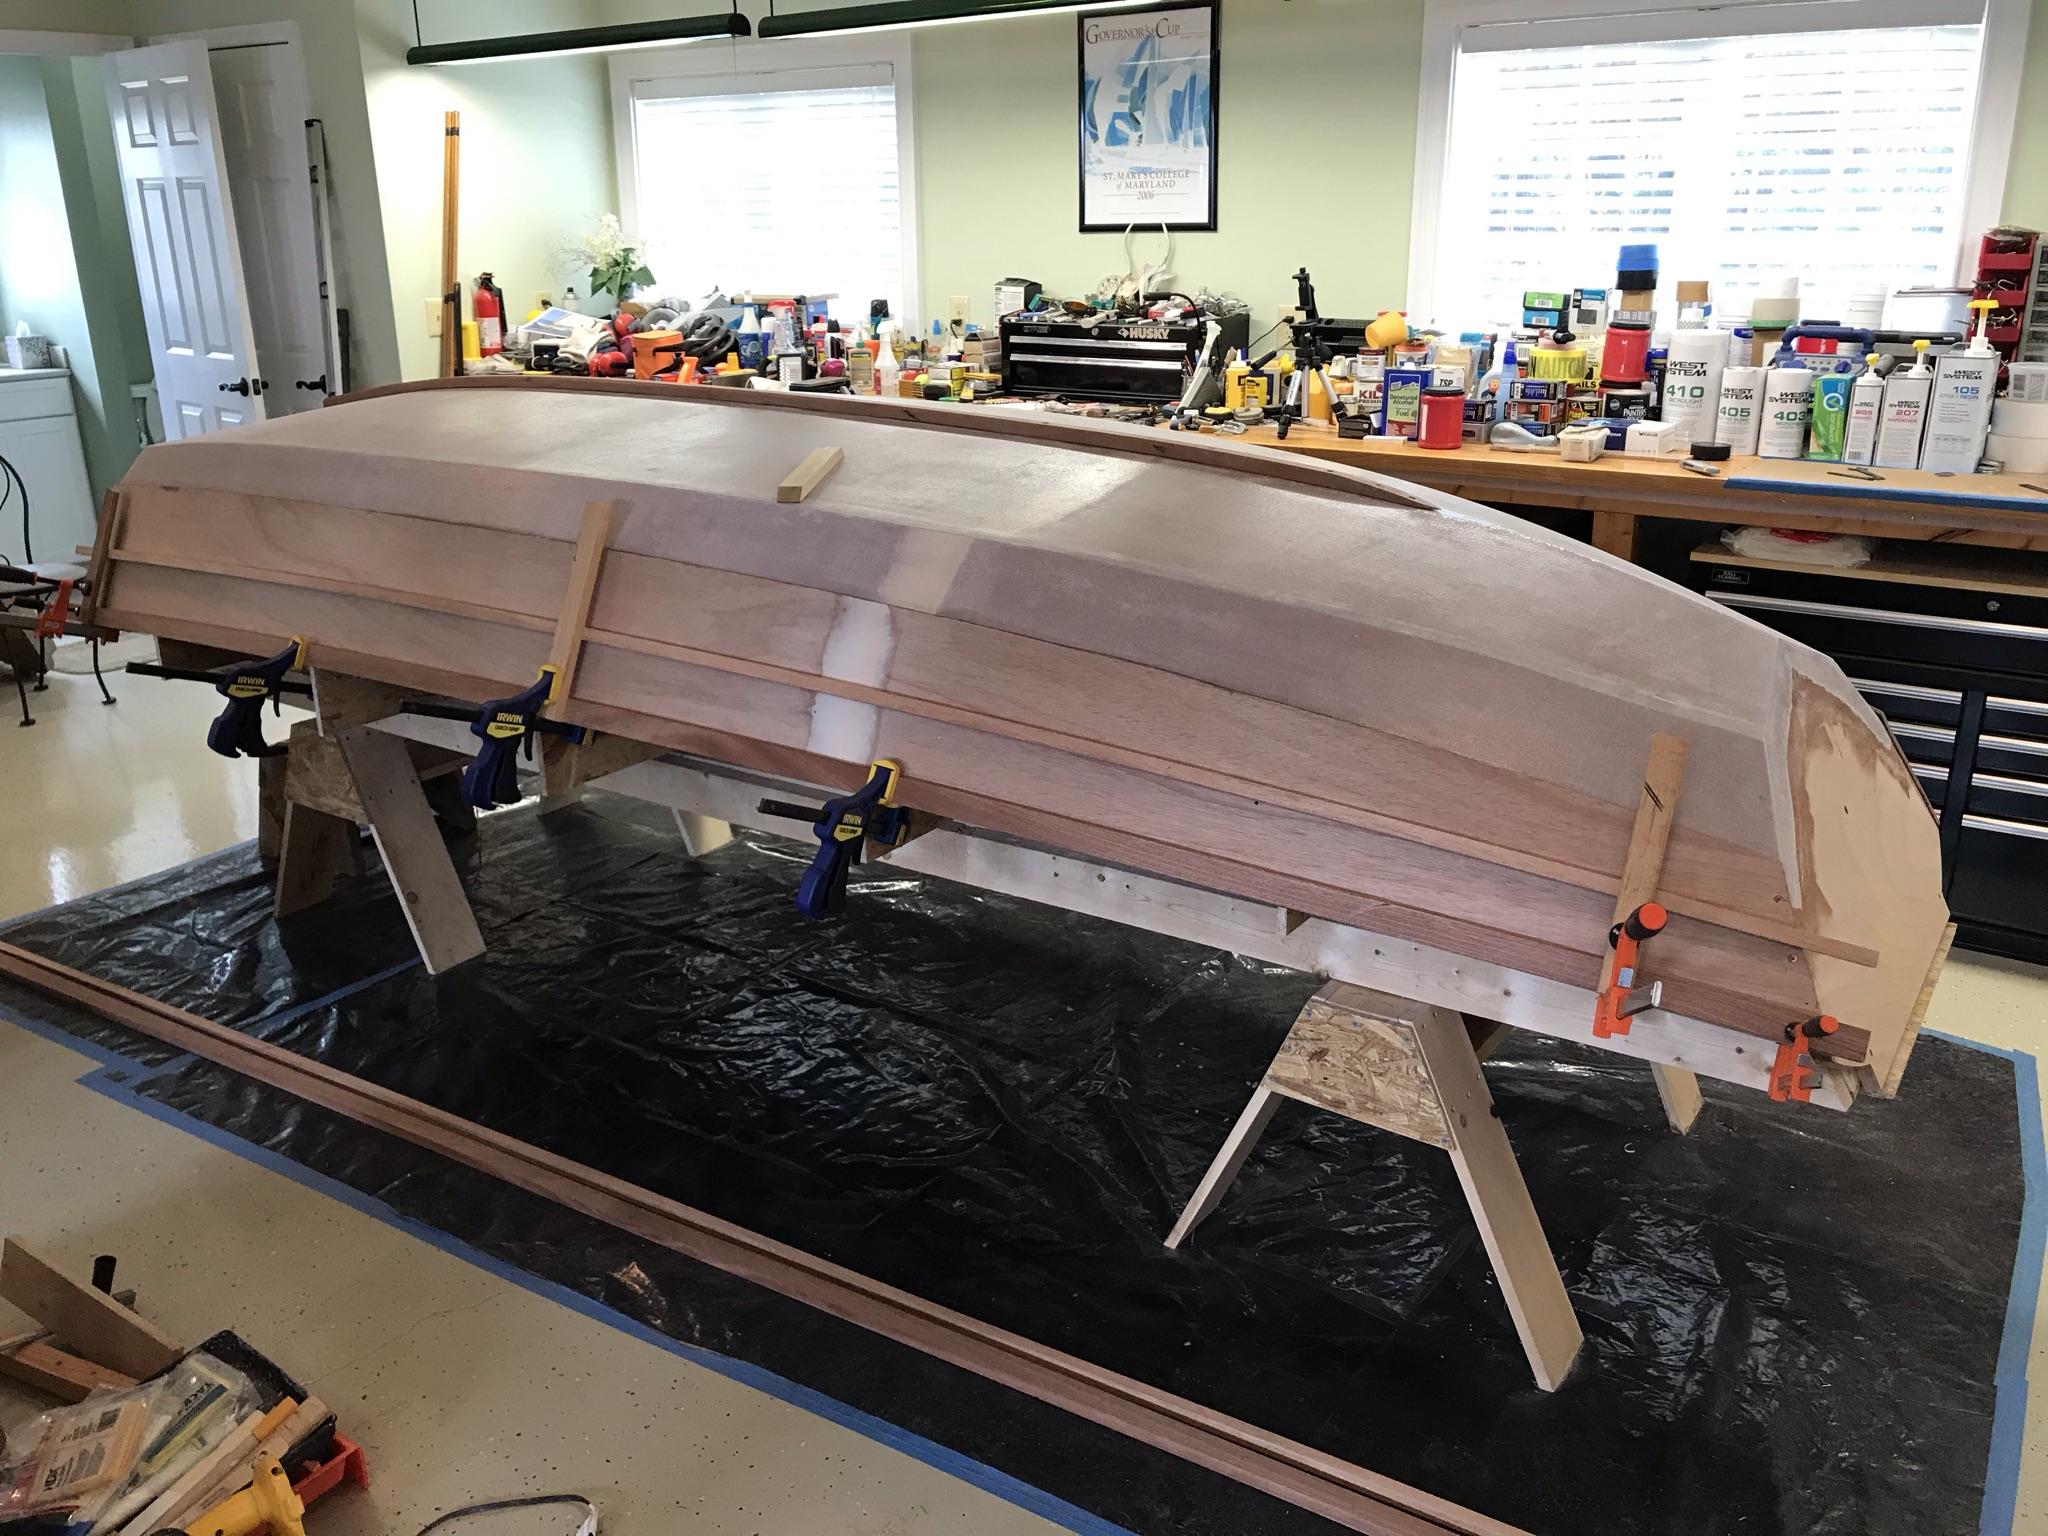
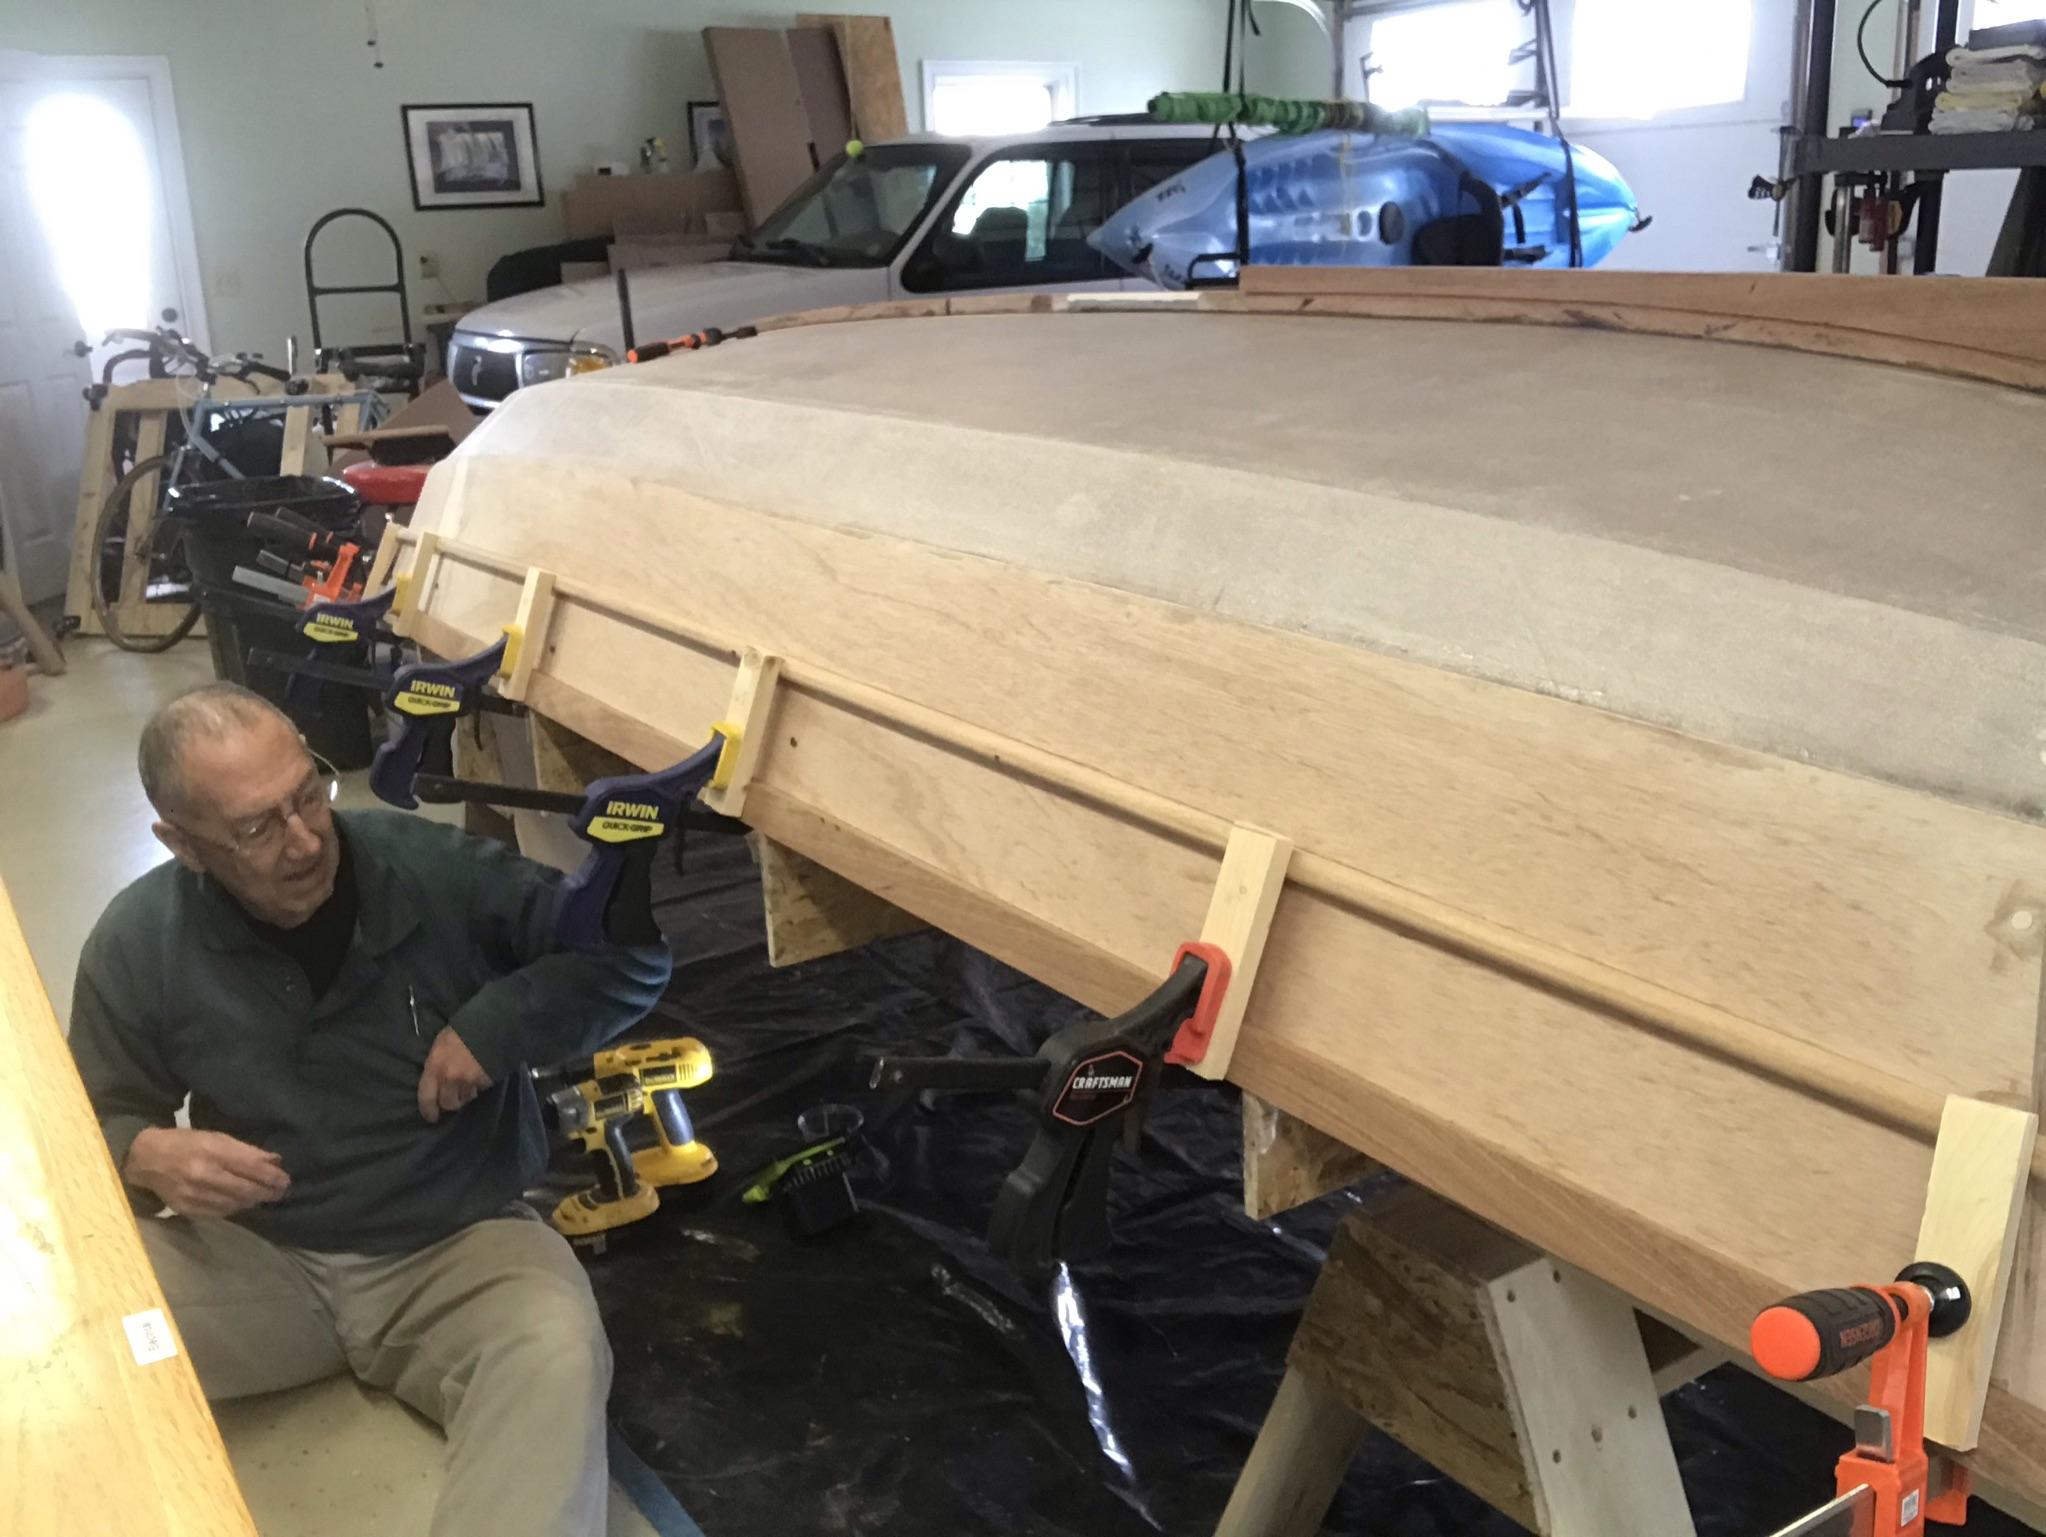
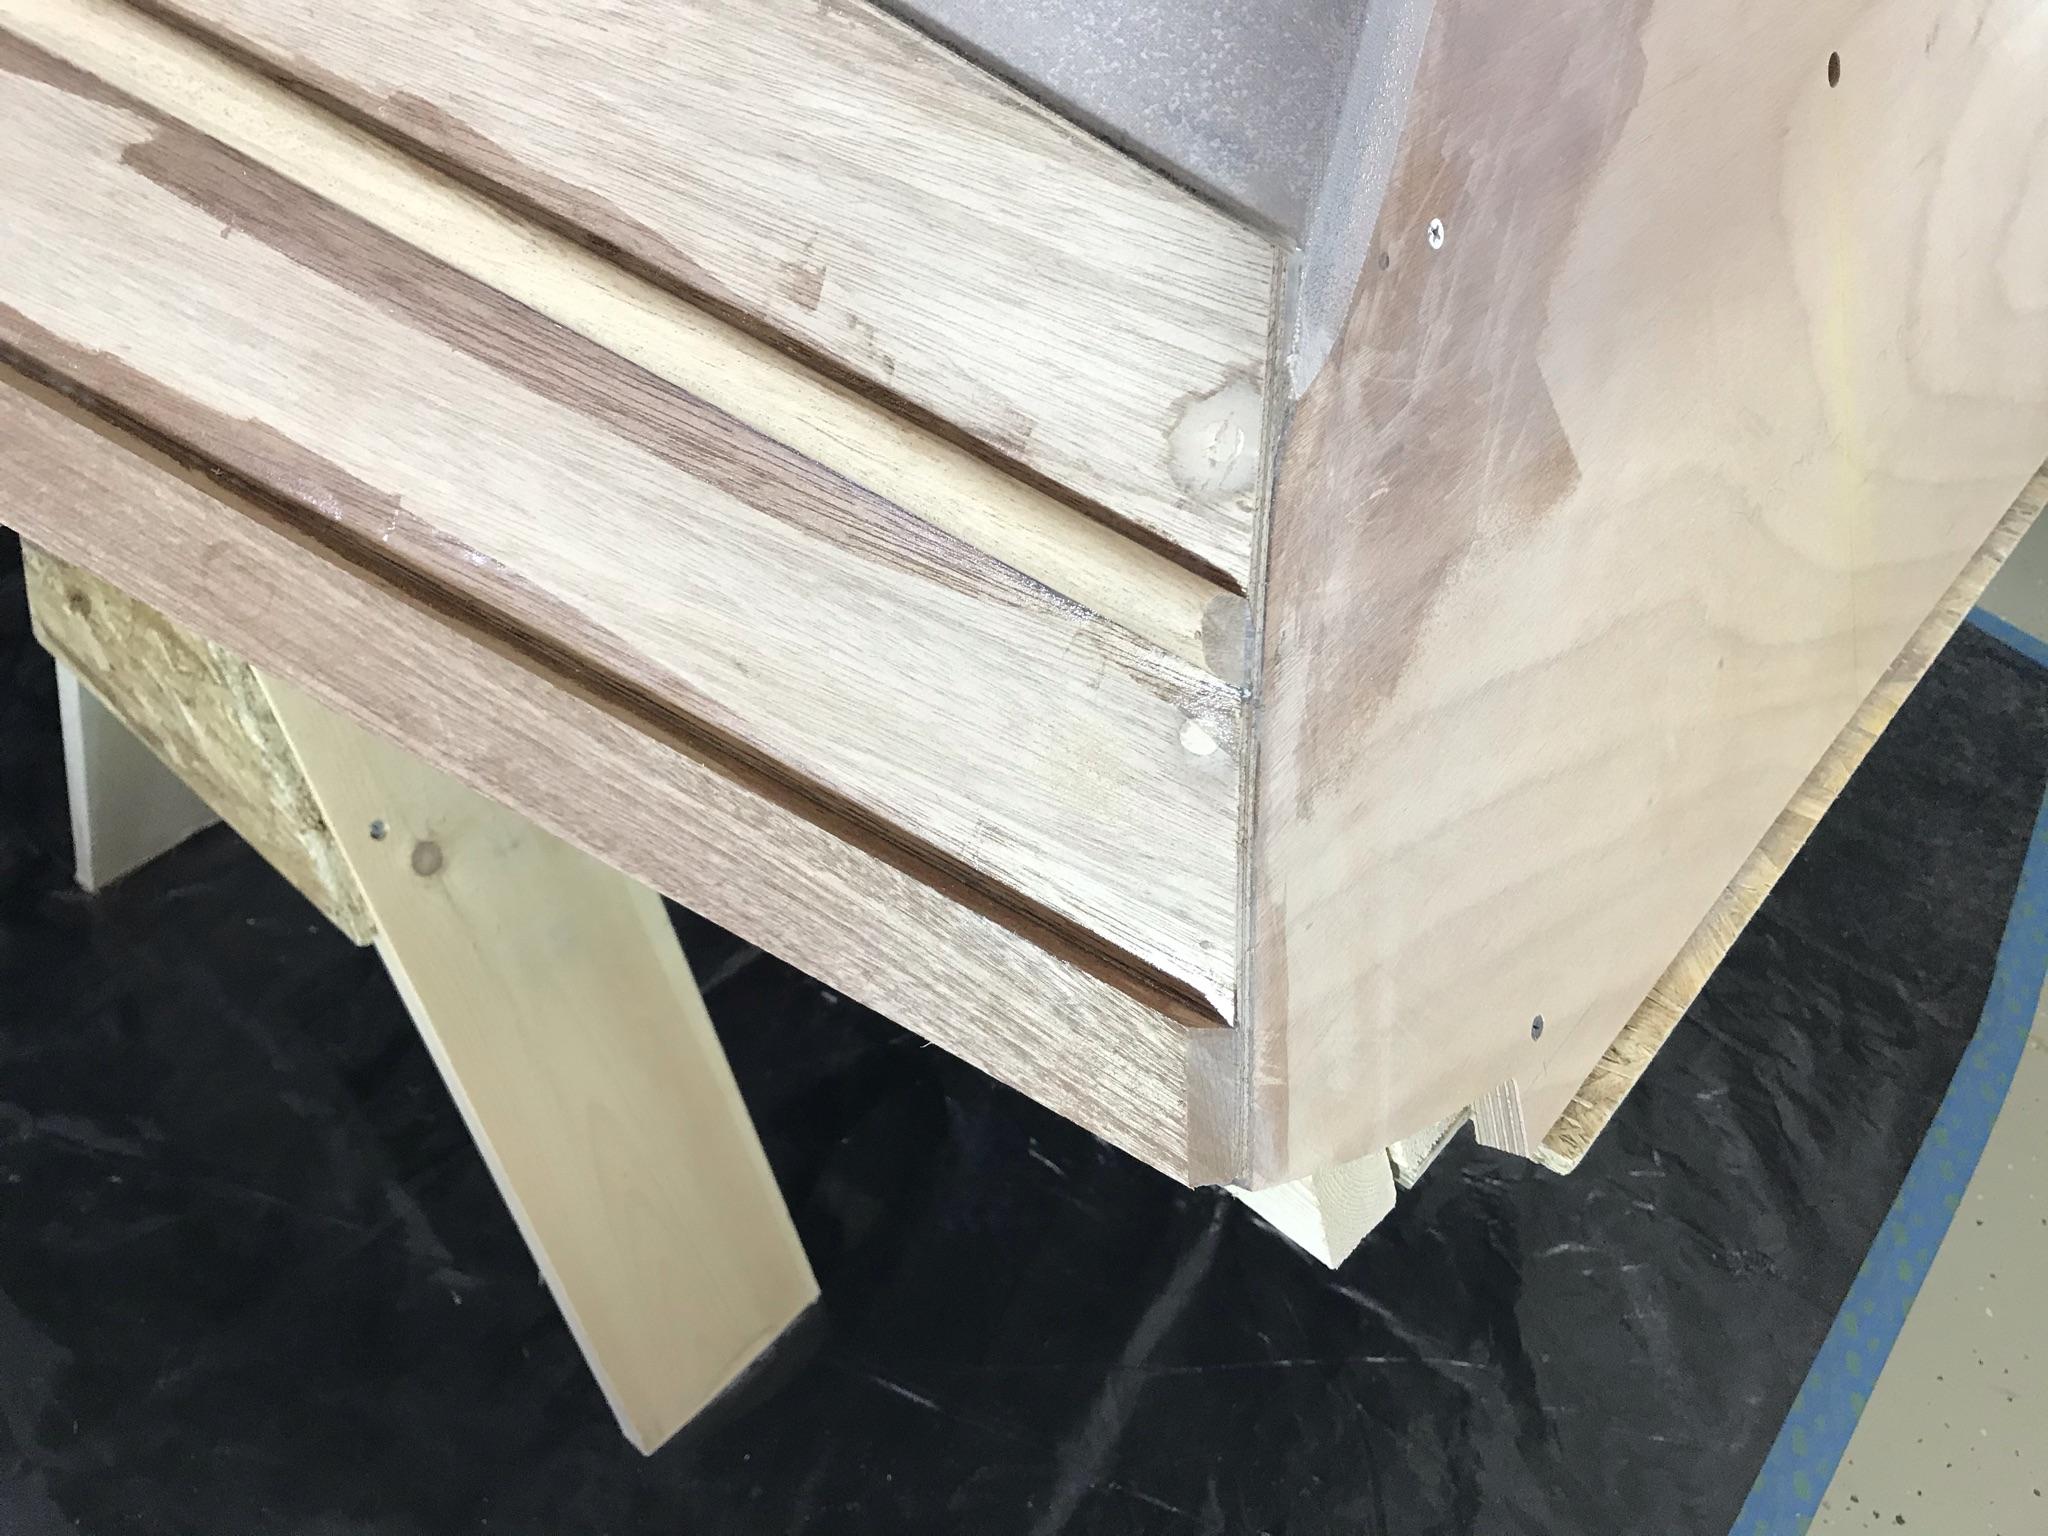
3/18/21 – Received the new screws last night and started working on installing the port side guards. It was a lot more work than I expected. Once you get the guards positioned correctly and clamped down, you draw a line marking the outside of each of the guards. Then you have to take the guards off and drill 21 pilot holes in the center of the 3/4″ lower guard from the outside so that you will know where to drill the countersinks from the inside. Then you have to re-clamp both guards in the exact right place again and drill 21 countersink holes for the lower guard and 18 for the upper guard. For each hole you drill, you have to then test the screw to ensure it is countersunk enough. It was very time-consuming in very cramped spaces.
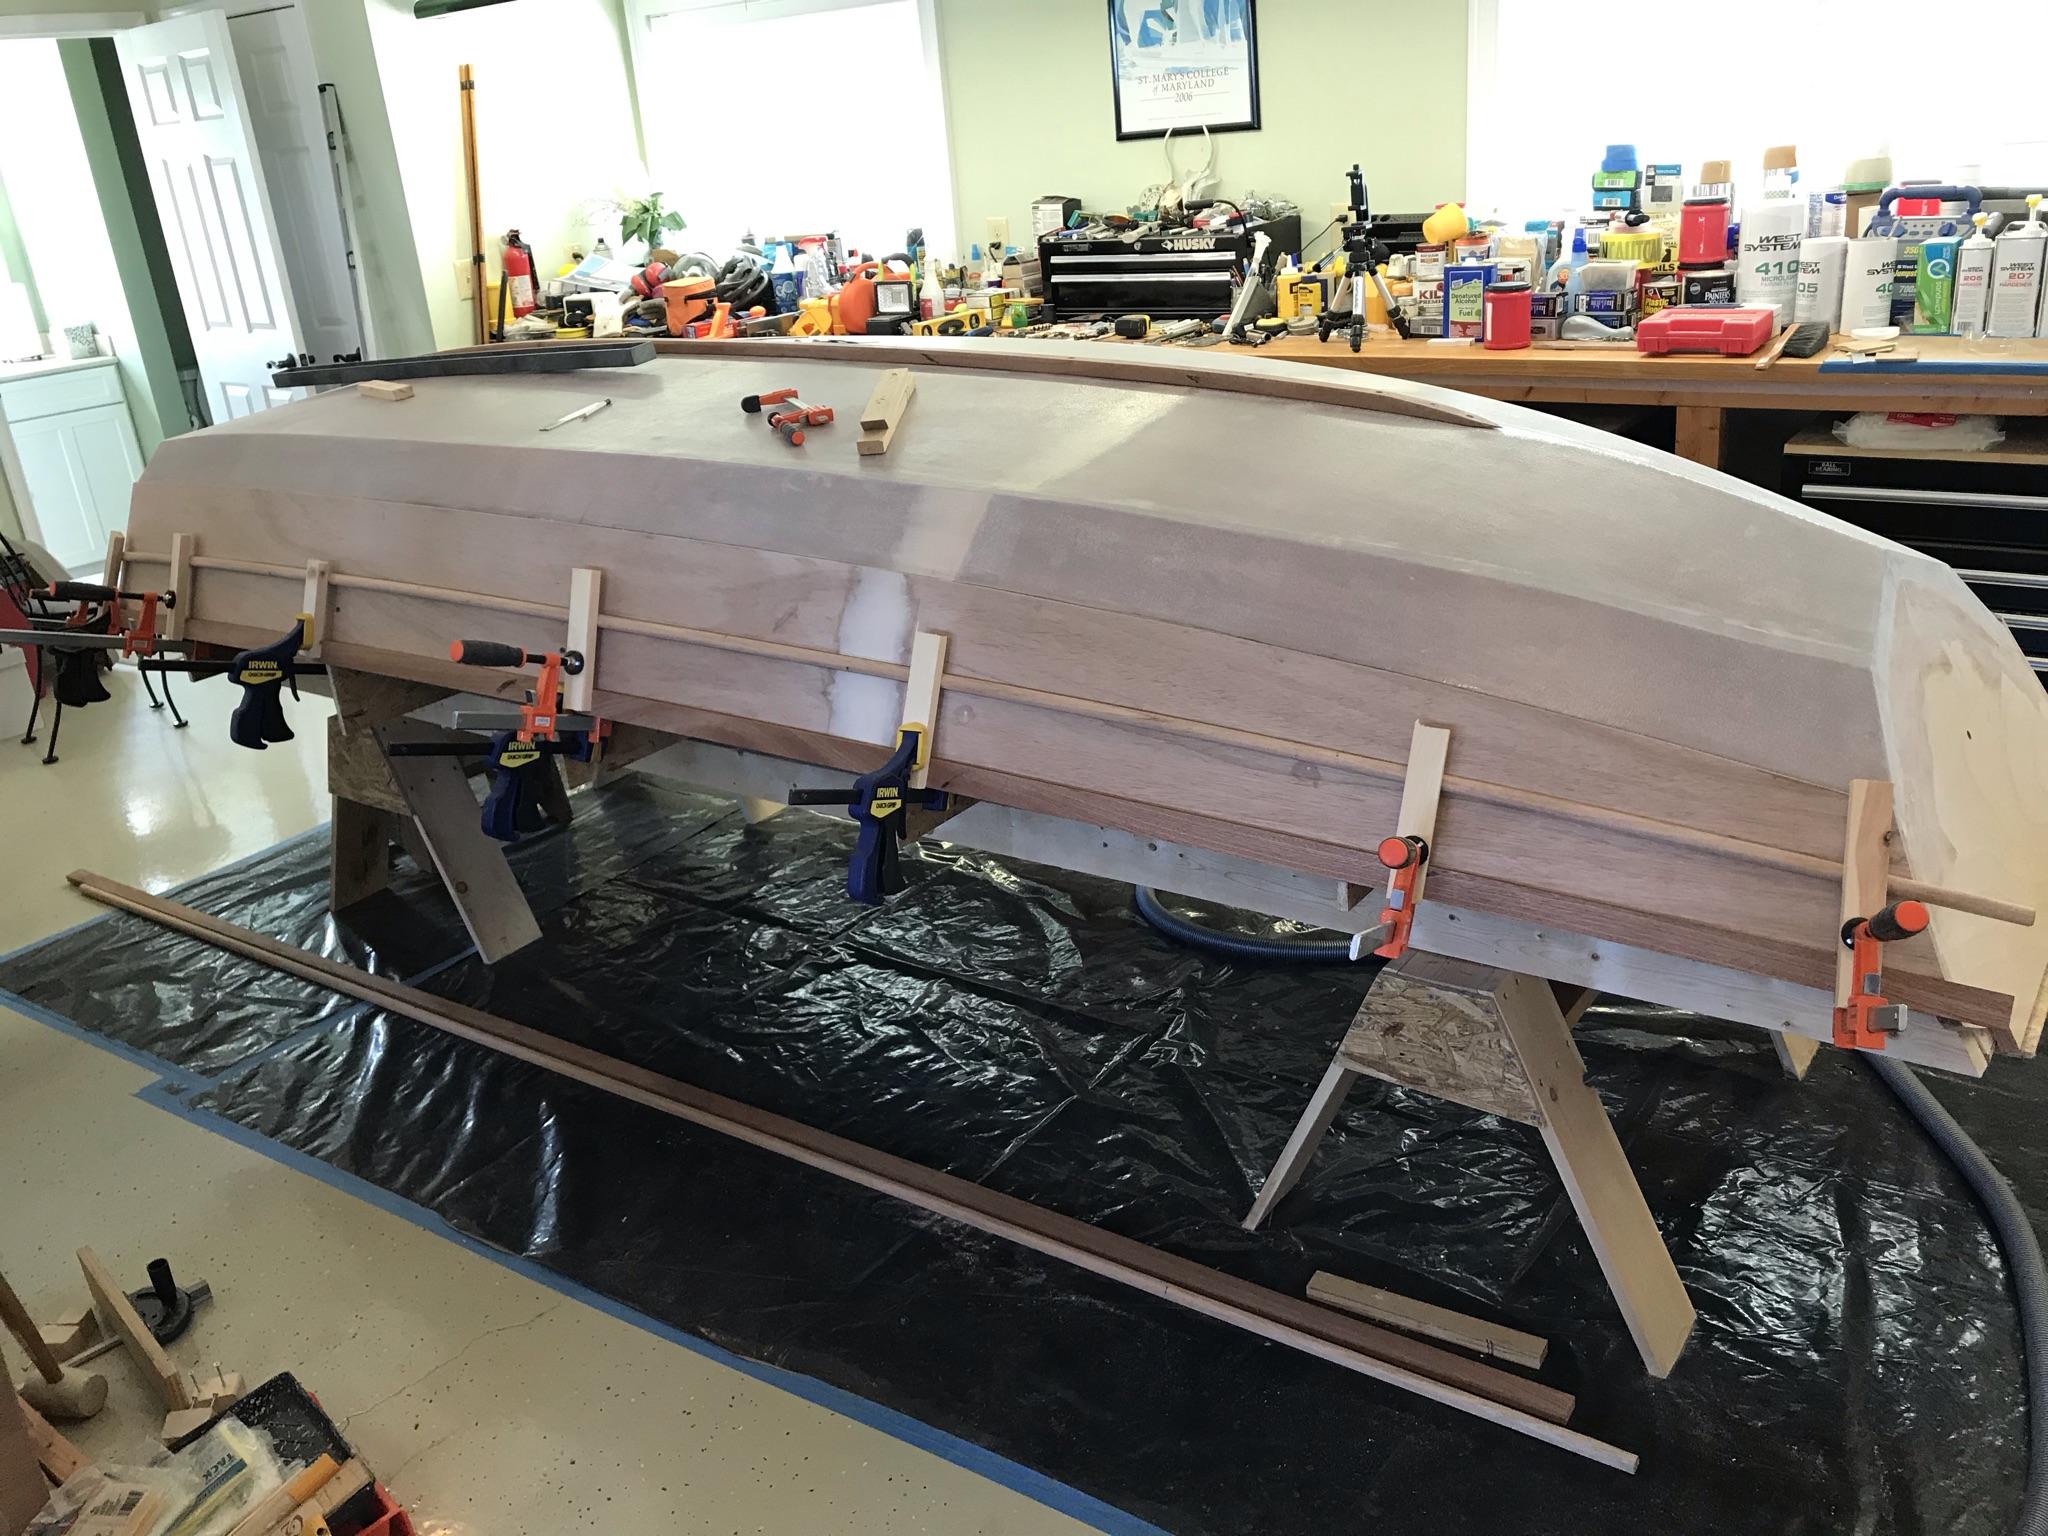
Once I was sure that all the screw holes were in the right place, I then took off both guards and primed them with unthickened epoxy. I then mixed some thickened epoxy and applied it to the outside of the boat where the lines marked the guard positions. At that point, I could start re-installing the guards. This is much harder now because the epoxy makes it very slippery.
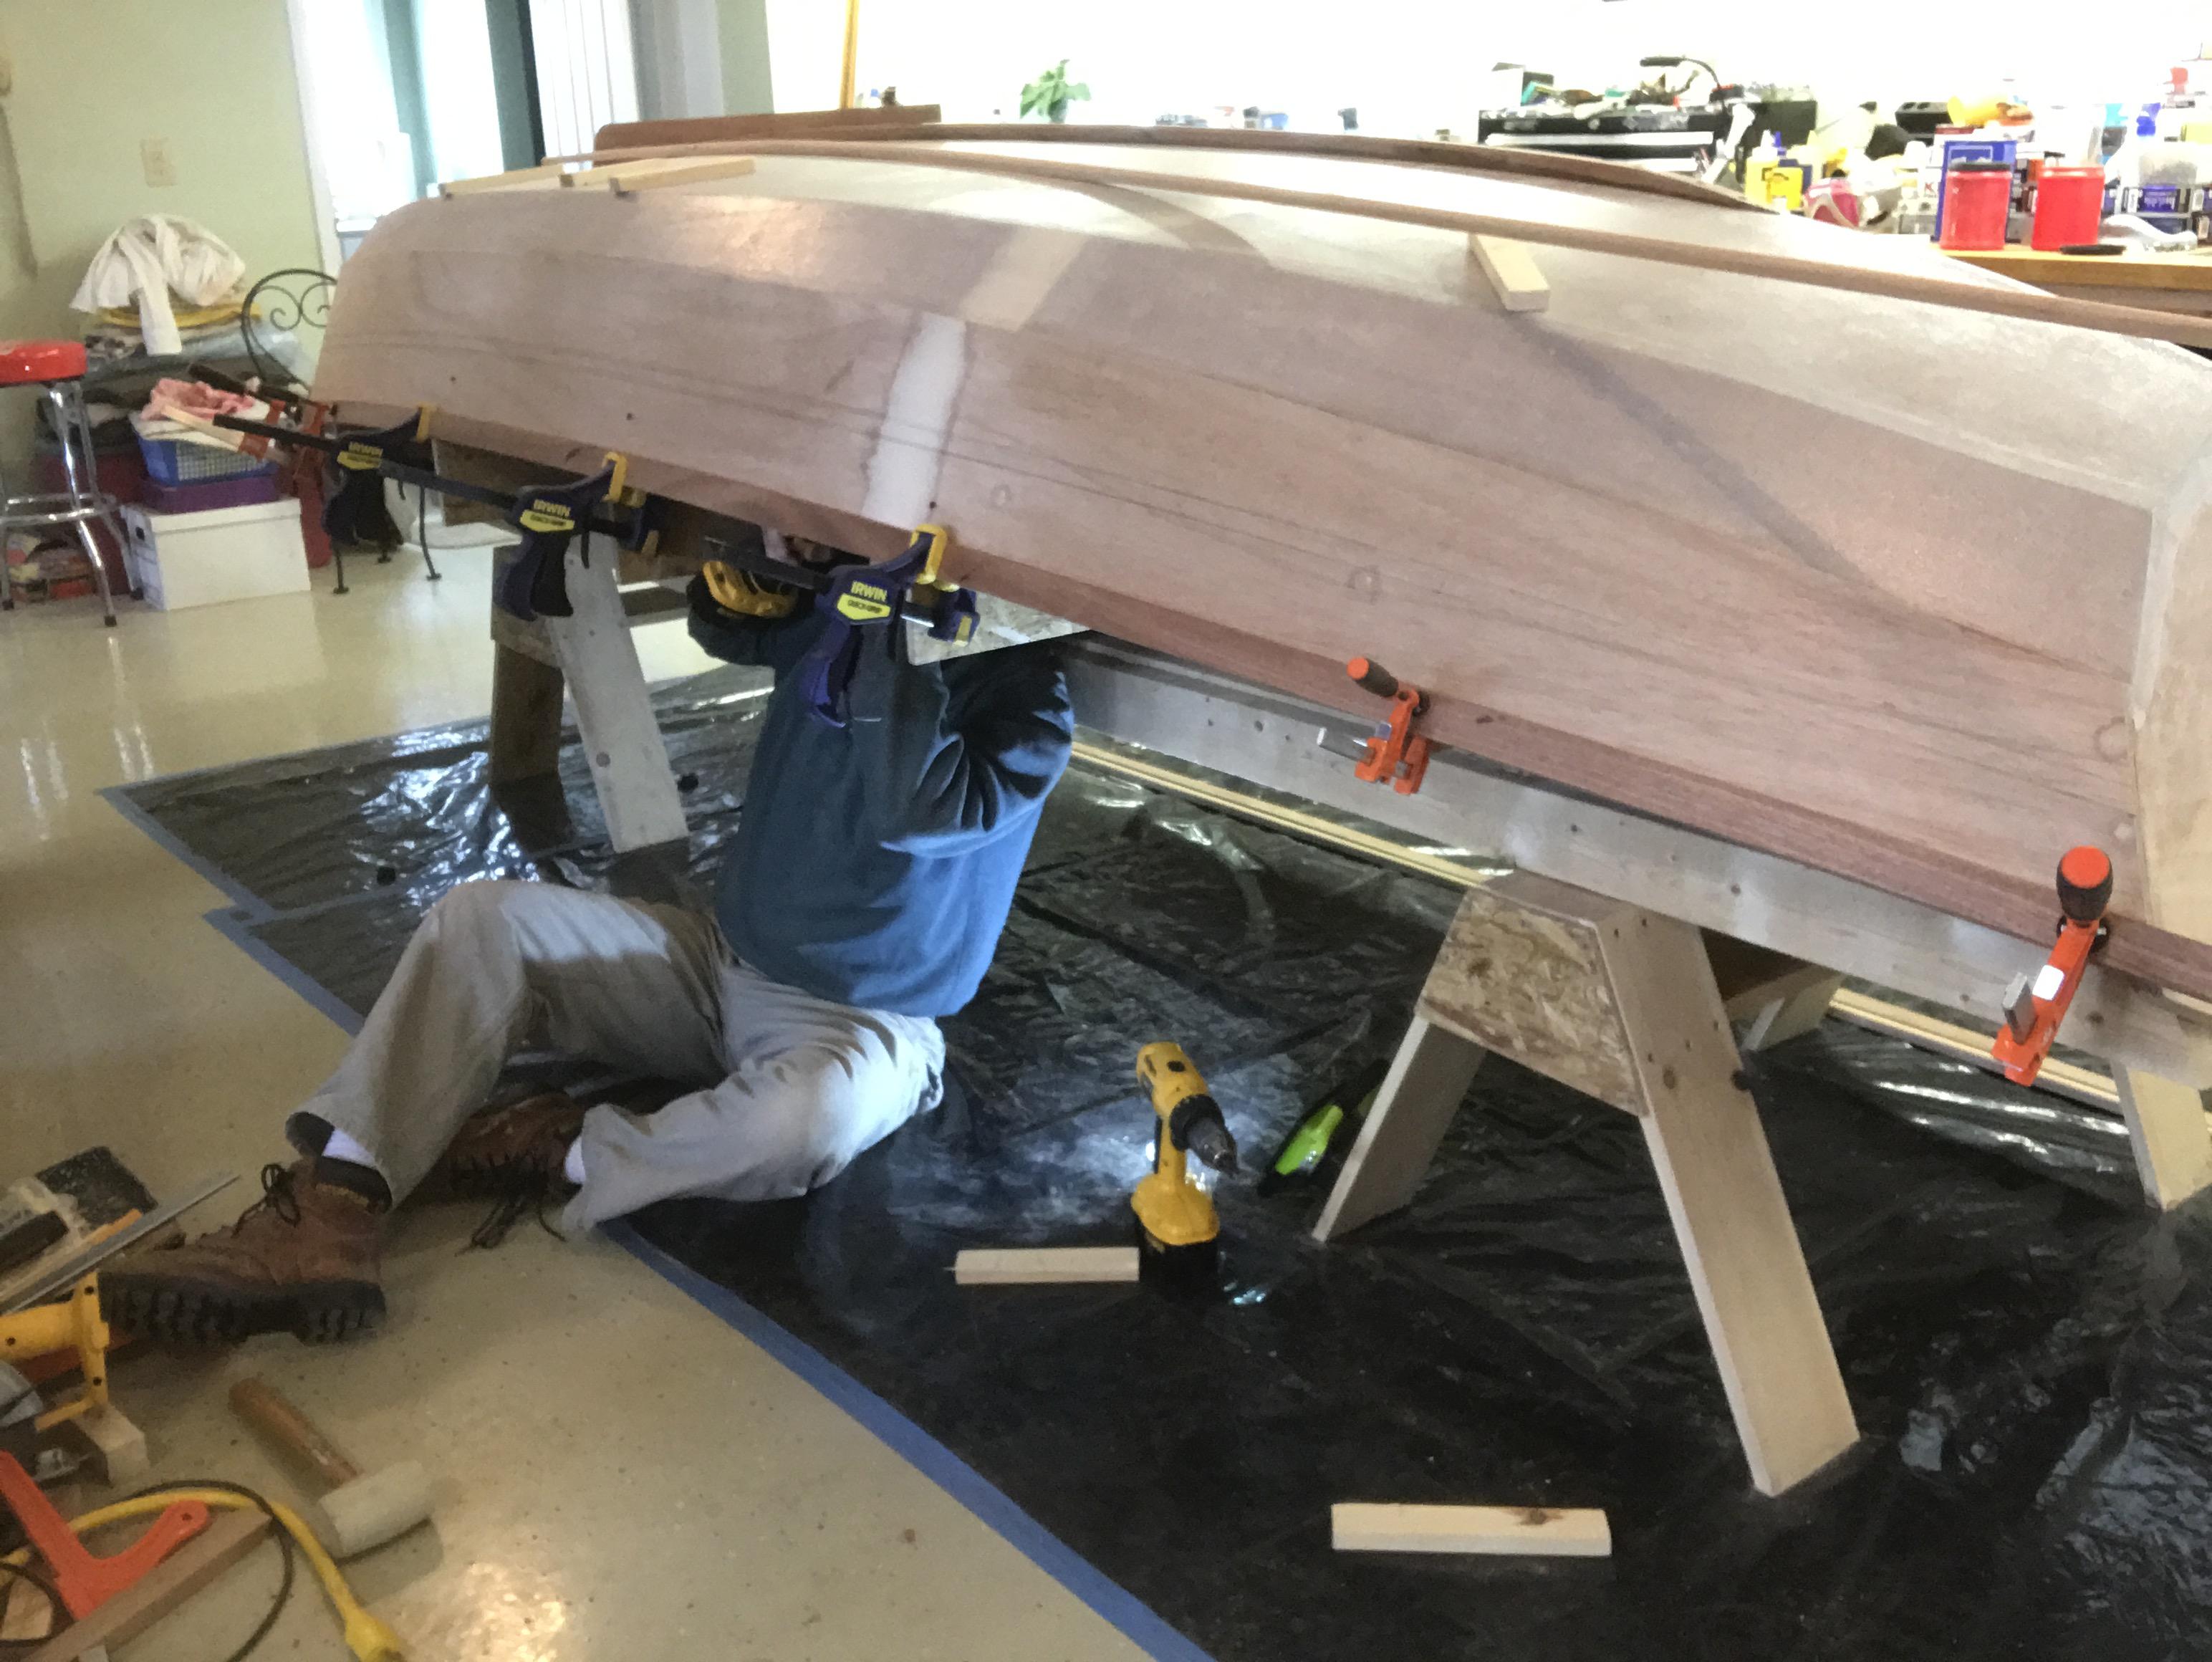
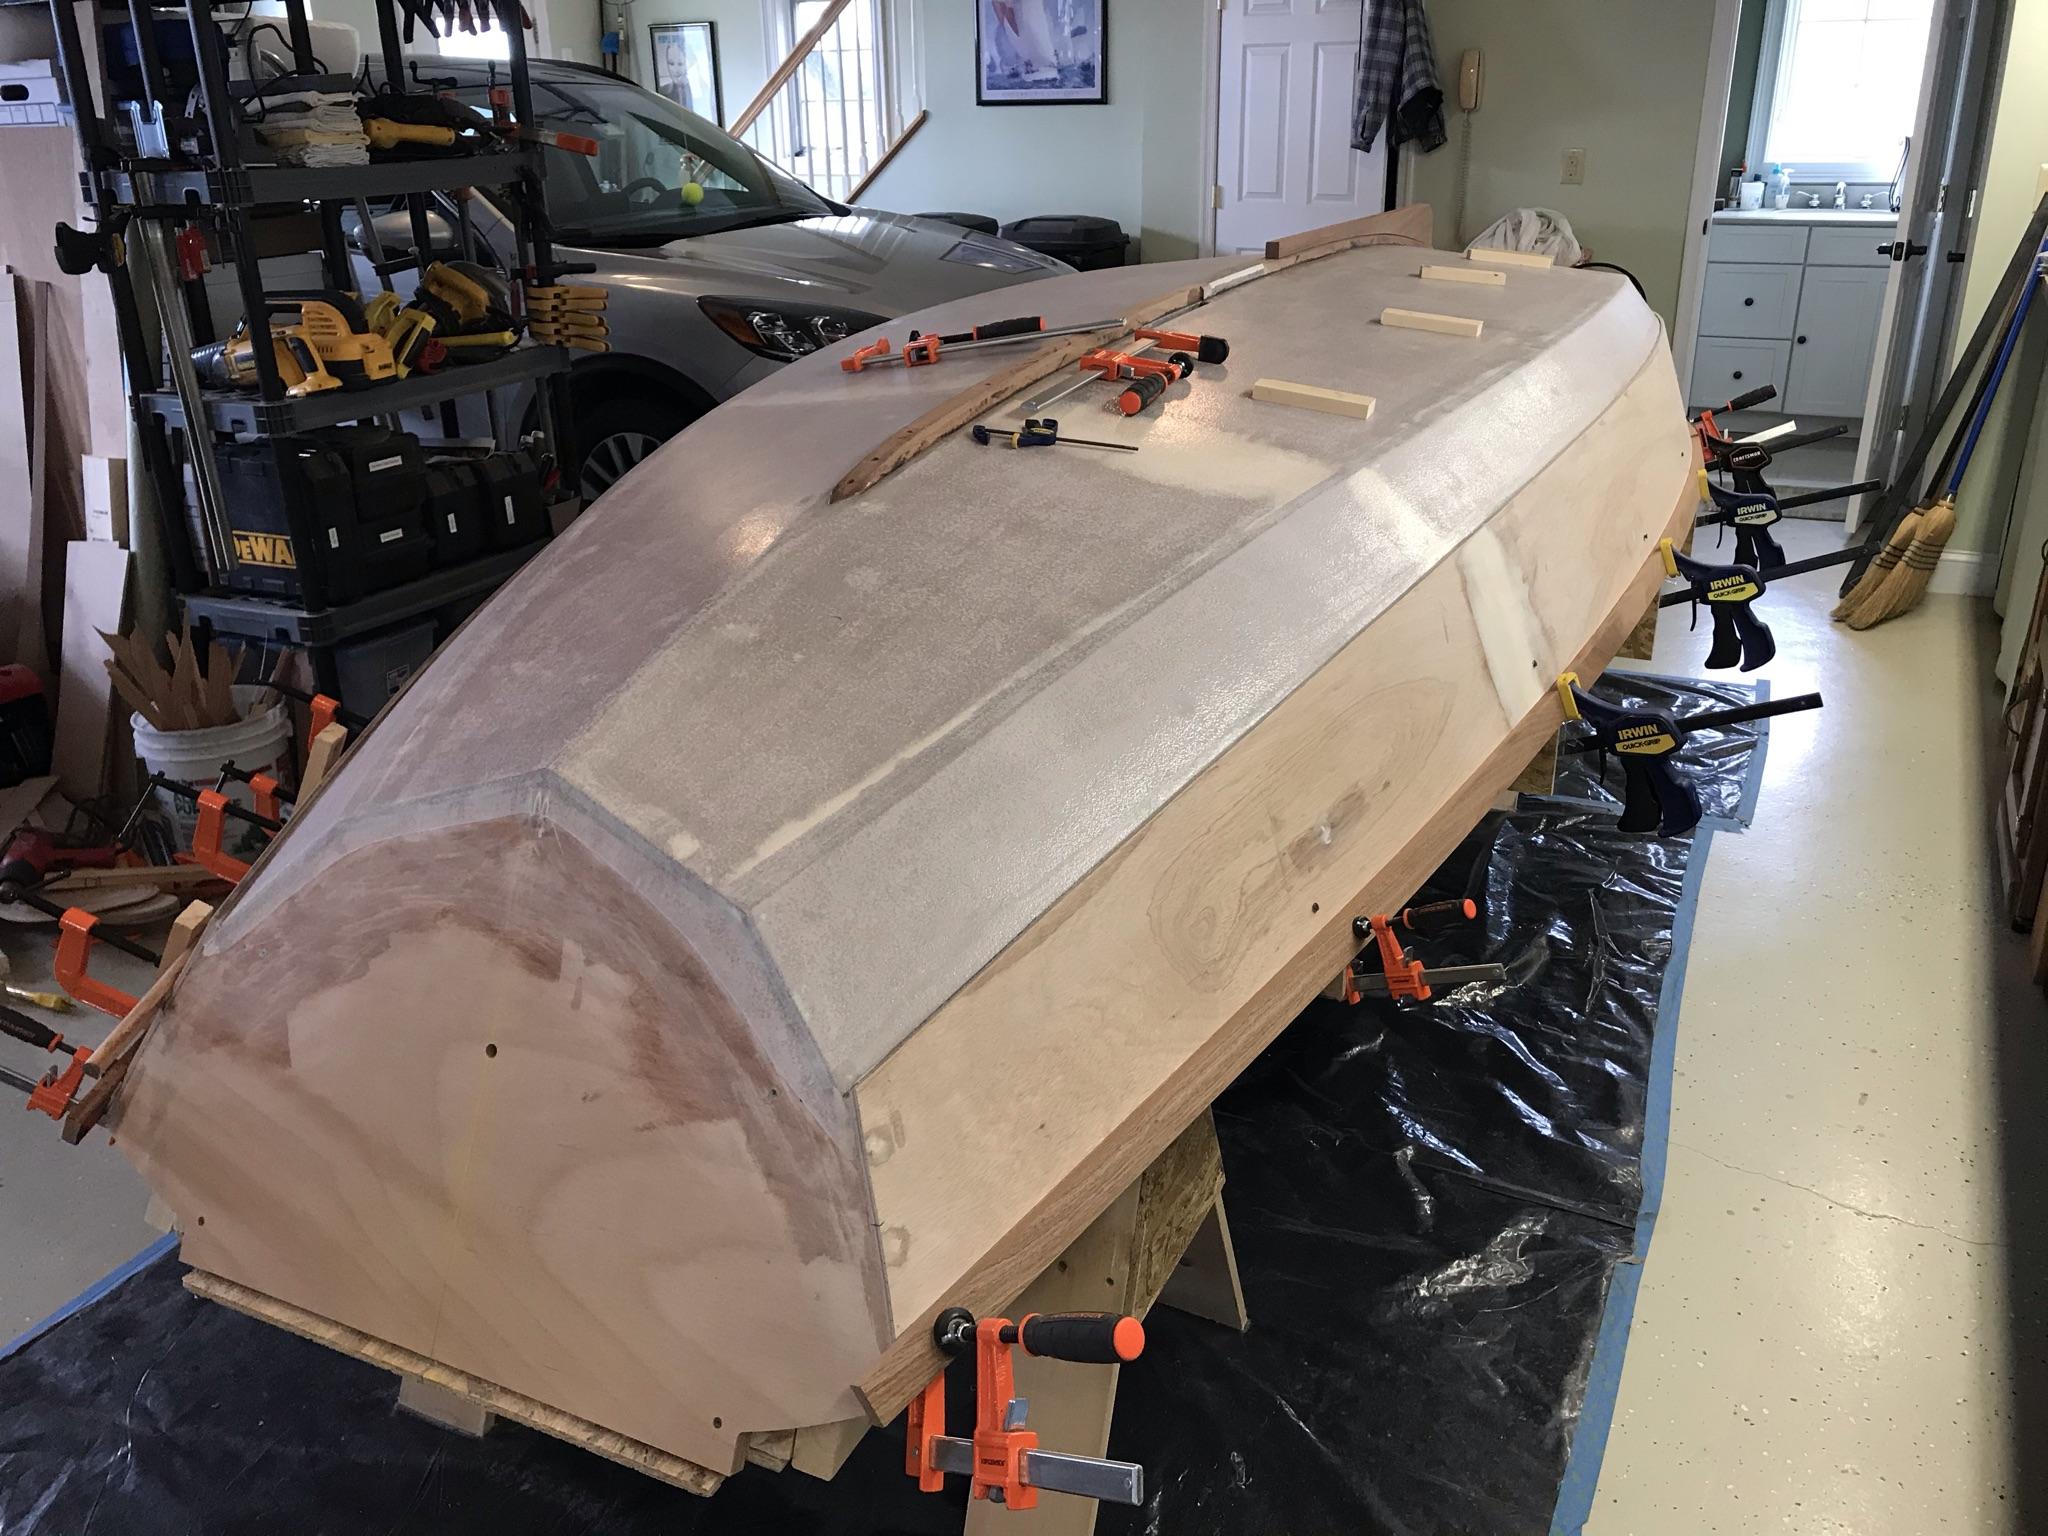
I have a remote control for my camera (in my left hand) but I didn’t take very many pictures because I was too busy doing the work. Once the guards are clamped back in the right place, I then had to go back under the boat and re-install the 39 screws. The screws and clamps cause a lot of thickened epoxy to squeeze out and that, in turn, has to be carefully cleaned up before it hardens. The final result is that I have the port side guards glued and screwed in place.
You may notice that there are a lot of clamps on the front end of the boat. That is because there is not enough room between the mold and the side of the bow to get a screwdriver, so the front end guards are only held by epoxy until the boat is taken off the mold and there is access to put some screws in from the inside.
Tomorrow, the starboard side guards.
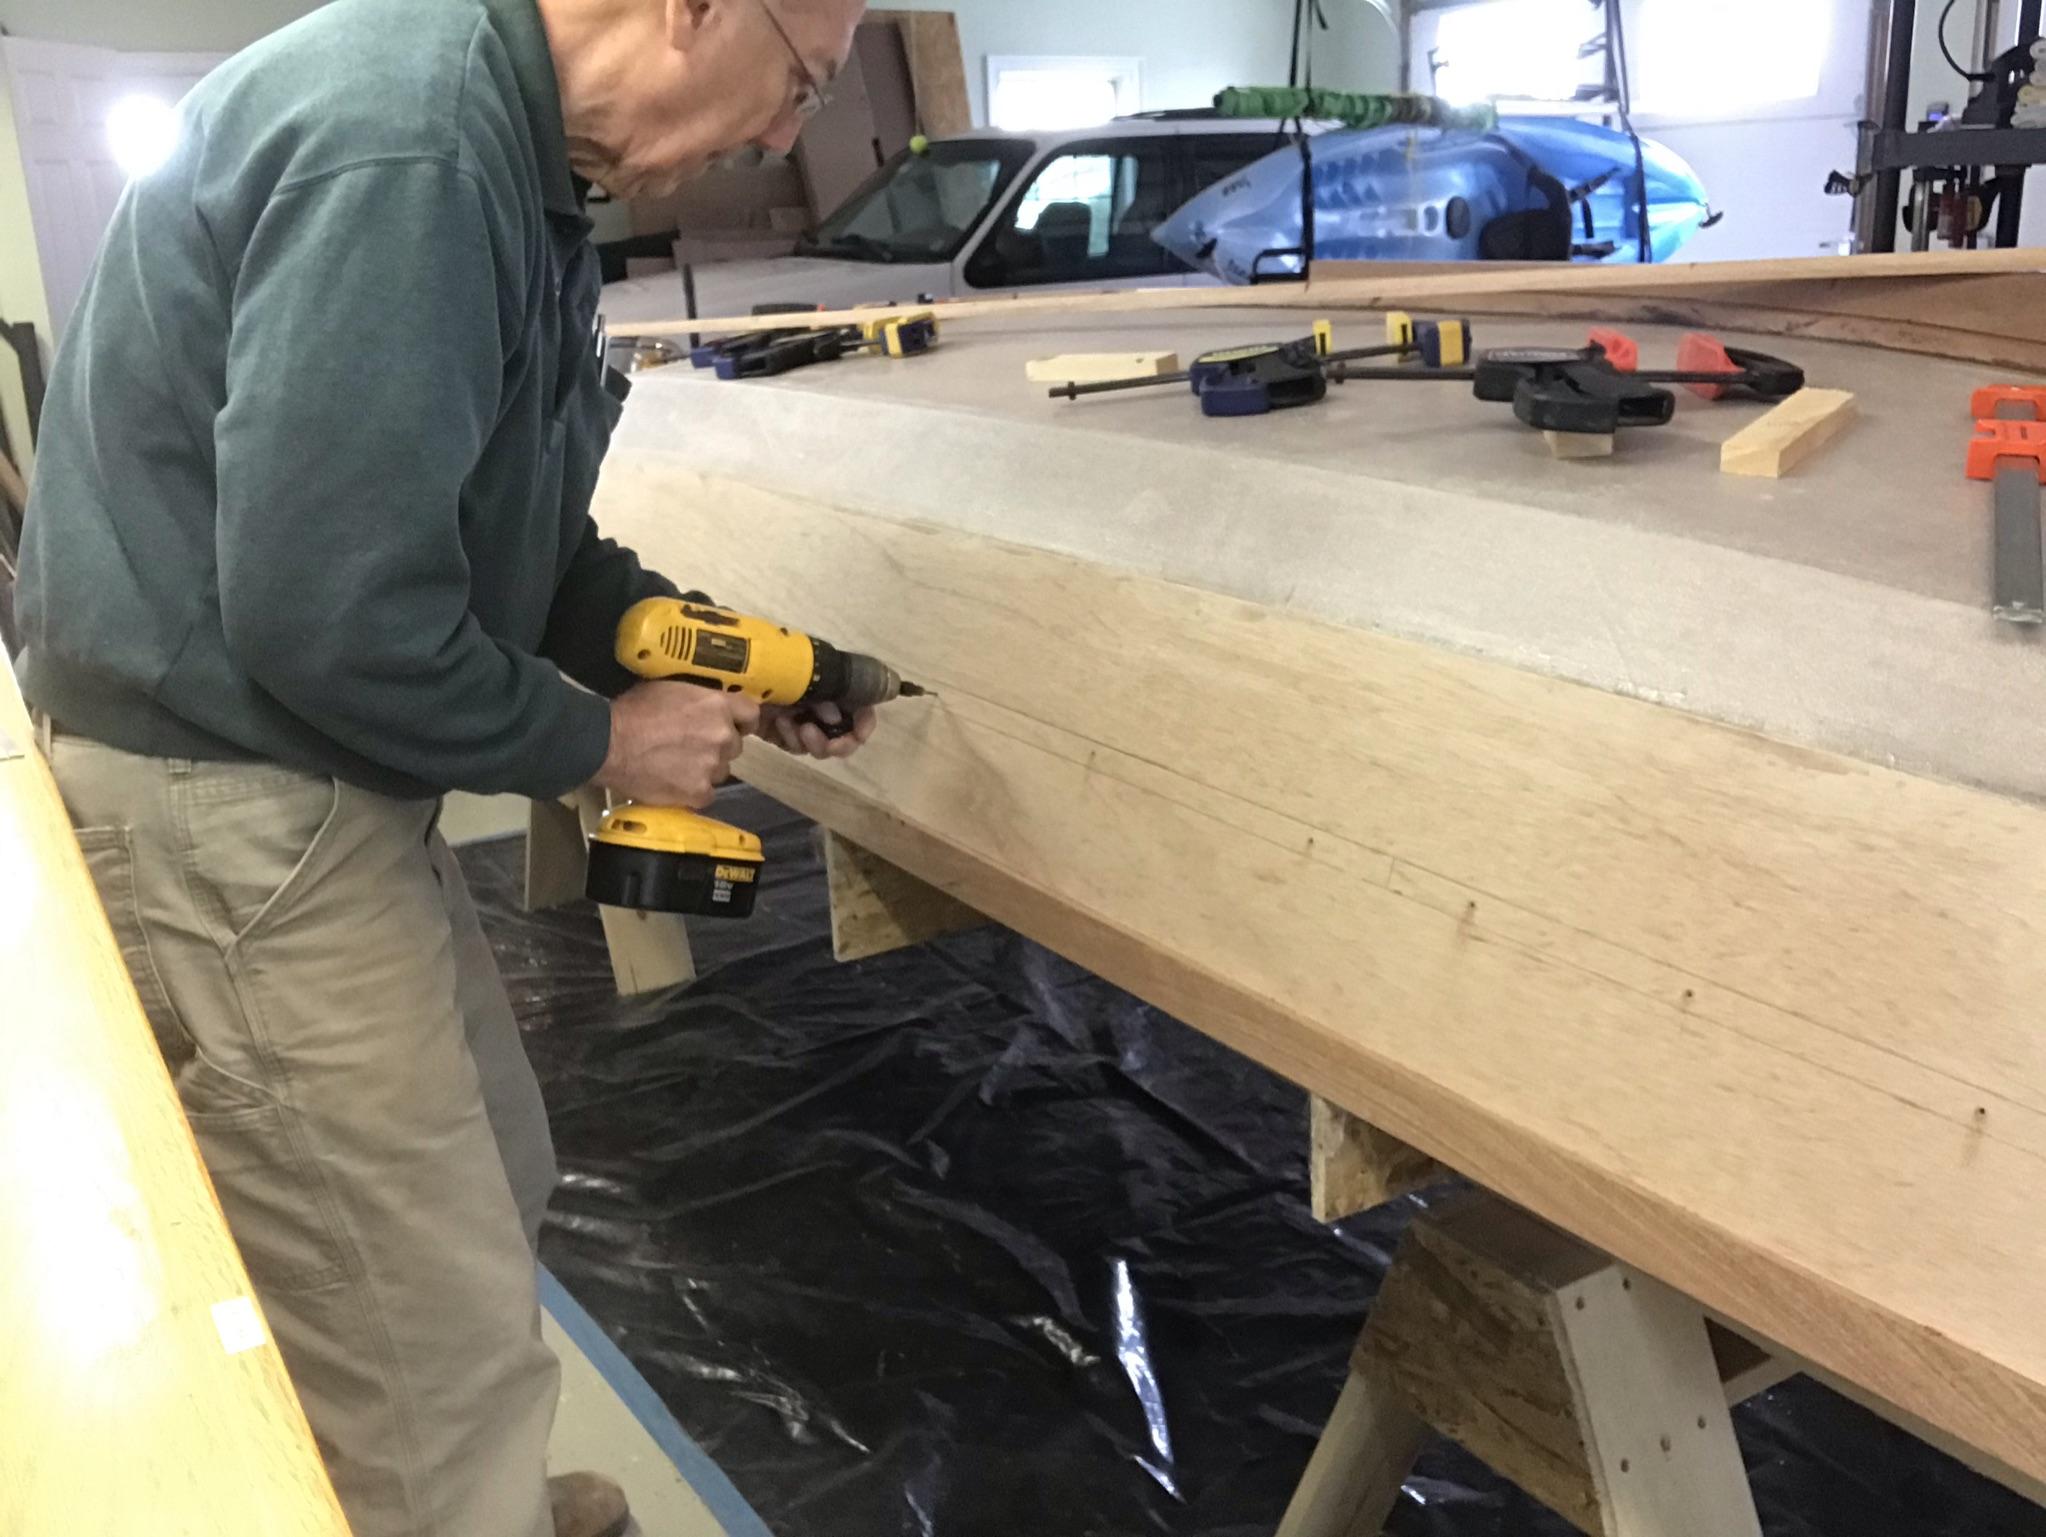
3/19/21 – Yesterday’s experience taught me to only work on 1 guard at a time. I tried to do both at once and I was fighting the clock with the epoxy curing. Today I decided to start on the upper guard, so I drilled and screwed it first.
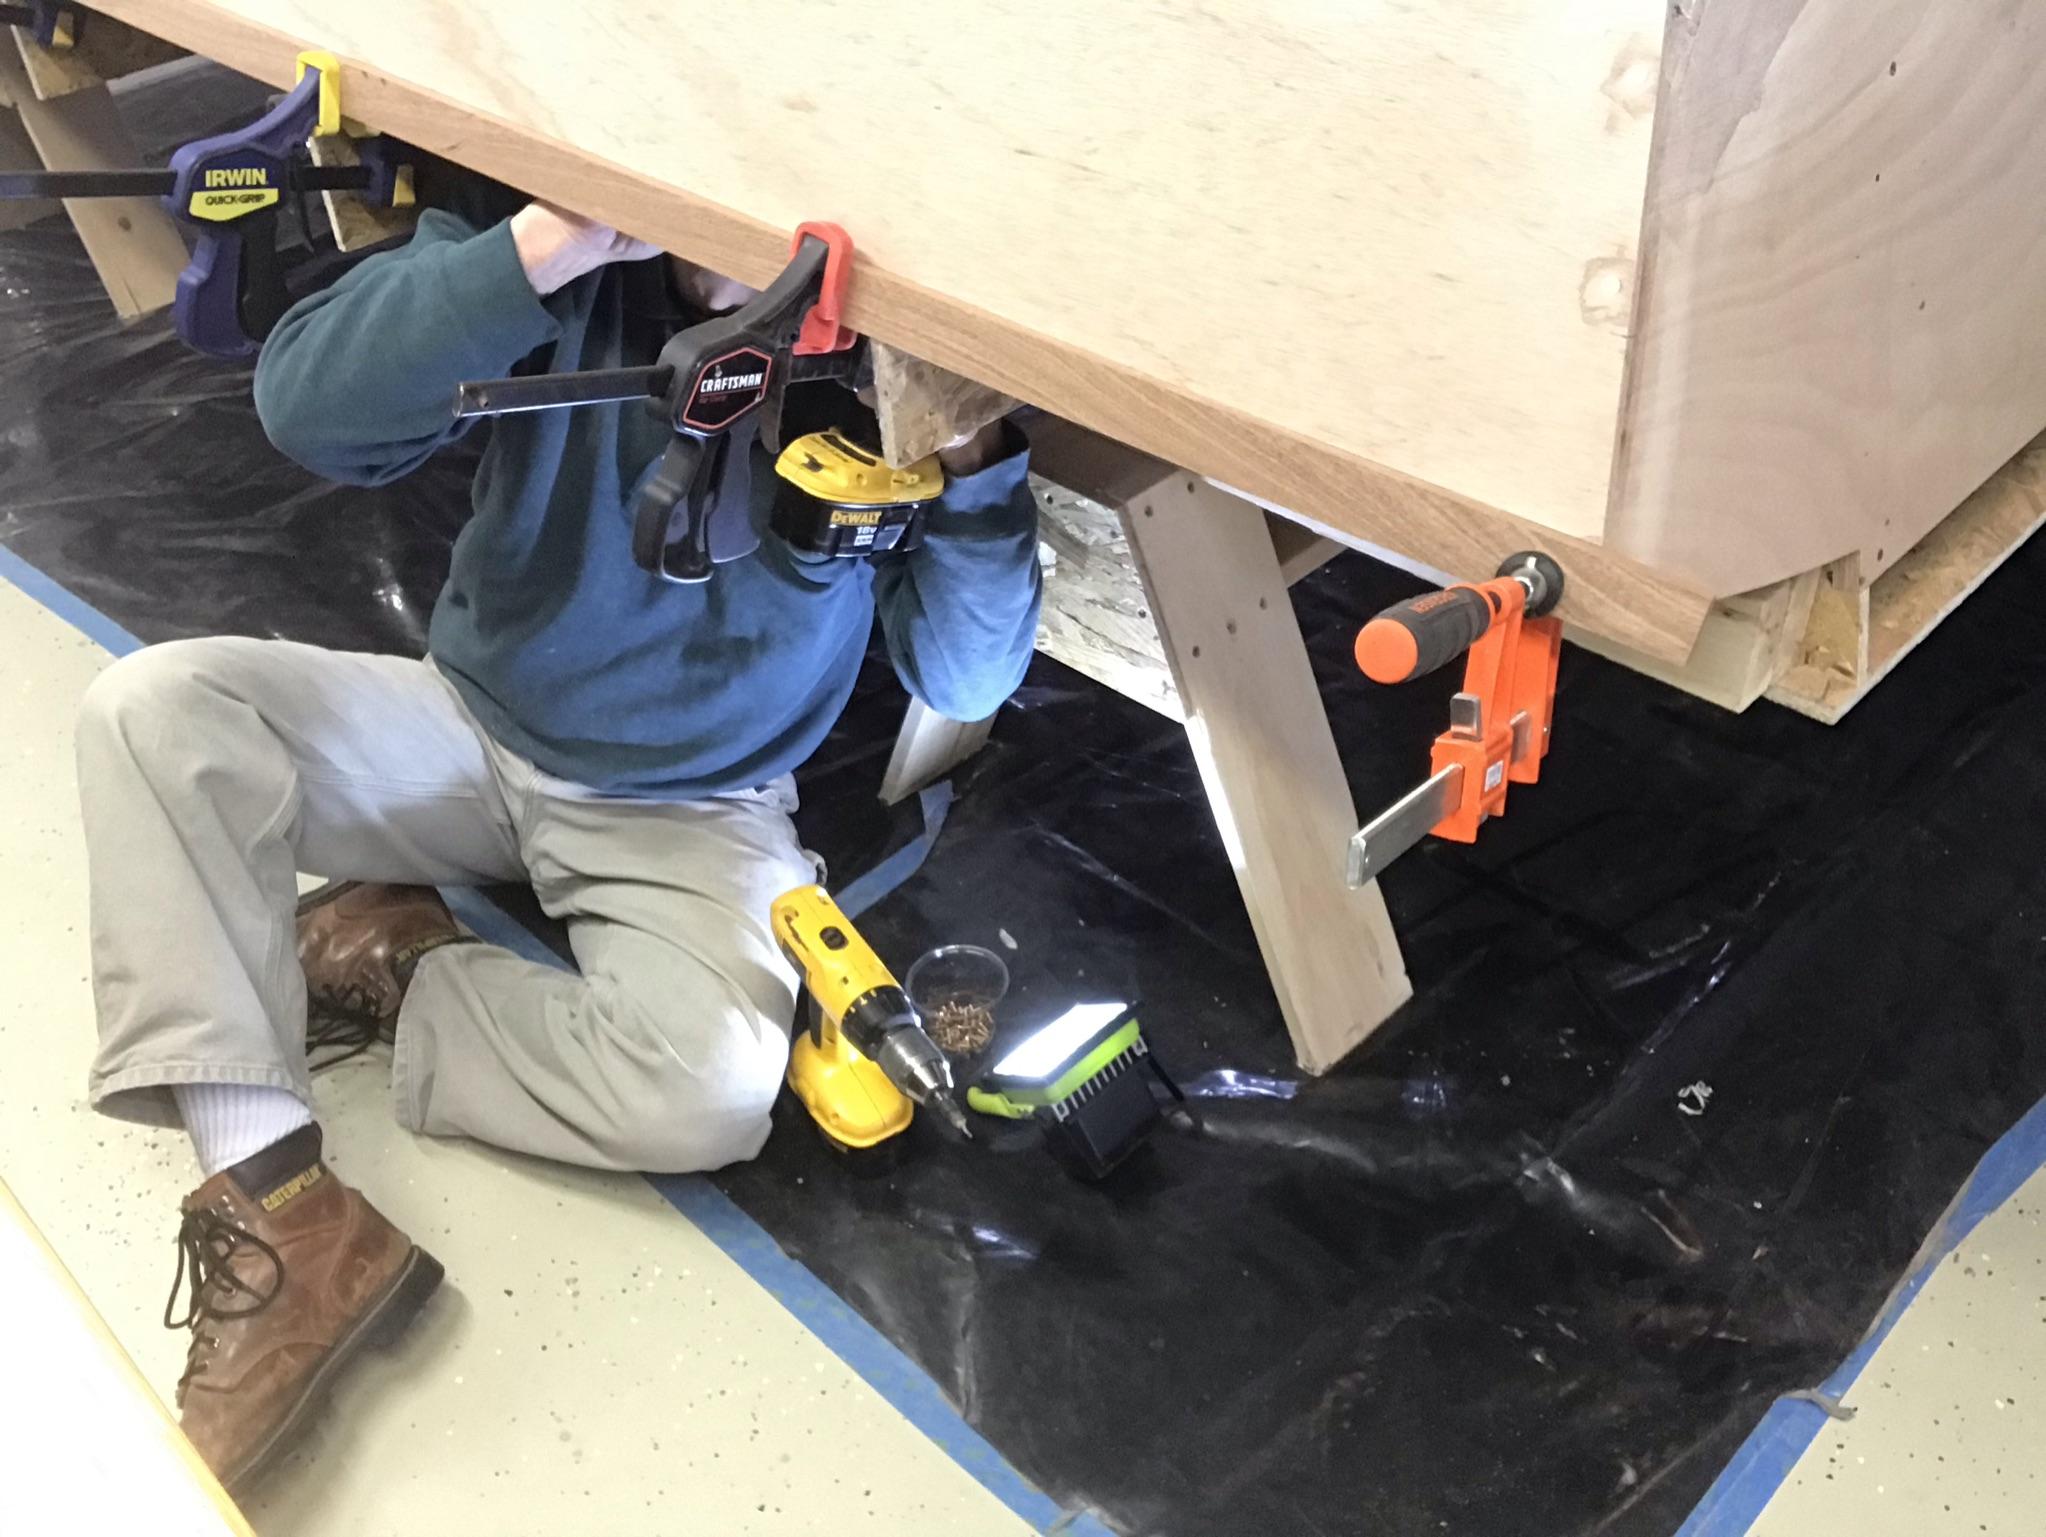
There is no room at the stern to squeeze between the mold and the boat, so I have to lay on my back drilling out the countersinks, with all the wood shavings landing in my face.
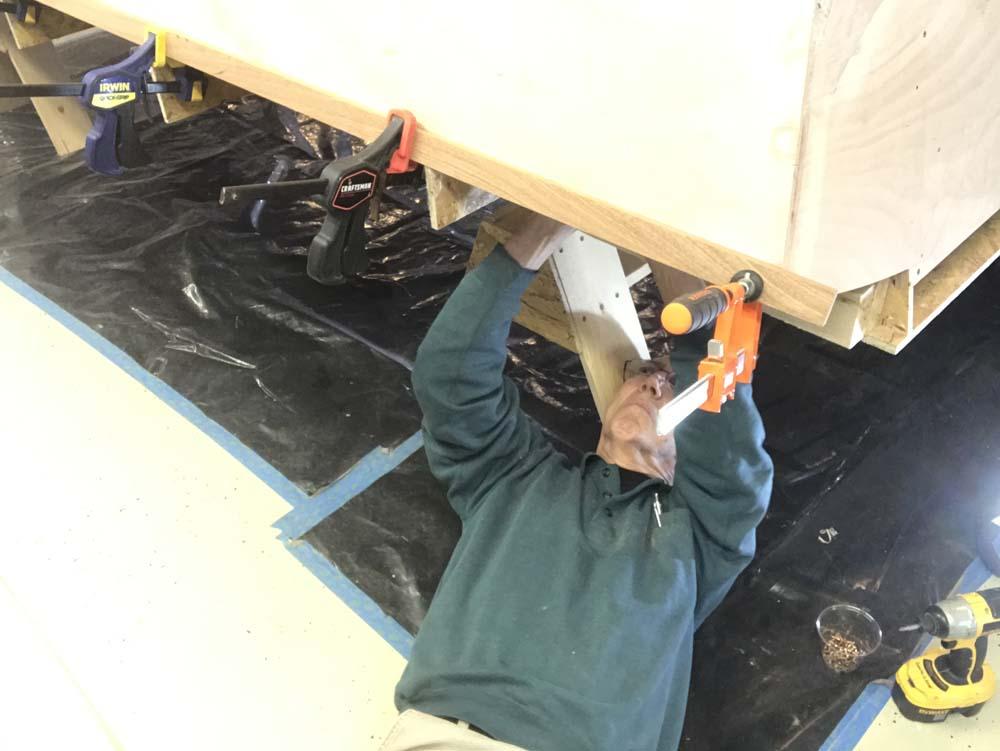
In the middle of the boat, I can squeeze between the mold and the boat to work, but it’s still pretty tight.
After I have secured the upper guard with screws, I can drill pilot holes from the outside for the lower guard.
Then I replace the lower guard between the lines and can go back under the boat and drill out all the countersinks and place the screws to make sure they fit.
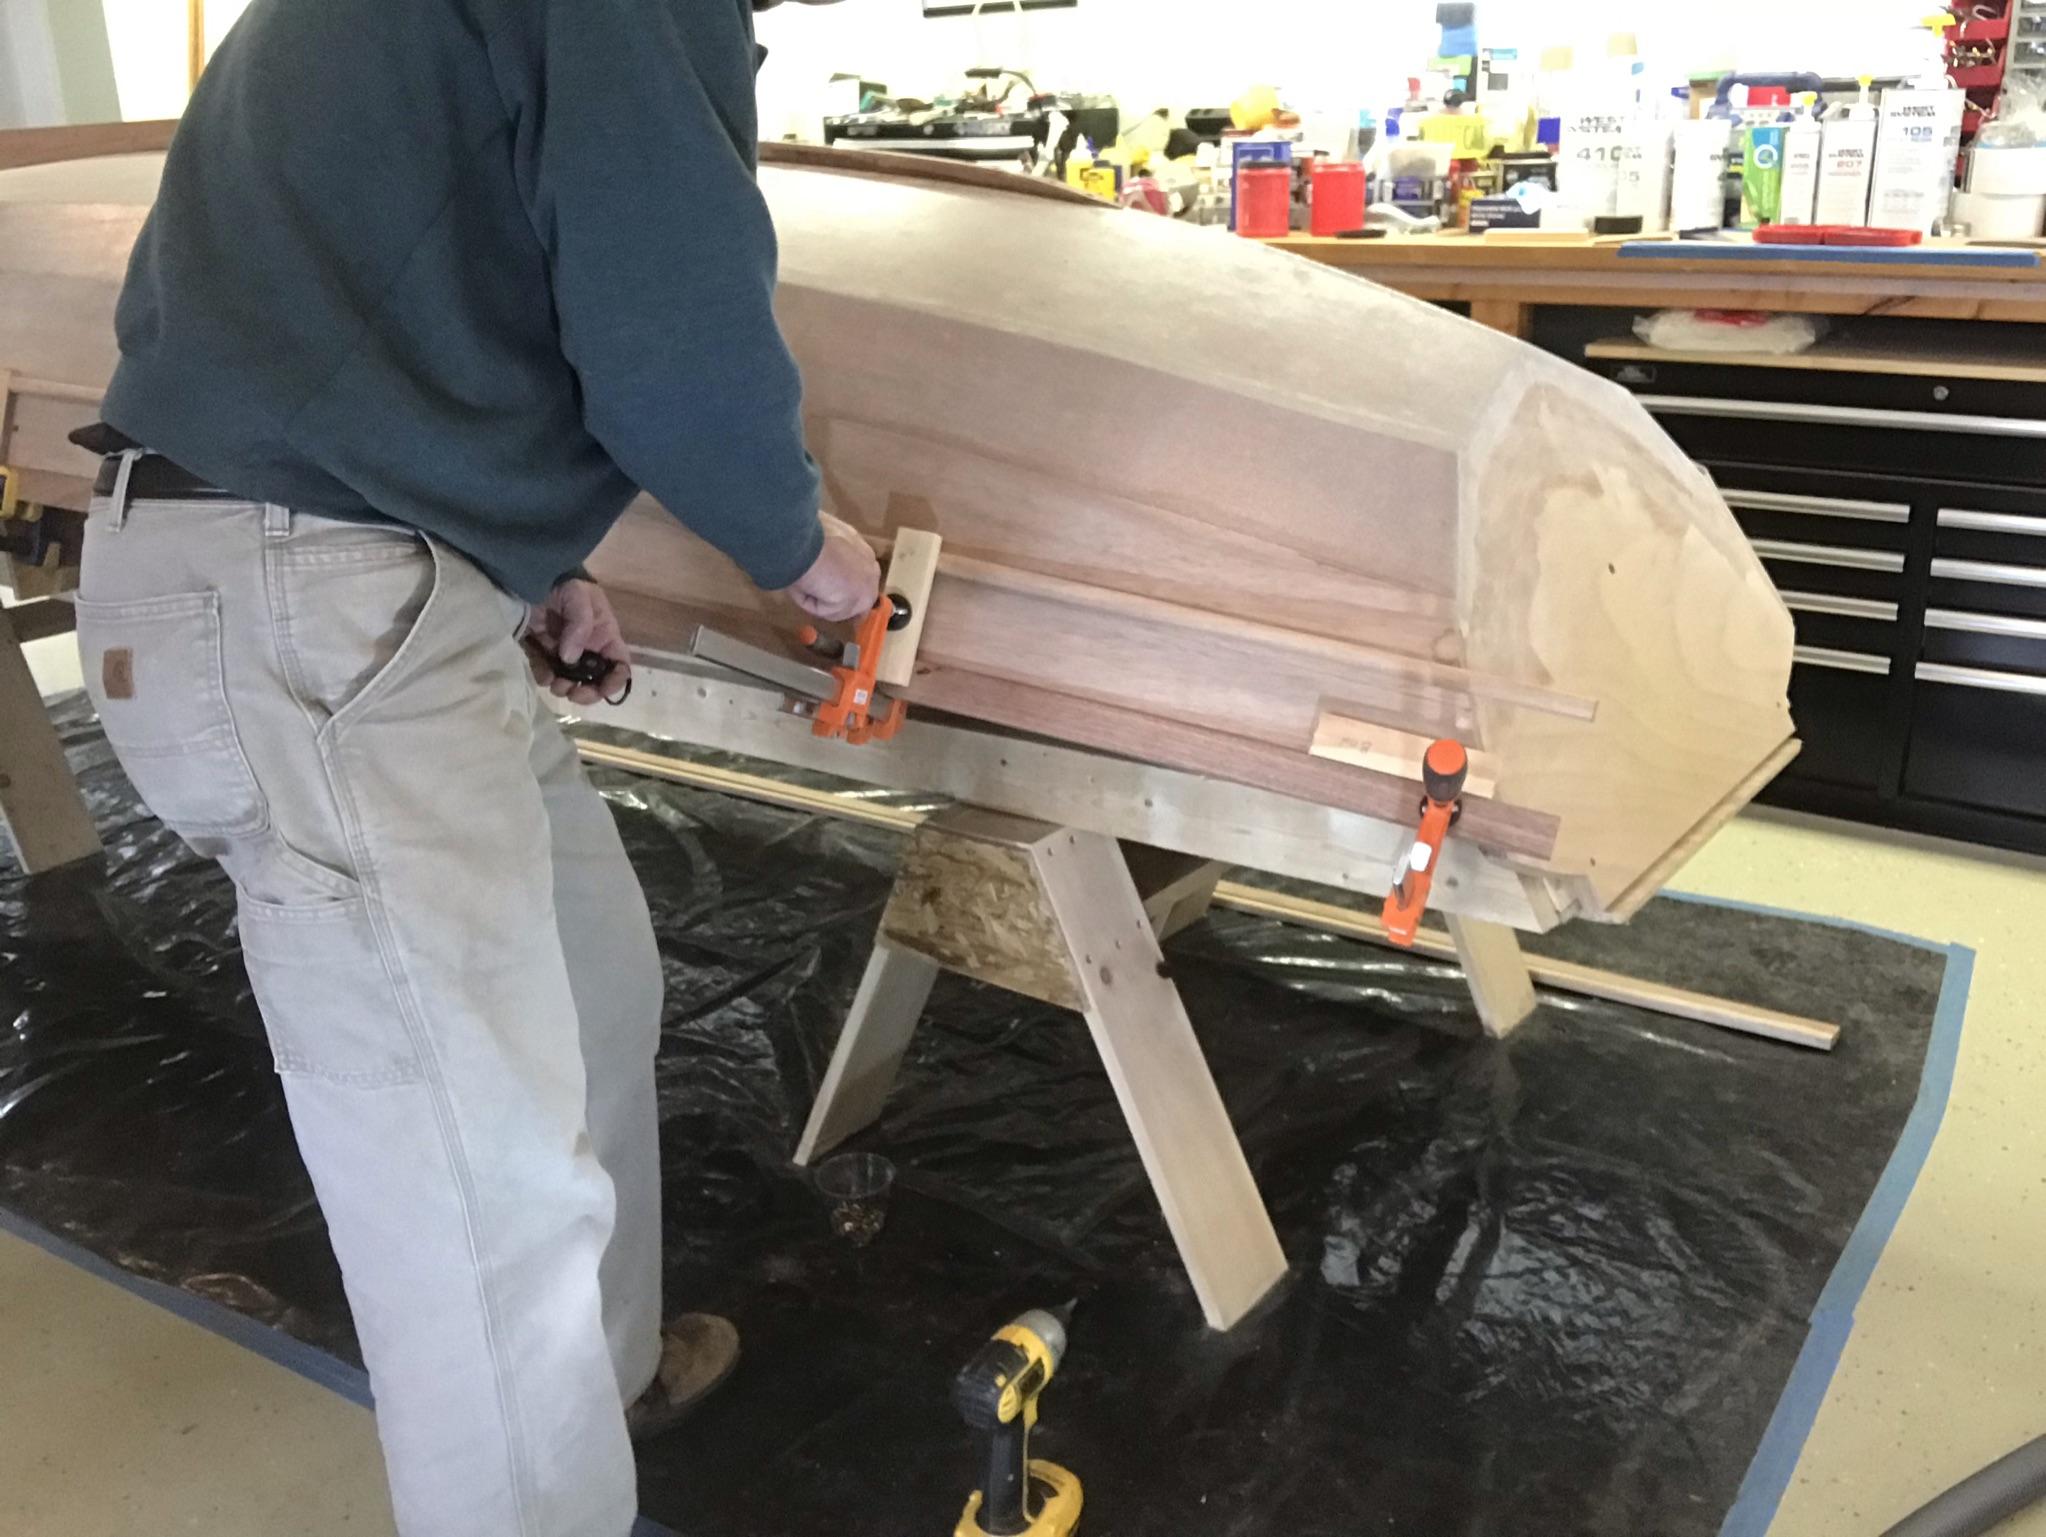
After I confirm that all the screws are in the right place, I have to go back under the boat and remove all the screws so that I can apply the epoxy. Today I am only epoxying 1 guard at a time. Here I am cleaning up all the squeeze out from epoxying the upper guard.

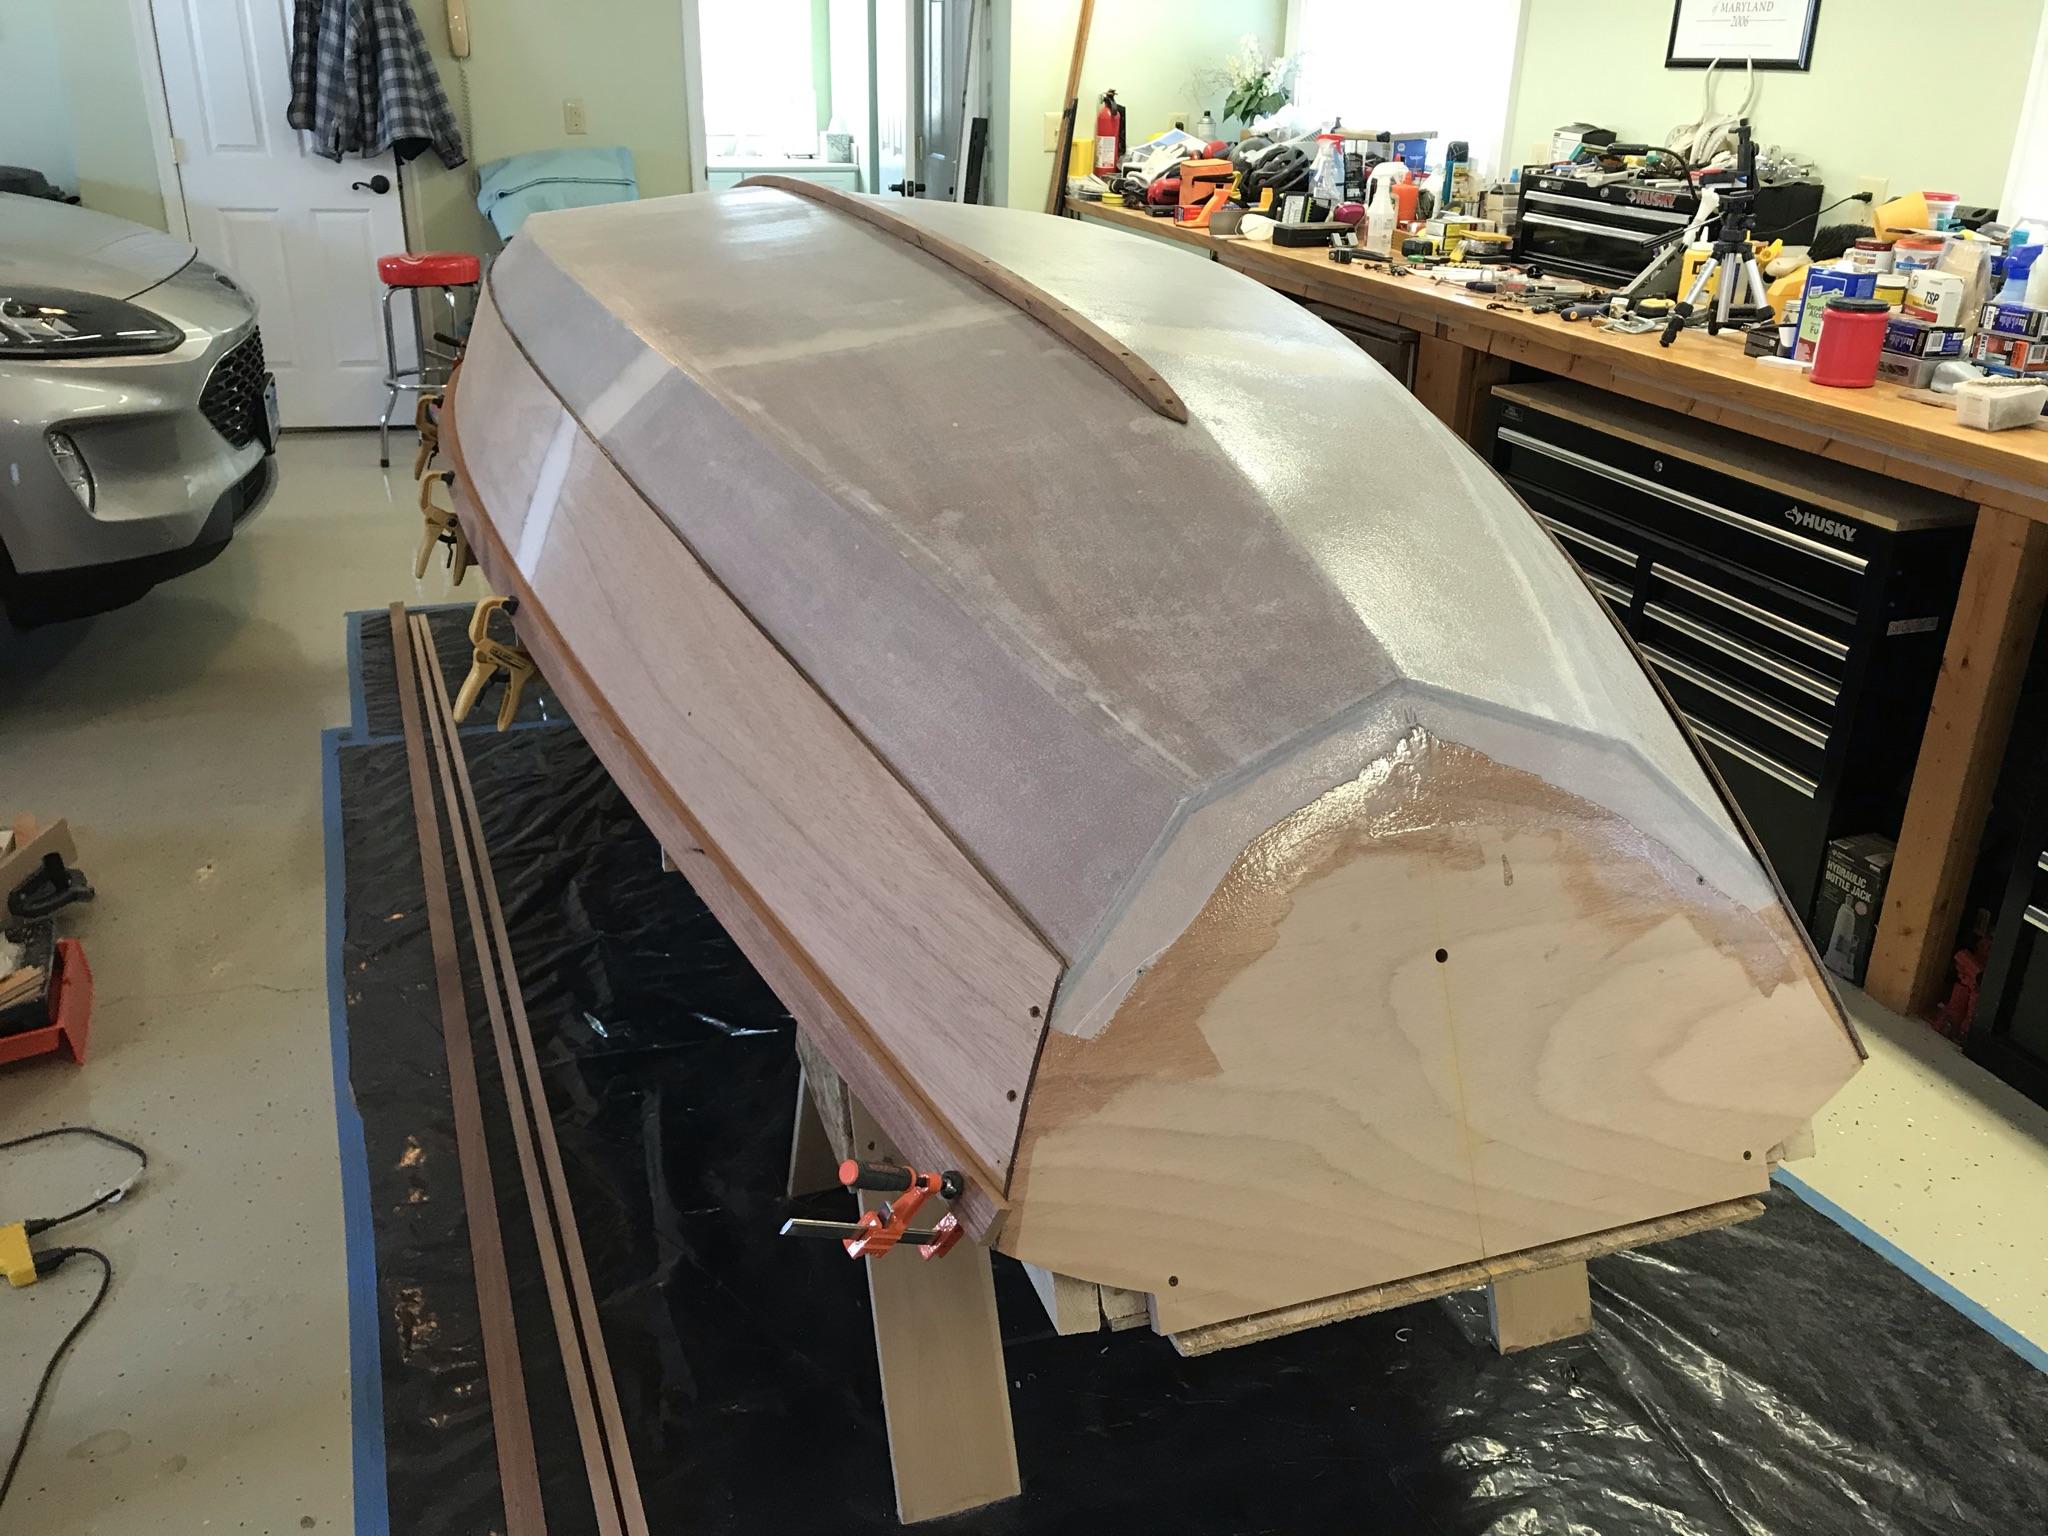
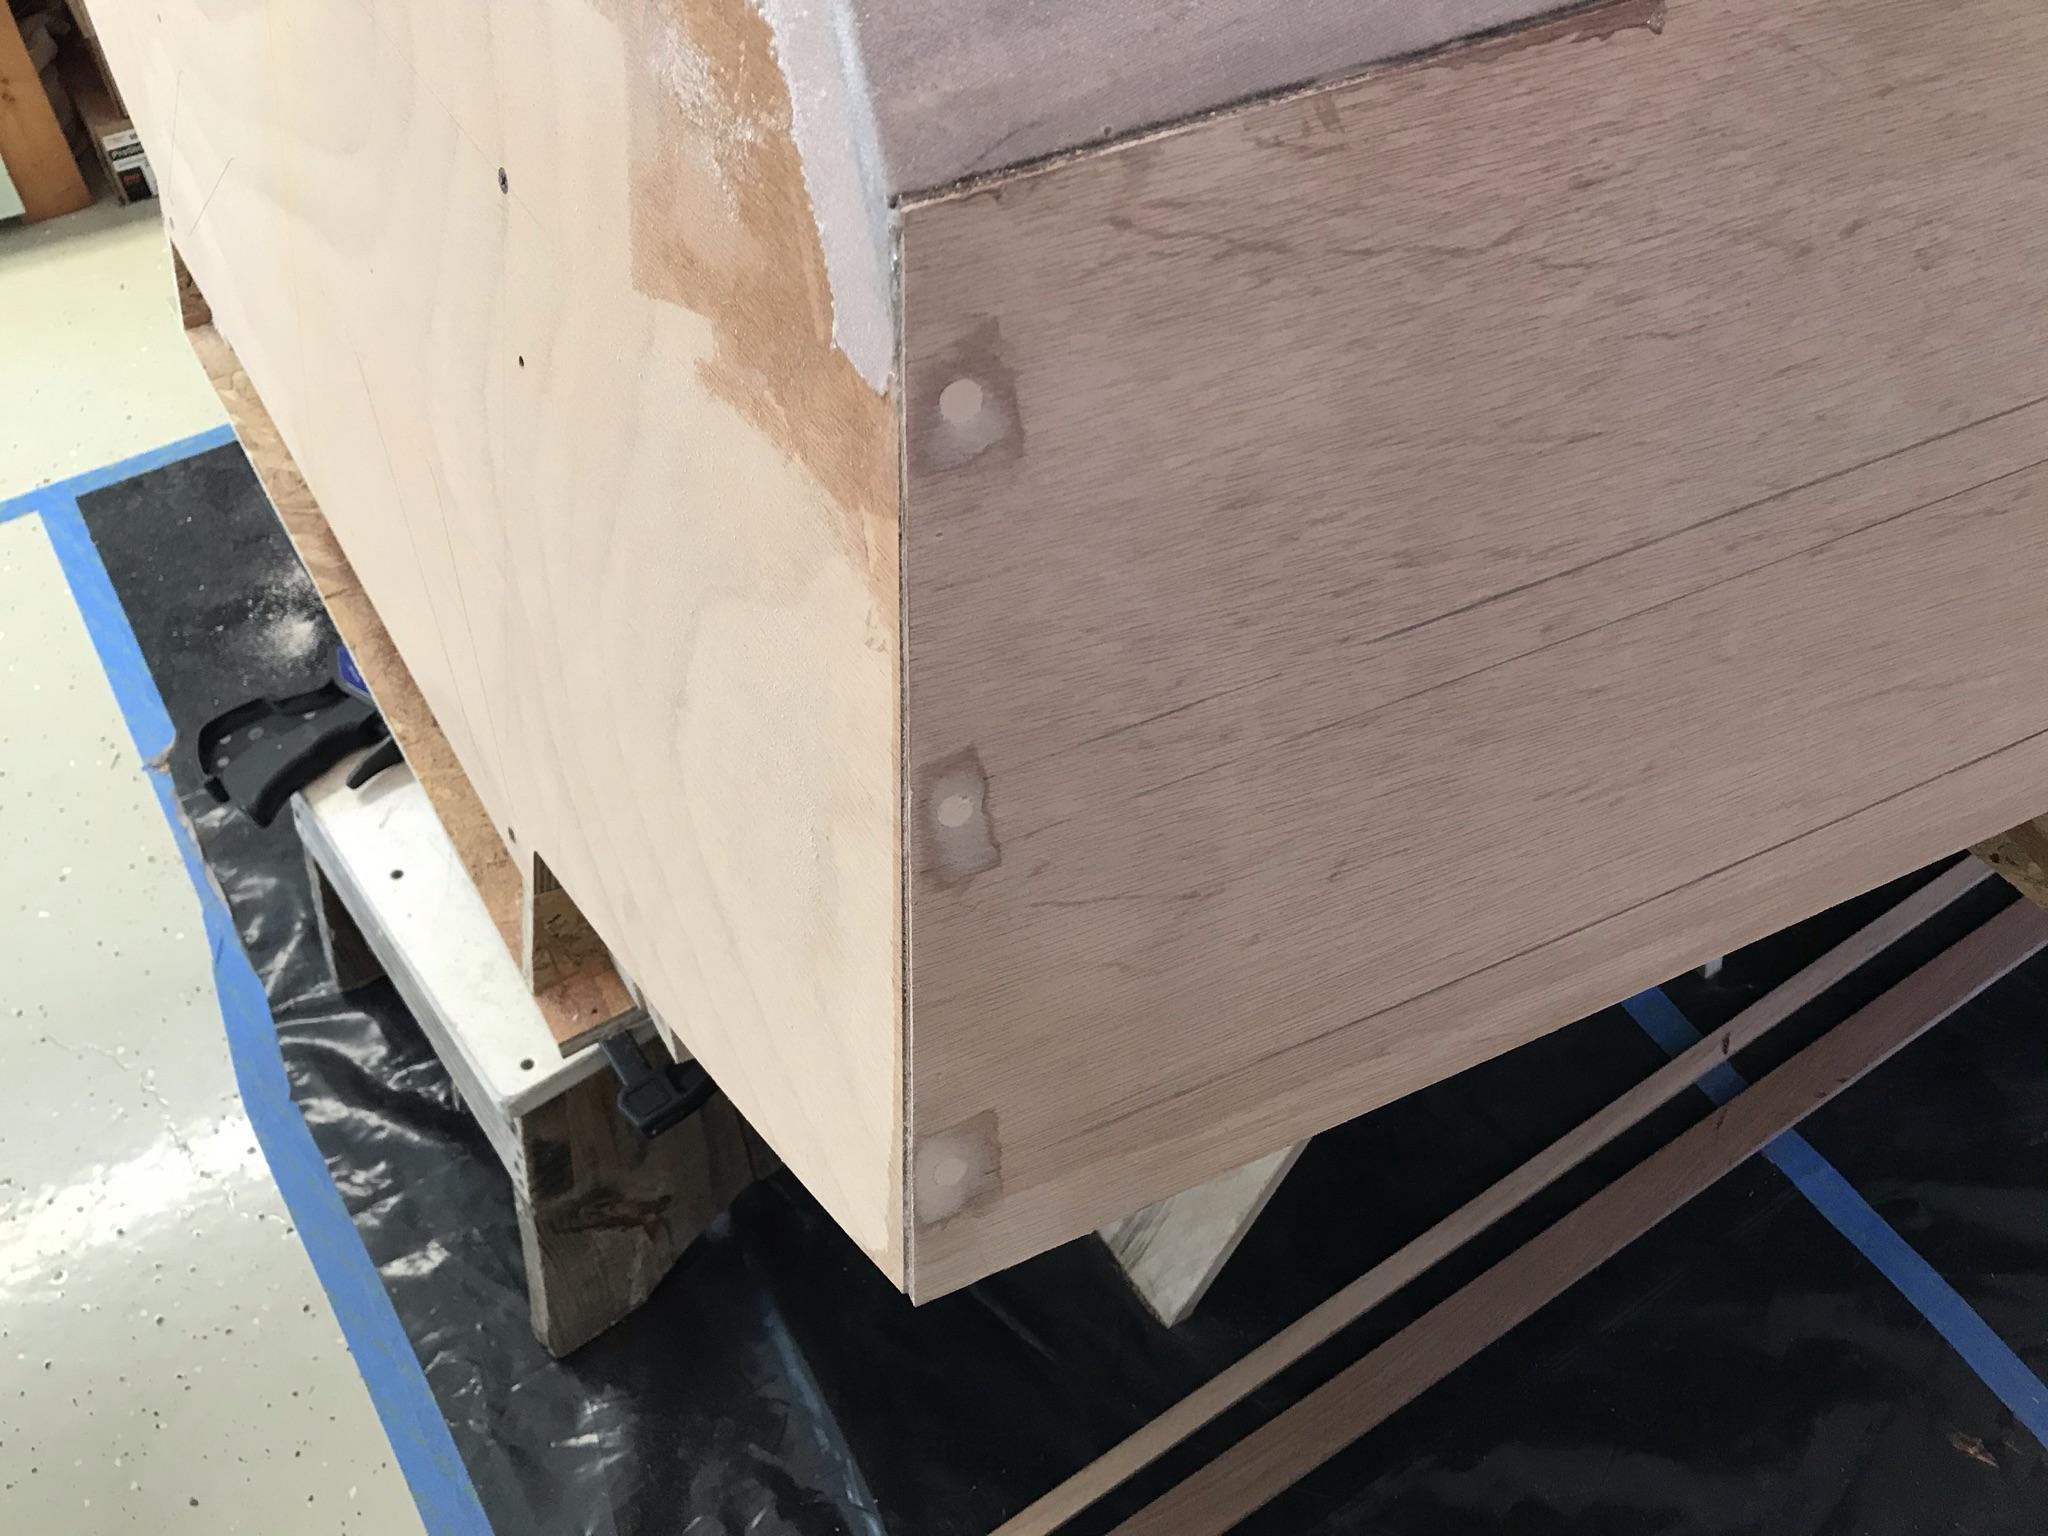
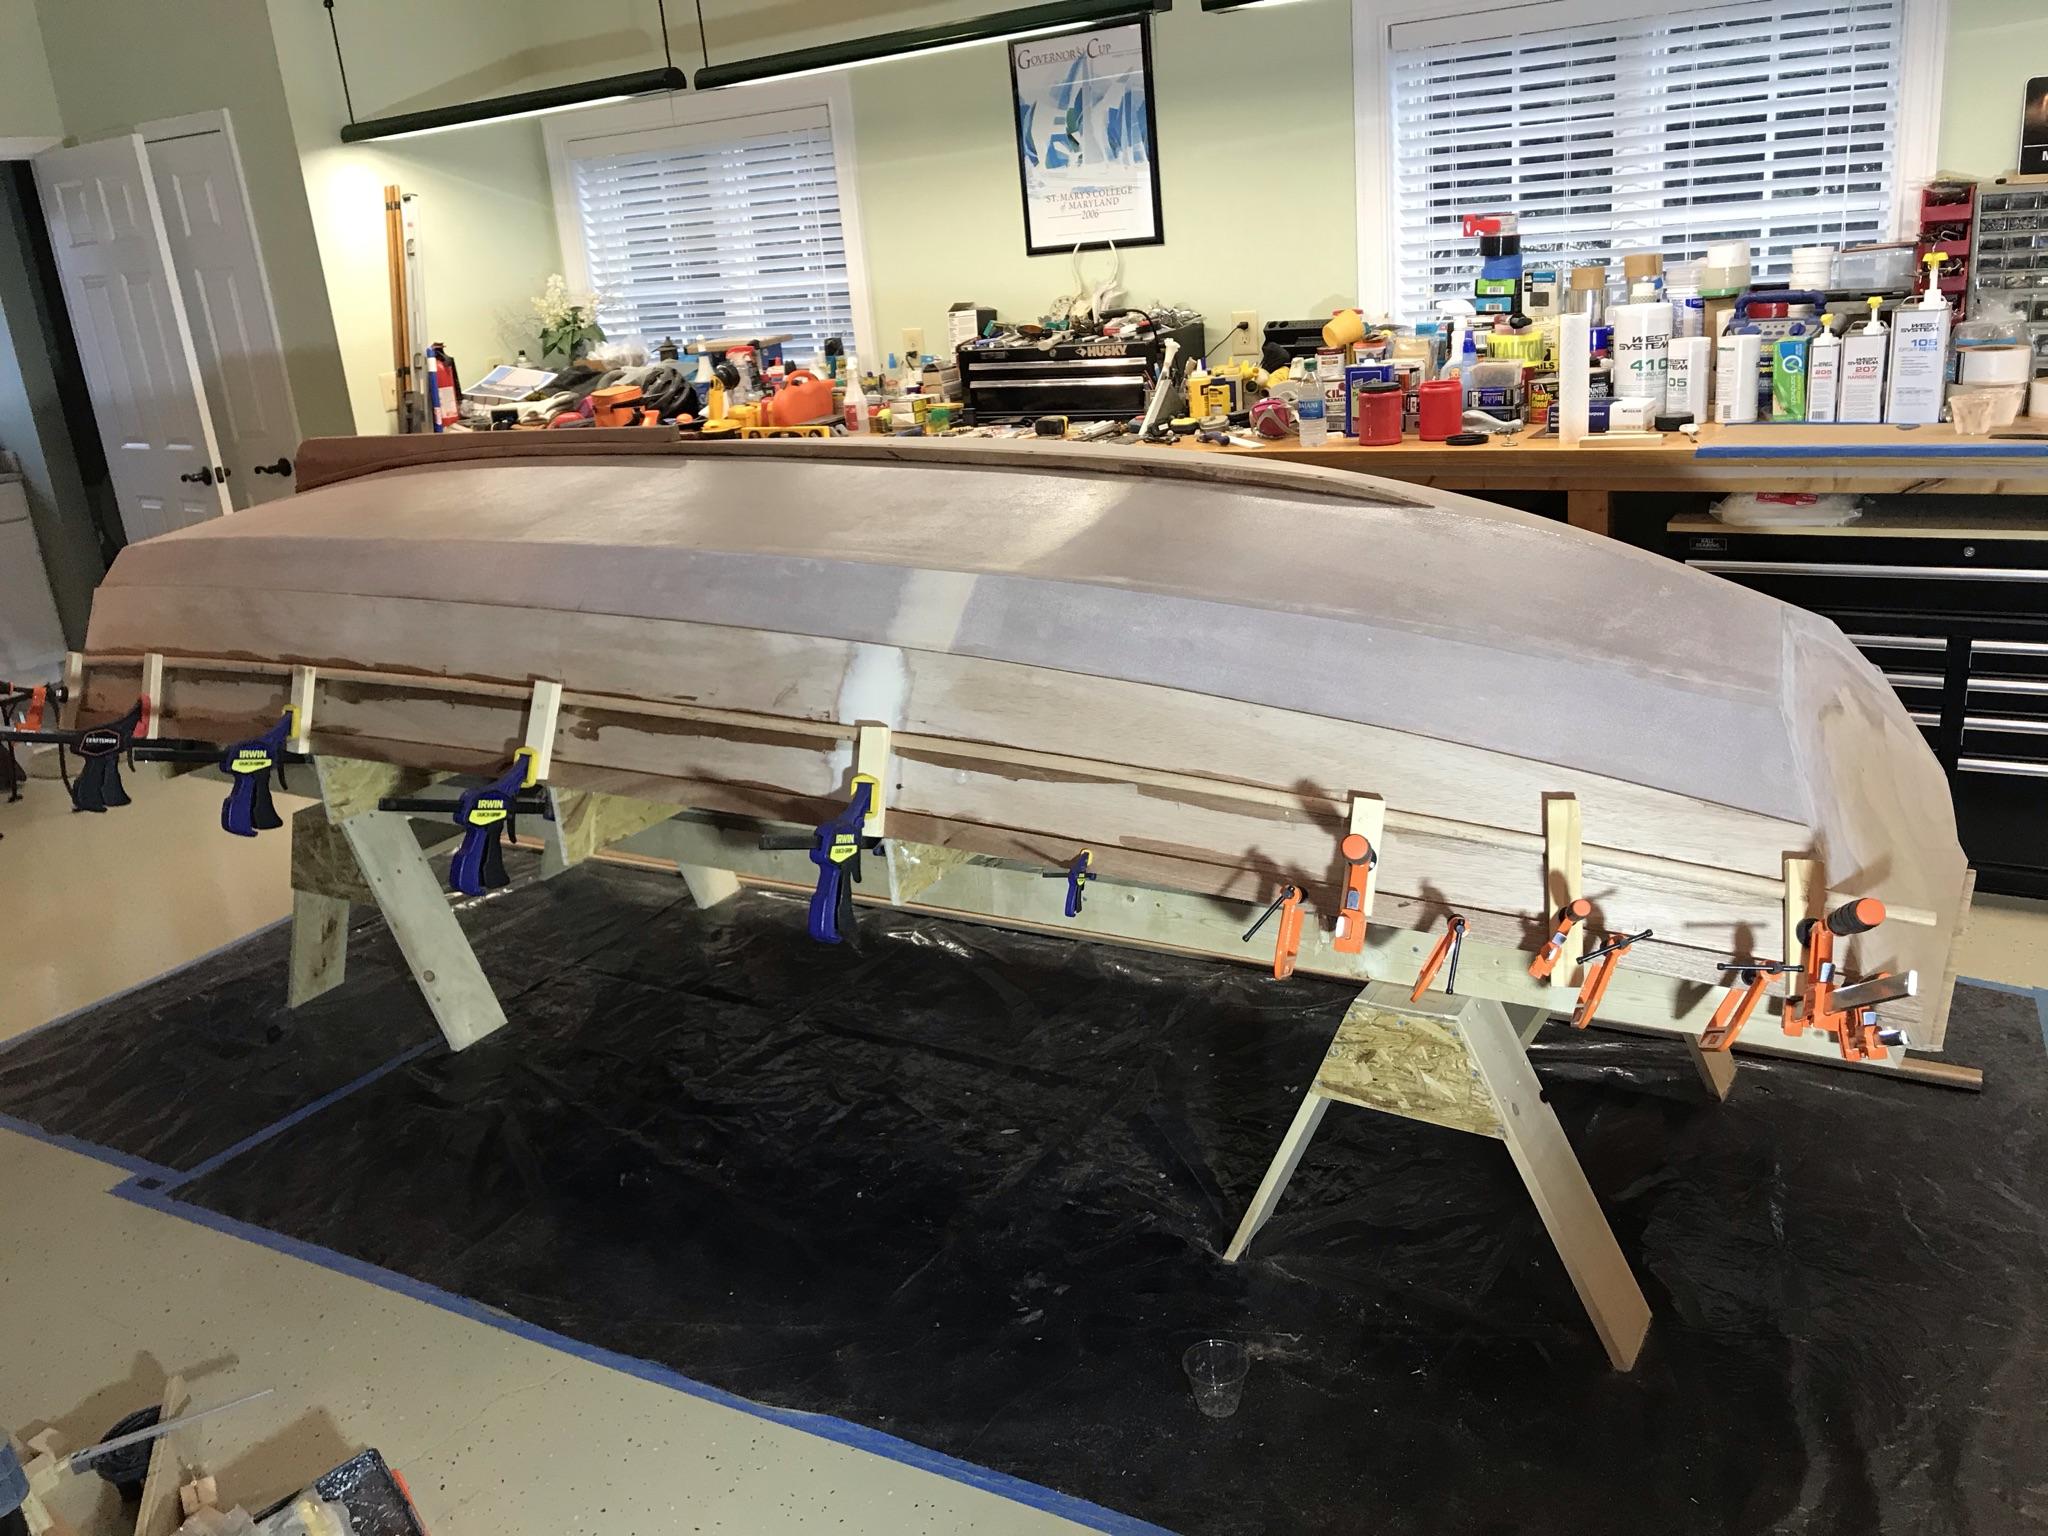
Both guards are epoxied and screwed in place and the squeeze out cleaned up.
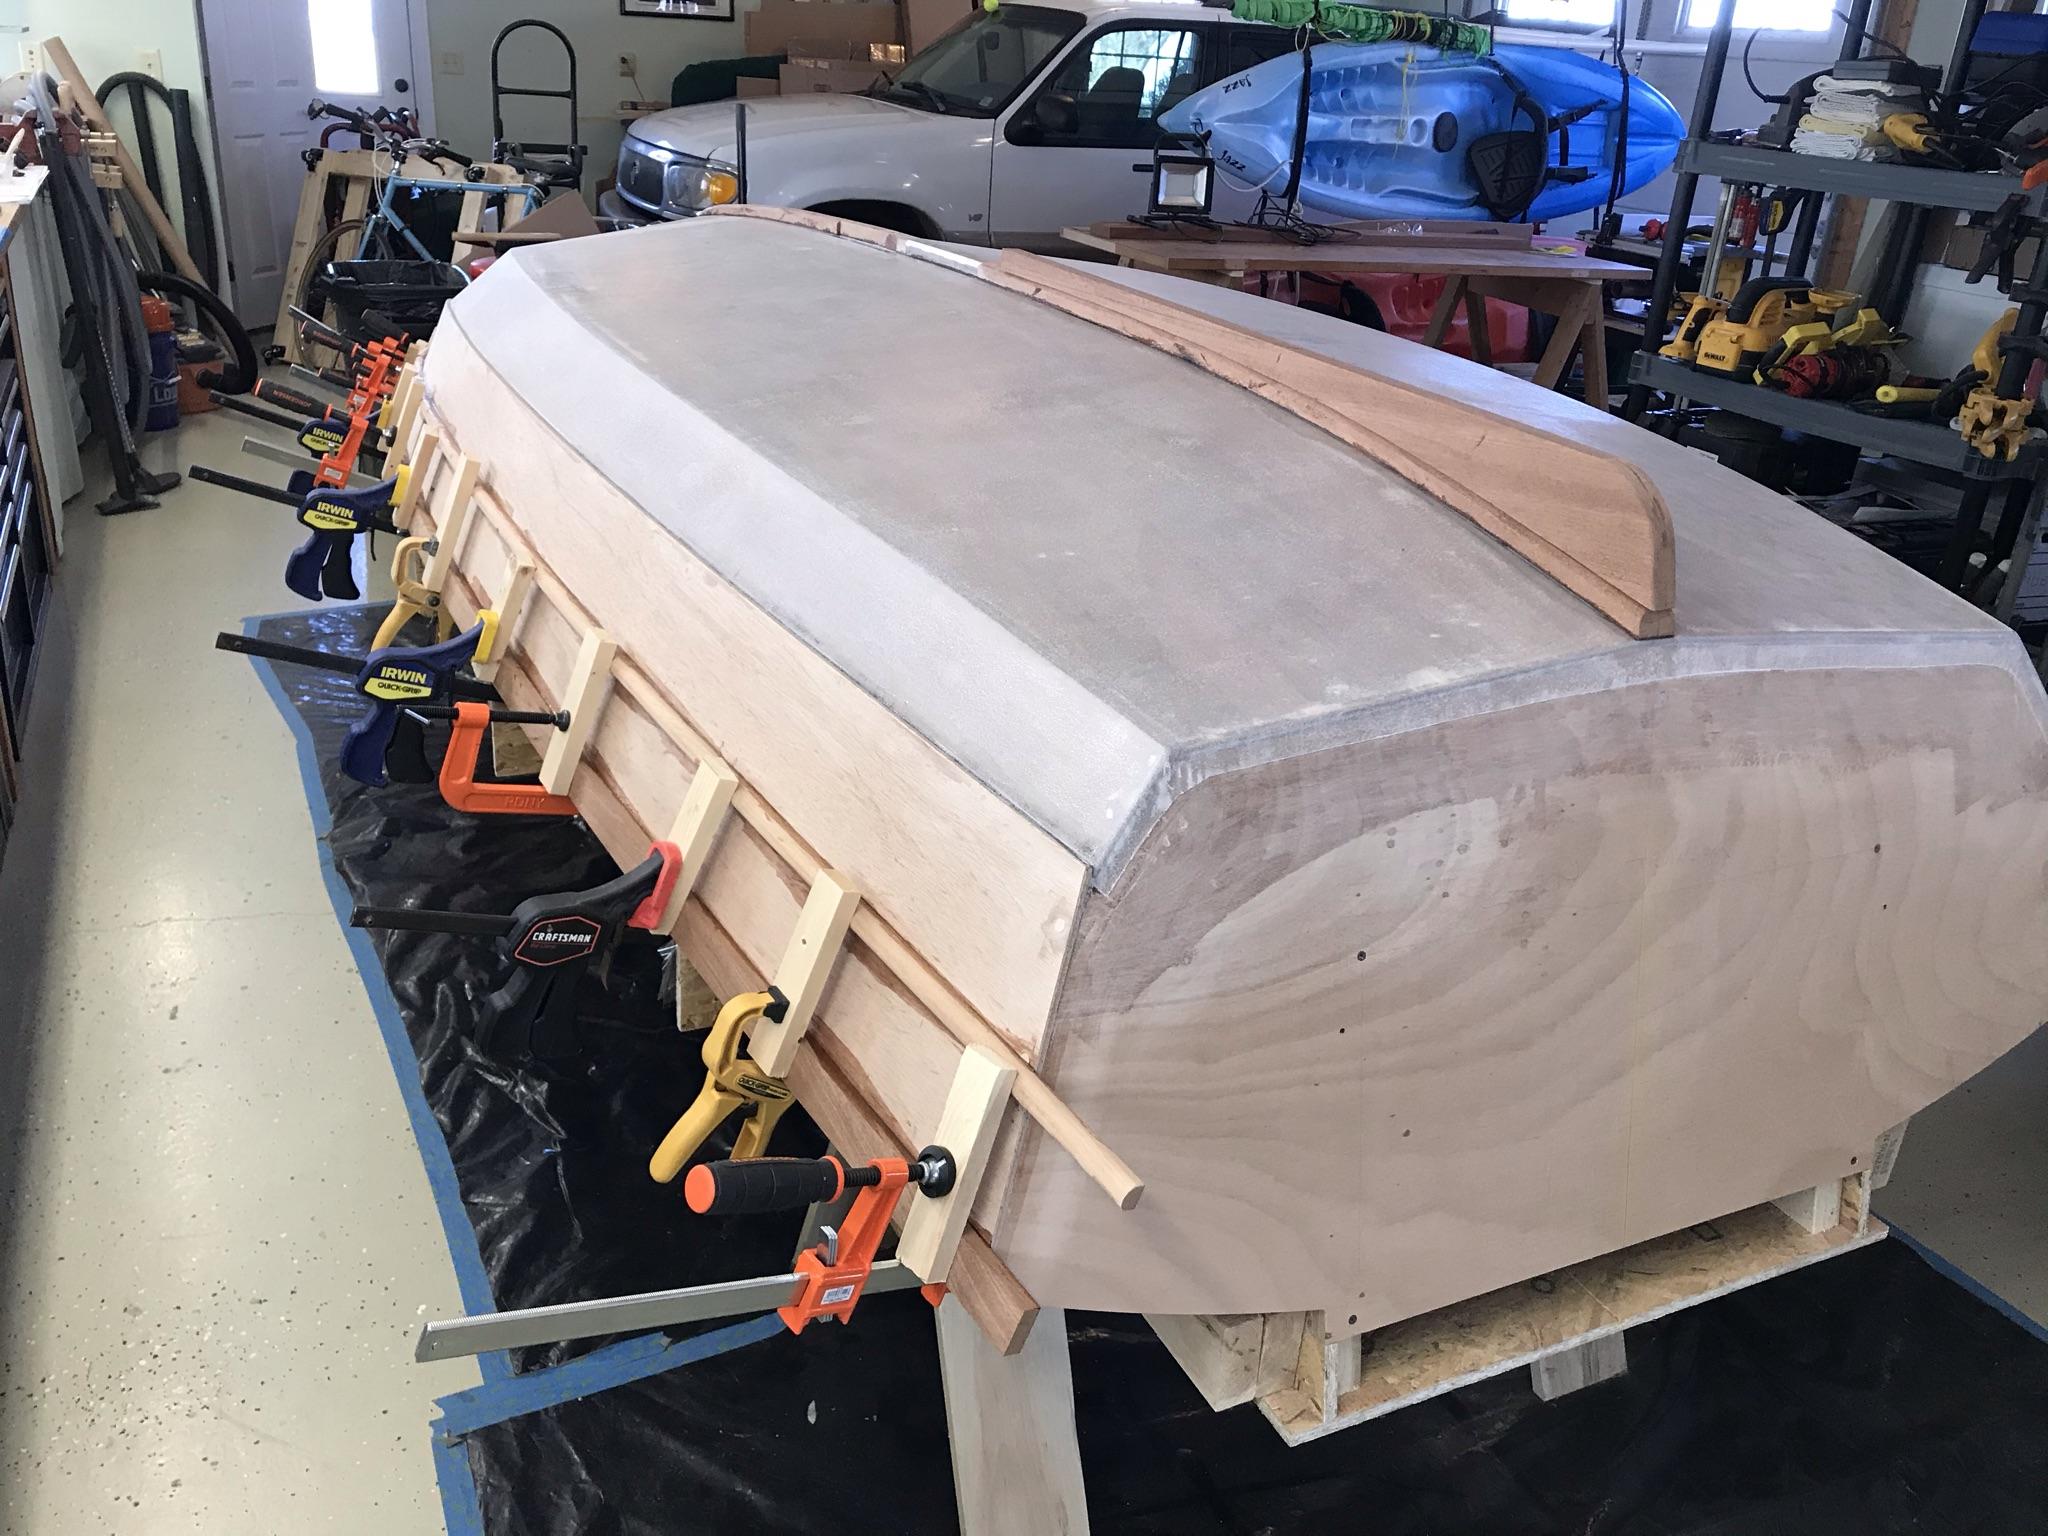
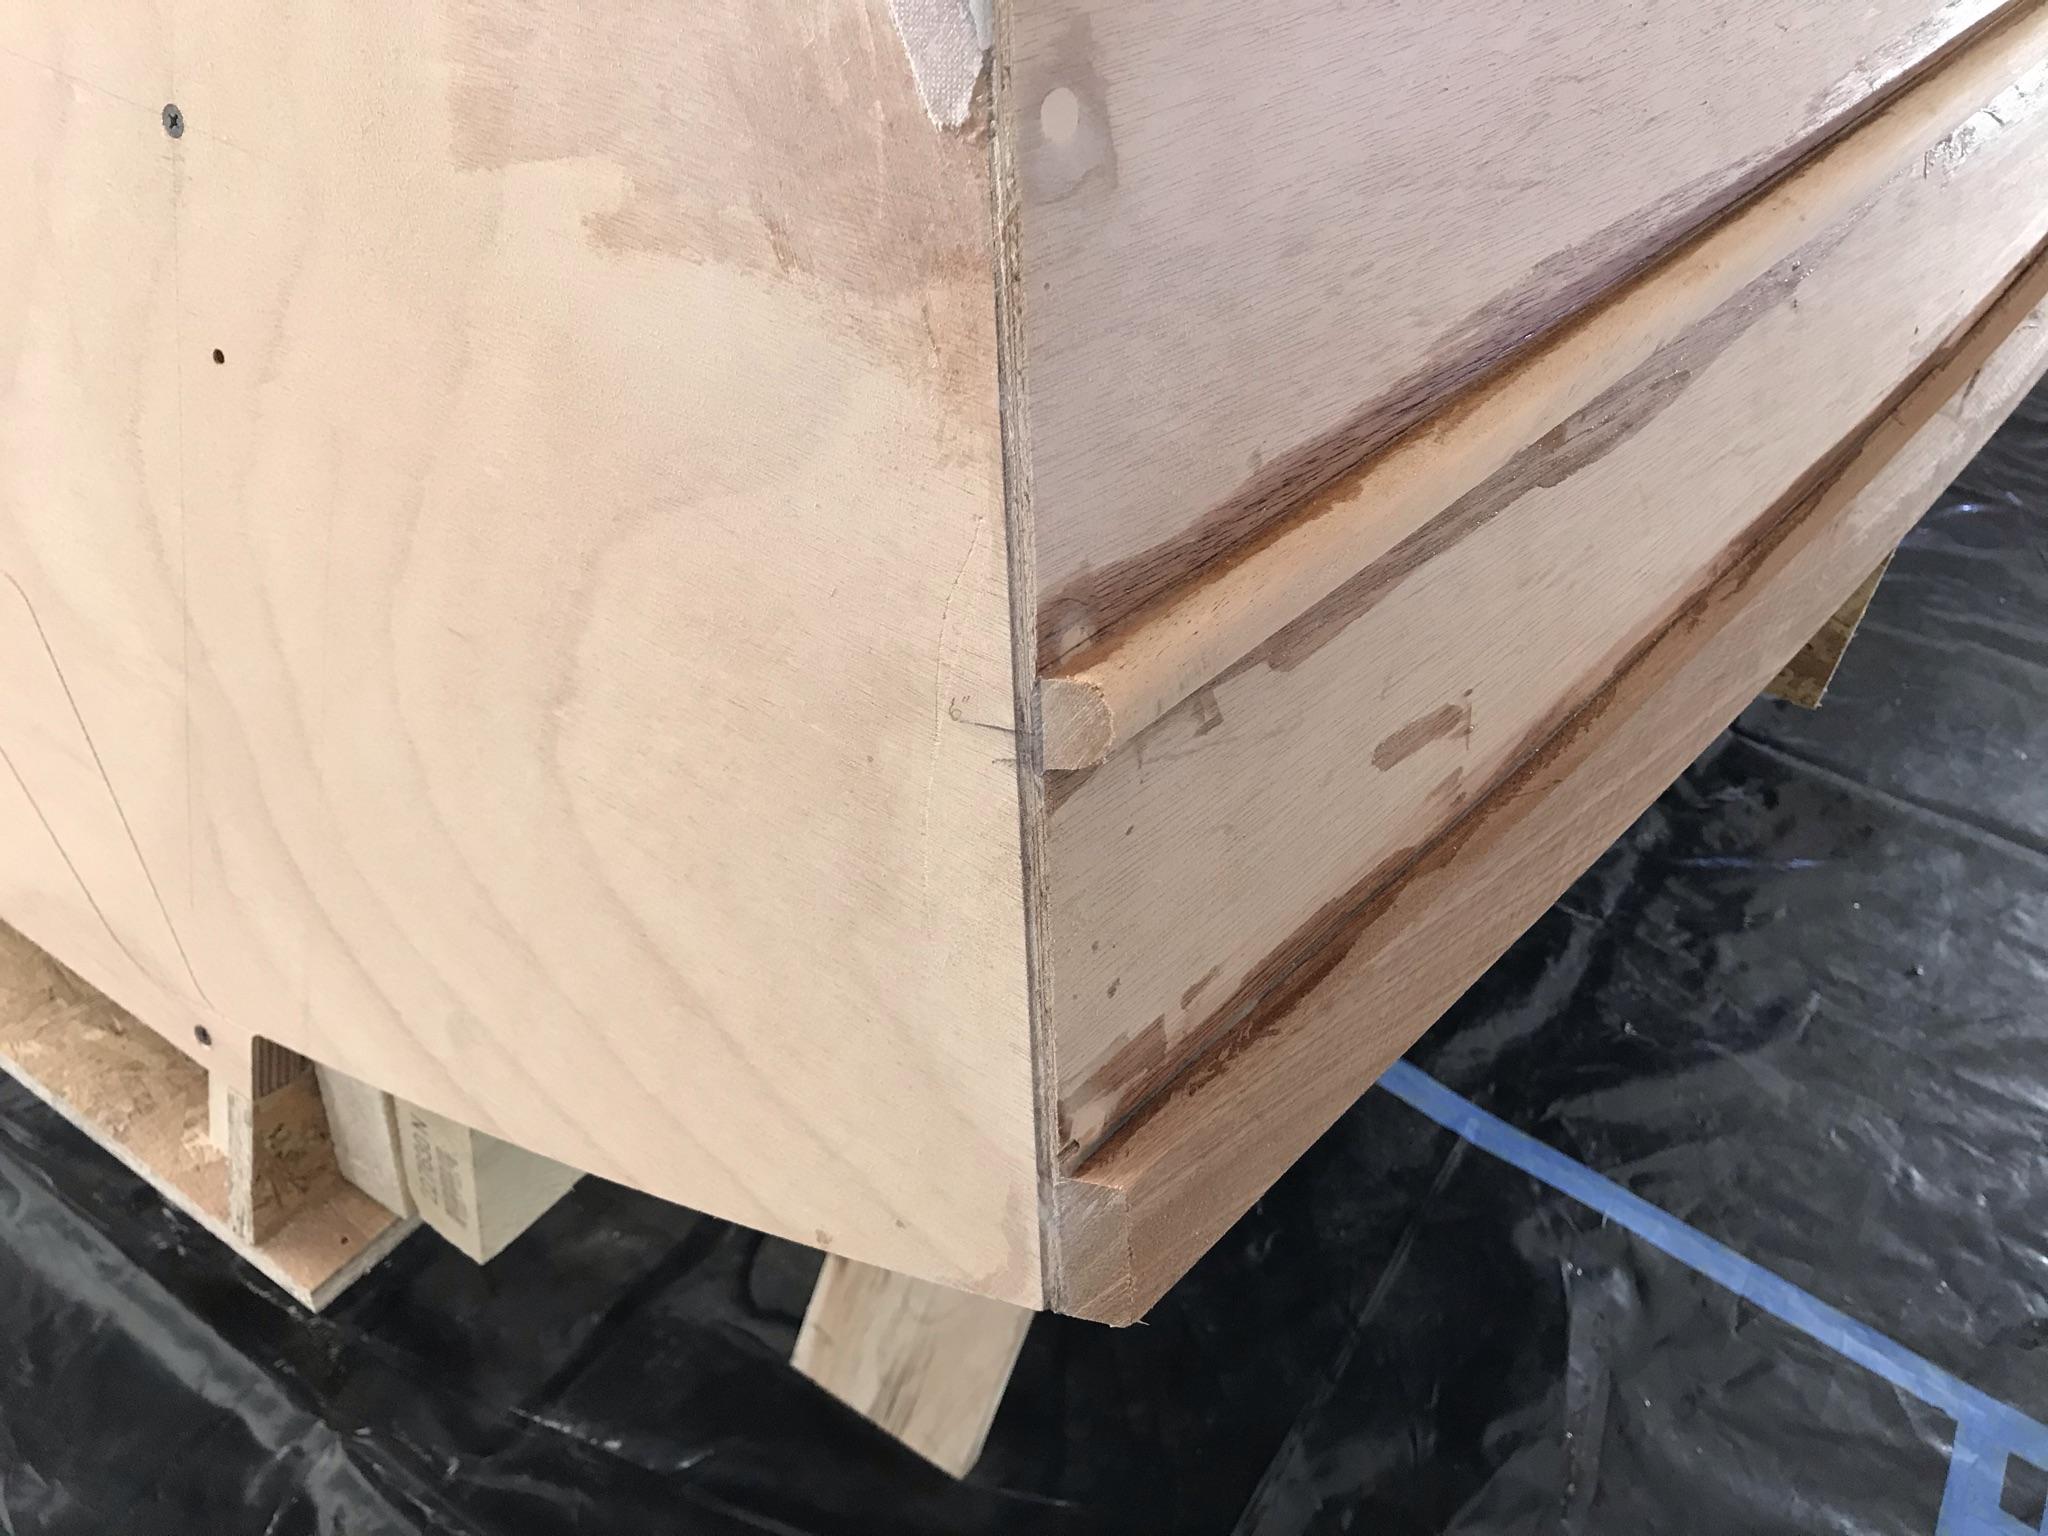
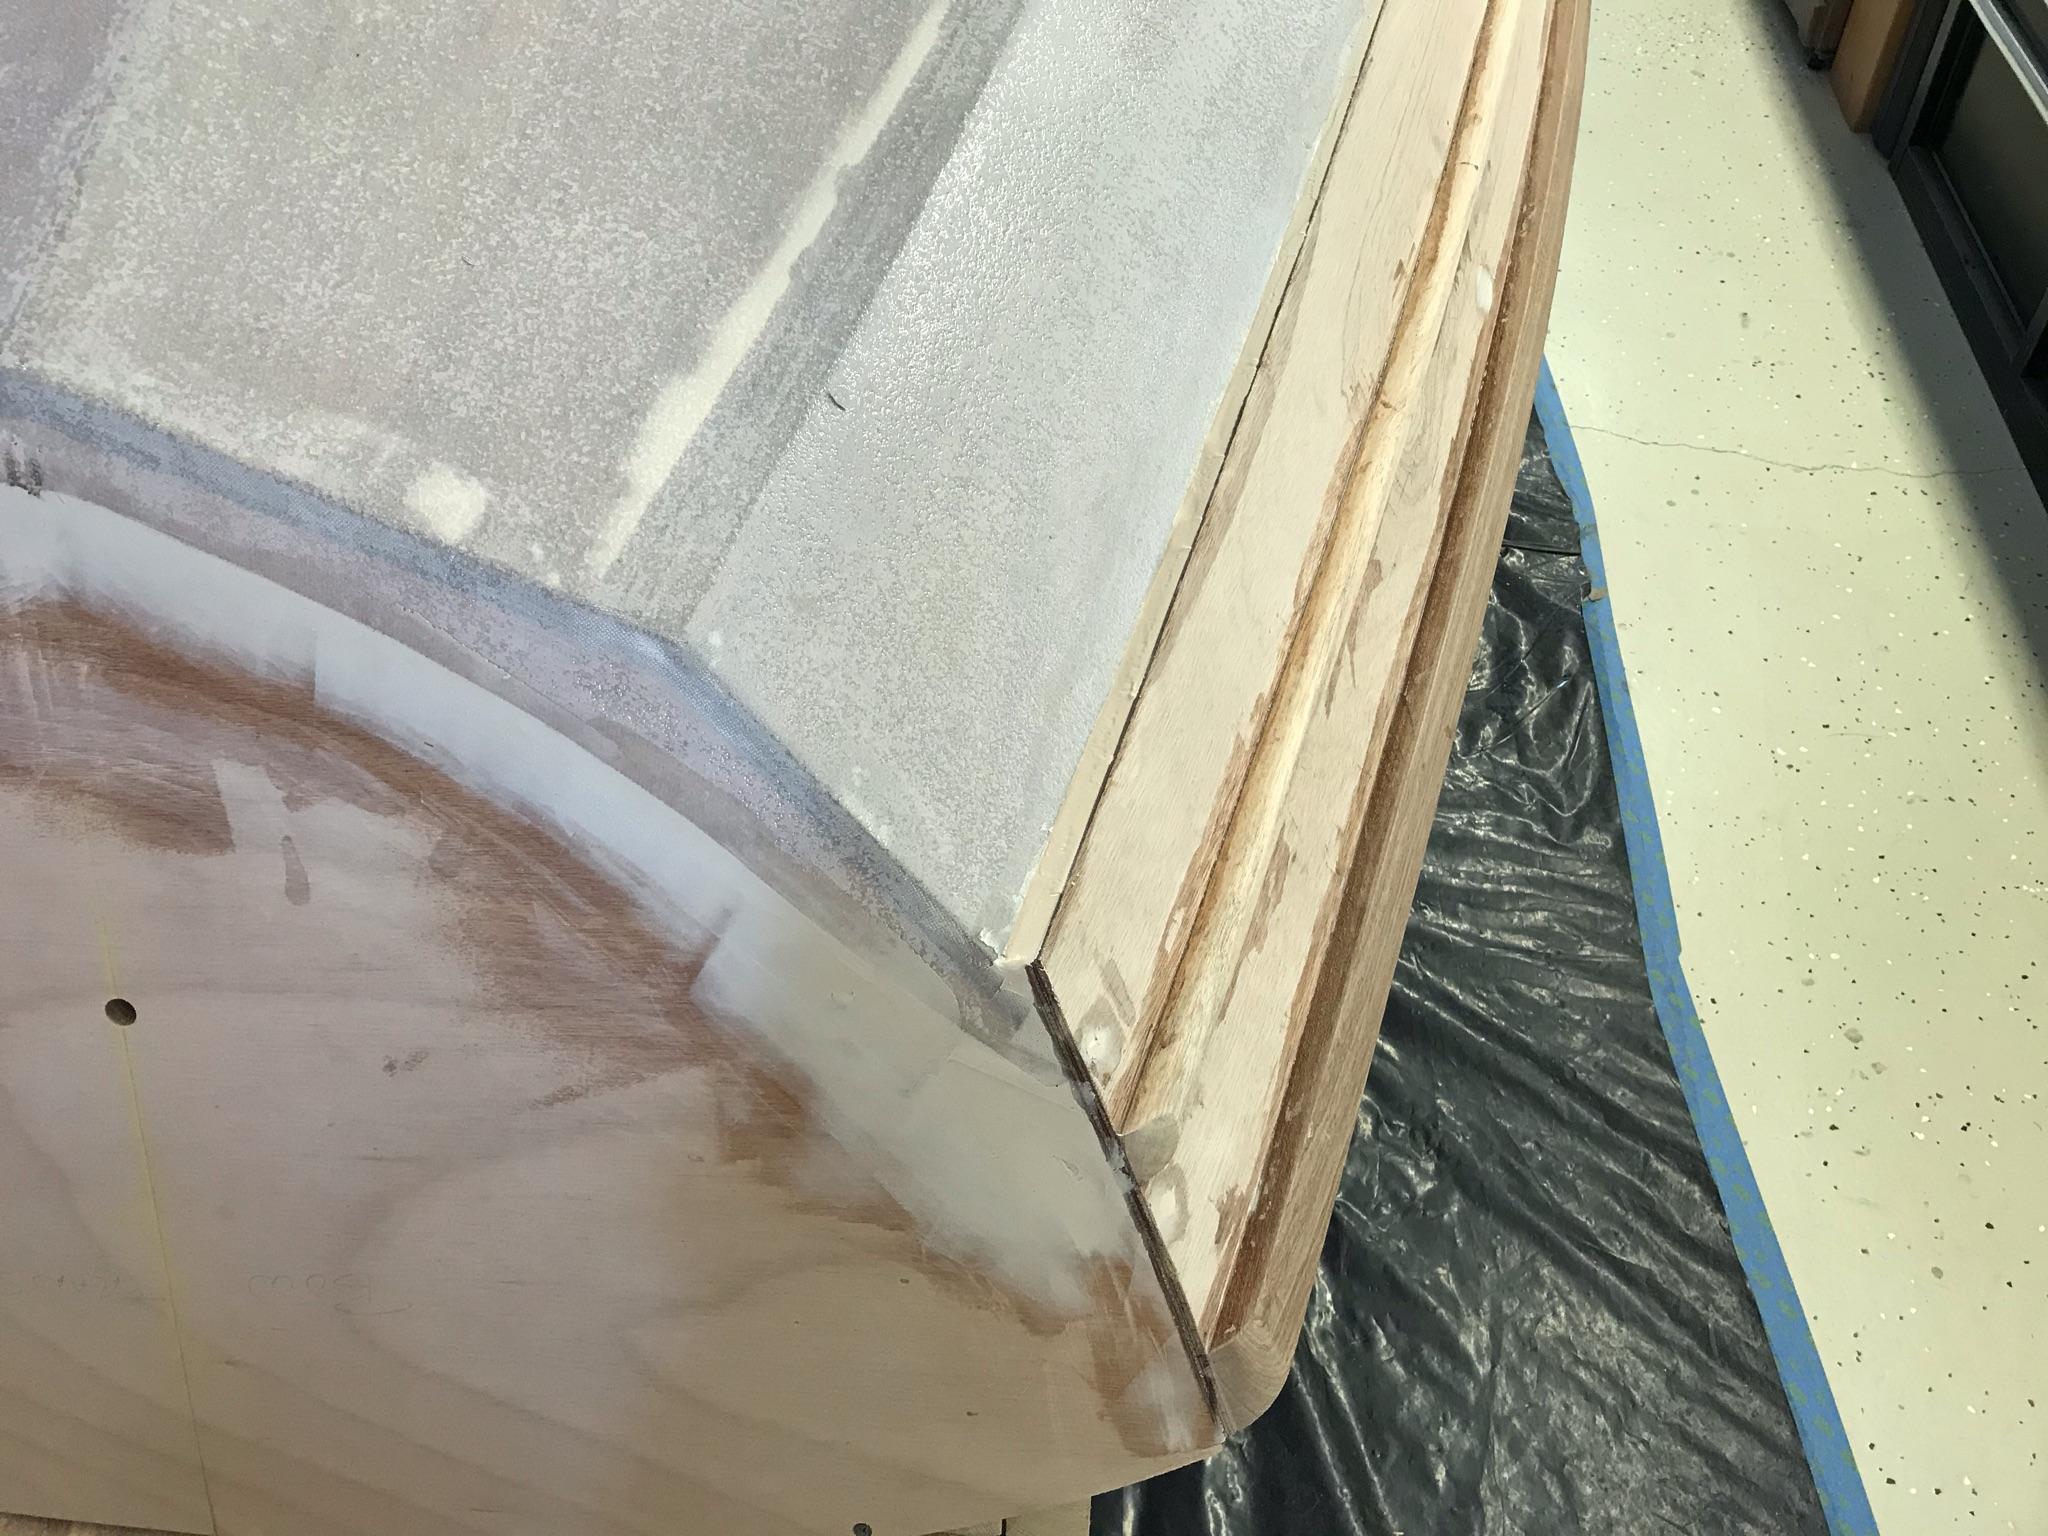
Now I can finish up the portside guards by cutting off the extra lengths on the bow and stern.
Tomorrow I will round over the ends and do the same for the starboard guards as well. I will also epoxy the skeg. I have not done it yet because I’m not sure how to secure it while it cures. There is nothing to clamp it to and Kit said she would weigh down the skinny end while it cures, but didn’t mention how to secure the rest.
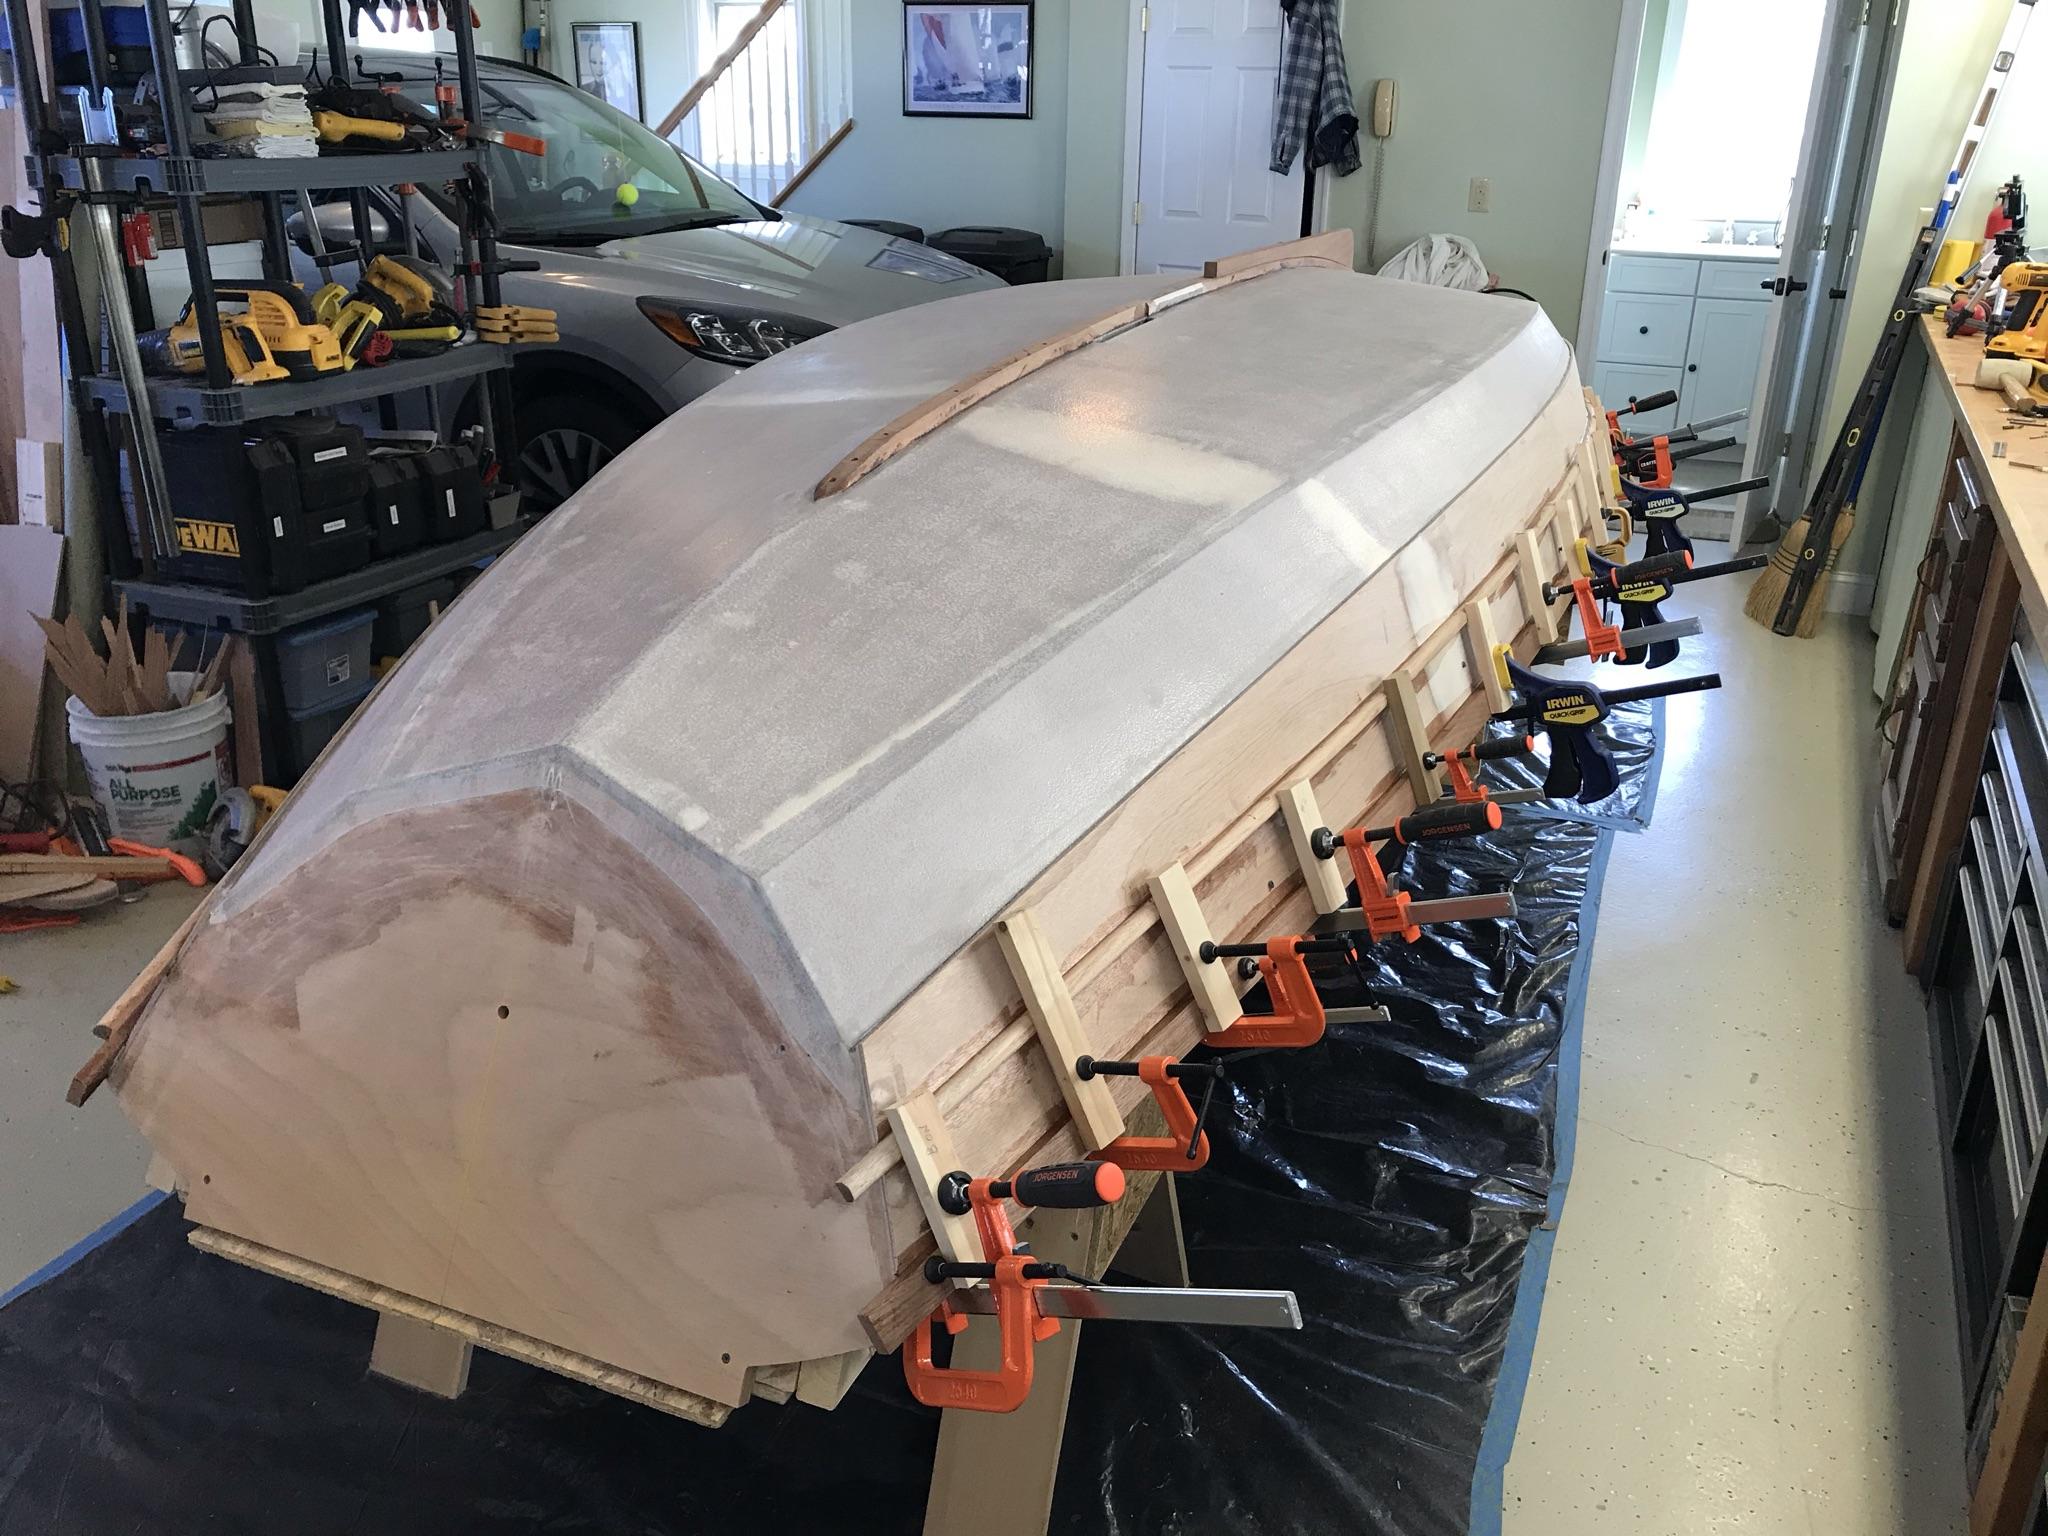
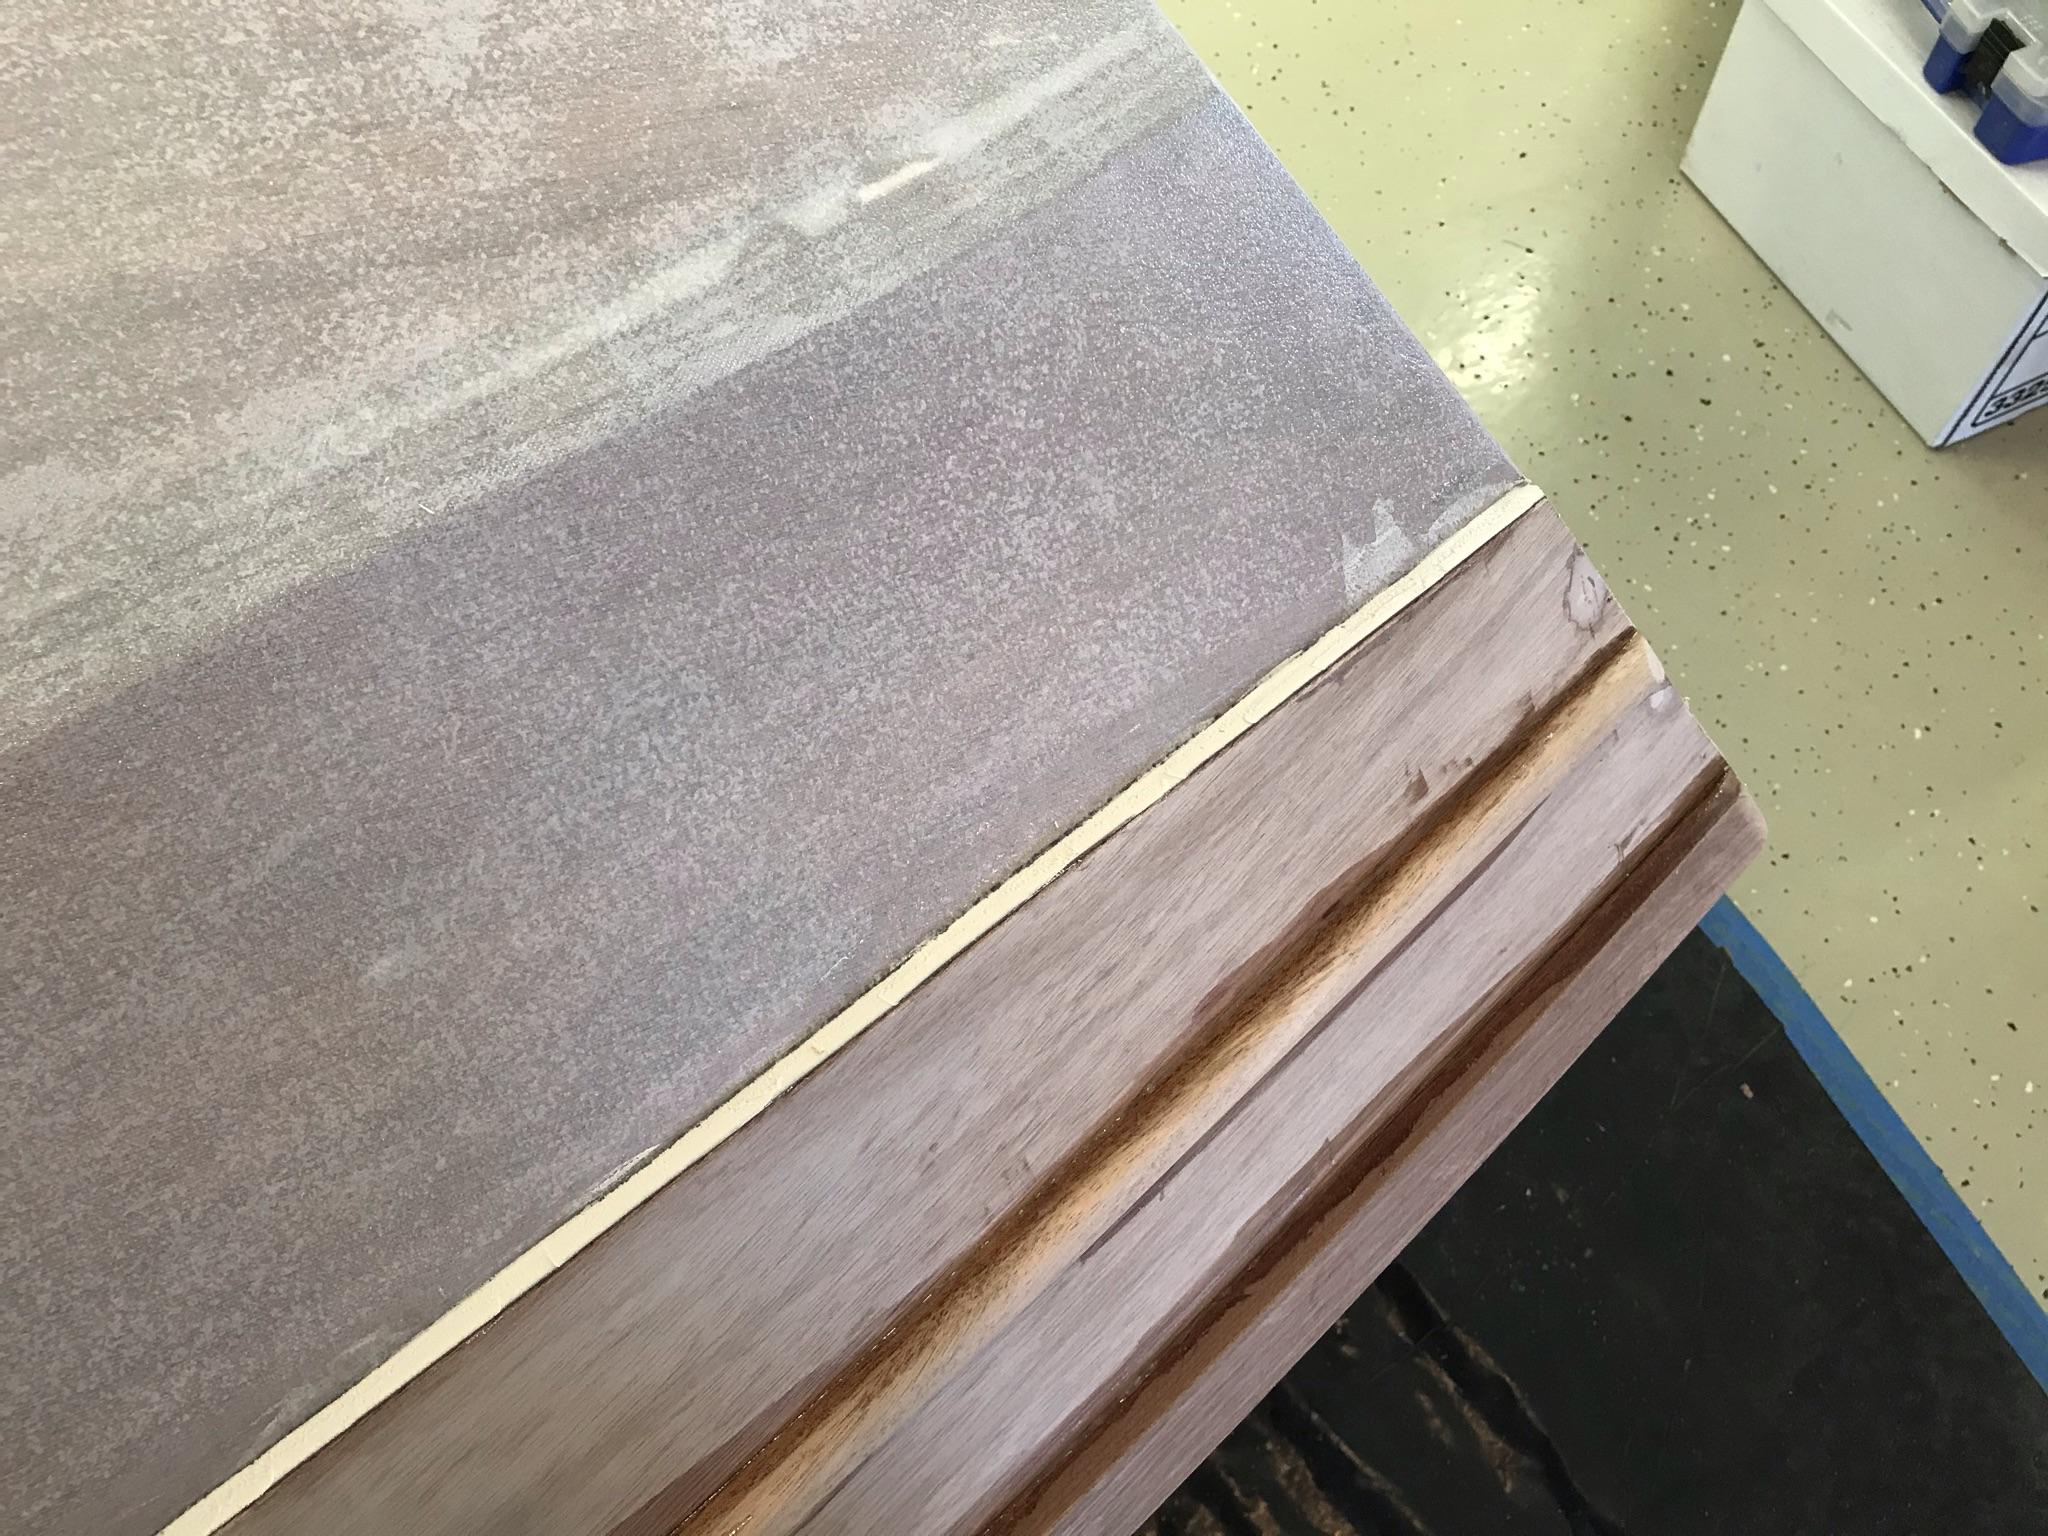
3/20/21 – Took off all the clamps and sawed off the ends of the starboard guards, then used my power sander to round off the guards.
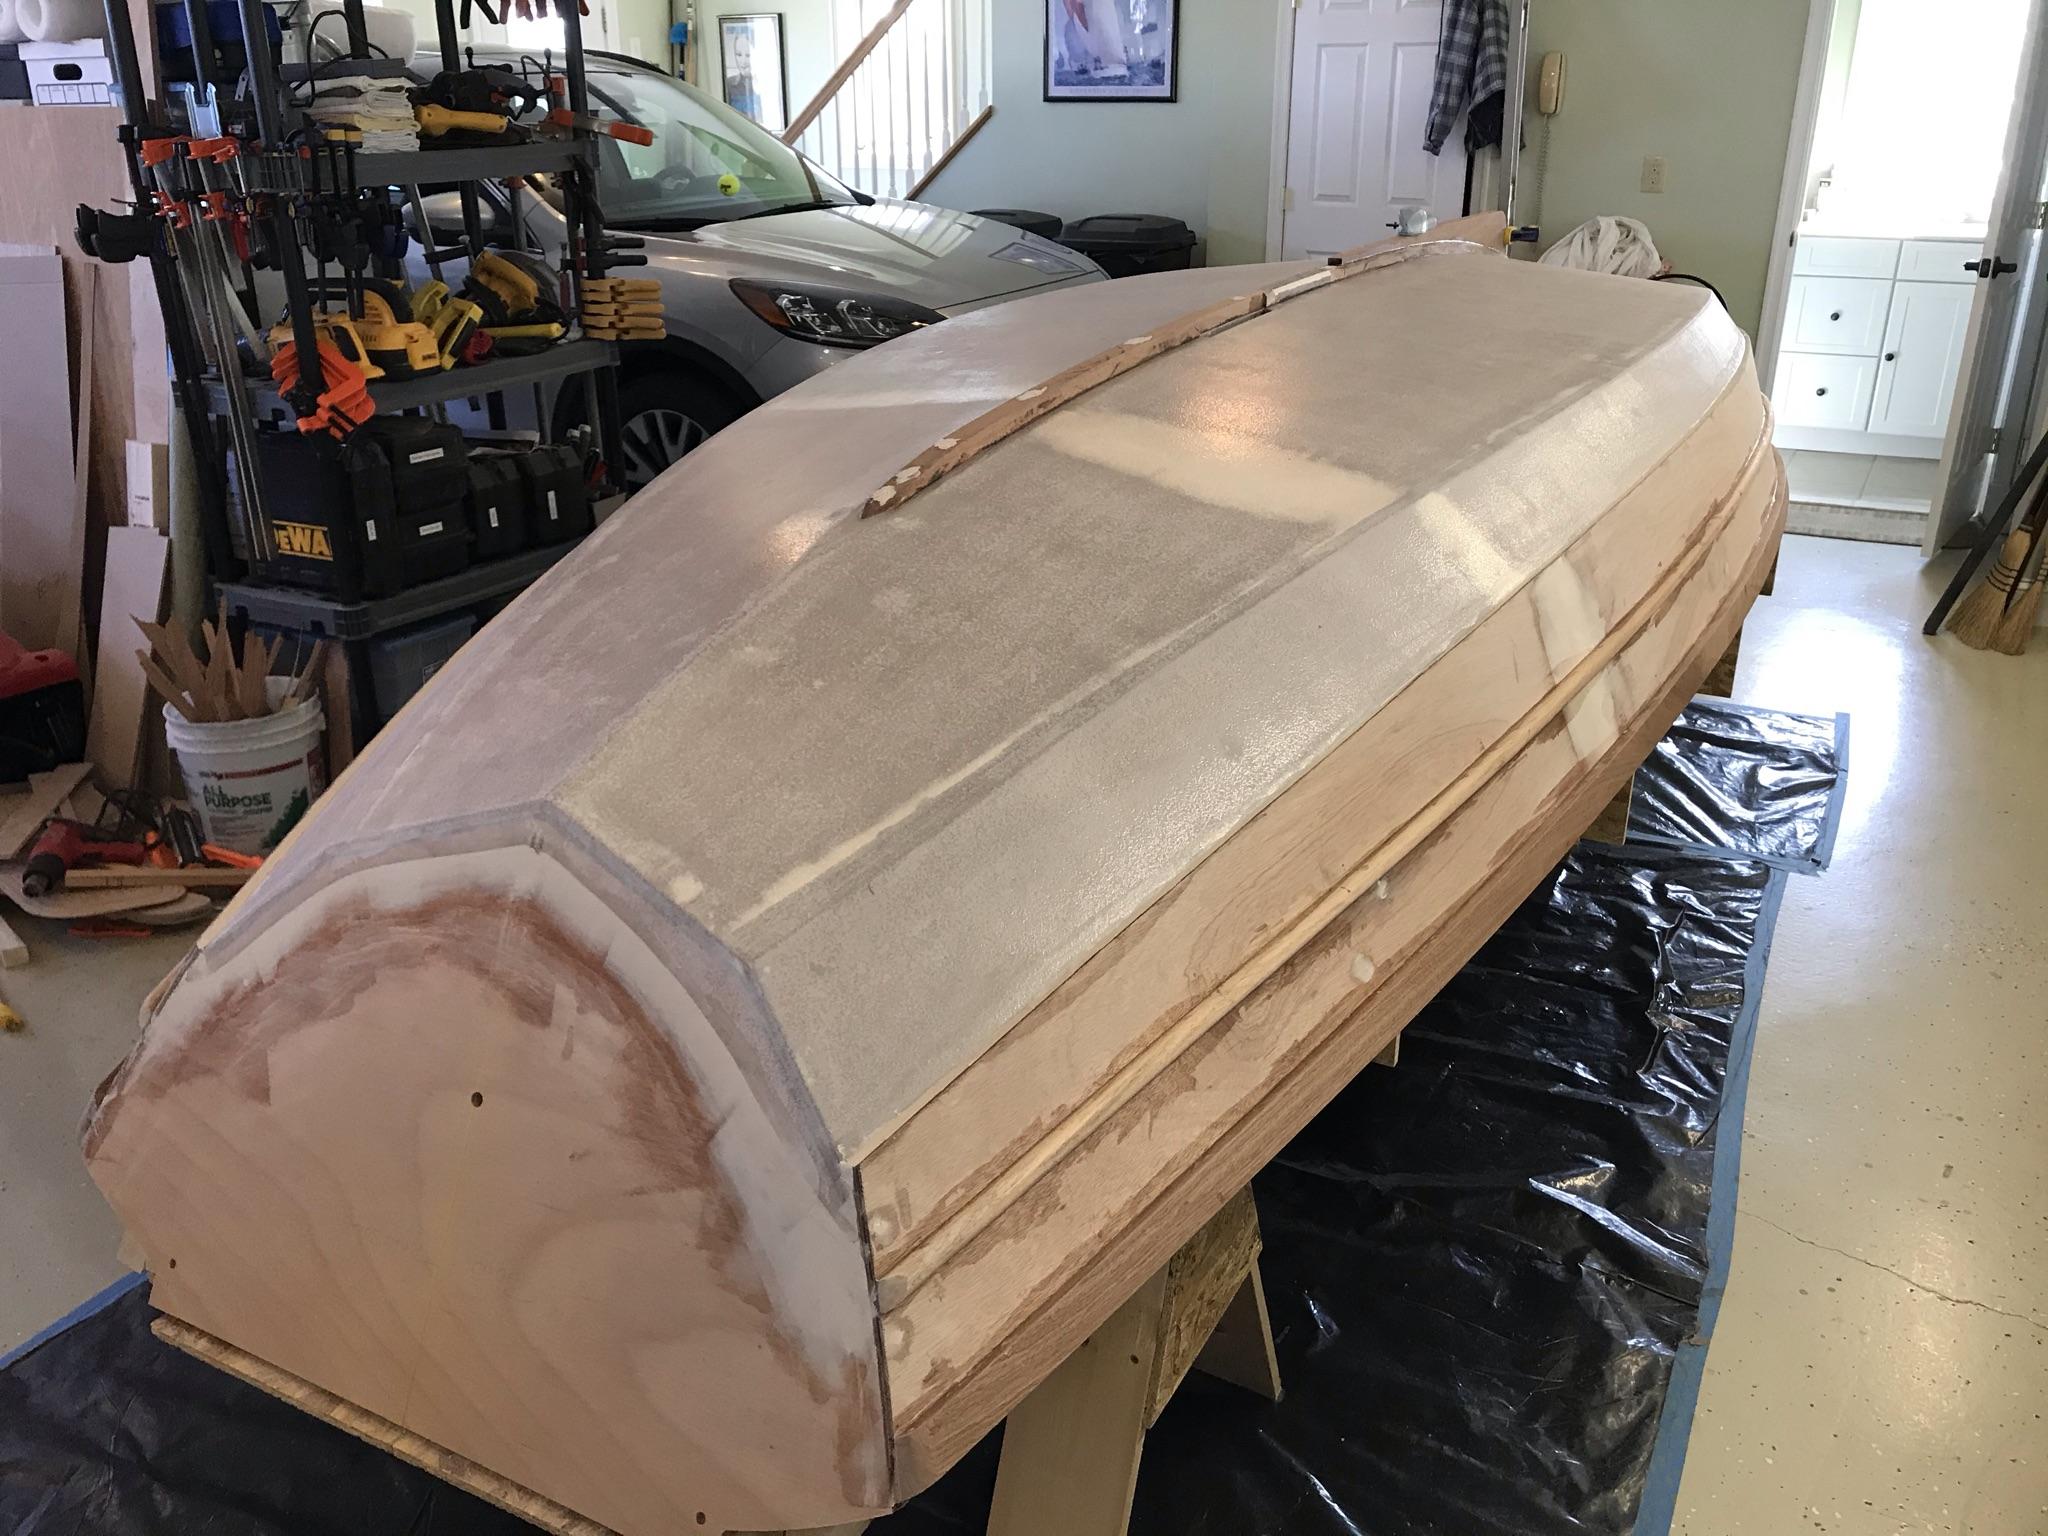
Then I used fairing filler to fill all the screw holes, feather the edge of the Dynel, and fill the gap between the topside plank and the chine plank.
I also came up with a new solution for epoxying the skeg. See my post on Keel and Skeg.
-
-
AuthorPosts
- You must be logged in to reply to this topic.