Home › Forums › 11′ 10″ ARRIBA / OONAGH Dinghy – Official Step-by-Step Boatbuilders’ Forum › ARRIBA / OONAGH – 20 – Final Bits on the Hull › GUNNEL GUARD
- This topic has 0 replies, 1 voice, and was last updated 5 years, 1 month ago by
 Doug Hermann.
-
AuthorPosts
-
-
June 20, 2021 at 8:59 pm #43944Doug HermannParticipant
I ordered a bit extra on the gunnel guard; today I started experimenting and planning, dry fitting, etc. I did it on my workbench, rather than risk screwing up the boat. The closer I come to finishing the boat, the more paranoia sets in fearing I am going to screw something up.
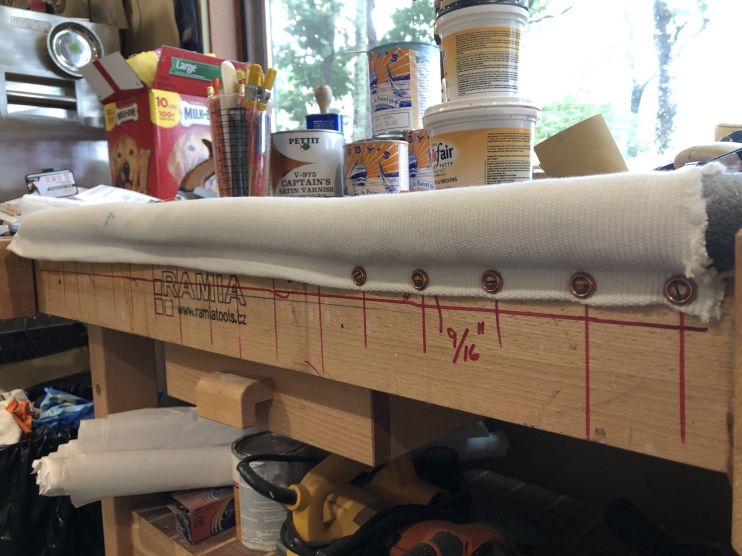
I have settled on 2” spacing. I am using #8 3/4” silicon bronze, oval head screws with the copper cup washers. You start by screwing in the upper side of the guard, from the backside into the gunwale. Then you pull it back forward and the guard covers up all the top row of screws. The bottom screws will also be 2” on center, pilot hole drilled 9/16” up from the bottom edge of the outwale. Probably 350 -375 screws when done.
I am dubious about the gunnel guard (GG) itself. The last GG I used, the rubber inside was litterly fused to the canvas exterior. Tough as nails, lasted for years, then disintegrated all at once (usually in the middle of your boating season). You had dry crumbly black rubber bits everywhere, sharp screw heads and washers sticking out like little razors, and stringy water logged canvas.
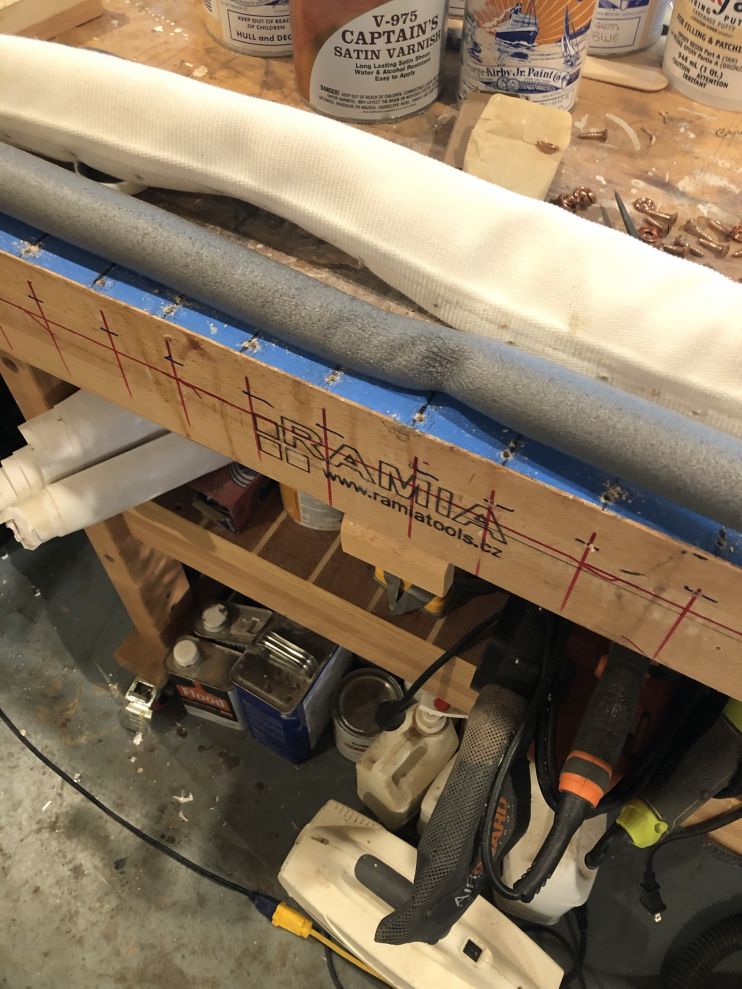
This stuff has a frigging cheapo swim noodle stuffed inside the canvas fabric shell. So I suspect this won’t be long lasting, despite it being costly. you could go to Walmart and buy a better quality pool noodle, cut a quarter of it away to go around a corner… and wha laa… a nice GG. Only issue is how to get the noodle to slide into a 30 foot long canvas tunnel. Hmmmmm. Maybe some else has a better source. Mine came from Taylor Made.

Here is the foam interior. Even a section disfigured…how is that going to pop back into shape.
-
-
AuthorPosts
- You must be logged in to reply to this topic.