
Home › Forums › 11′ 10″ ARRIBA / OONAGH Dinghy – Official Step-by-Step Boatbuilders’ Forum › ARRIBA / OONAGH – 20 – Final Bits on the Hull › Interior Finishing
- This topic has 0 replies, 1 voice, and was last updated 5 years, 1 month ago by
 Bob Donaldson.
-
AuthorPosts
-
-
June 6, 2021 at 5:15 pm #43879Bob DonaldsonParticipant
From my Blog: https://house-doc.net/Oonagh/?p=1053
5/3/21 – Now comes the hard part. Sanding, priming, sanding, fairing, sanding, and then painting. I spent a couple of hours today just sanding and didn’t seem to make much progress. Partly, that is because I was doing it by hand to keep the dust down as I am still putting a clear coat of epoxy on the raw wood parts. I know I will have to use my sheet sander or random orbit sander to speed things up, but that is going to make an enormous amount of dust.
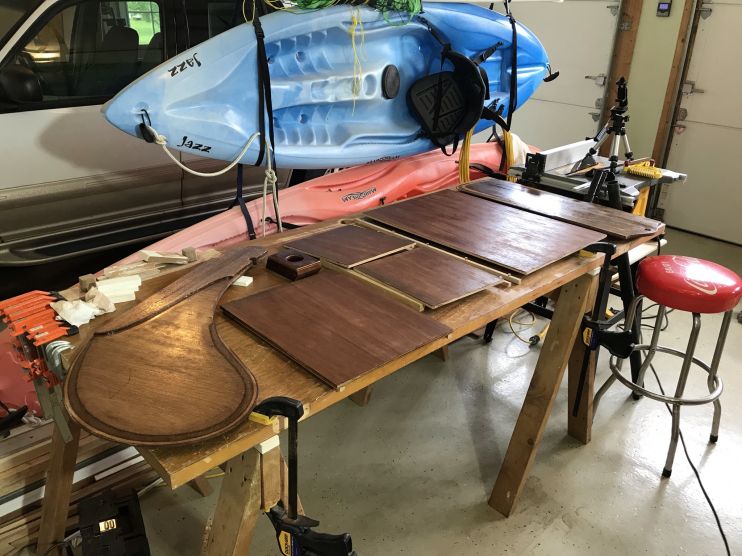
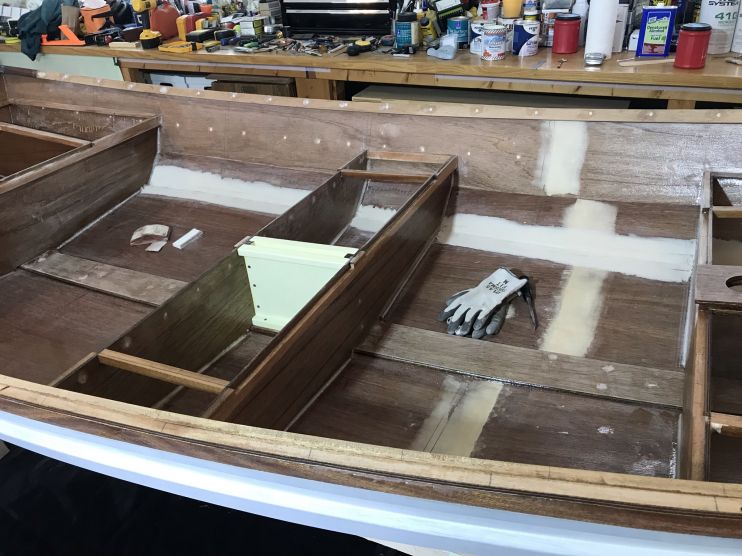
5/4/21 – Sanded and sealed plywood parts.
5/5/21 – Sanded and sealed plywood parts.
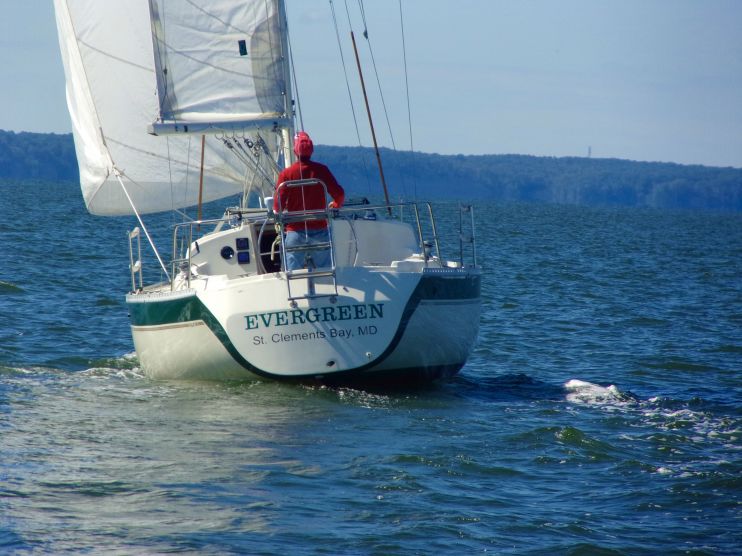
5/8/21 – Out sailing today.
5/9/21 – Sanding and filling.
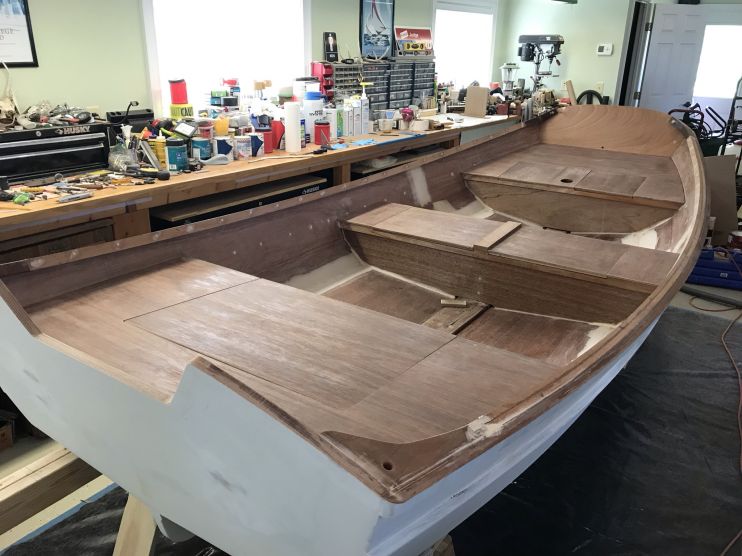
5/10/21 – Filled joints with fairing compound.
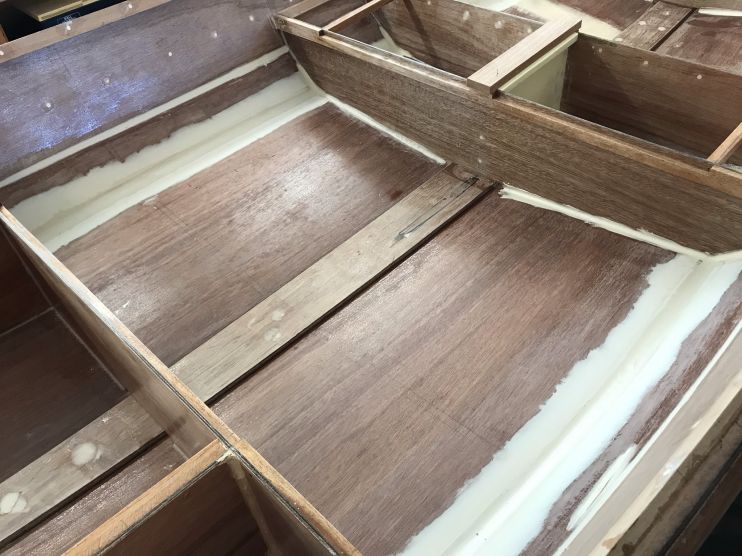
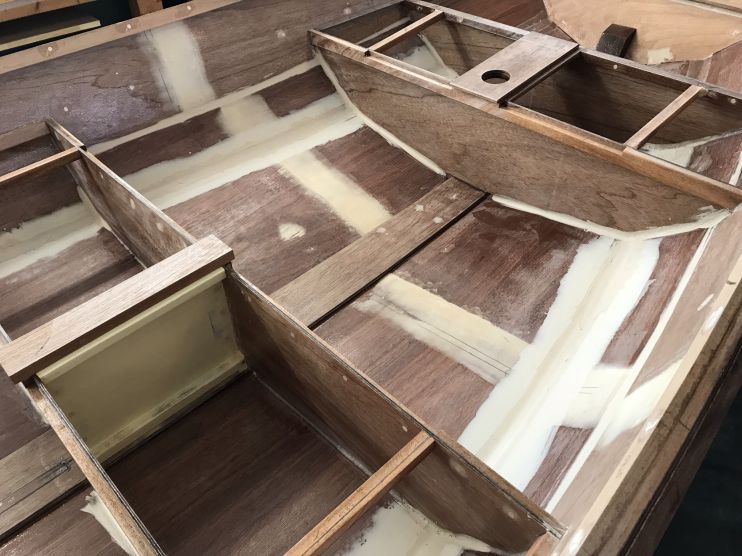
5/11/21 – Sanded the filled areas and planed the guard-inwales smooth. Then I put a coat of clear epoxy on the inwales and sealed the end grain on the partitions.
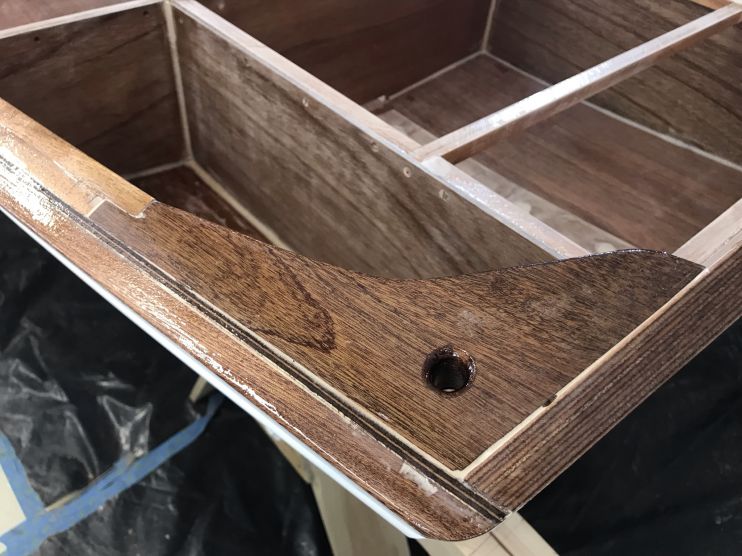
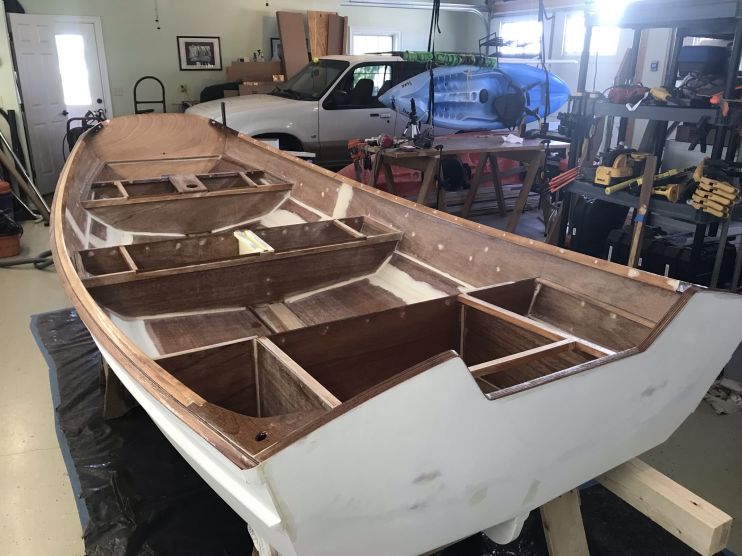
5/12/21 – More sanding today and I primed the interior of all compartments so that I can apply a finish coat before epoxying the top panels in place.
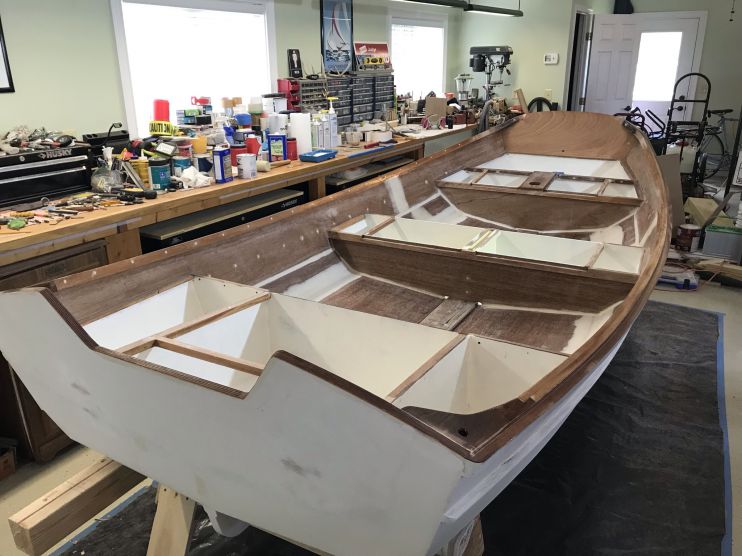
5/13/21 – Applied a coat of Epifanes Monourethane, cream, to the insides of all compartments.
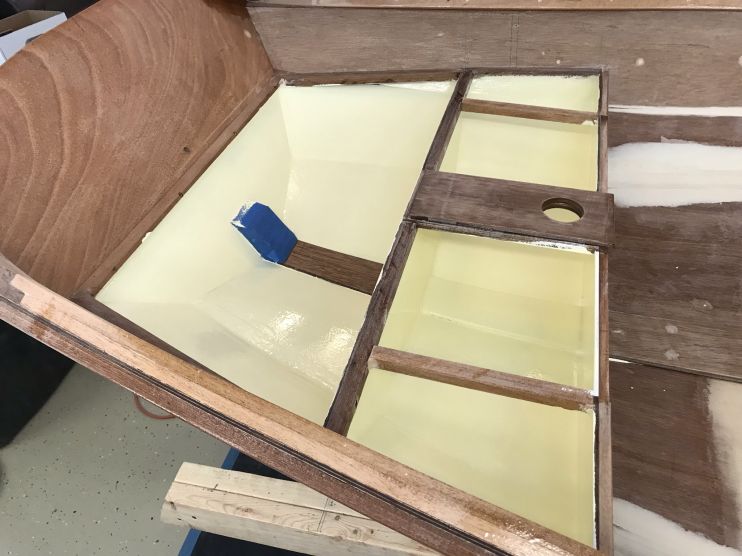
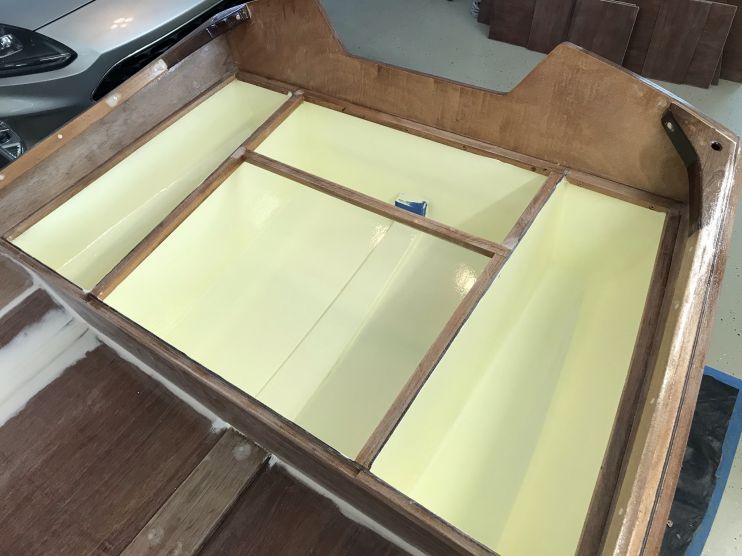
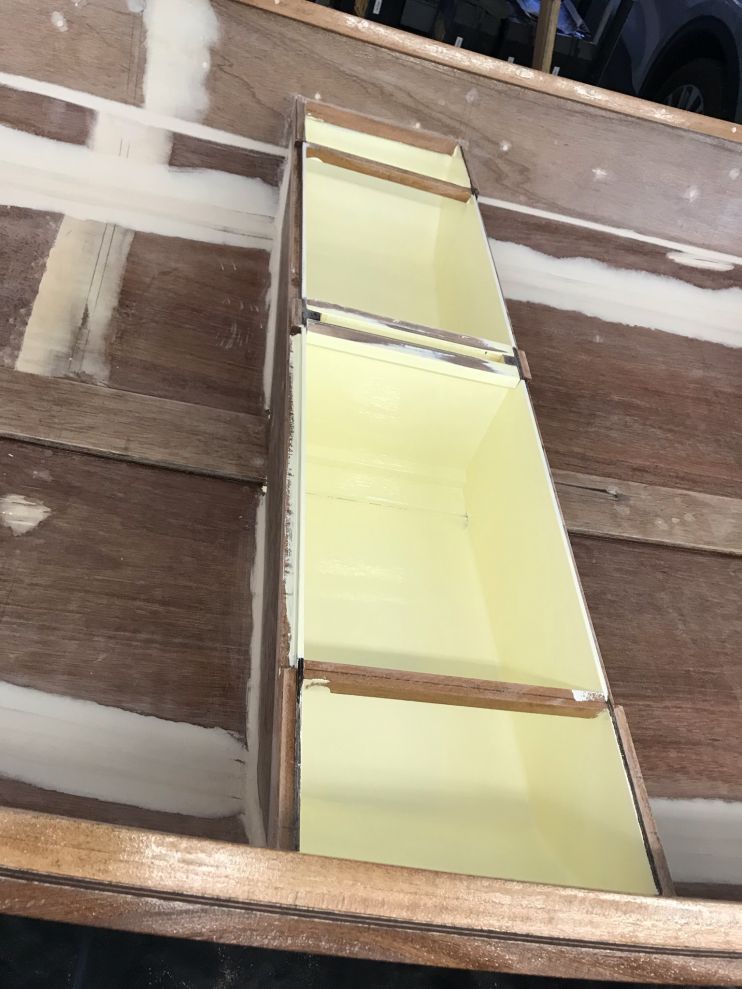
5/24/21 – Getting started back on the interior today after spending the weekend either sailing or working on my other boat.
I didn’t get much done today, but I did decide to install 6-inch deck plates in all three watertight compartments. The deck plates have a watertight seal and will allow for storage in dry compartments. Here is a look at the first one installed.
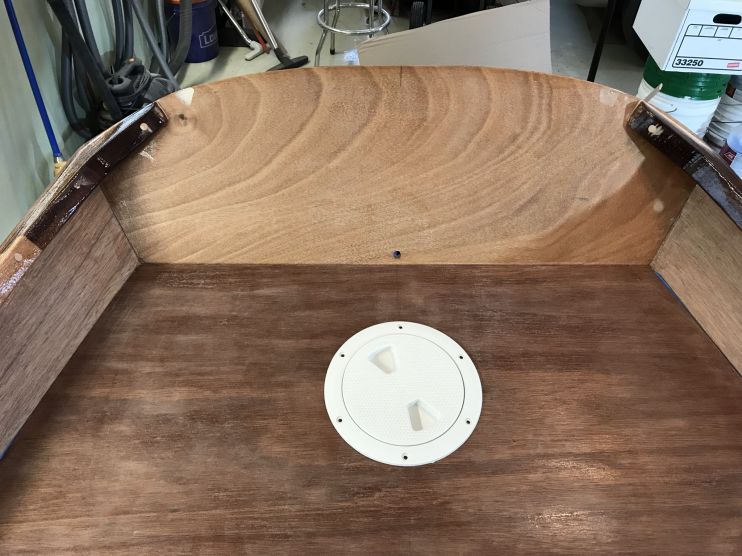
Tomorrow I will be able to cut the other two, then paint the underside of the seats and epoxy them in place.
5/25/21 – This morning I finished cutting the other 2 holes for the deck plates.
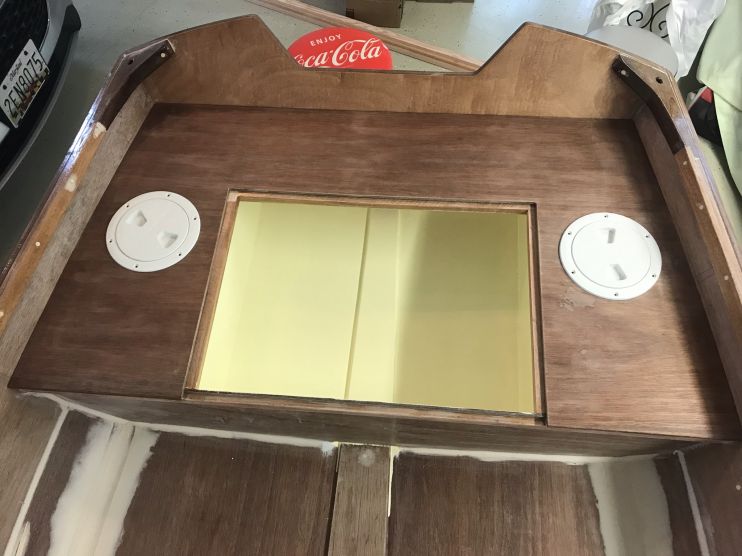
Then I started painting the underside of the seats prior to epoxying them in place. I also started priming the rudder and daggerboard.
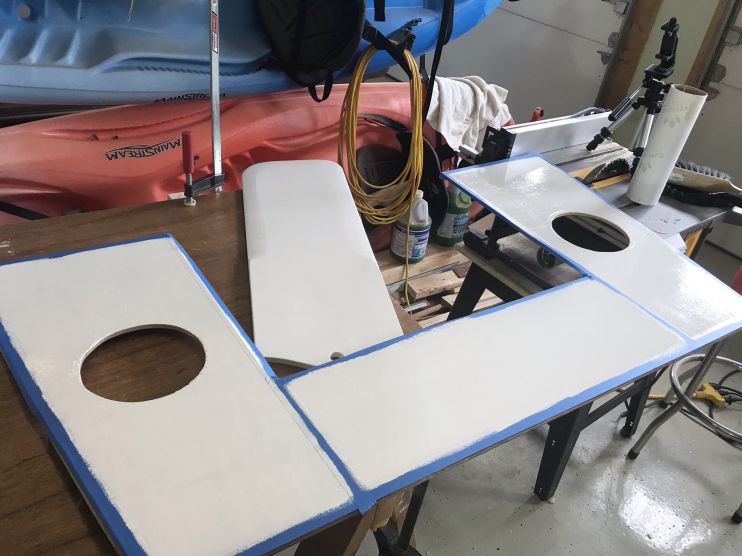
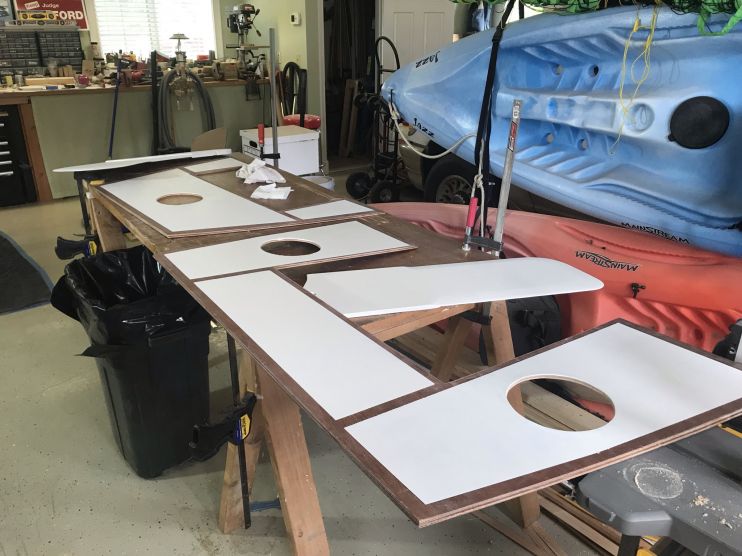
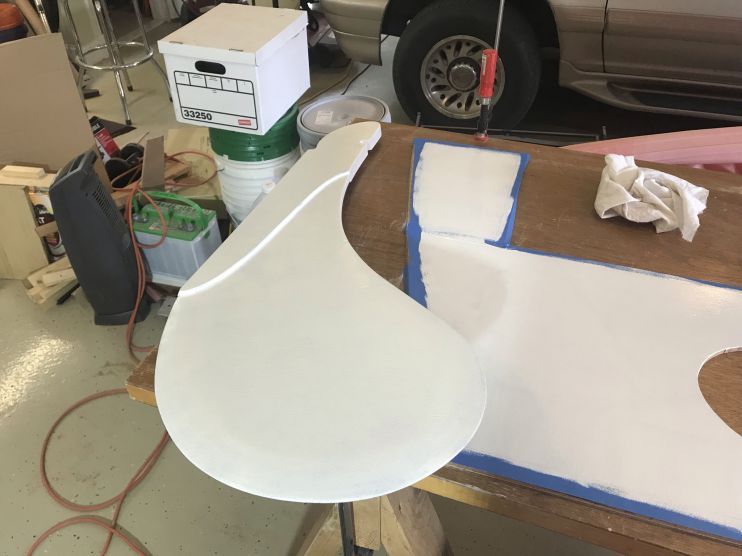
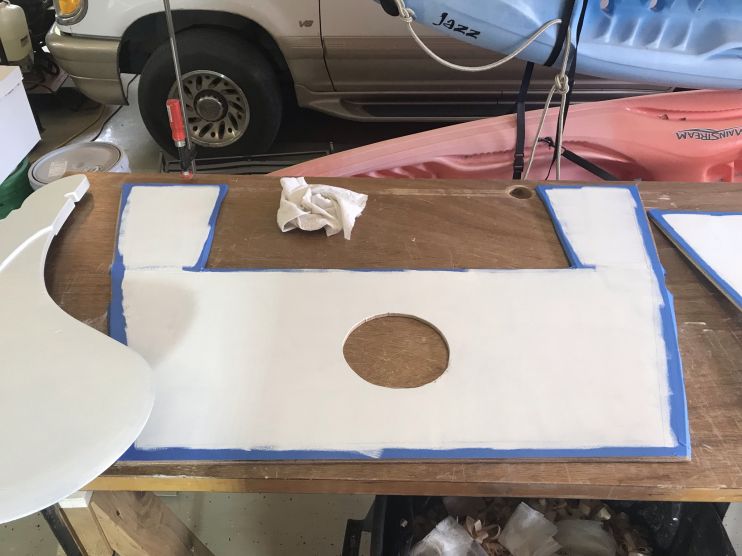
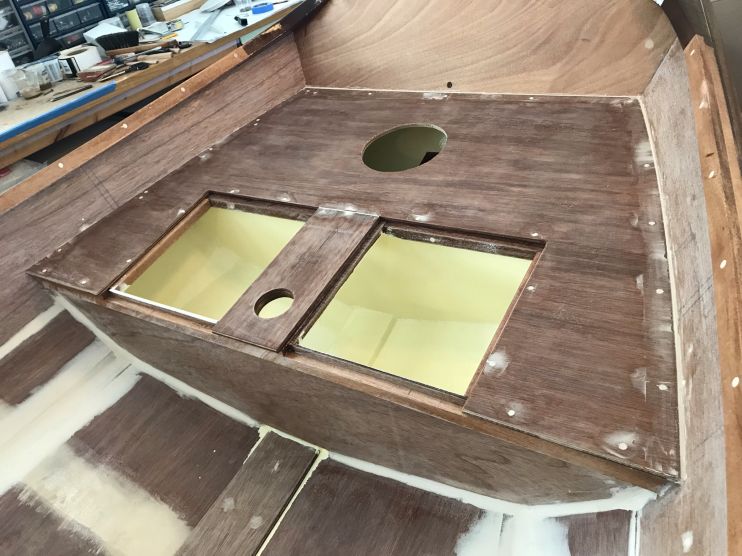
5/26/21 – This morning I was able to screw and epoxy in place all the fixed seat panels.
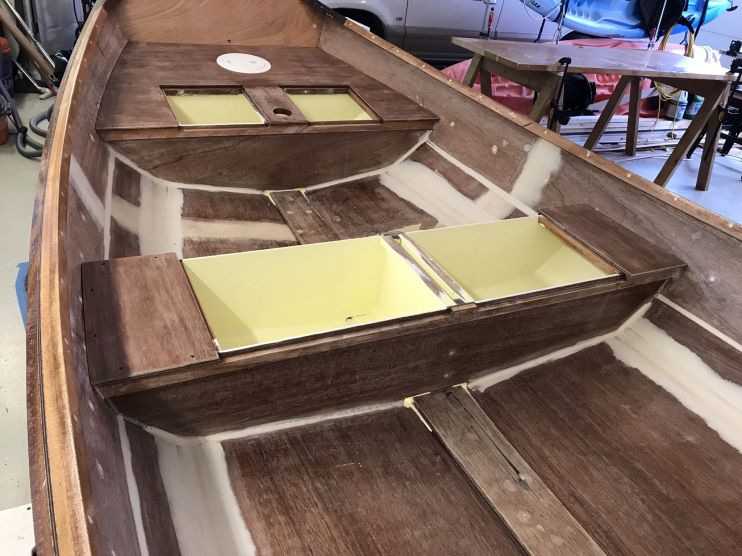
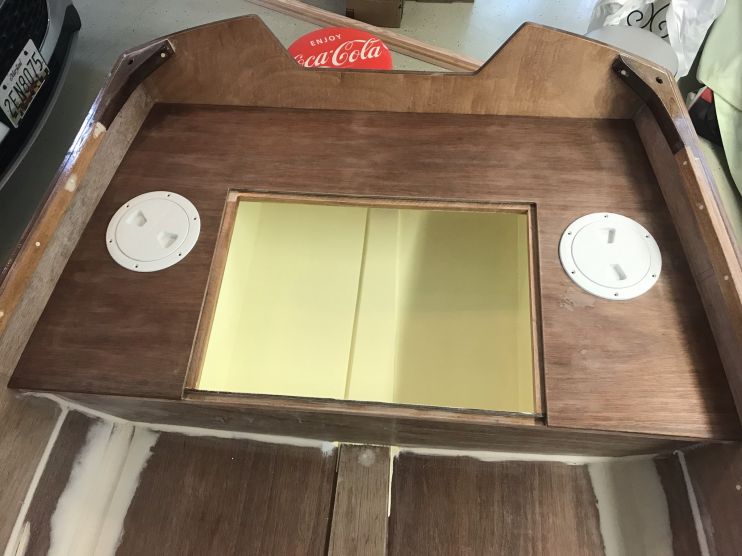
This afternoon I filled all the screw holes and joints with fairing filler.
I also added a coat of primer to the hatch lids and the other side of the rudder and daggerboard.
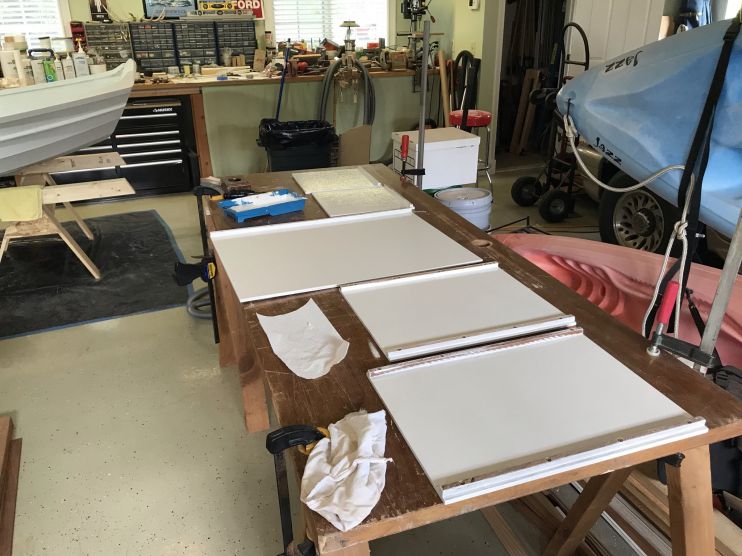
5/27/21 – Today I sanded all the areas that were filled yesterday and got started priming the interior.
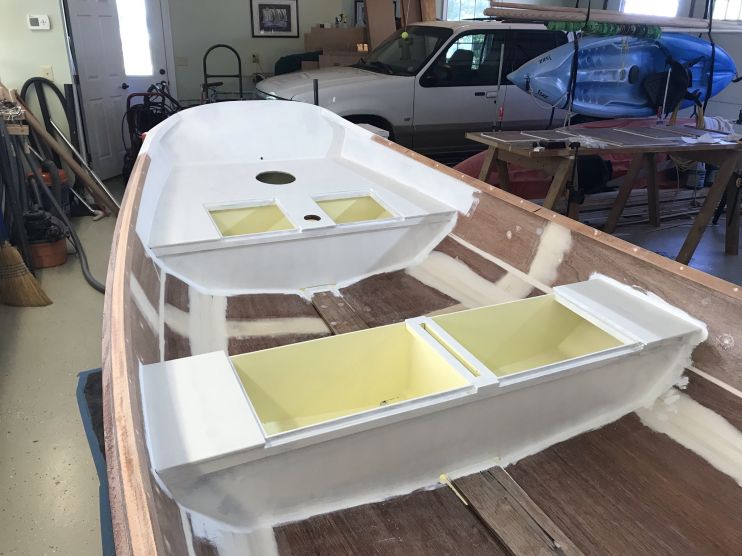
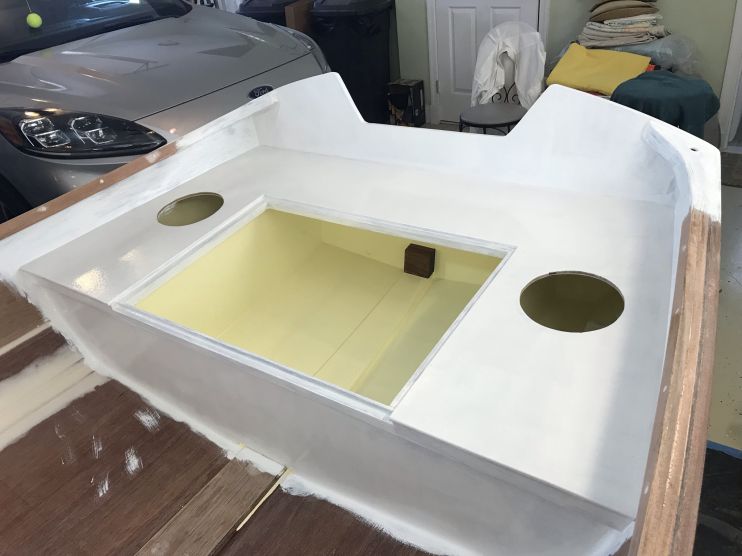
5/28/21 – Today I finished priming the interior and the backs of the hatches.
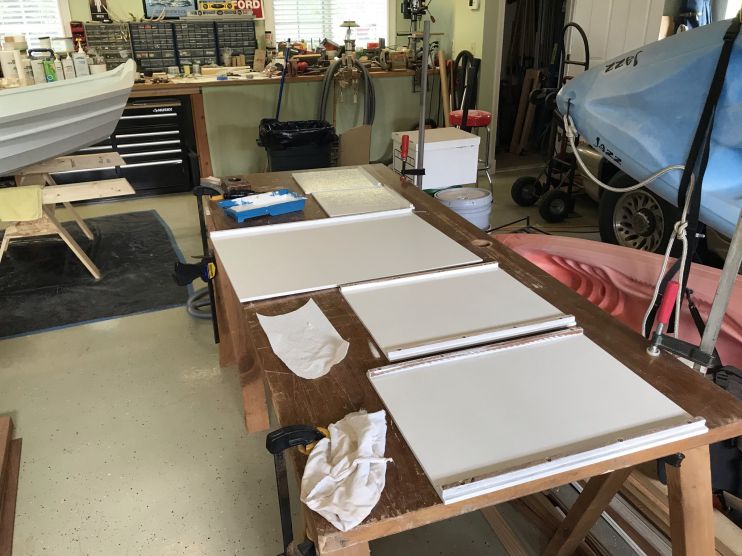
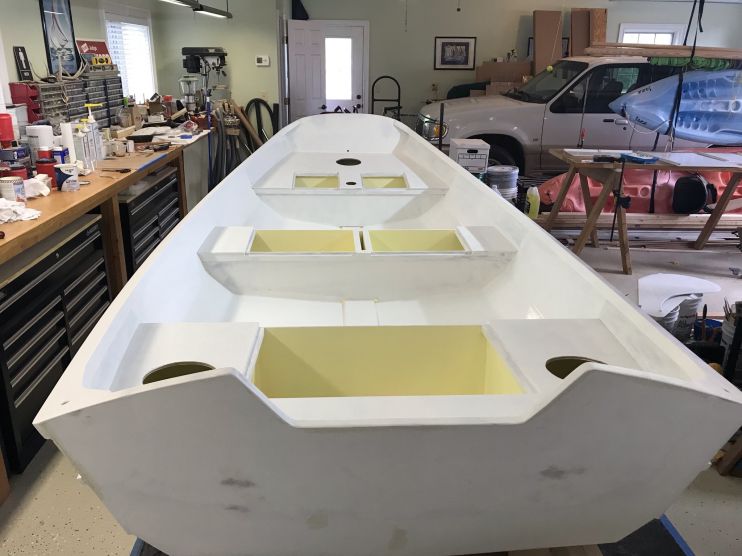
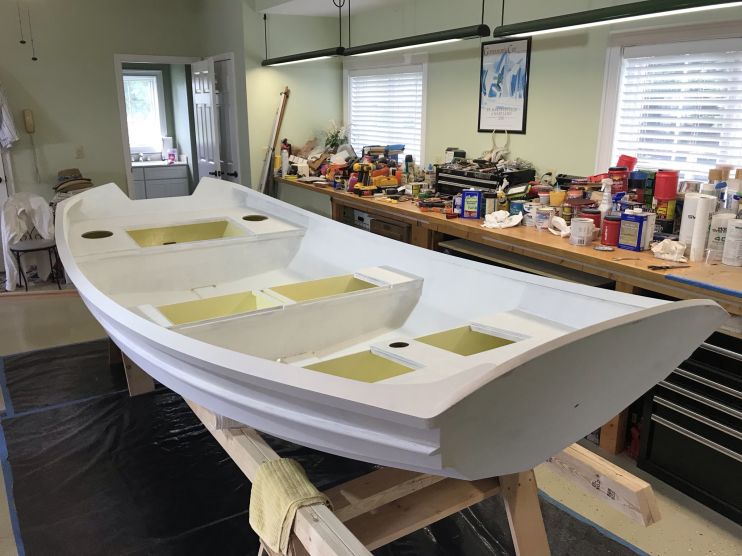
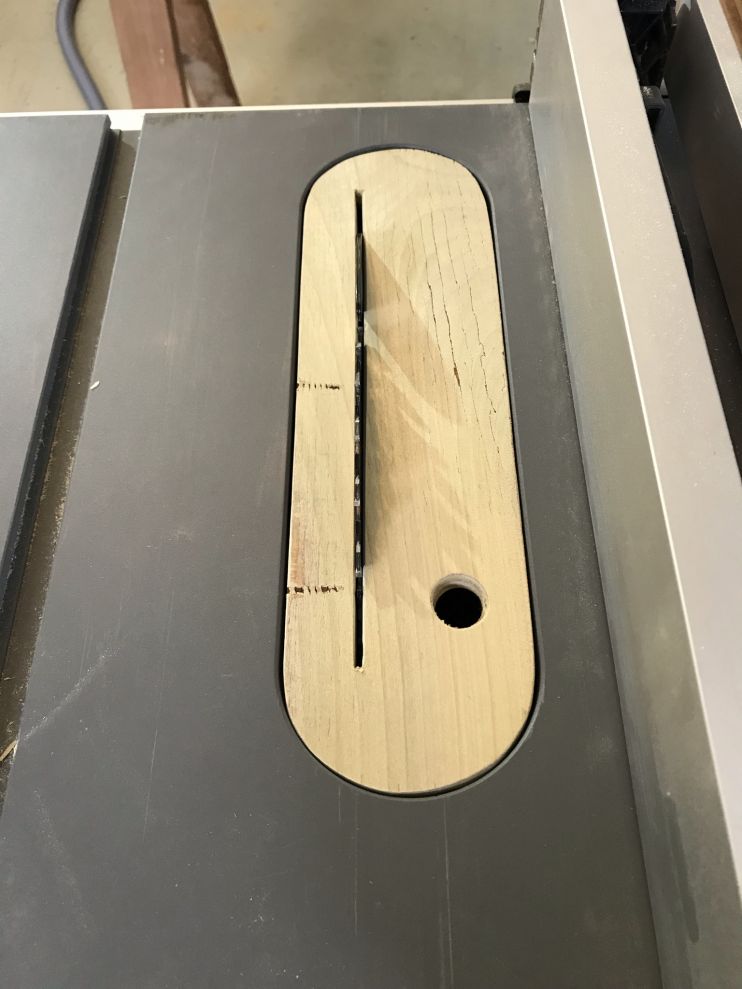
5/29/21 – Today I planned to make the oarlock blocks but it didn’t go as quickly as I anticipated. I started with a piece of scrap the correct size for the block, 1 1/4″ x 3/4″ x 5″. The angle of the cutout in the block is 15 degrees and as I nibbled away by moving the fence closer and closer to the blade, it became apparent the block was going to fall through the cutout in the table saw insert. I was going to need a zero clearance insert to be able to make the piece. I then spent the next couple of hours making a new insert.
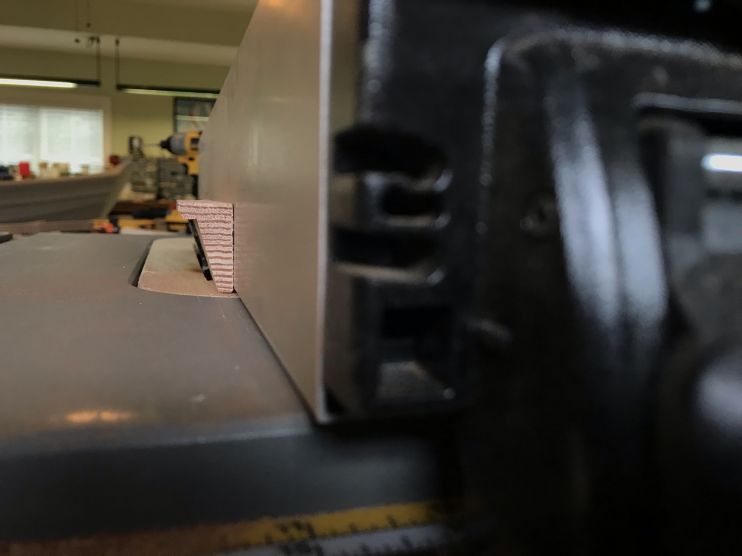
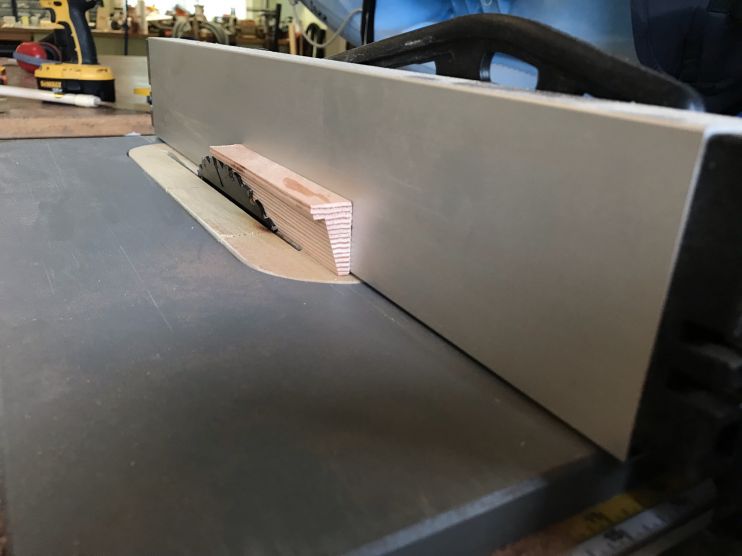
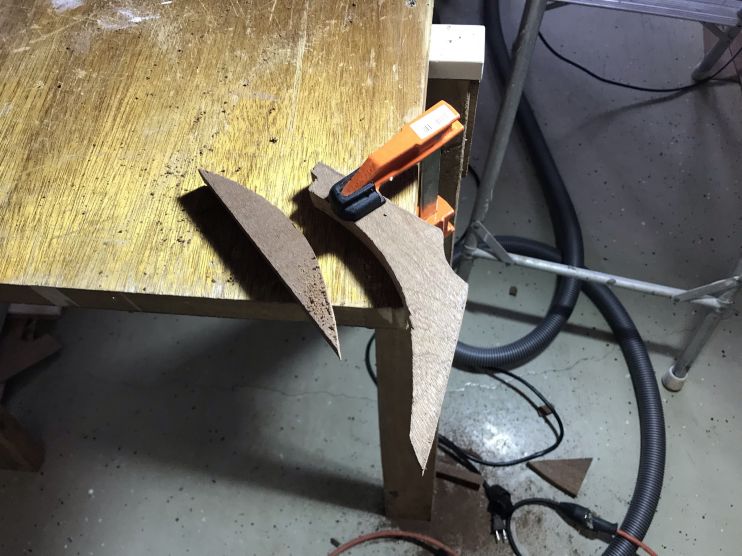
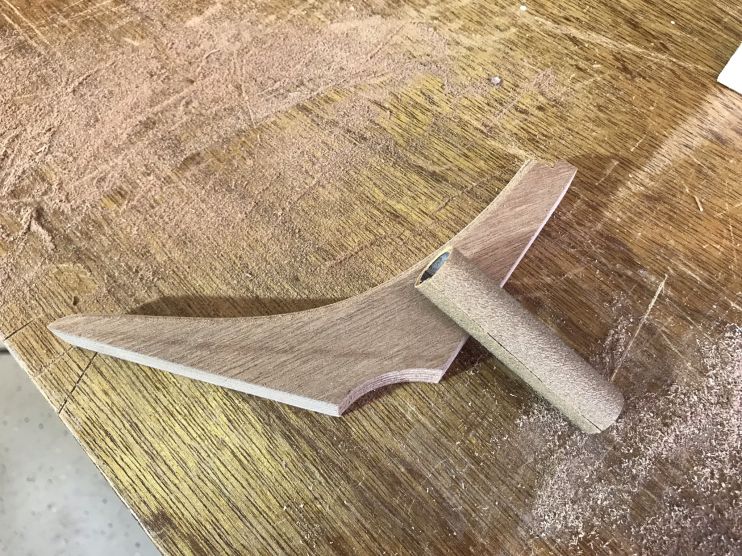
After I got the depth and angle correct, I repeated the process with a couple of pieces of mahogany. I then used my jigsaw to rough out the overall shape of each piece and then used my belt sander to smooth out the curves and then hand sanded the pieces. Unfortunately, I only have photos of the finished product.
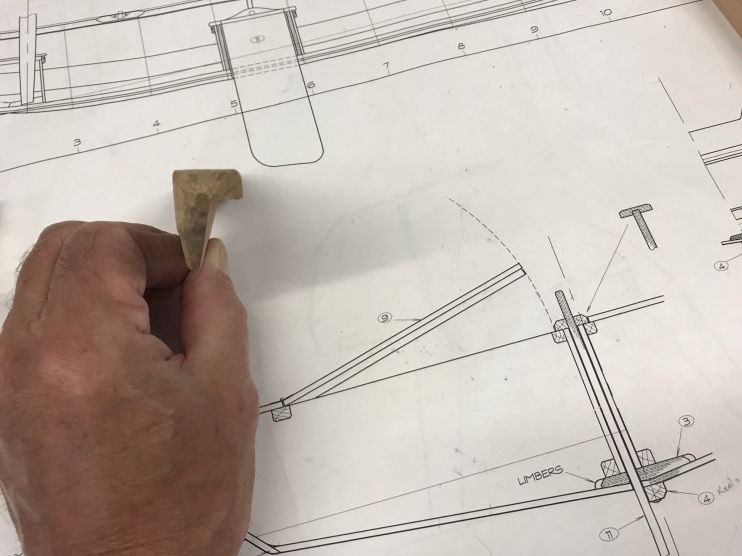
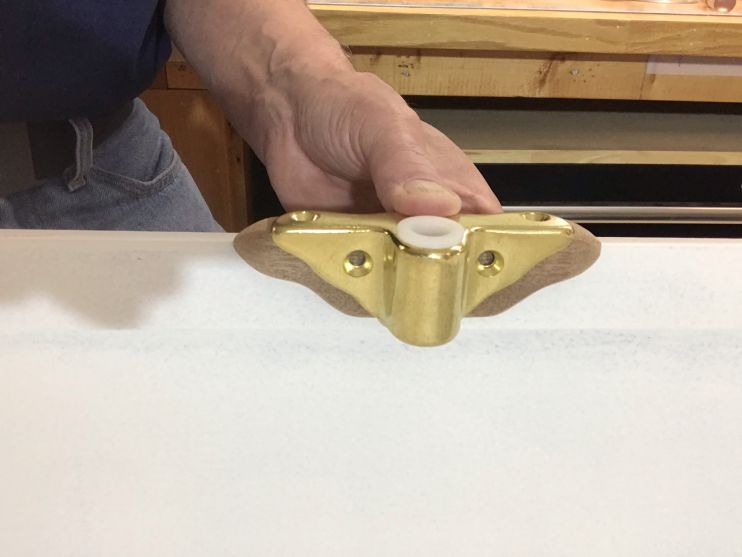
5/30/21 – Today I made the knees for the thwarts from the patterns. I had scrap blocks of mahogany to trace the pattern and then cut it out with my jigsaw.
5/31/21 – I just re-measured the oarlock pad on the plans and realized I read the plans wrong and they are way smaller than intended. I am going to spend this morning making new ones.
OK, starting over with an 8″ block of mahogany, 3/4″ x 1 1/4″. This time I double-checked the measurements.
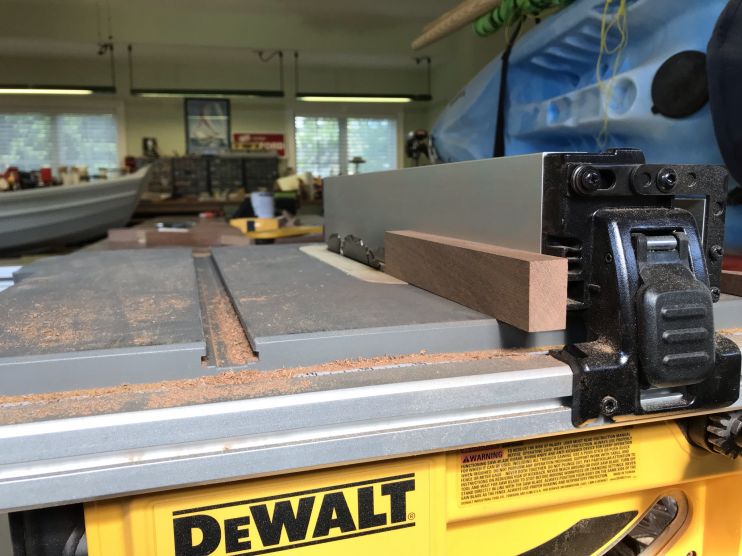
Then, nibble away the 15-degree cutout.
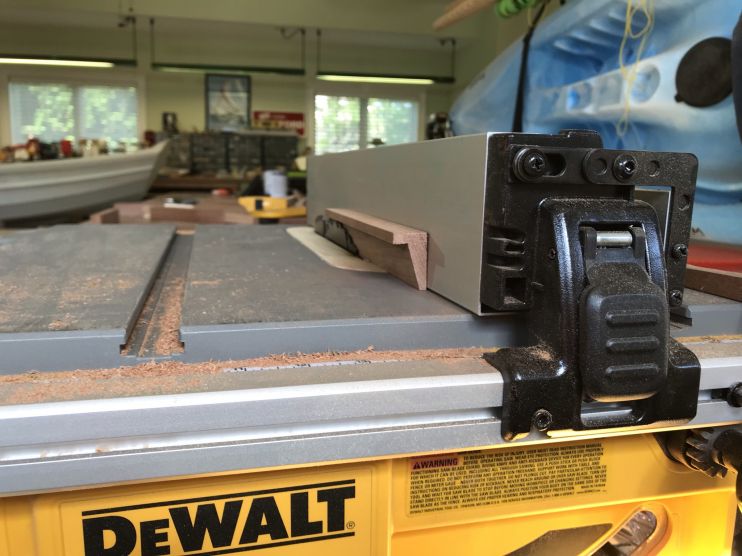
Then it was time to make a pattern for the profile.
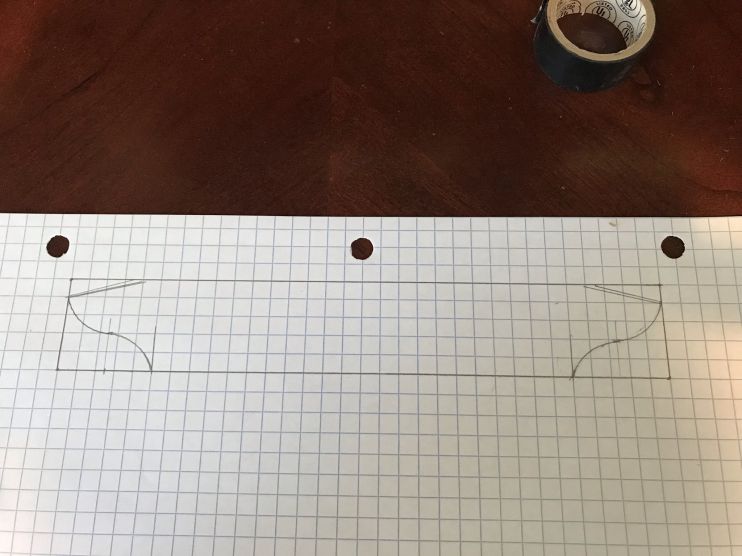
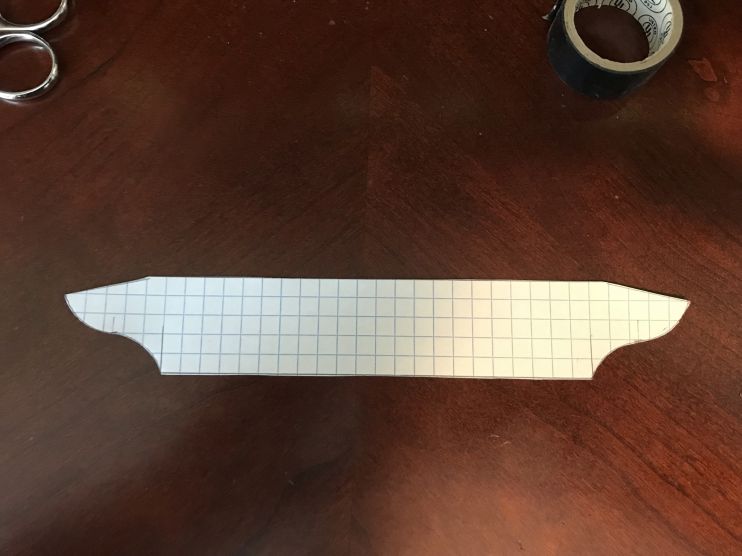
I cut it out and traced it onto the block.
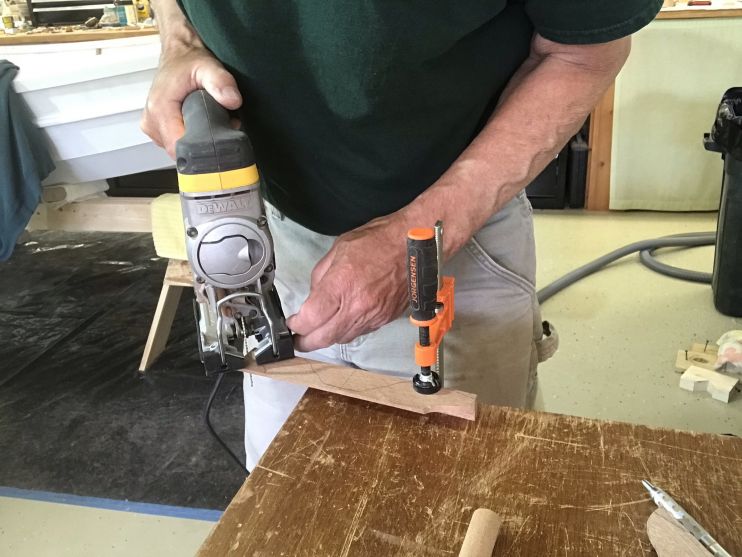
Then I used the jigsaw to rough out the curves.
I used a 1/2″ copper pipe with adhesive 80 grit sandpaper to sand up to the lines.
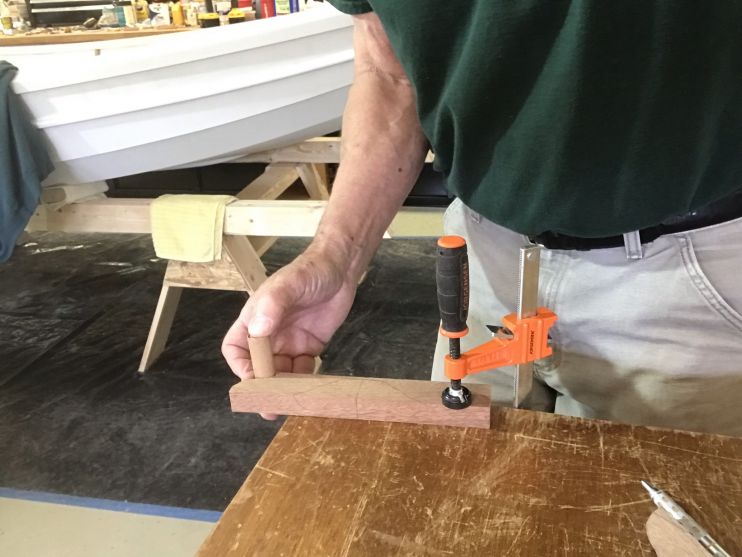
Then I used the belt sander to bevel the top of the block.
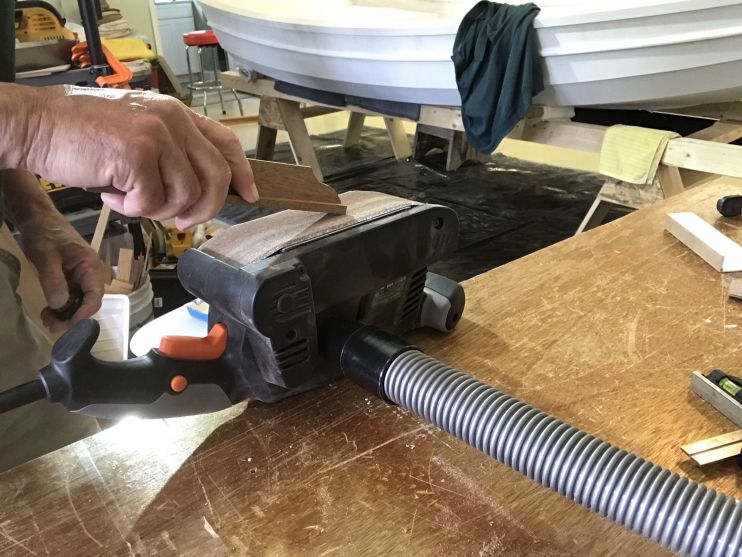
The finished product looks way better than what I did yesterday and I did it in half the time. I guess practice makes perfect.
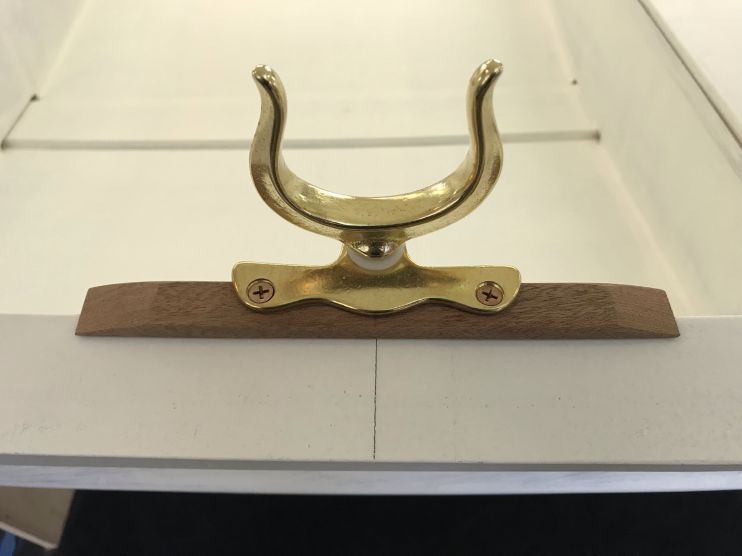
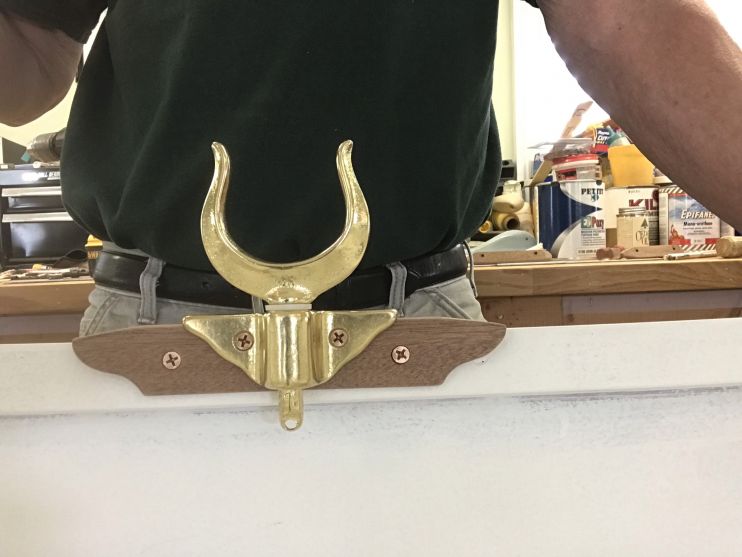
This afternoon I will glue it in place along with the thwart knees.
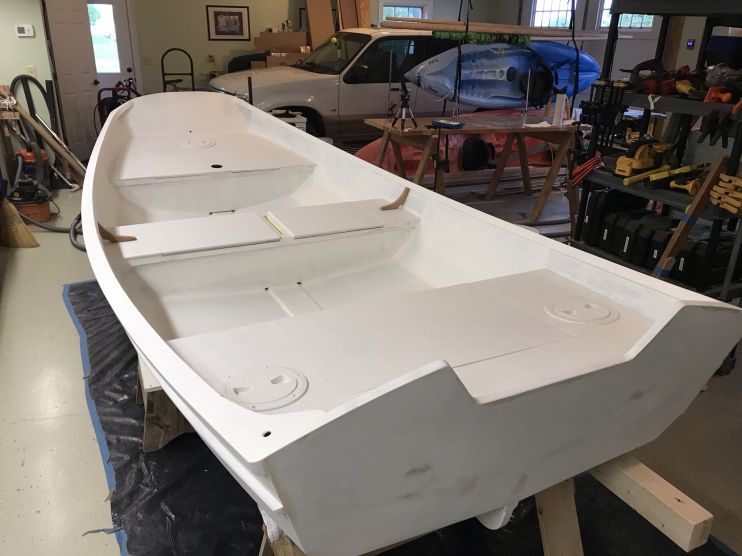
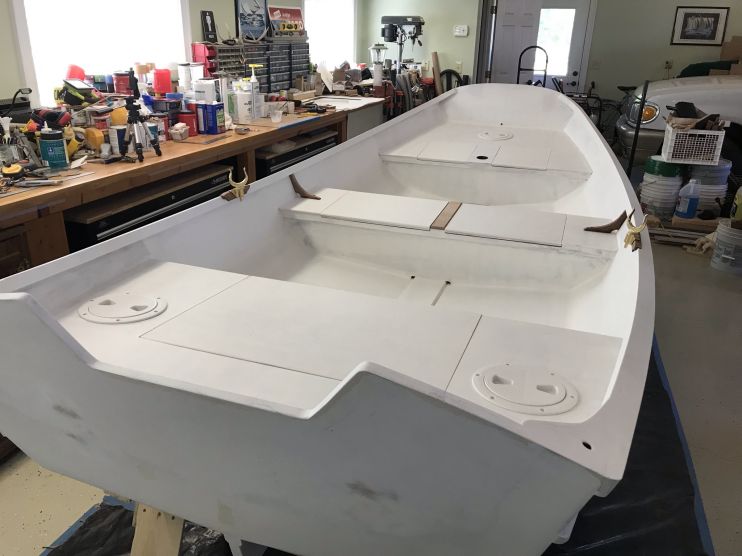
3:00 pm – I finished epoxying and screwing the knees and oarlocks in place. The knees were screwed in from the outside and down into the seat.
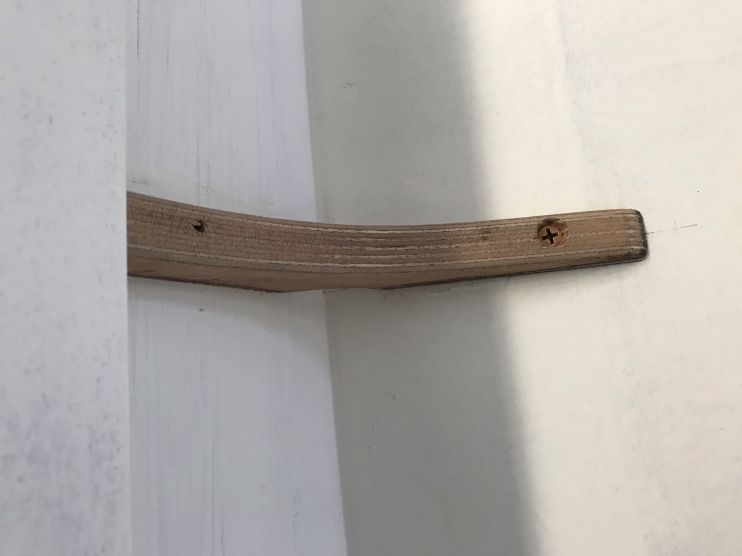
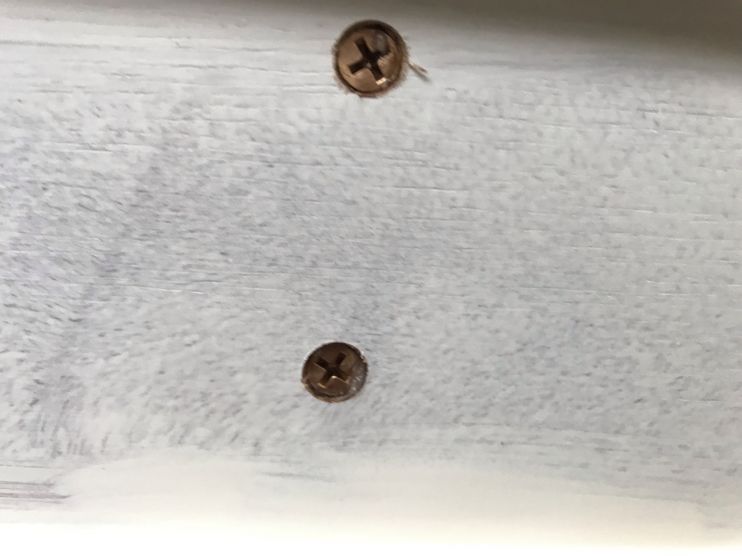
Here is the boat, ready for final sanding and painting.
Now, back to working on the spars.
-
-
AuthorPosts
- You must be logged in to reply to this topic.