Home › Forums › 11′ 10″ ARRIBA / OONAGH Dinghy – Official Step-by-Step Boatbuilders’ Forum › ARRIBA / OONAGH – 10 – The Outer Keel › Keel and Skeg
- This topic has 5 replies, 4 voices, and was last updated 5 years, 2 months ago by
 Bob Donaldson.
-
AuthorPosts
-
-
April 12, 2021 at 8:43 am #43481Bob DonaldsonParticipant
From my Blog: https://house-doc.net/Oonagh/?p=567
My shorter screws for the guards will not arrive until Thursday, so I decided to move on to work on the outer keel and skeg. The keel has been screwed down but not glued, so I disassembled it and put unthickened epoxy on the mahogany.
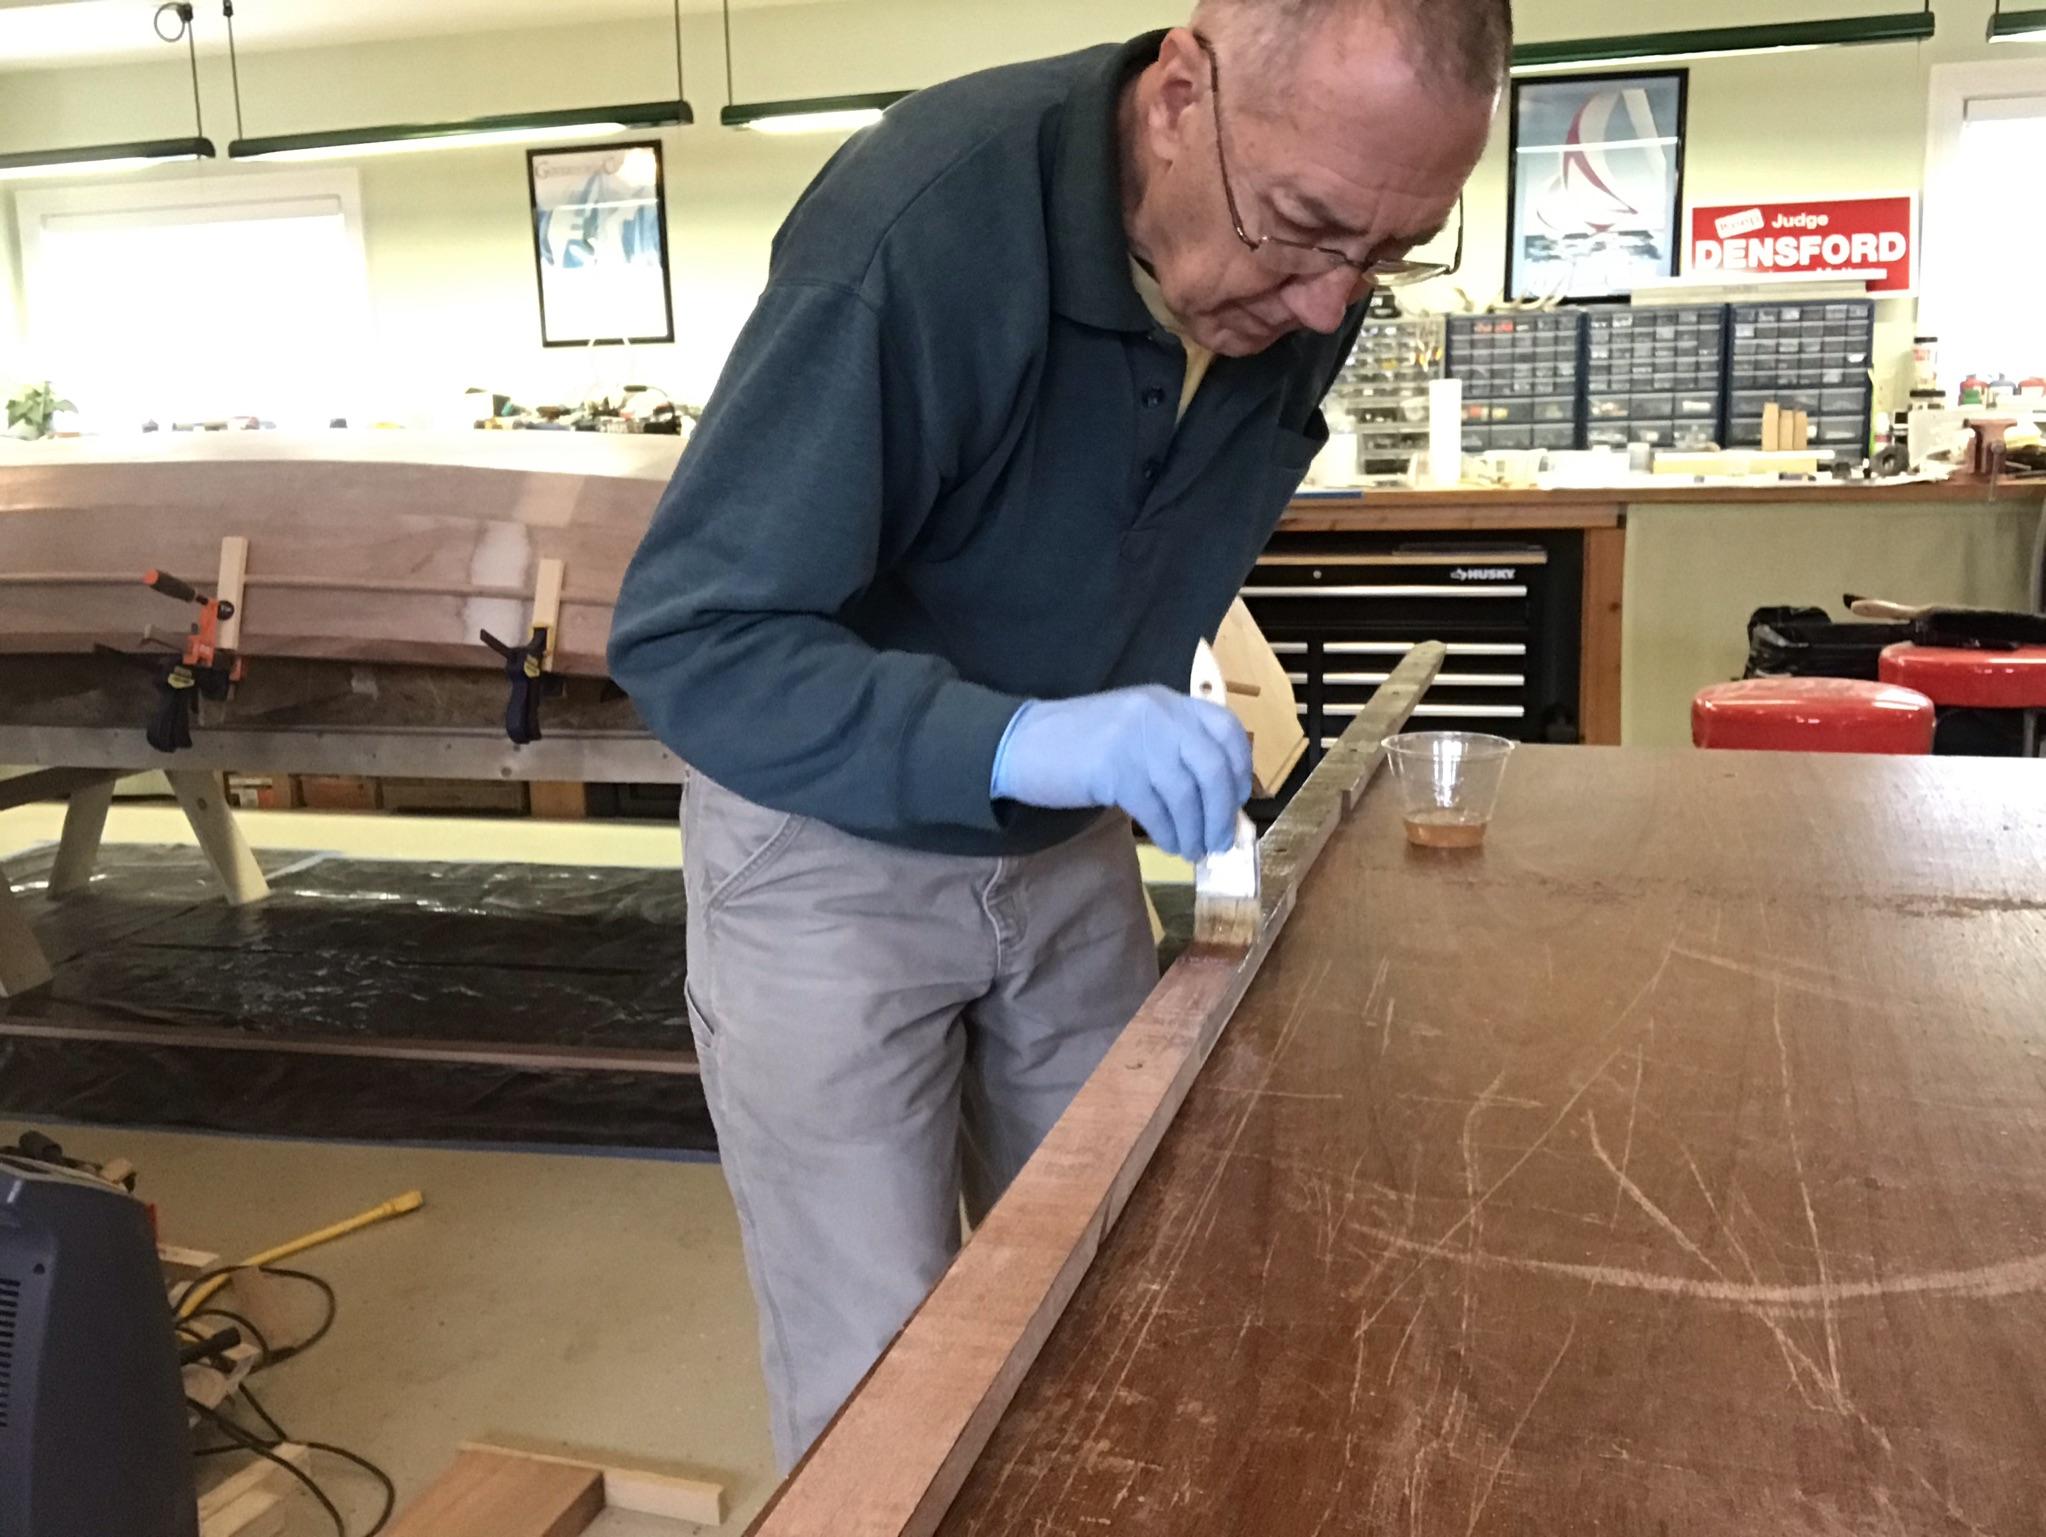
Then I applied thickened epoxy to the dynel on the centerline and screwed the keel back down for the last time. Here I am cleaning up the squeeze out epoxy.
Keel permenantly installed.

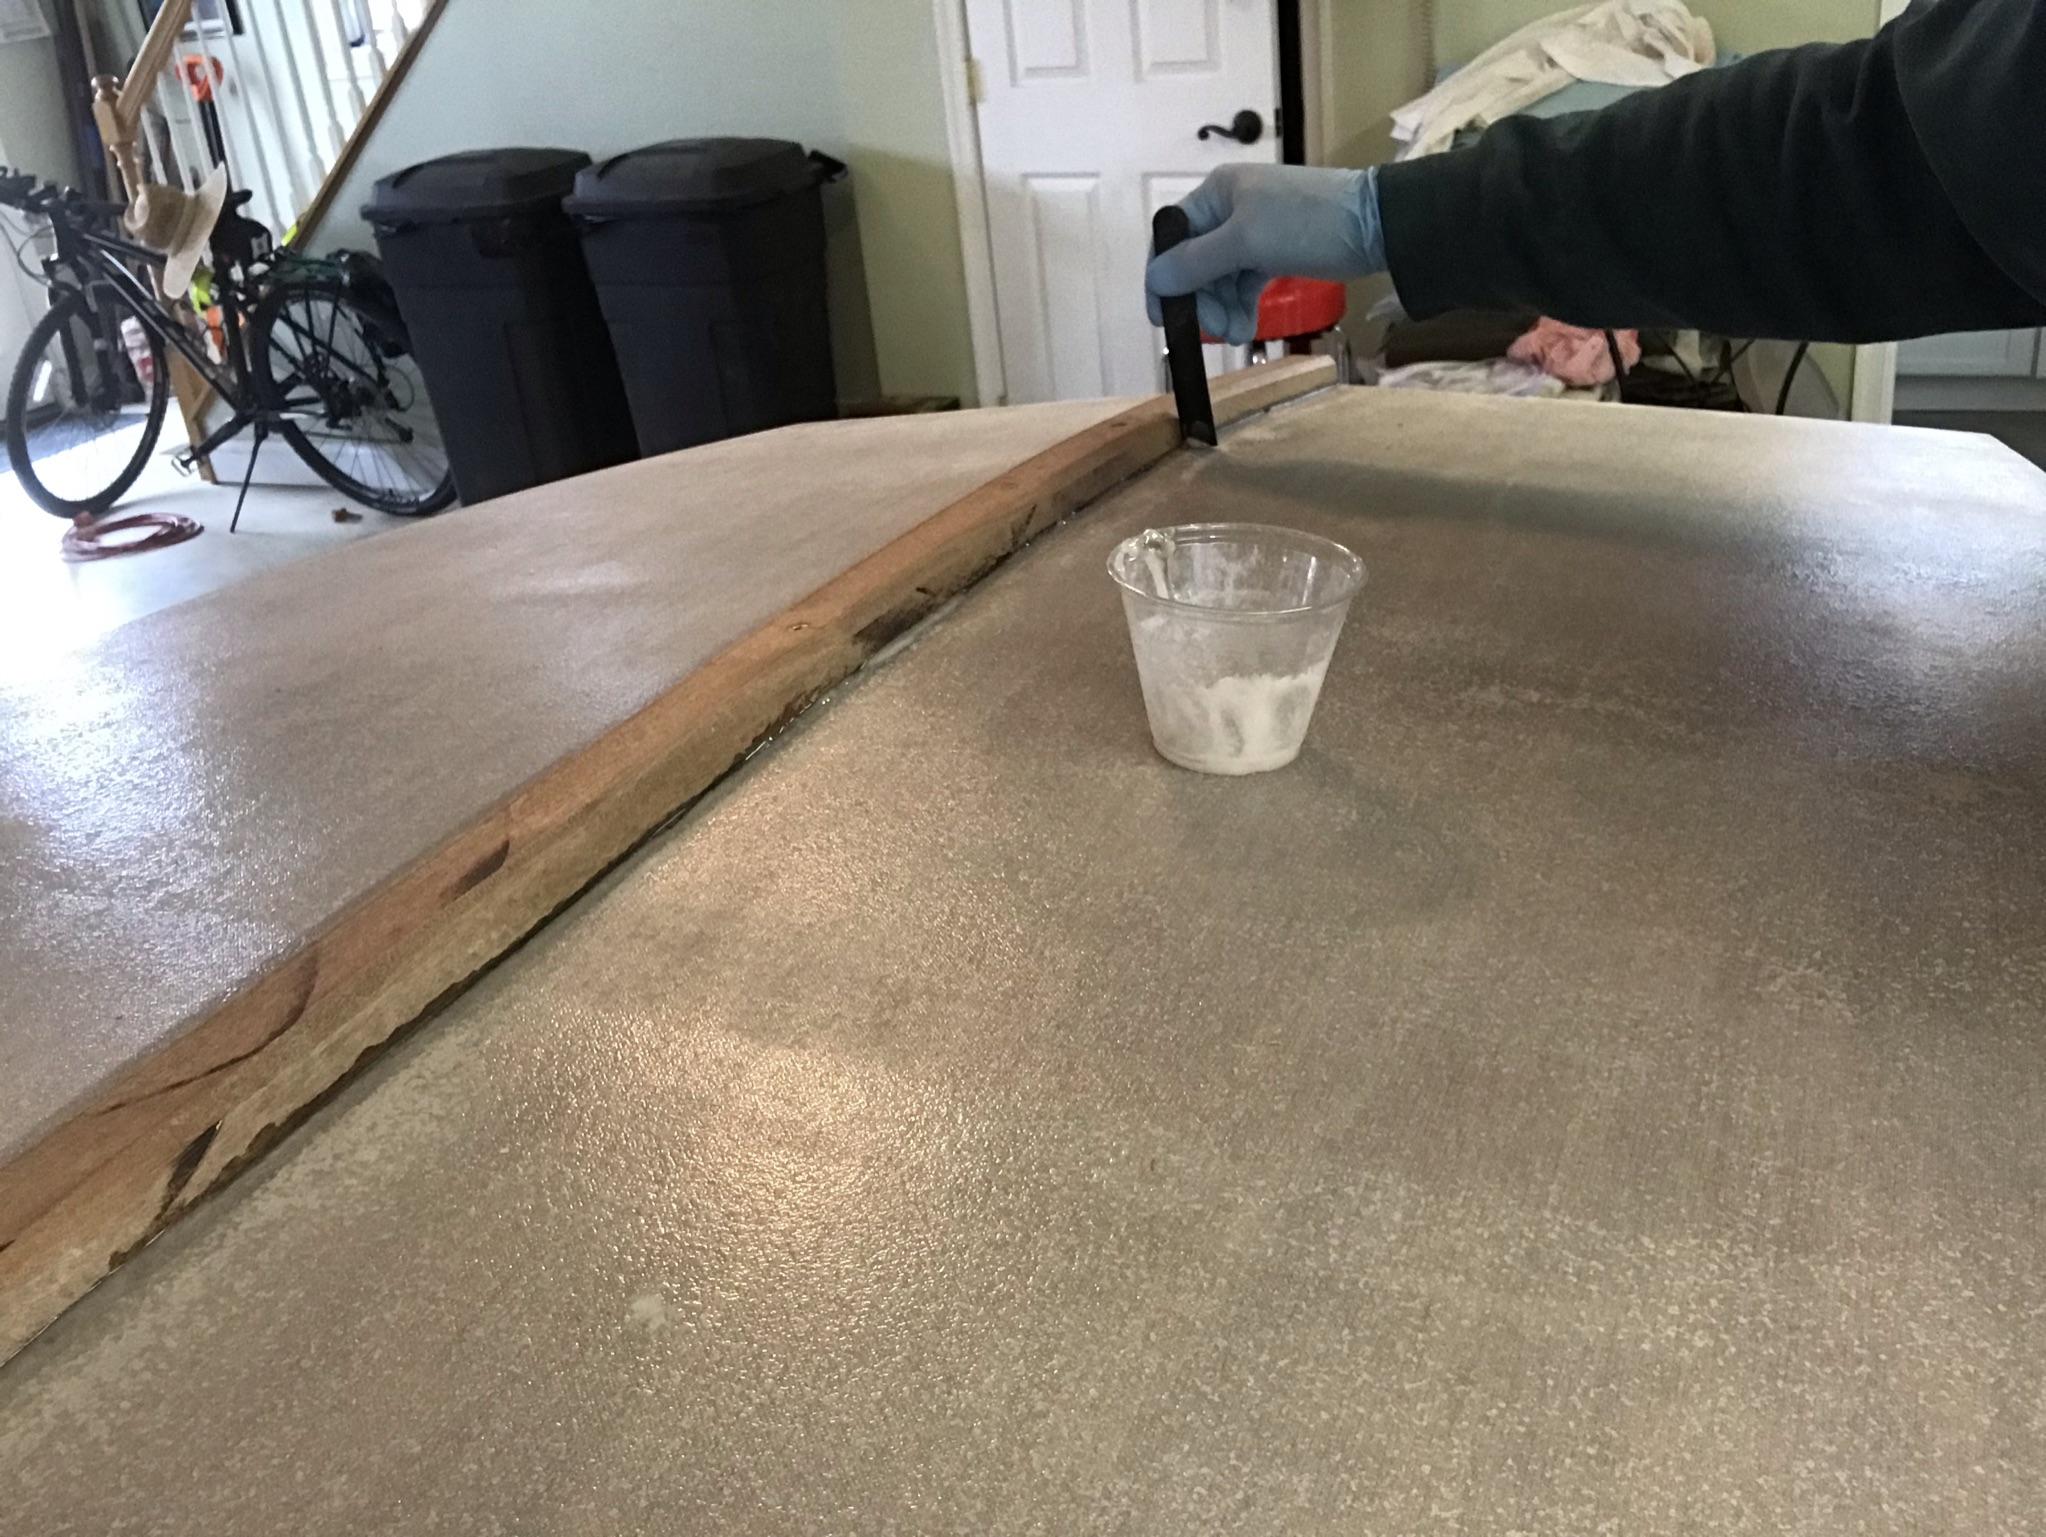
Then I started work on fitting the skeg. First I used a piece of cardboard to fit it to the curve of the keel.

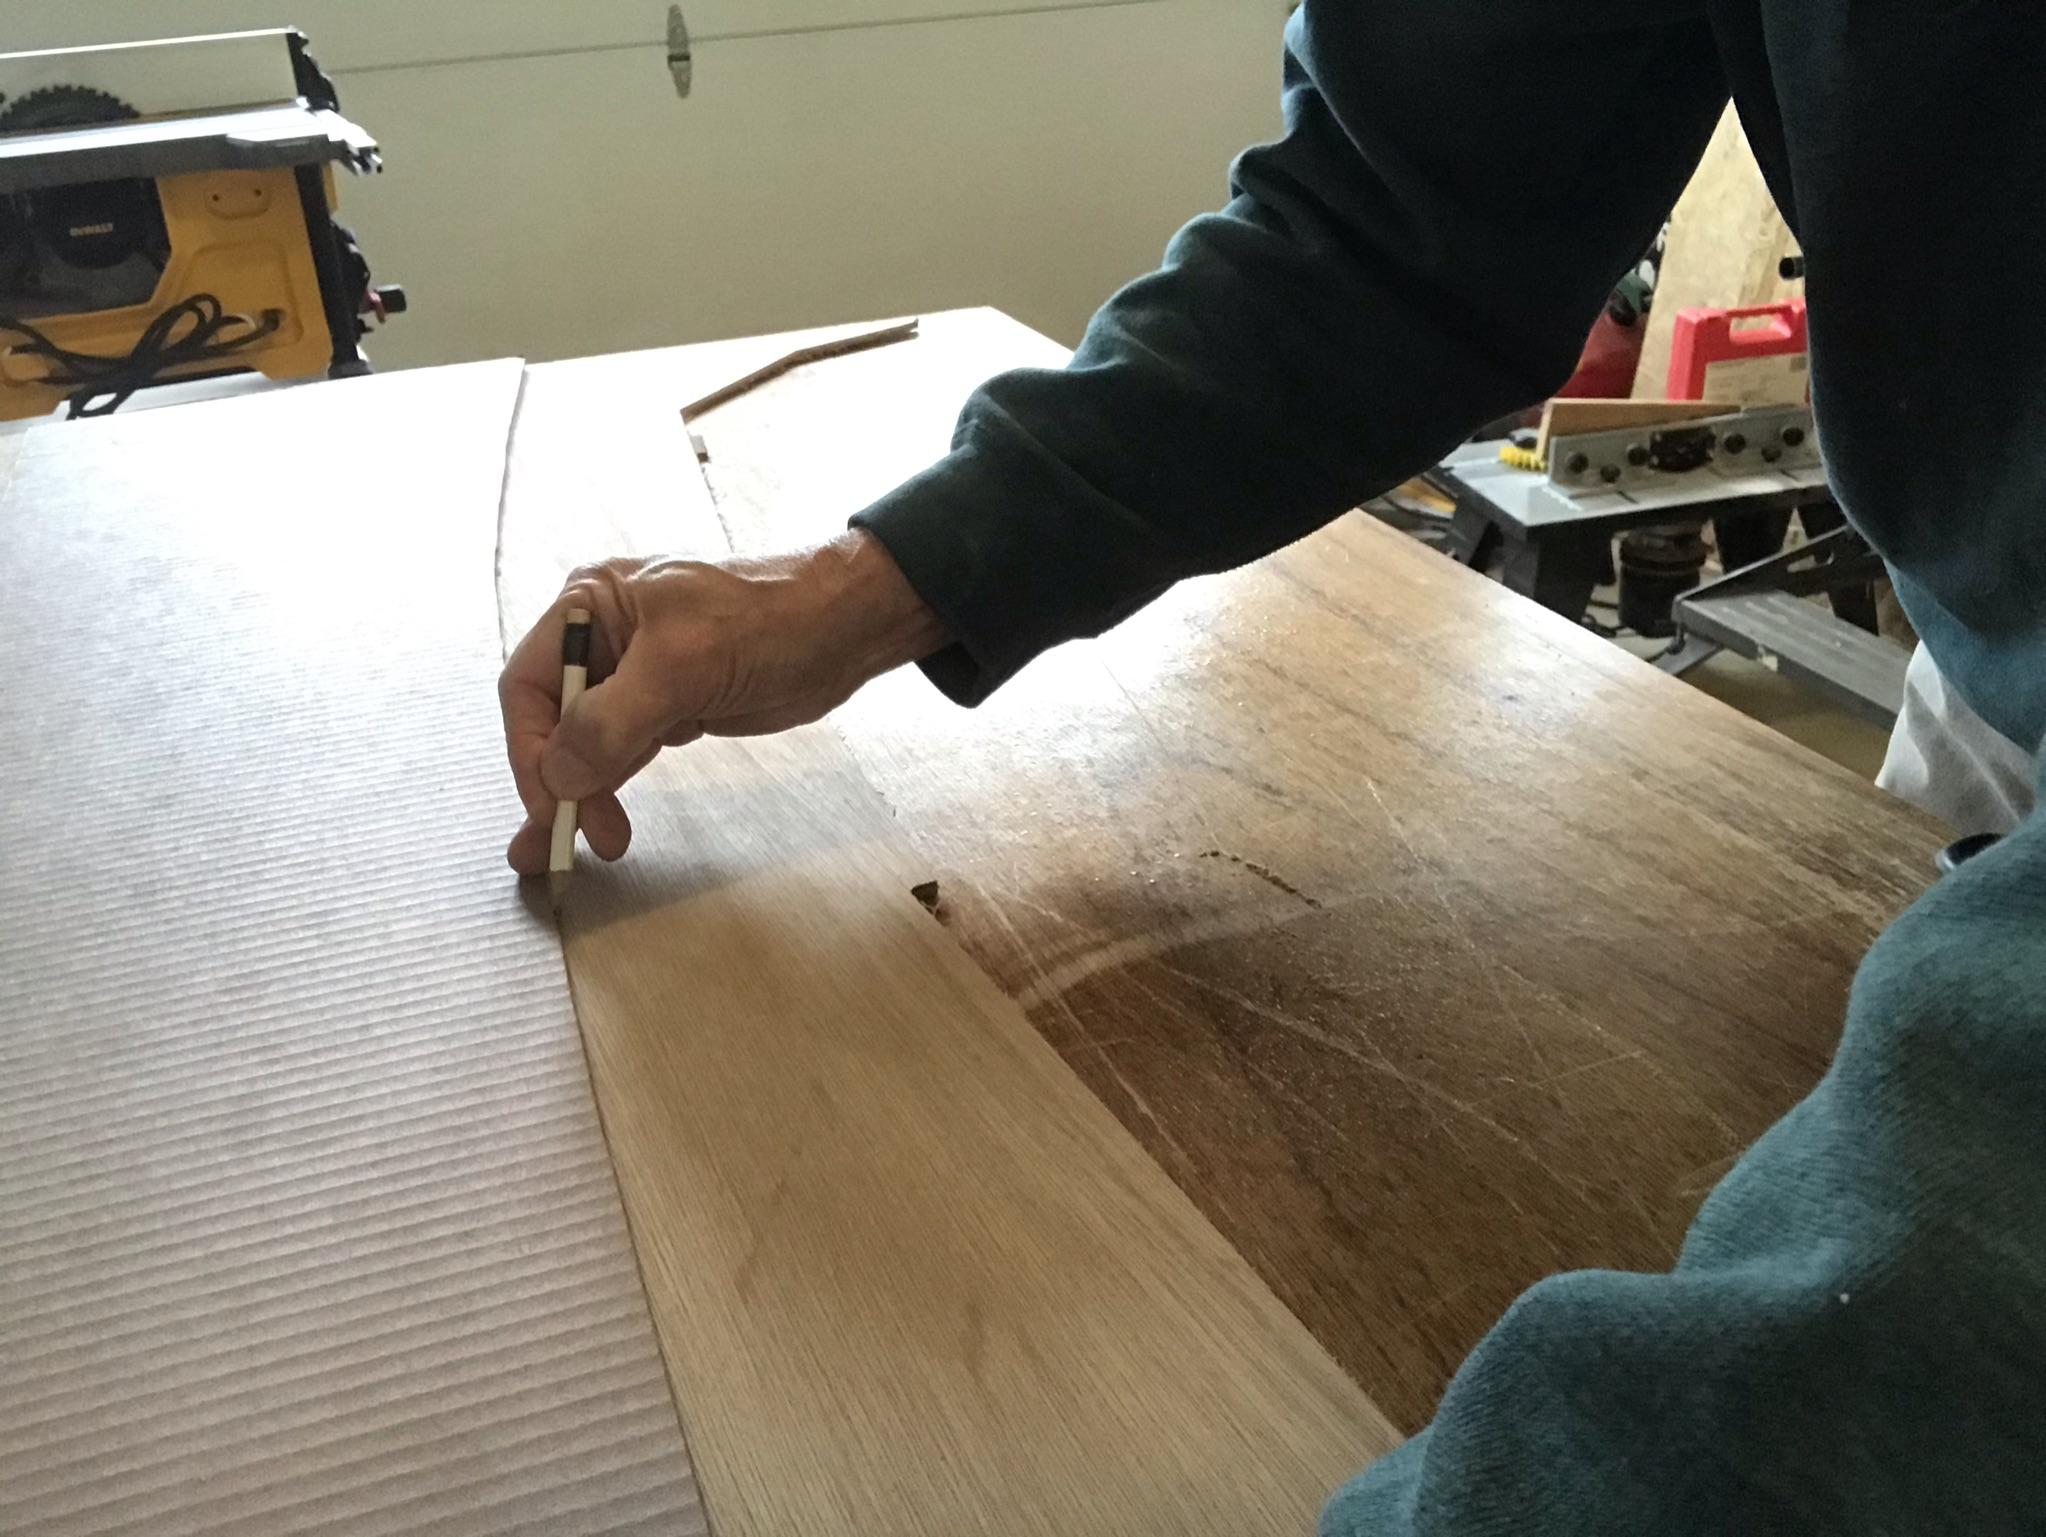
Then I traced the curve of the keel onto a piece of scrap 1/4″ plywood.
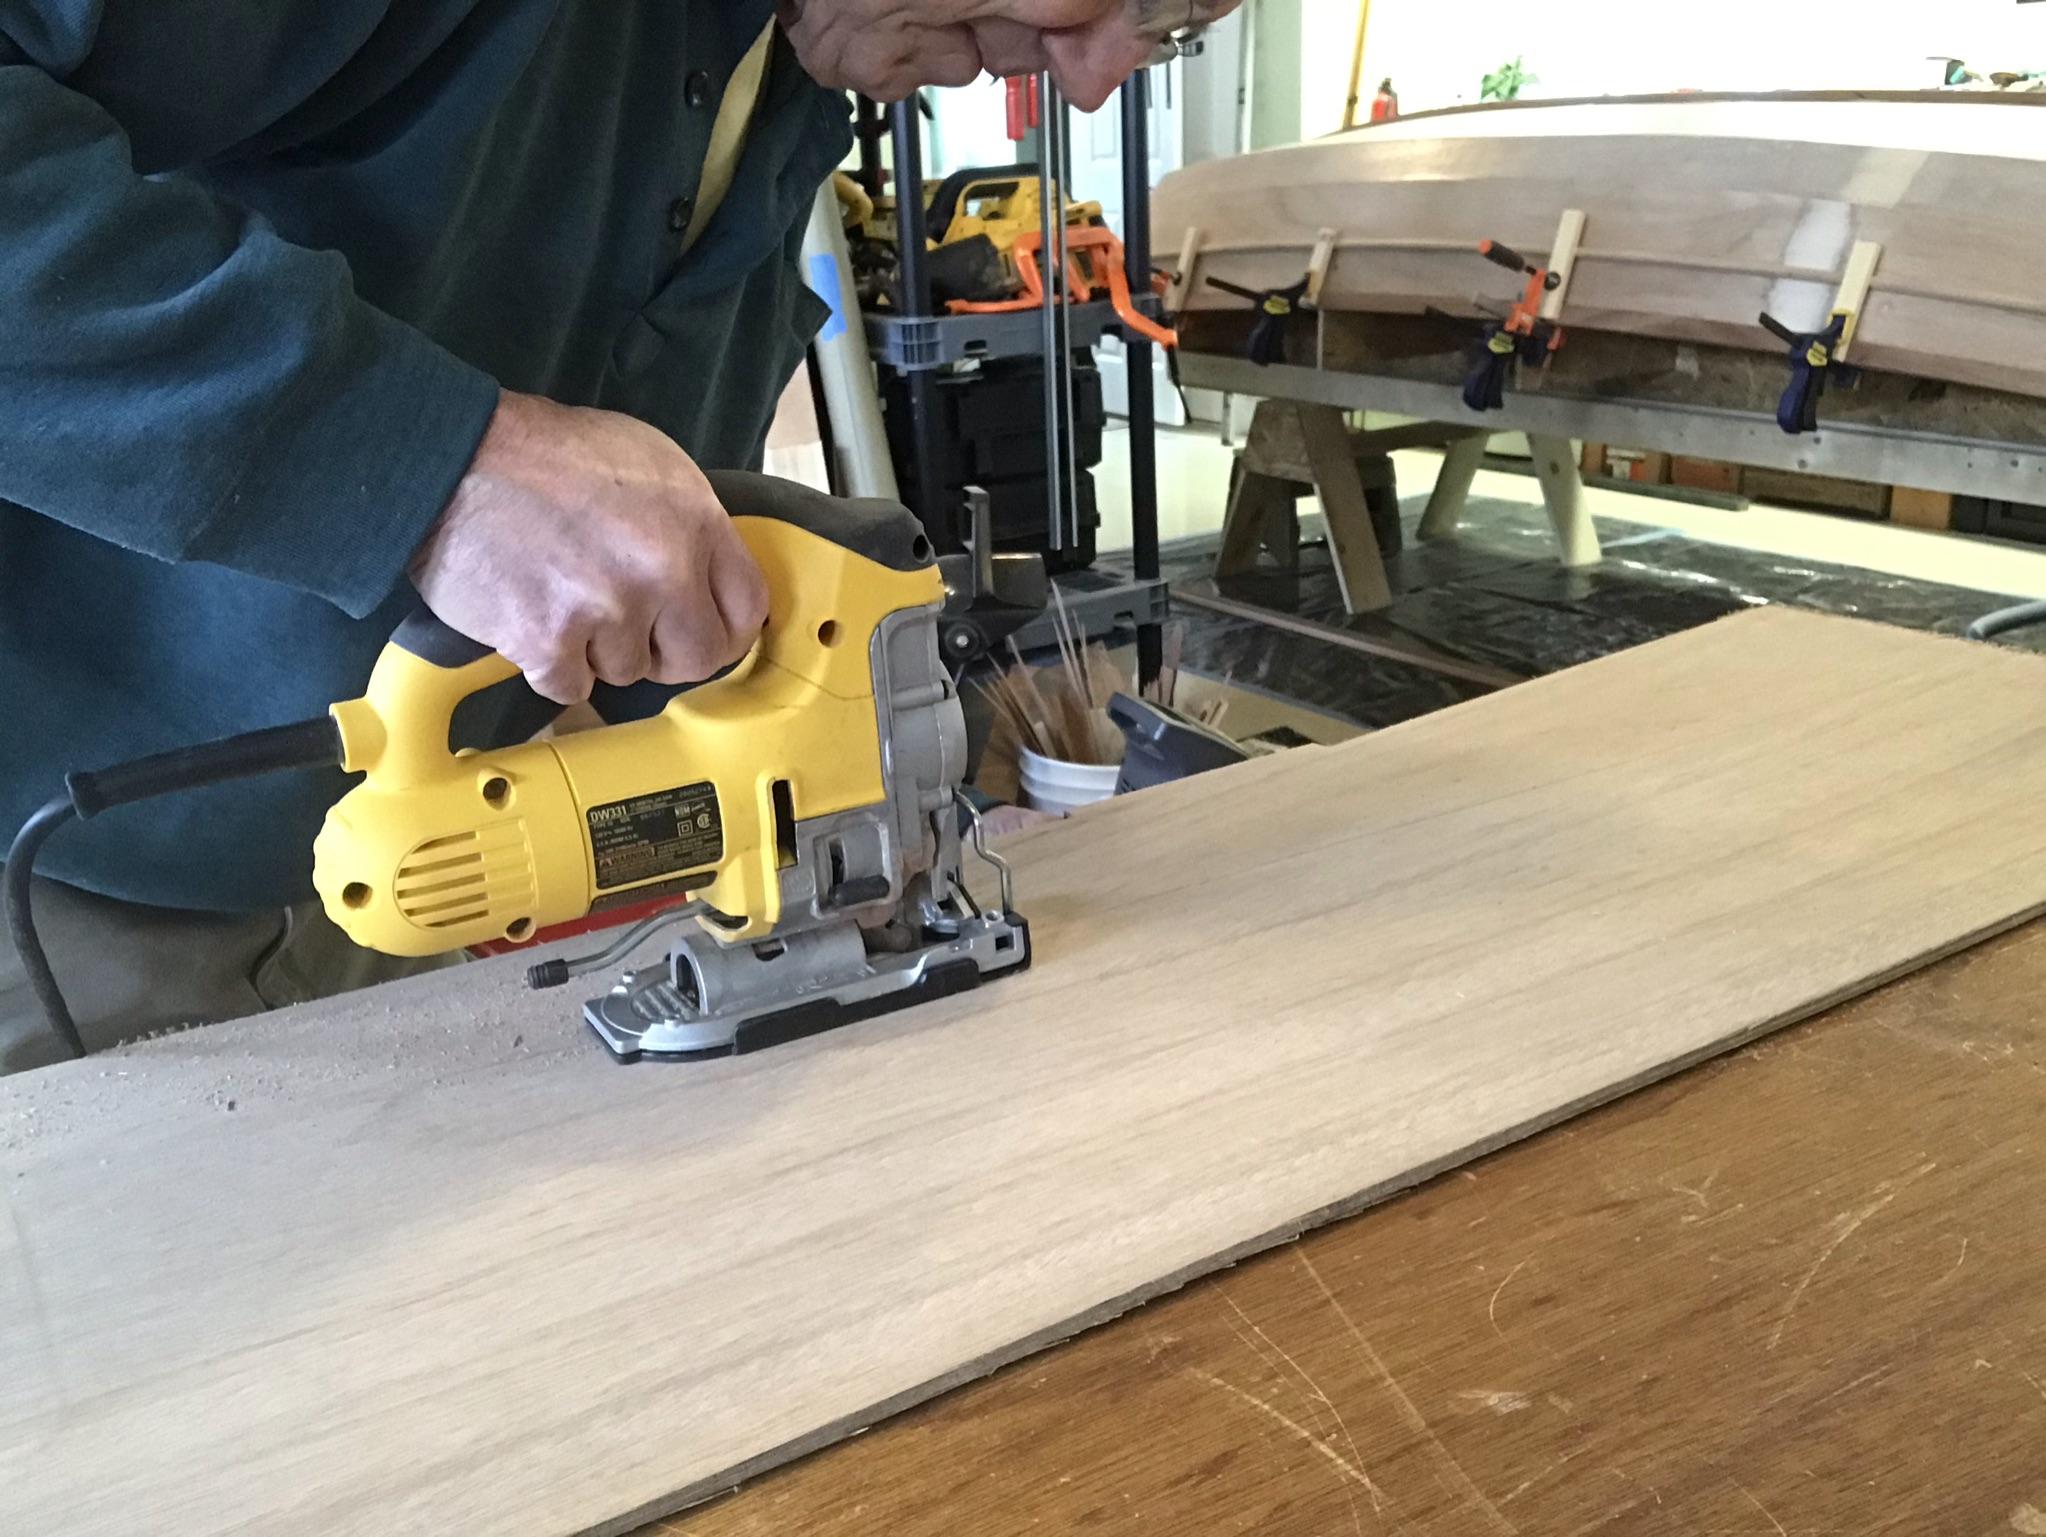
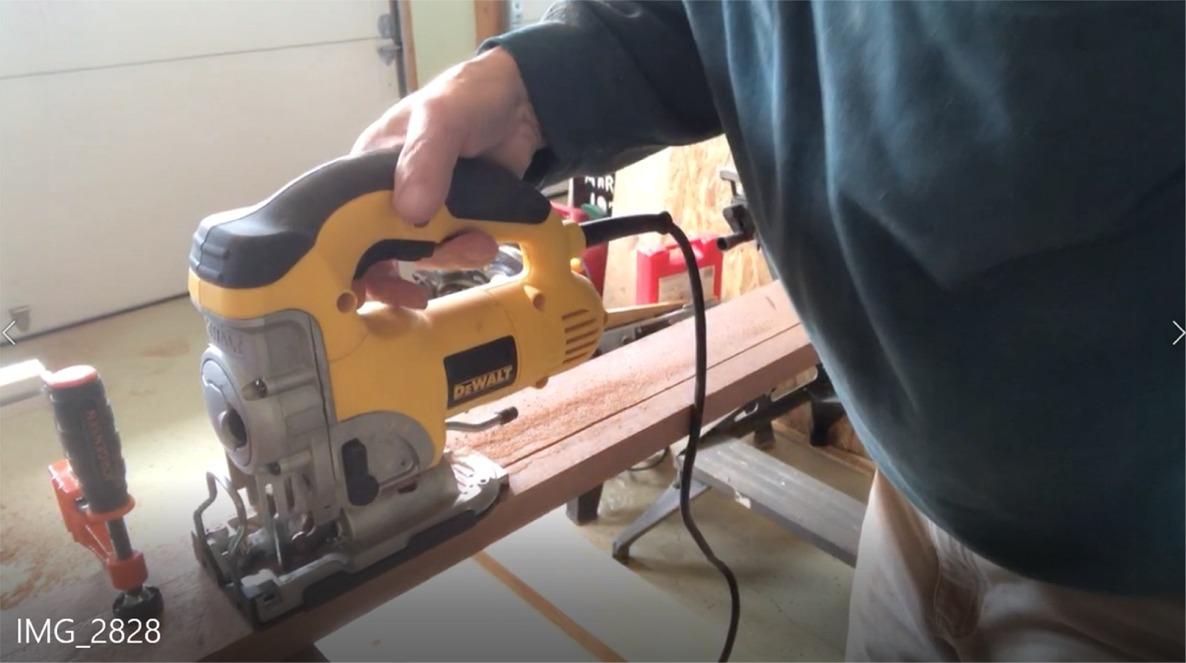
Then I cut out the plywood piece with my jigsaw. It took a fair amount of planing and sanding and fitting to get a close fit along the whole curve of the skeg.
Then I used my 6′ level to trace the angle of the stern onto the plywood.
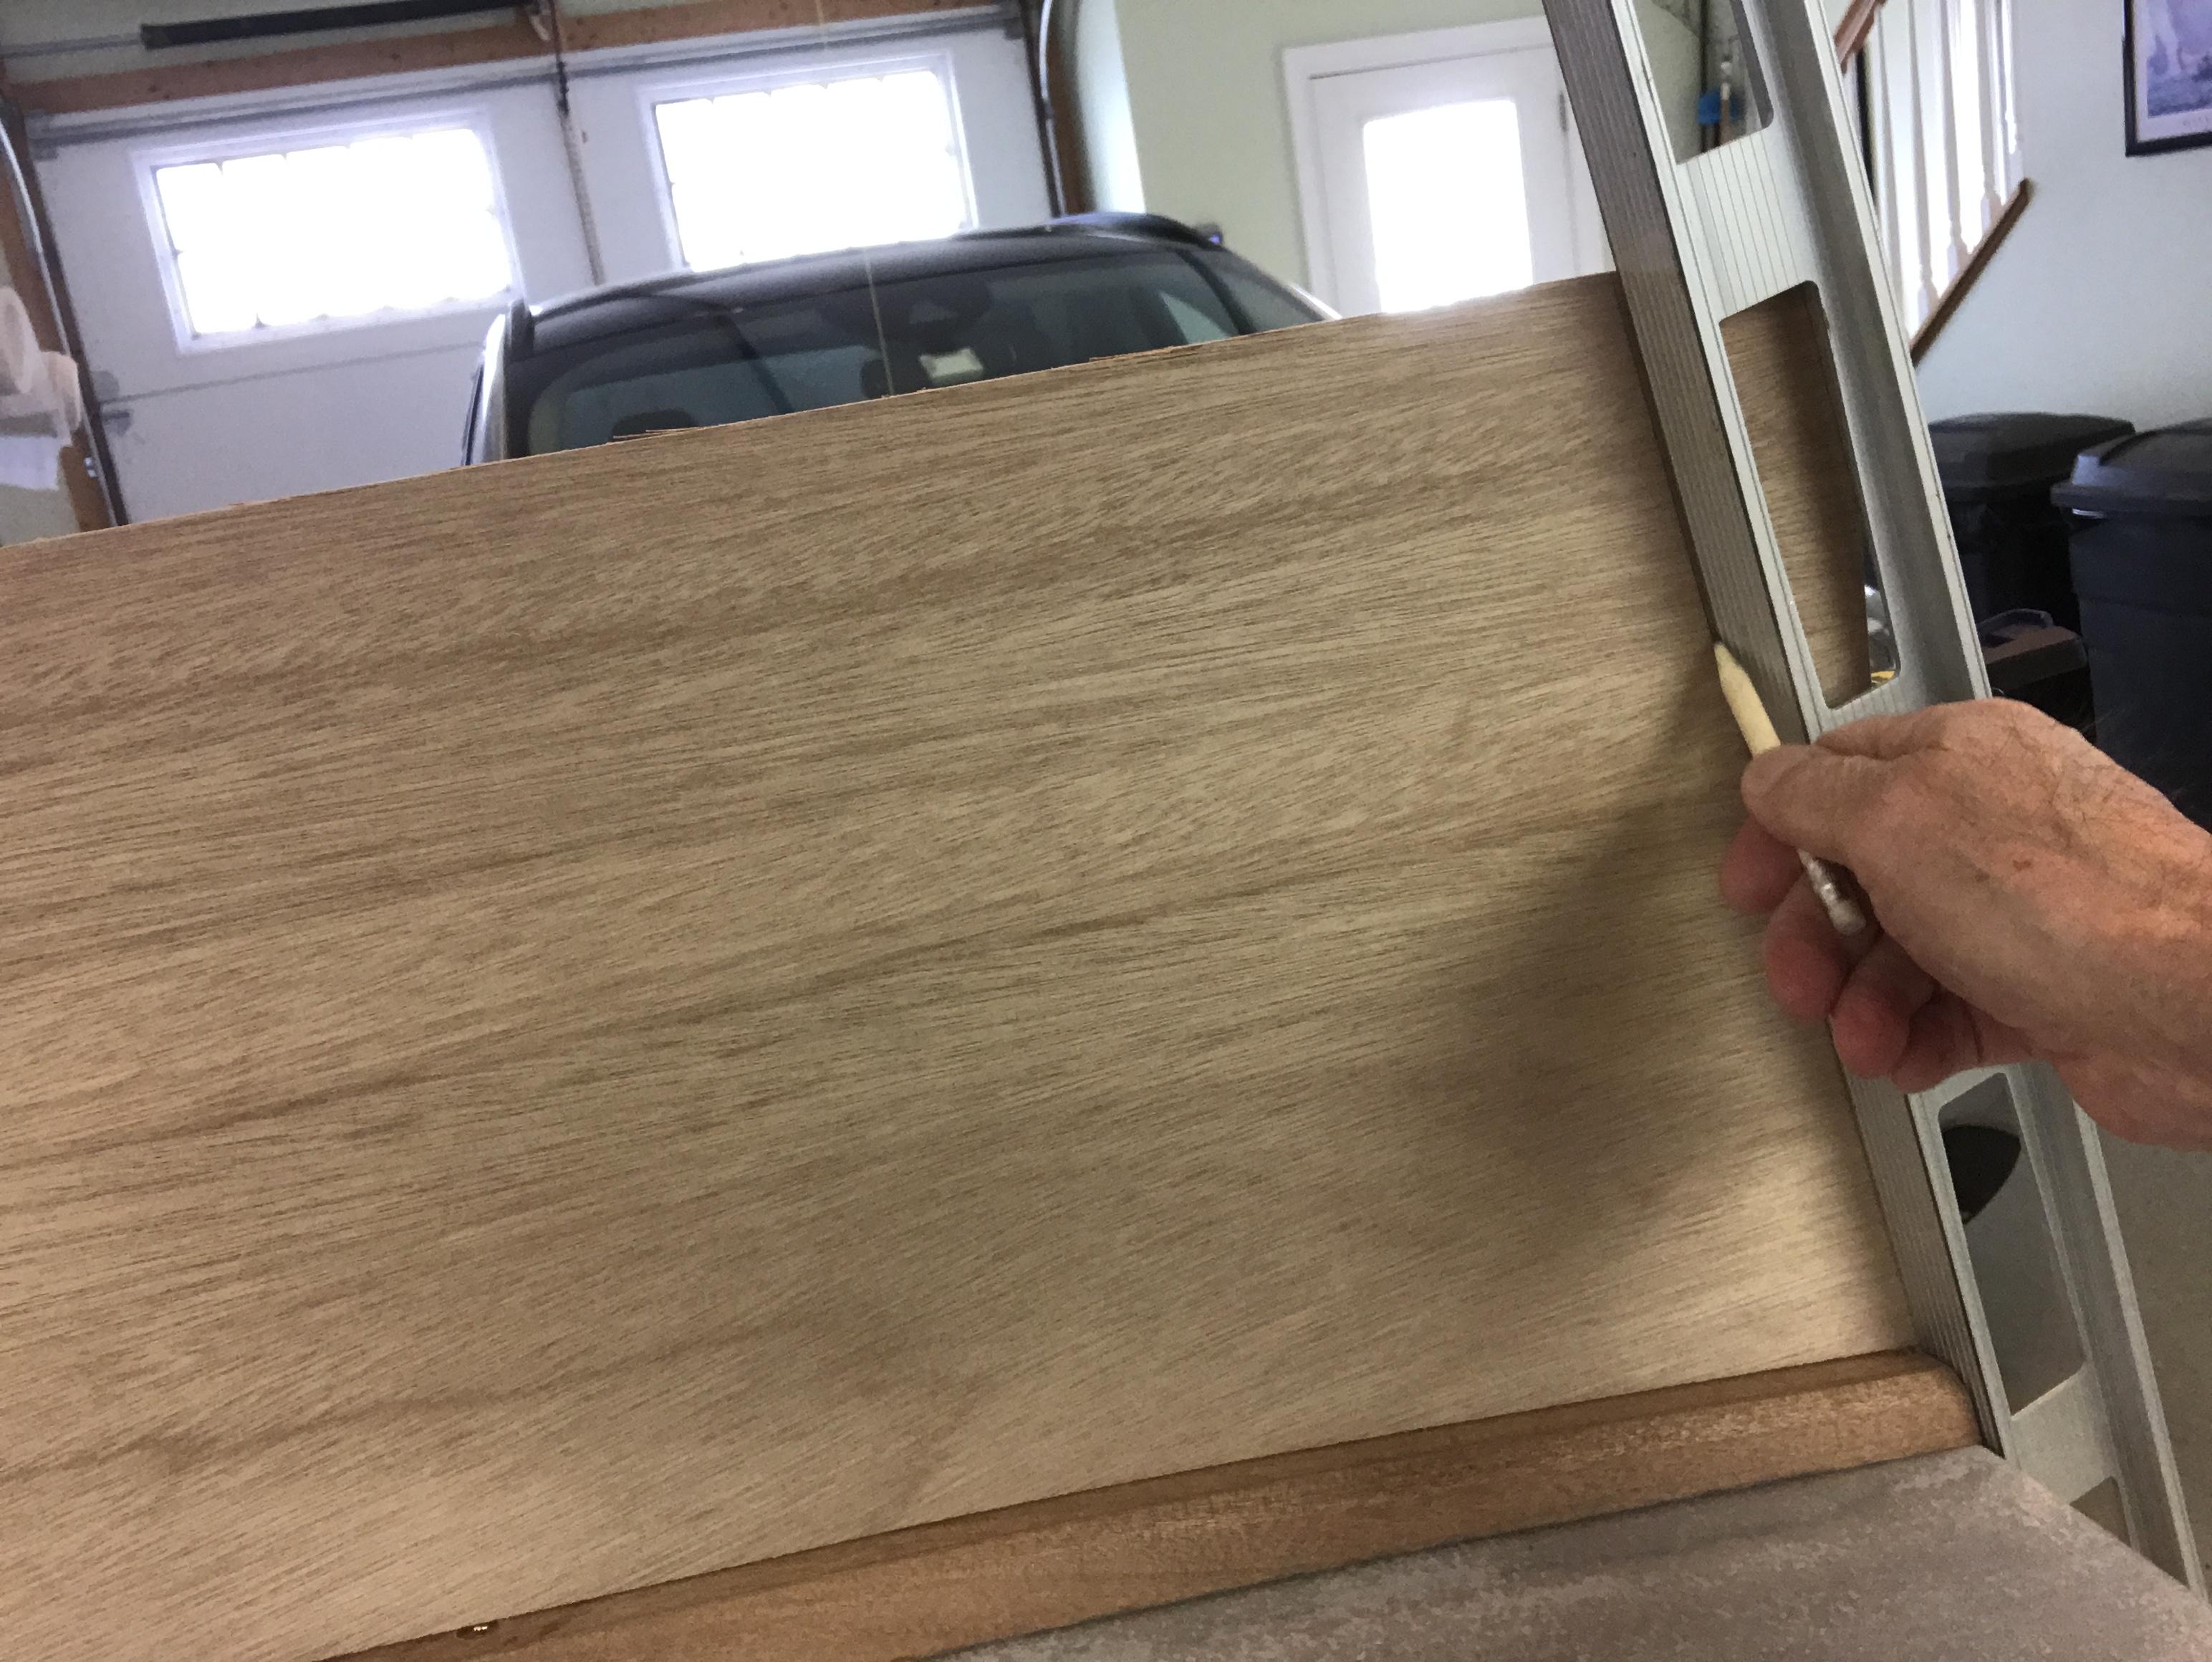
Then I cut the plywood piece down to the final size that I will cut out of mahogany. The small end will be tapered to a feather edge after it is epoxied into place.
The final mahogany piece will also have a curved end at the stern.
Tomorrow I will cut out the skeg from a piece of 2″ x 6″ mahogany.
3/17/21 – The skeg is 4′ long and 1″ wide. I have a 10′ long rough cut piece that is 6″ wide x 1 1/2″ thick. I first have to cut off a 4′ section.
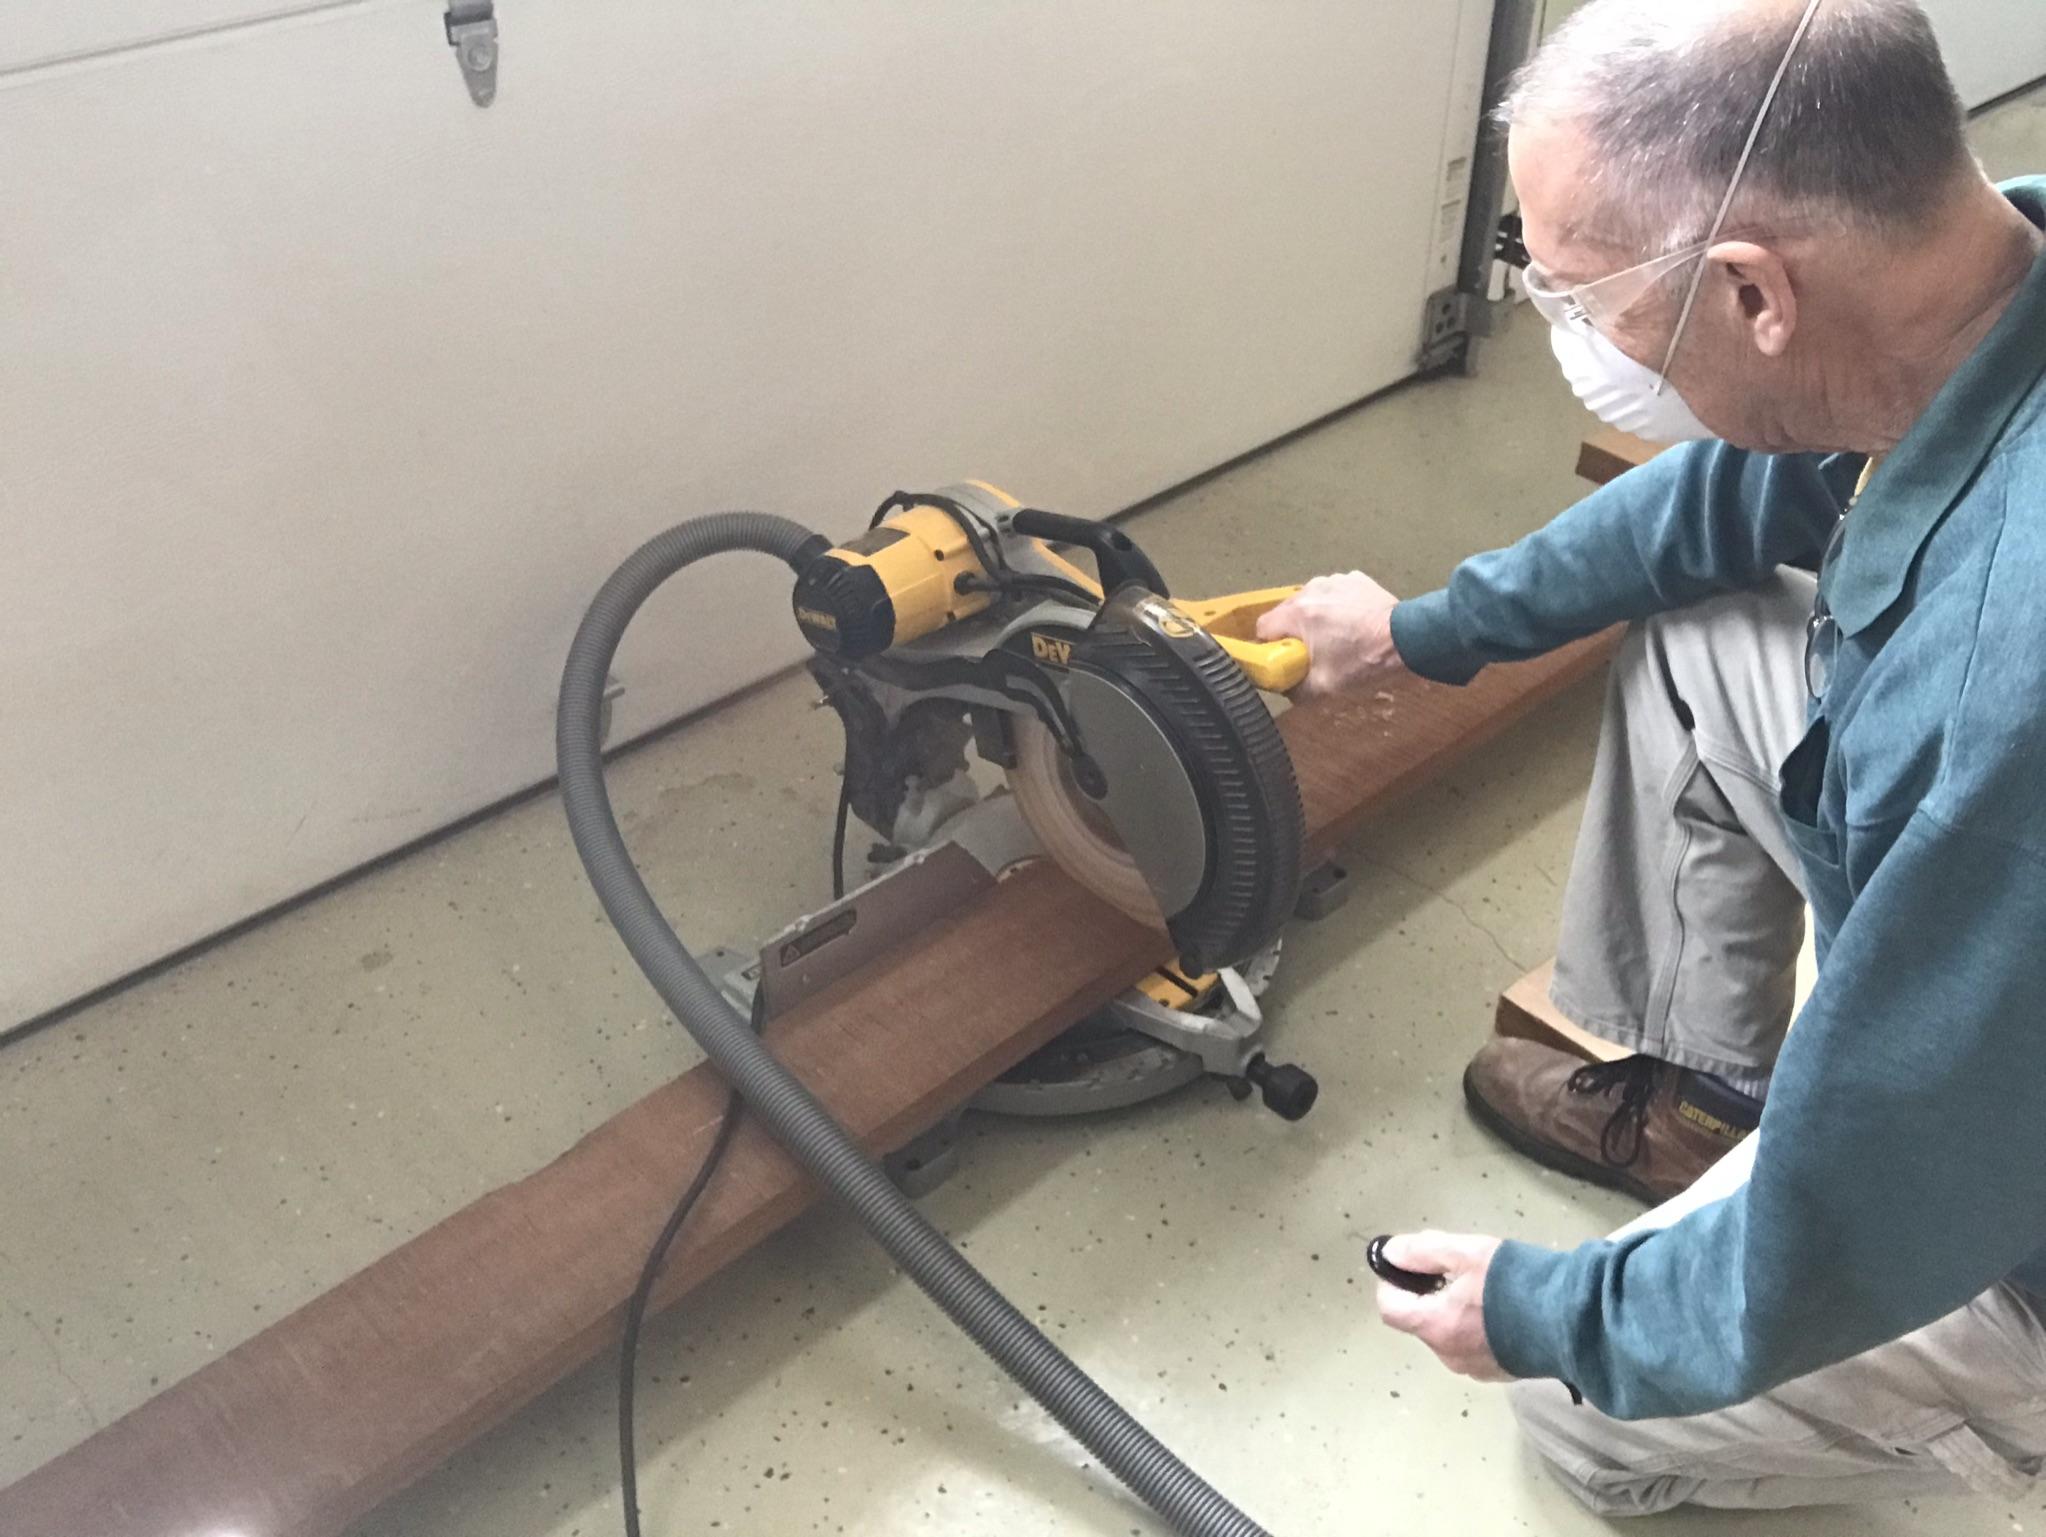
Then I have to trim off the rough cut ends.
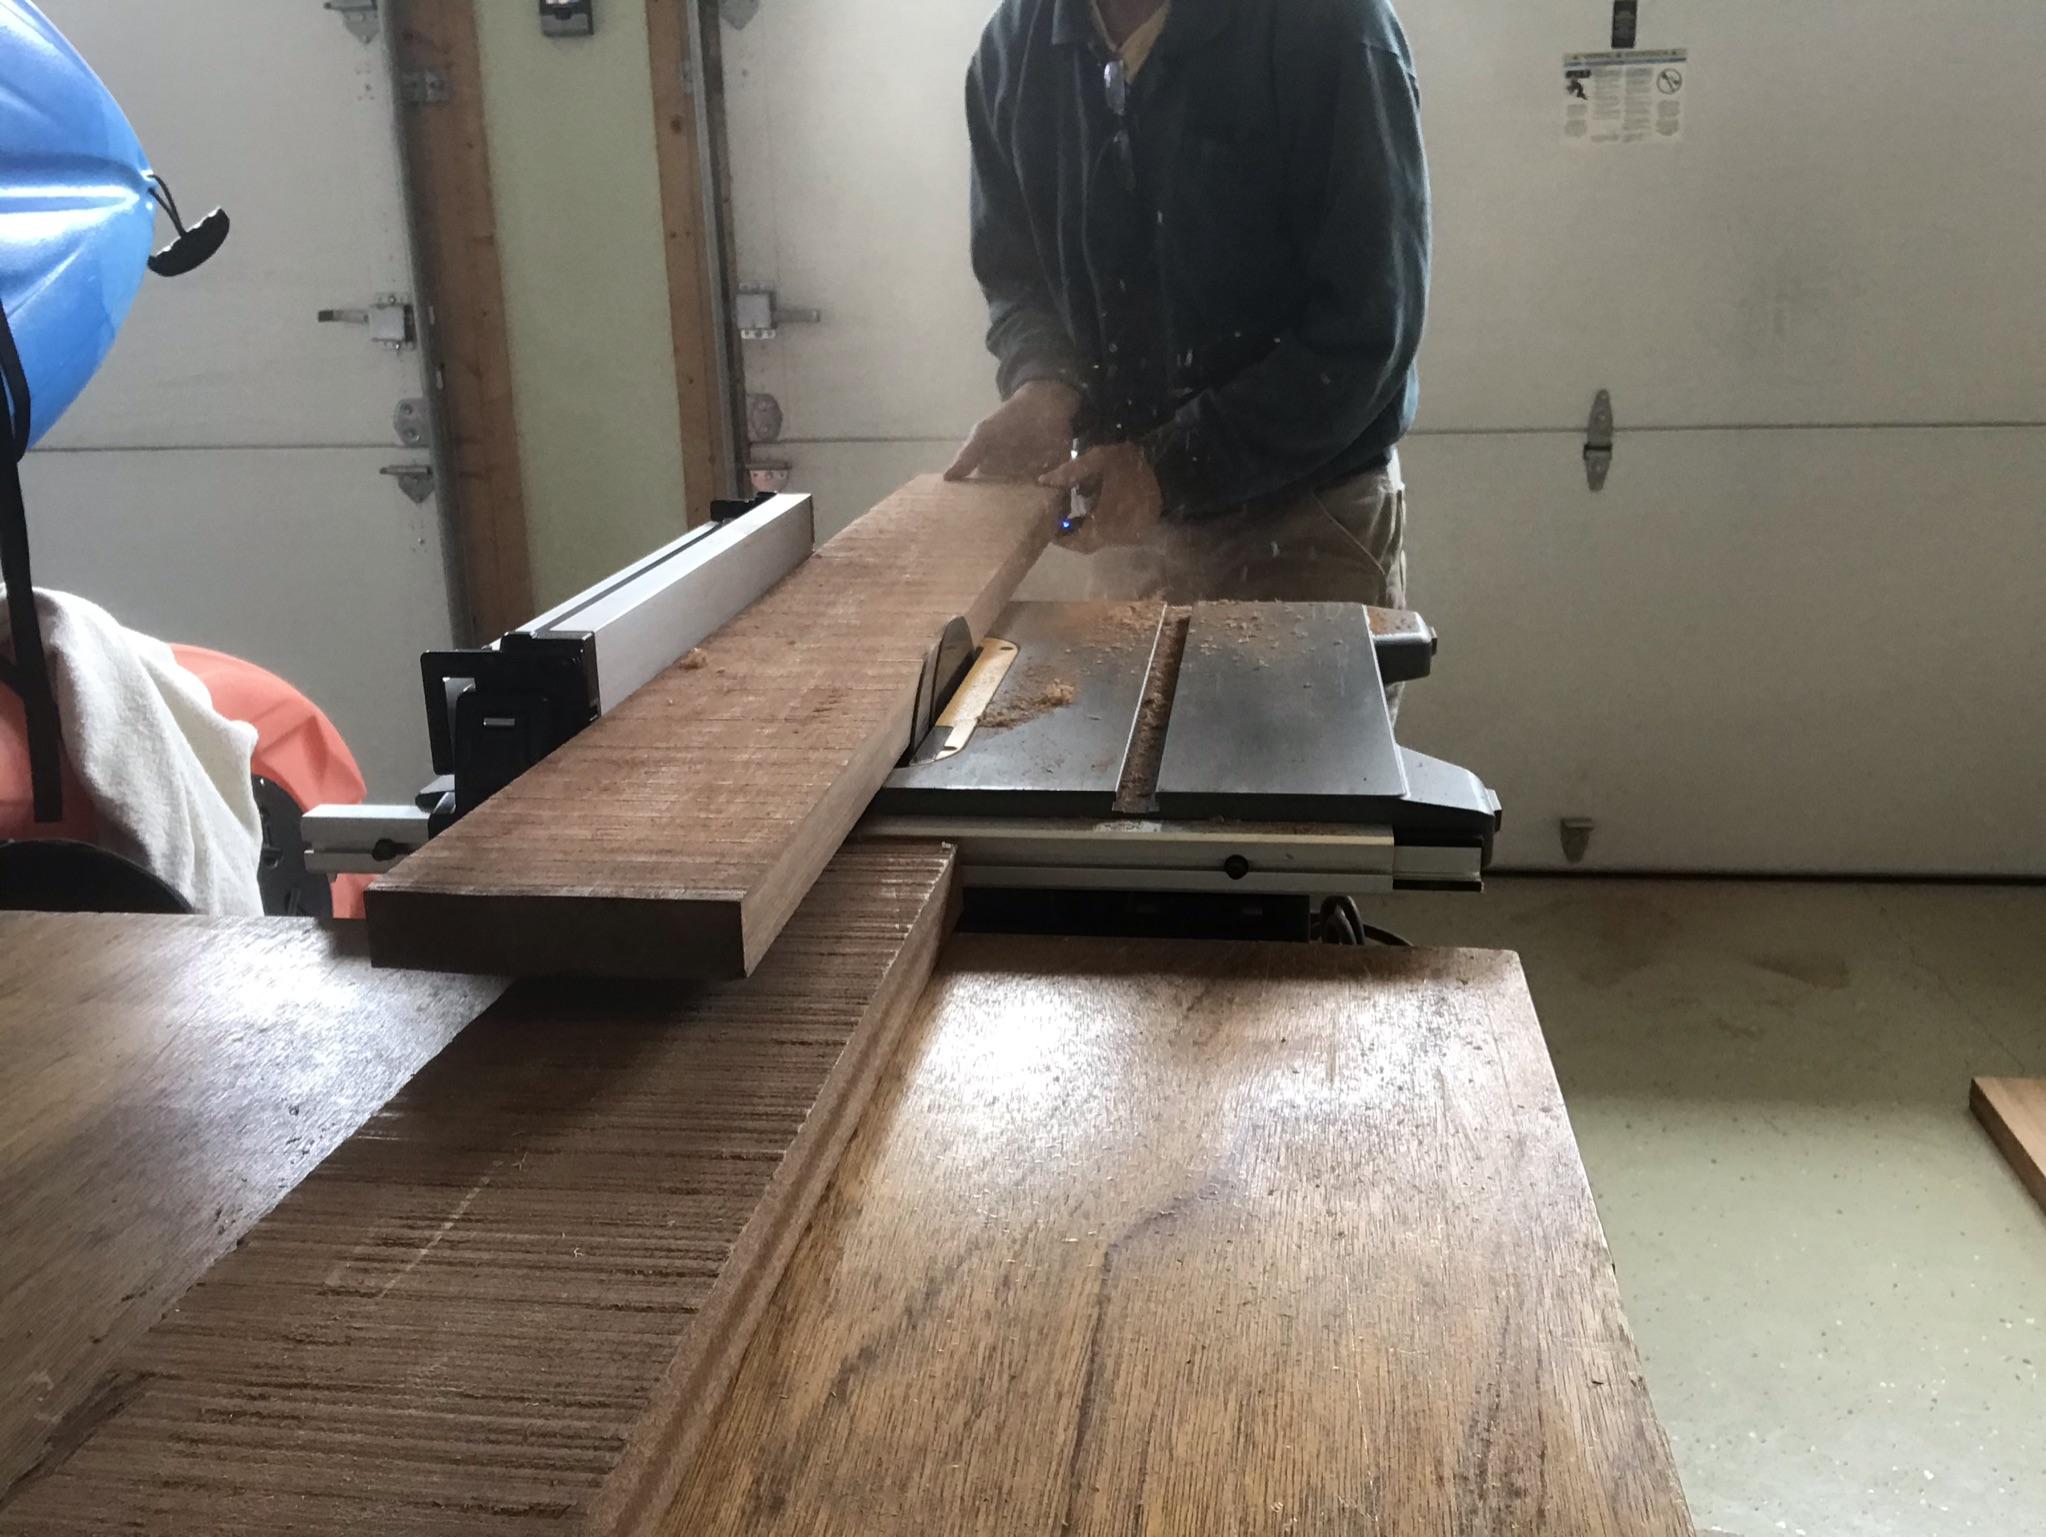
I planed one side relatively smooth so it would go through the table saw evenly.
I then cut the board down to 4″ wide and had to run it through the table saw multiple times to get it down to 1″ thick and straighten it. I don’t have a thickness planer, so I had to do it the hard way.
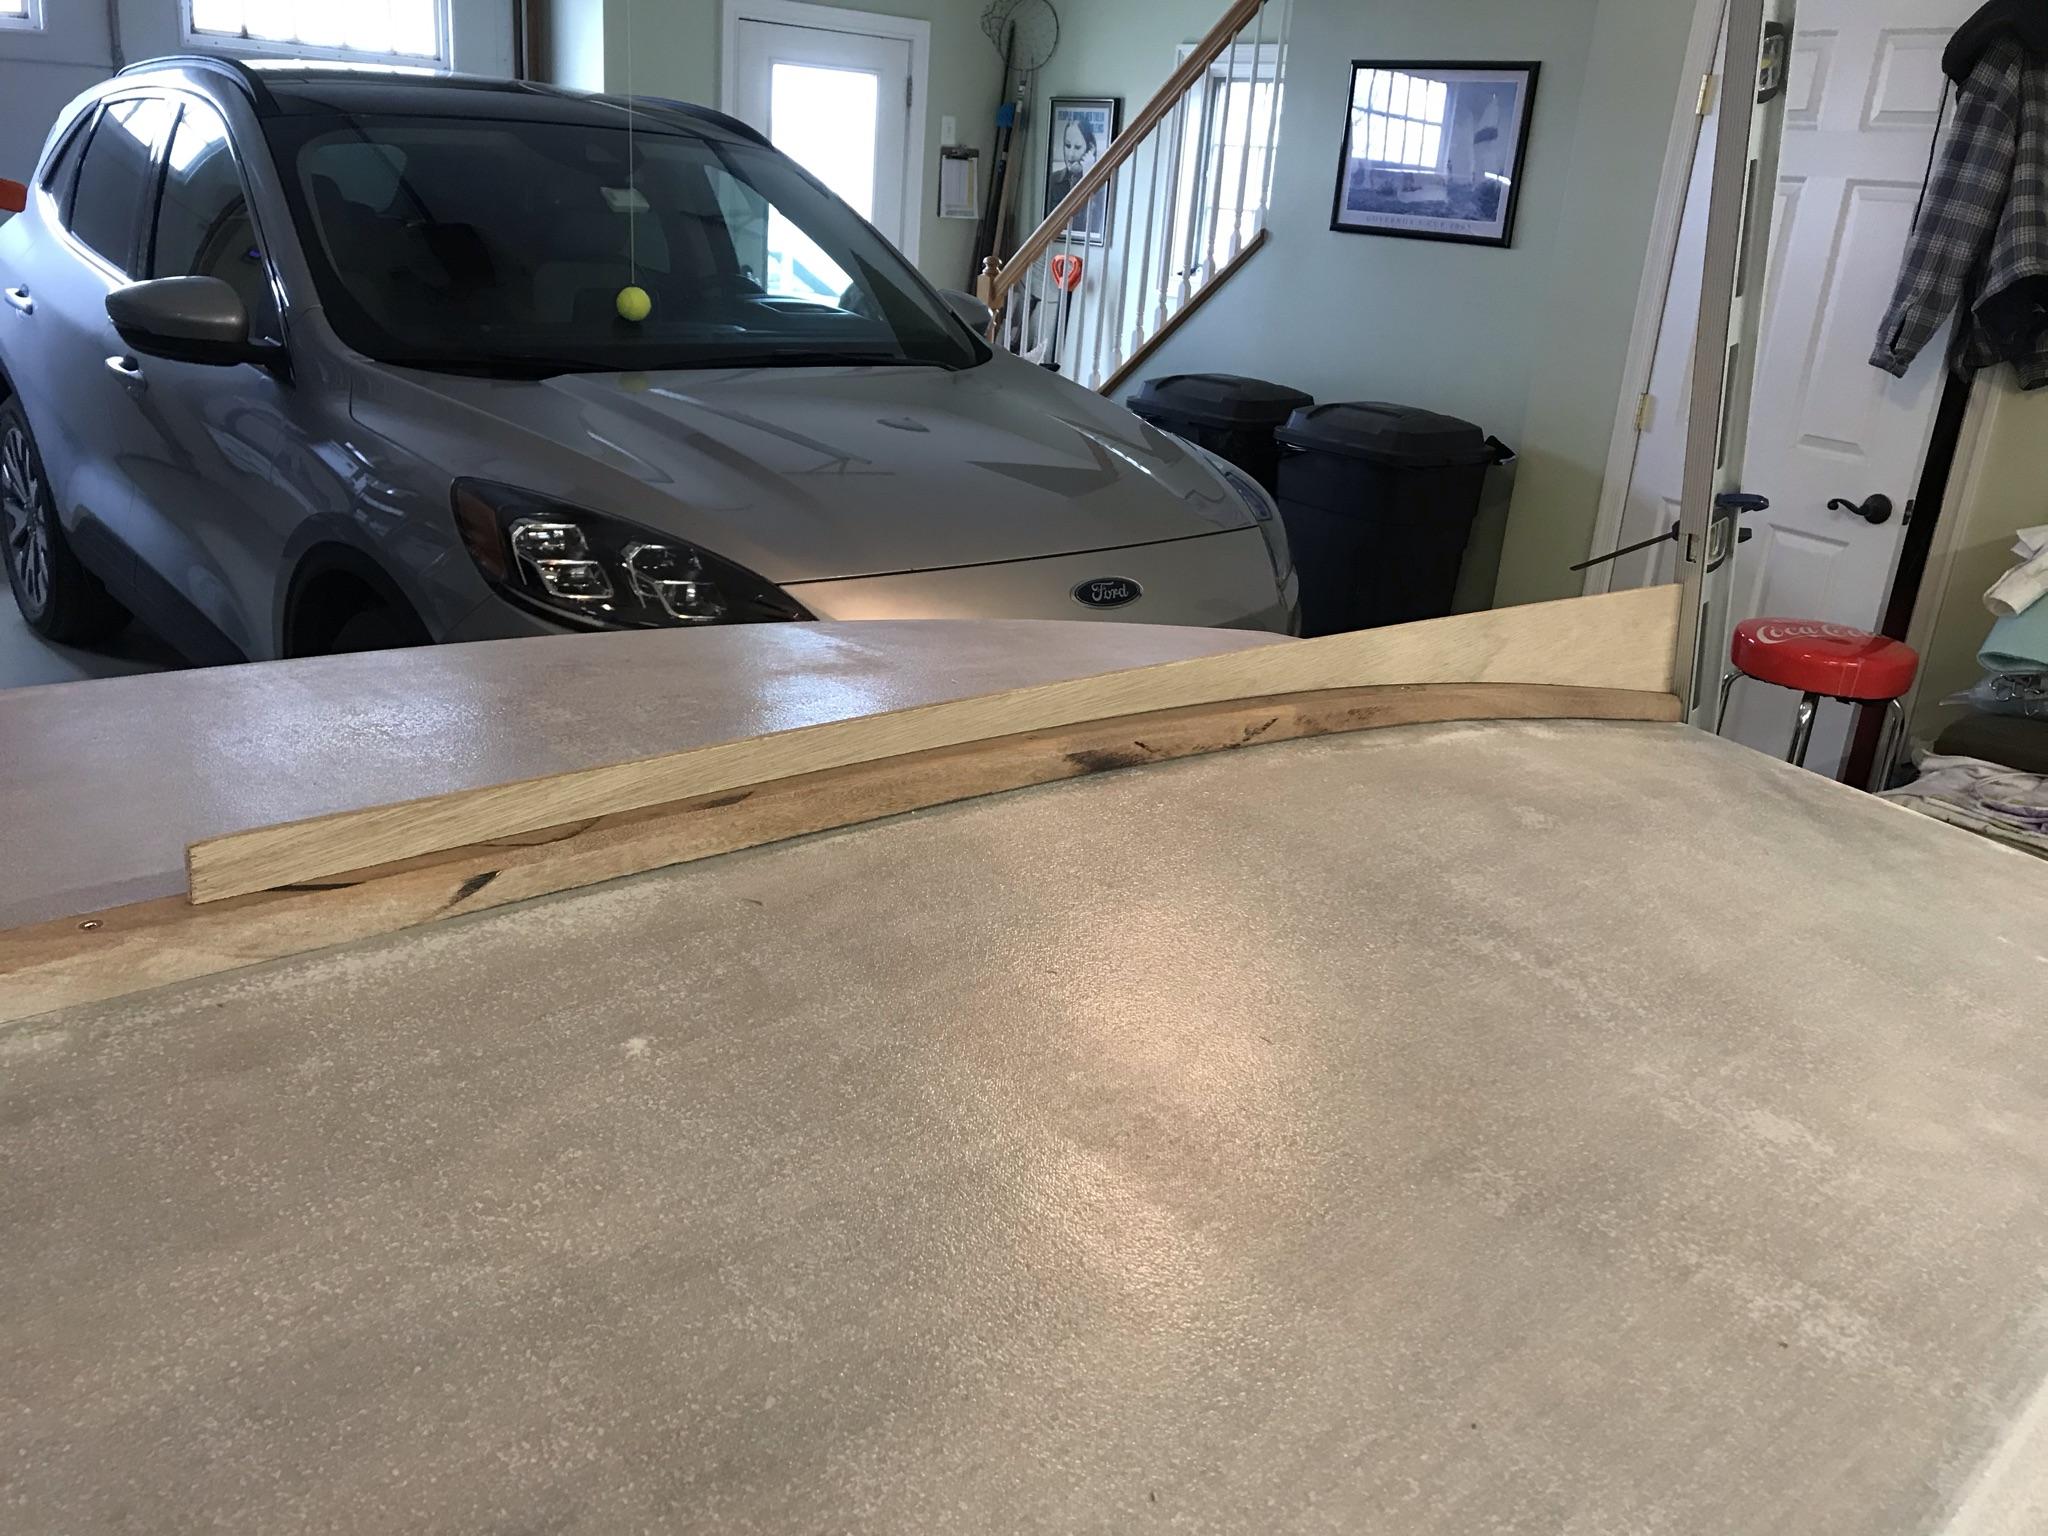
Then I traced the pattern from the skeg template on to the mahogany board and cut out the skeg.
Then I used the sander to smooth out the jigsaw marks.
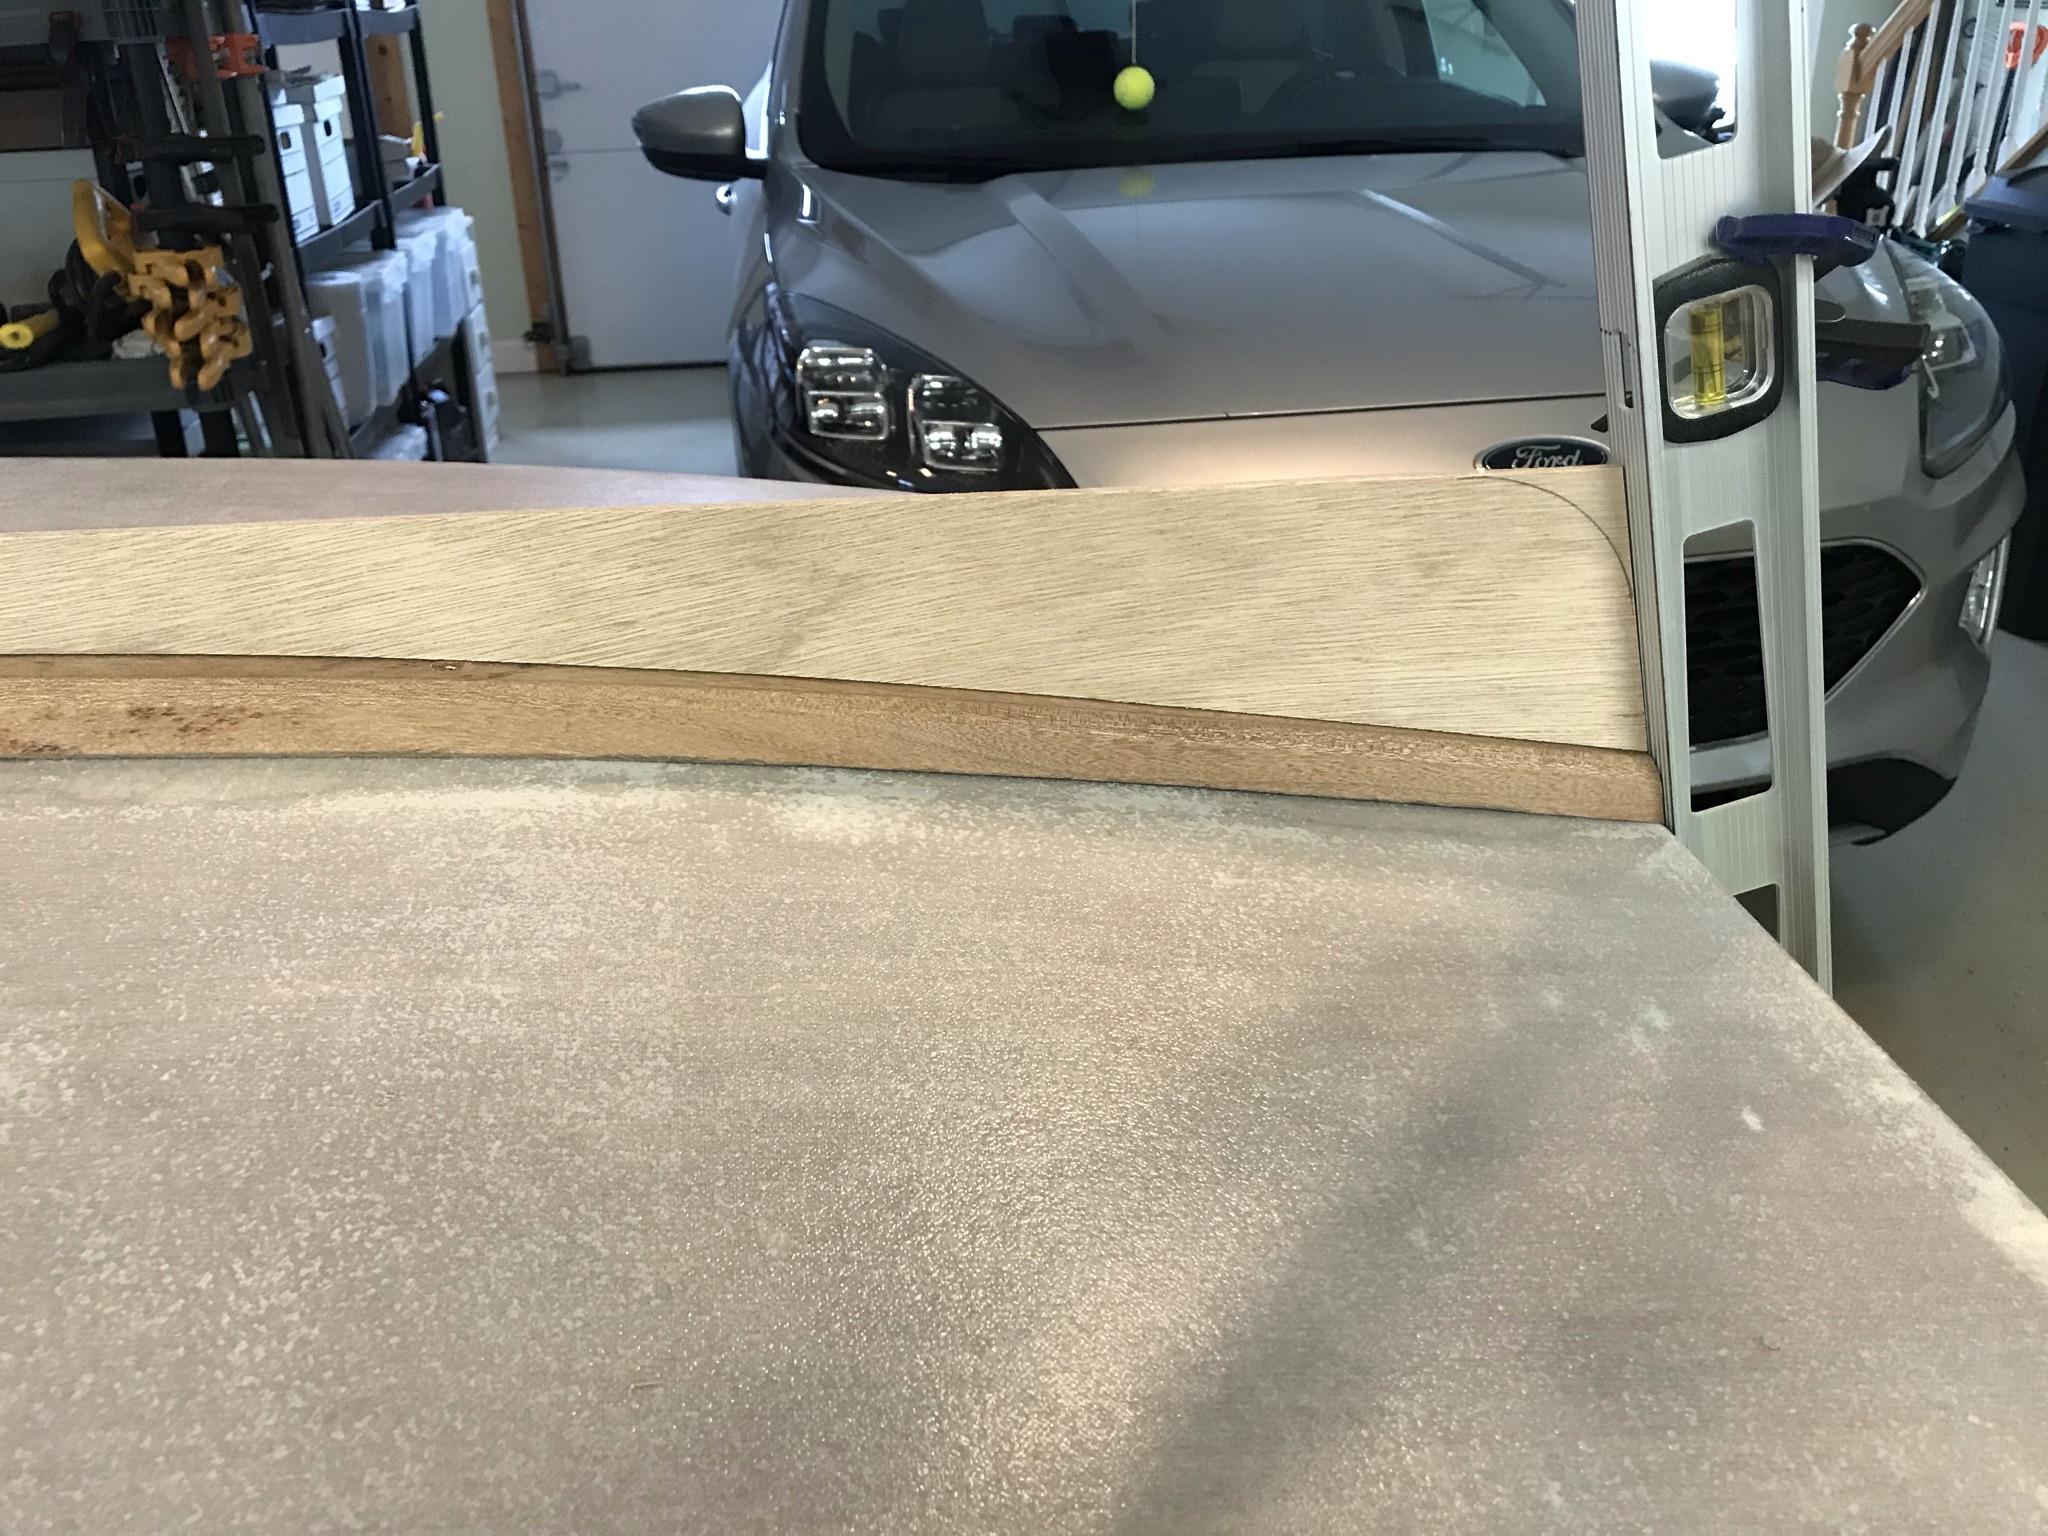
It took multiple fittings to get the skeg to fit exactly, but in the end it was a very good fit.

The squared off end in the middle of the boat will be planed off after the keel is epoxied into place.

Tomorrow I will get back to working on the guards. My screws came in this evening.
3/18/21 – Worked on Guards today. See Guards page.
3/19/21 – Ditto.
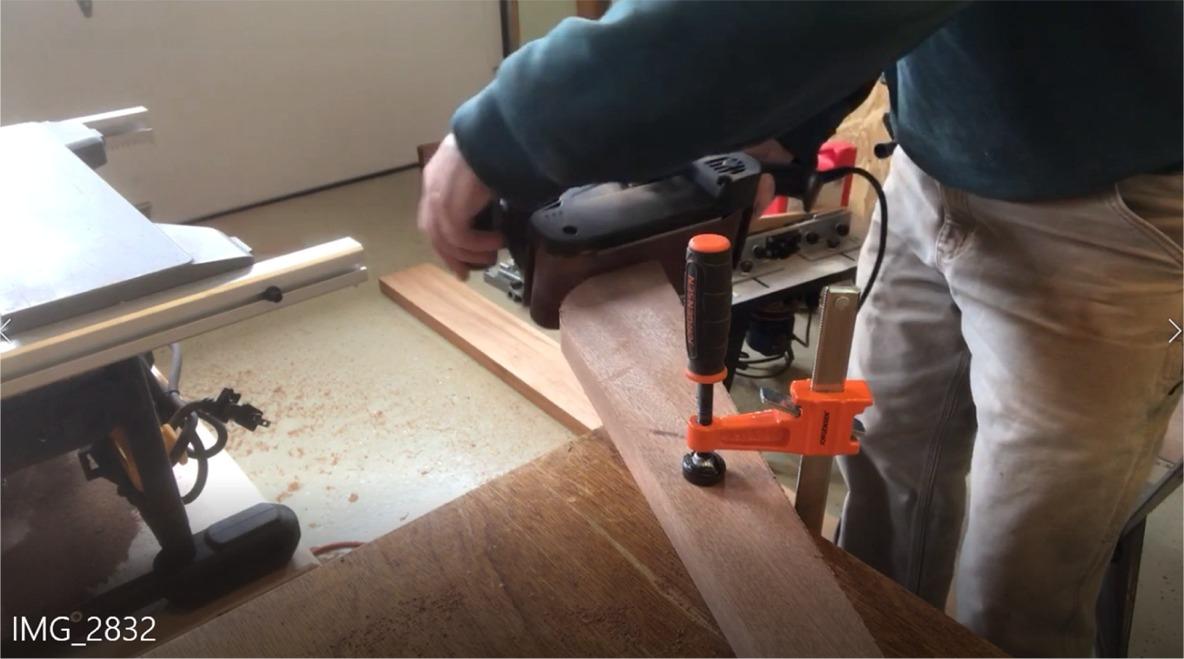
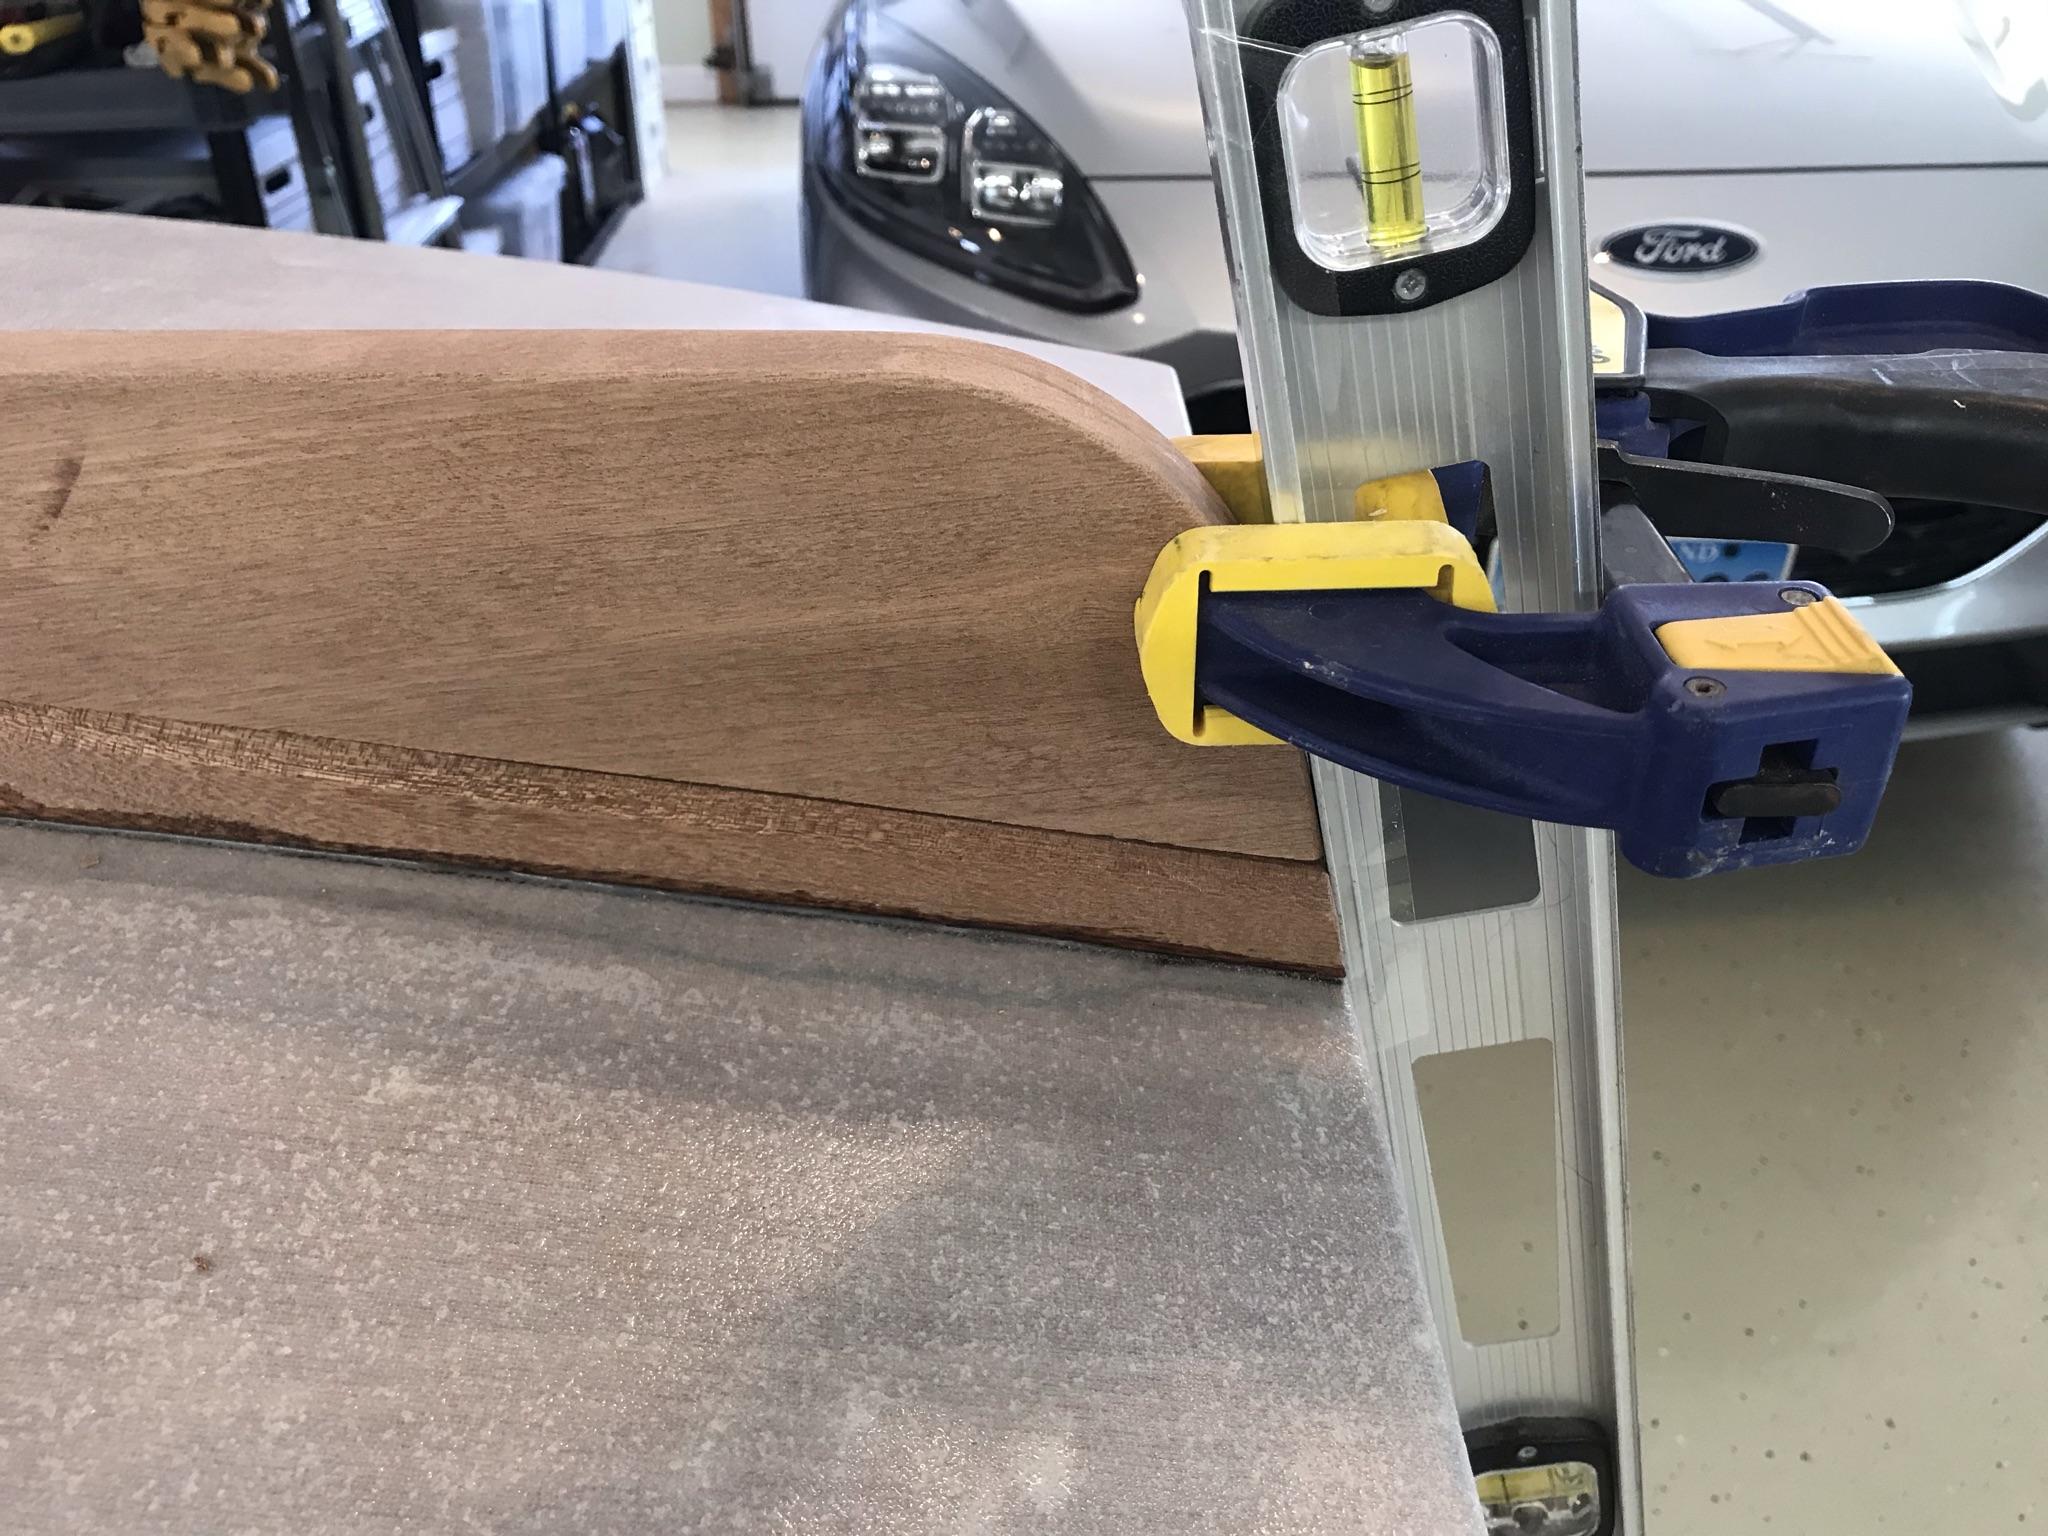
3/20/21 – After finishing up with the guards I came up with a solution on how to hold the skeg in place while the epoxy cures. I previously used my 6′ level as a guide to draw the line of the transom onto the skeg. The solution is to clamp the level to the transom and clamp the skeg to the level. I then used a lead whale to weigh down the other end.

This is before epoxy, testing the fit.
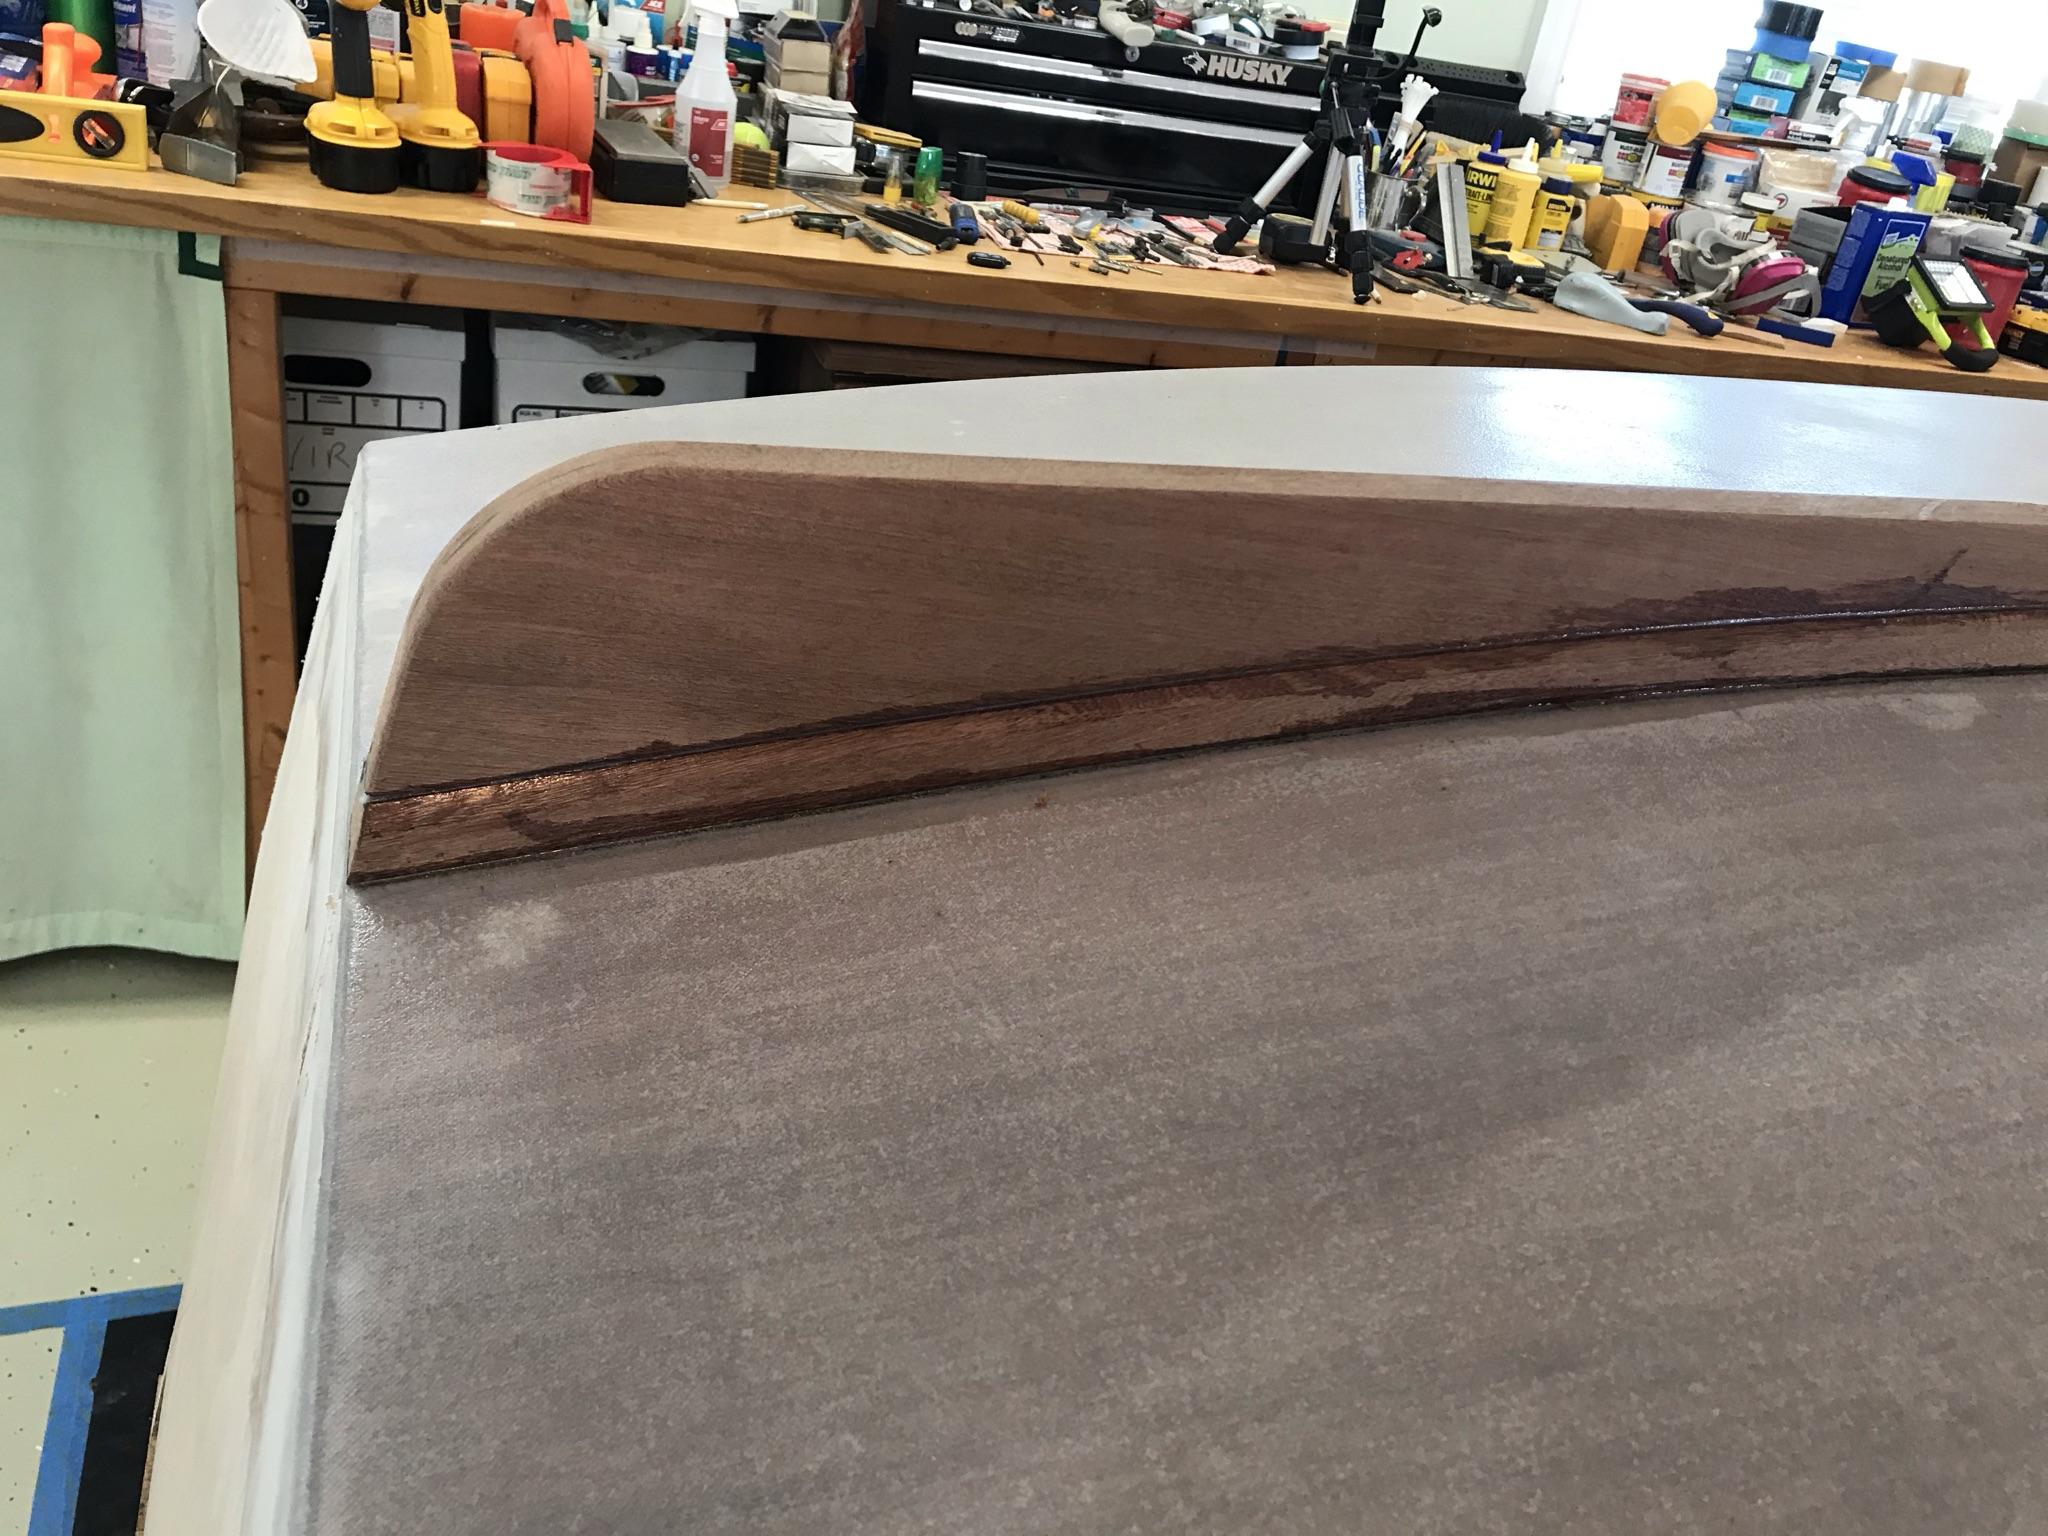
I primed both the keel and the skeg with unthickened epoxy and used extra thickened epoxy to make sure all the gaps were filled and epoxy didn’t run out of the gap.

Here is the skeg after epoxy and cleanup.

Tomorrow I will plane off the excess wood on the skeg to feather it into the keel and start sanding and do more filling. Hopefully I will be able to prime the bottom in a few days. After that, flip the boat over and start on the inside.
3/21/21 – This morning I removed the clamps and the skeg is securely fastened.
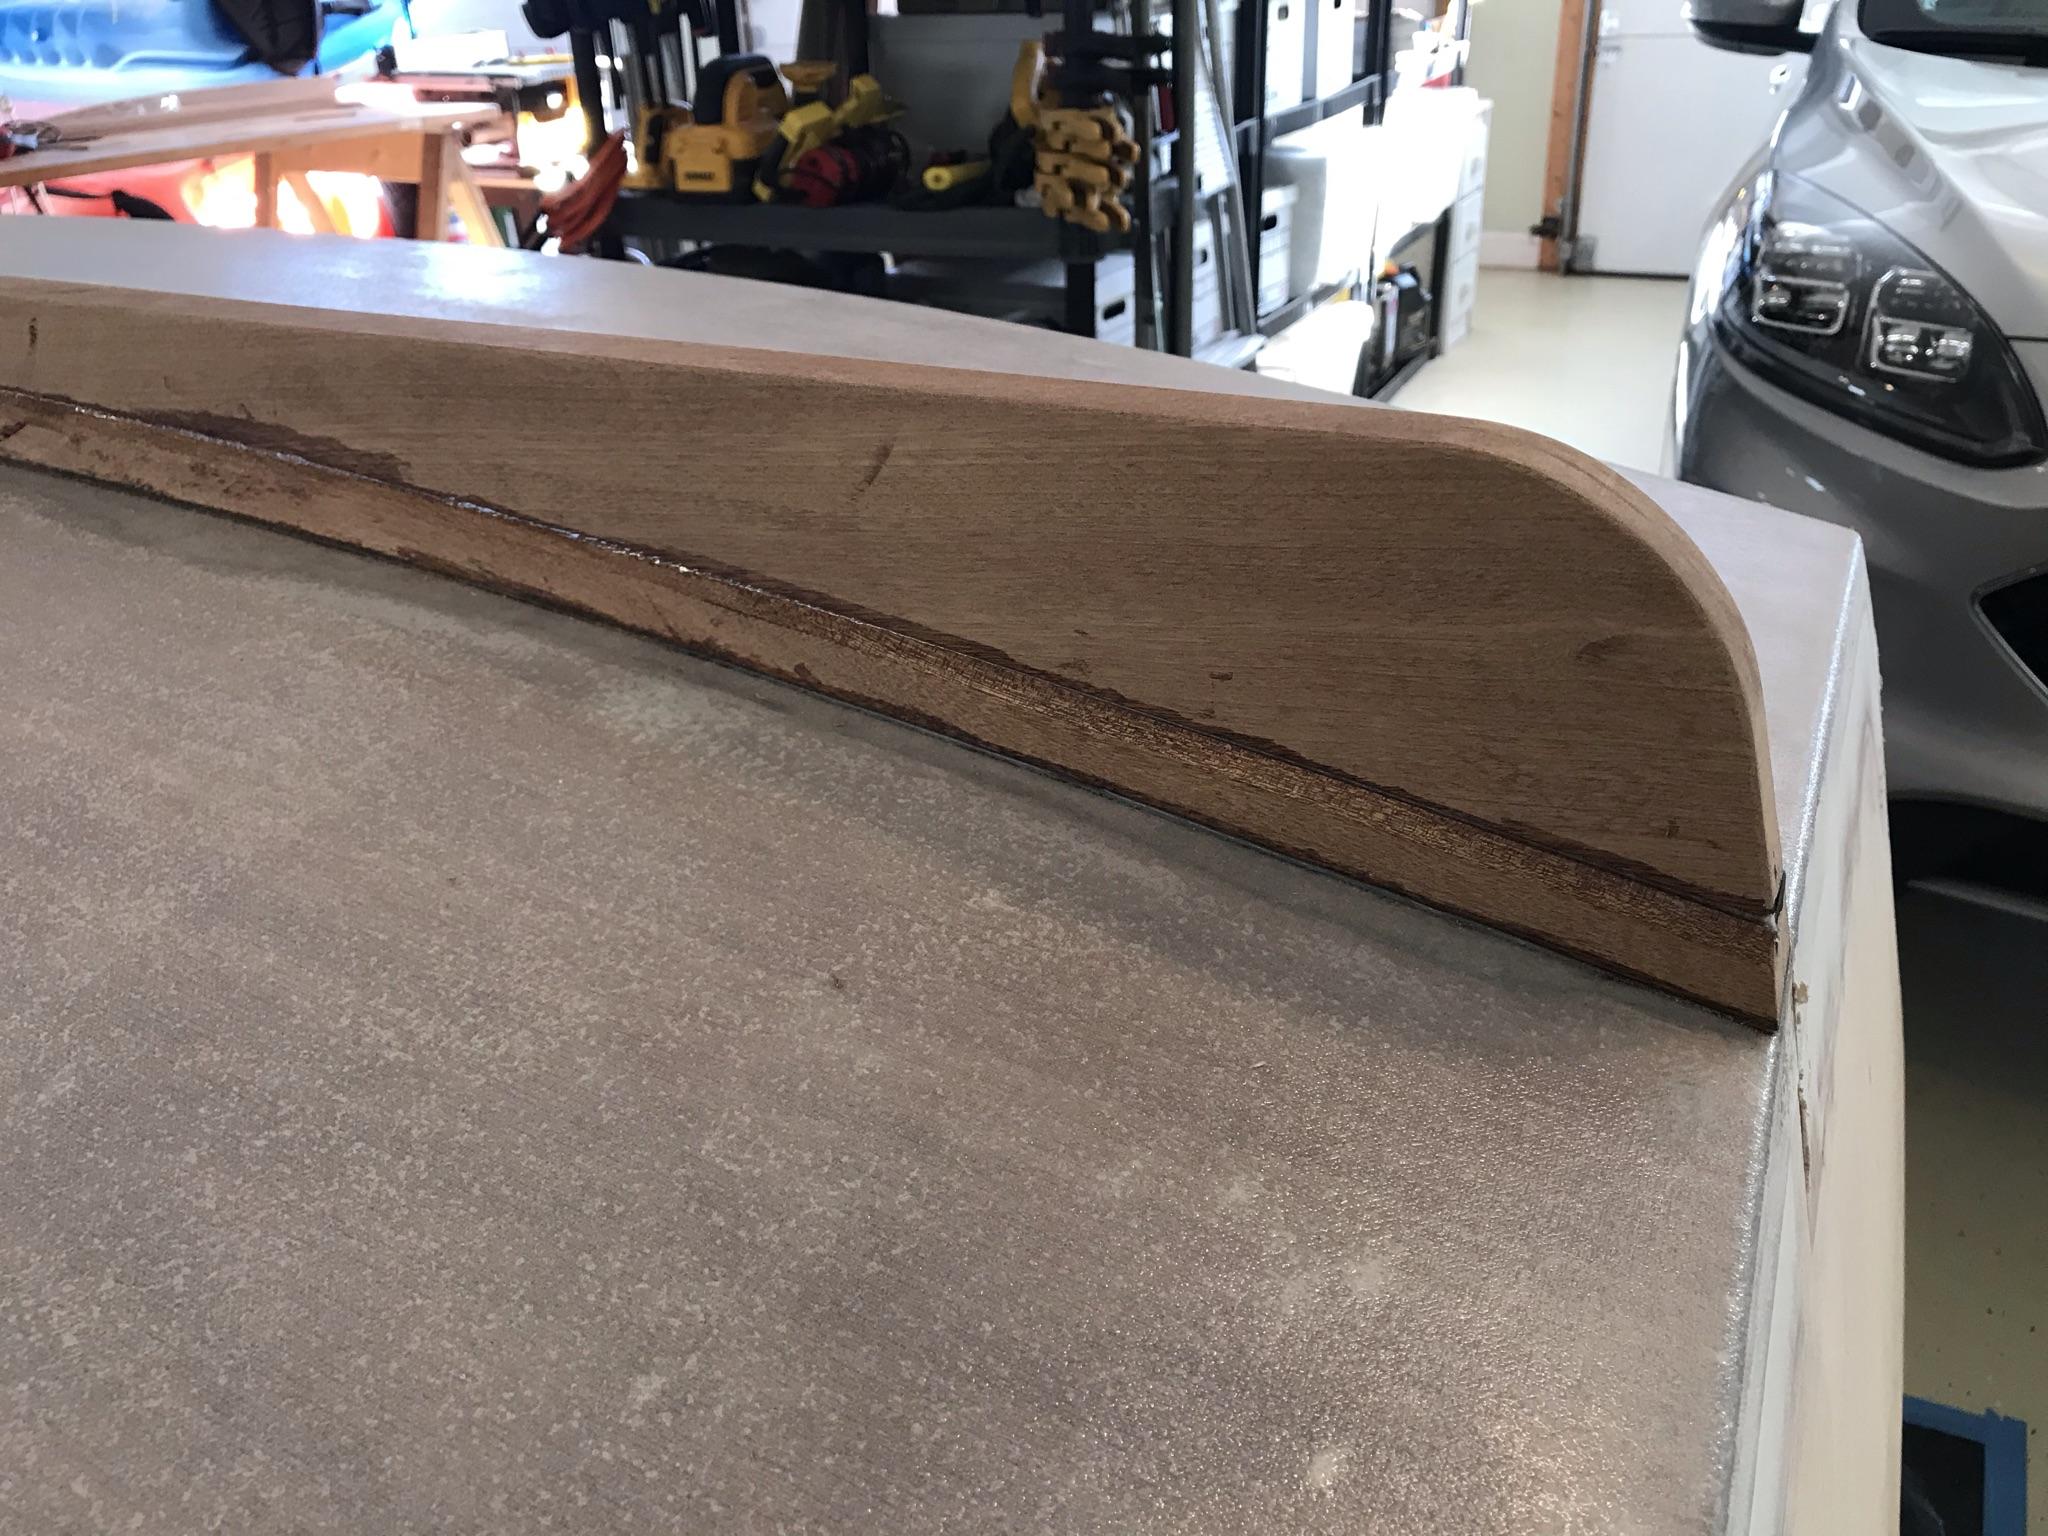


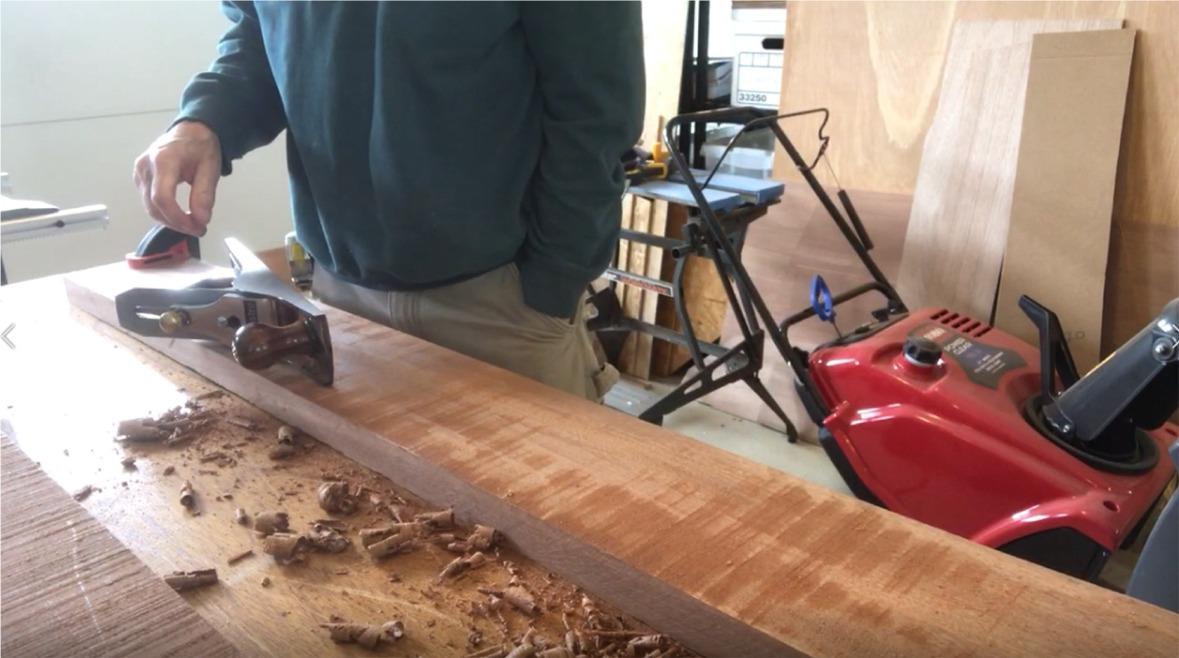
This afternoon I planed the skeg to a feather edge where it meets the keel.


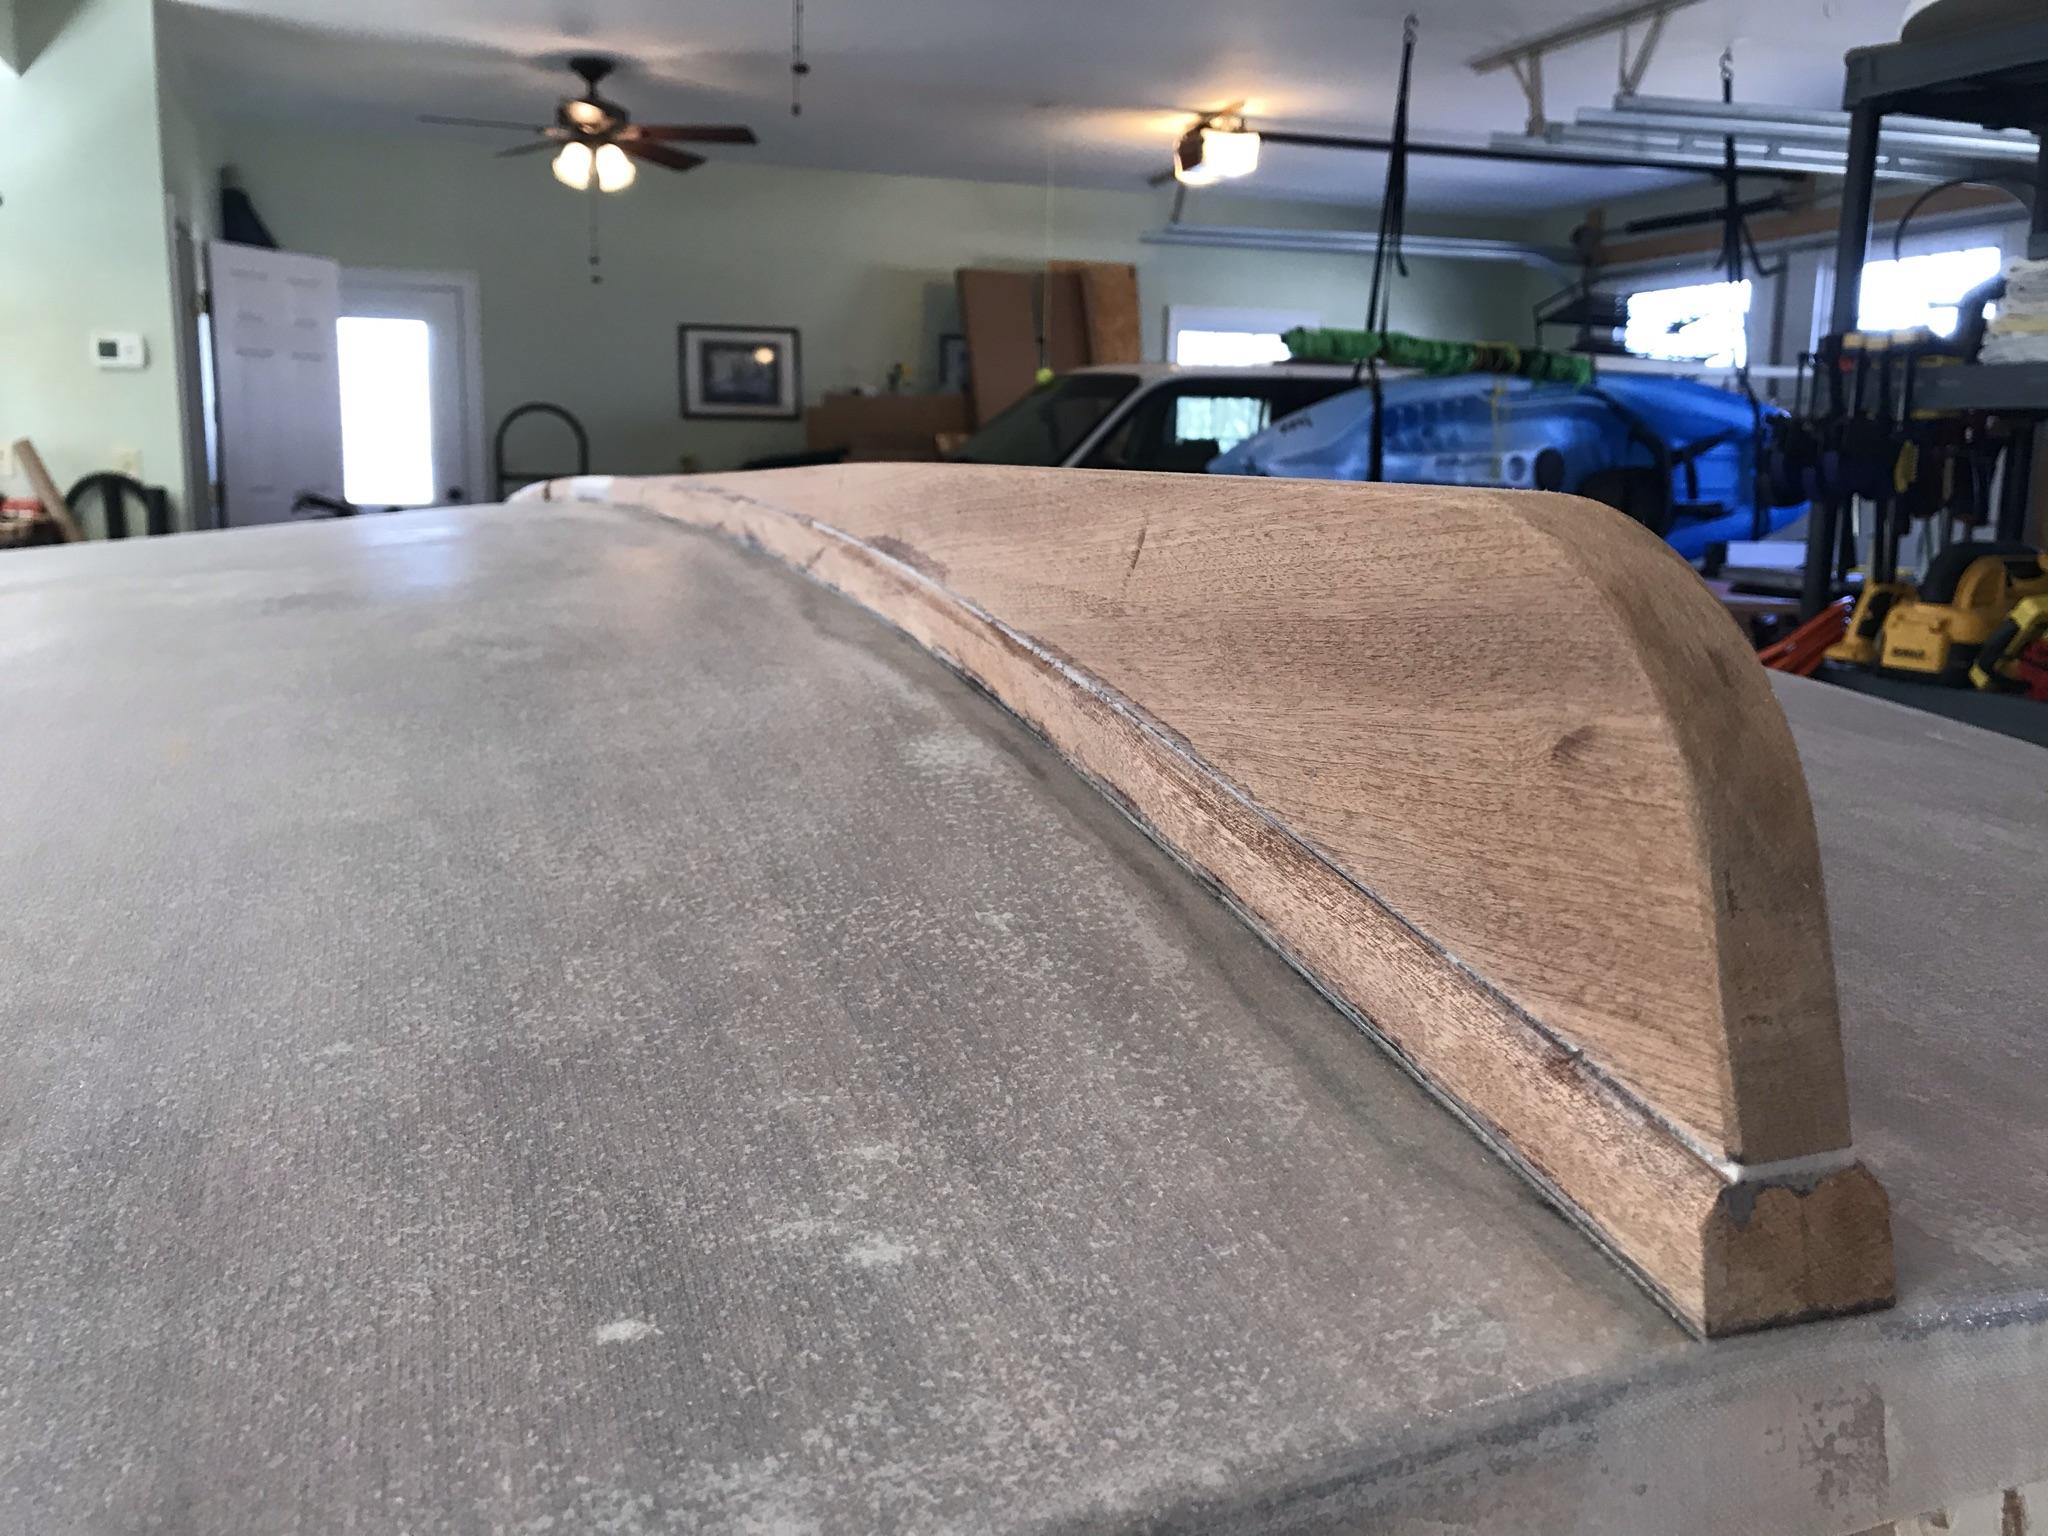
I also sanded the fairing compound that I applied to the joint between the topside plank and the chine plank.

Next step, fairing the hull.
-
April 17, 2021 at 9:02 am #43519
 Steve StoneKeymaster
Brilliant. Well done, Bob. Especially the documenting of the process with photos showing you doing the work.
-
April 18, 2021 at 11:46 am #43527
Peter Strock
ParticipantNovice’s questions:
1. Is epoxy enough to hold the skeg? Shouldn’t it be fastened either through the keel [means coming thru the boat from the interior – not a good idea?]or the other way, skeg to keel? dragging a boat up and down a beach can put a lot of strain on the skeg as can rolling it from upside down to ready to row.
2. Forward end of skeg is very fine — vulnerable to splintering? Perhaps glass it over to protect it ?
Thanks for holding my hand. Very well done instructional video
-
April 18, 2021 at 12:58 pm #43528Bob DonaldsonParticipant
Peter, thanks for your questions.
First, please don’t interpret my Blog, in any way, as an instructional path forward. I am simply documenting how I, another novice, am building the boat without the help of the videos. Whenever OCH releases a video, I usually learn how I should have done it. There are multiple paths, but Kit’s way is usually the best. Now for your questions.
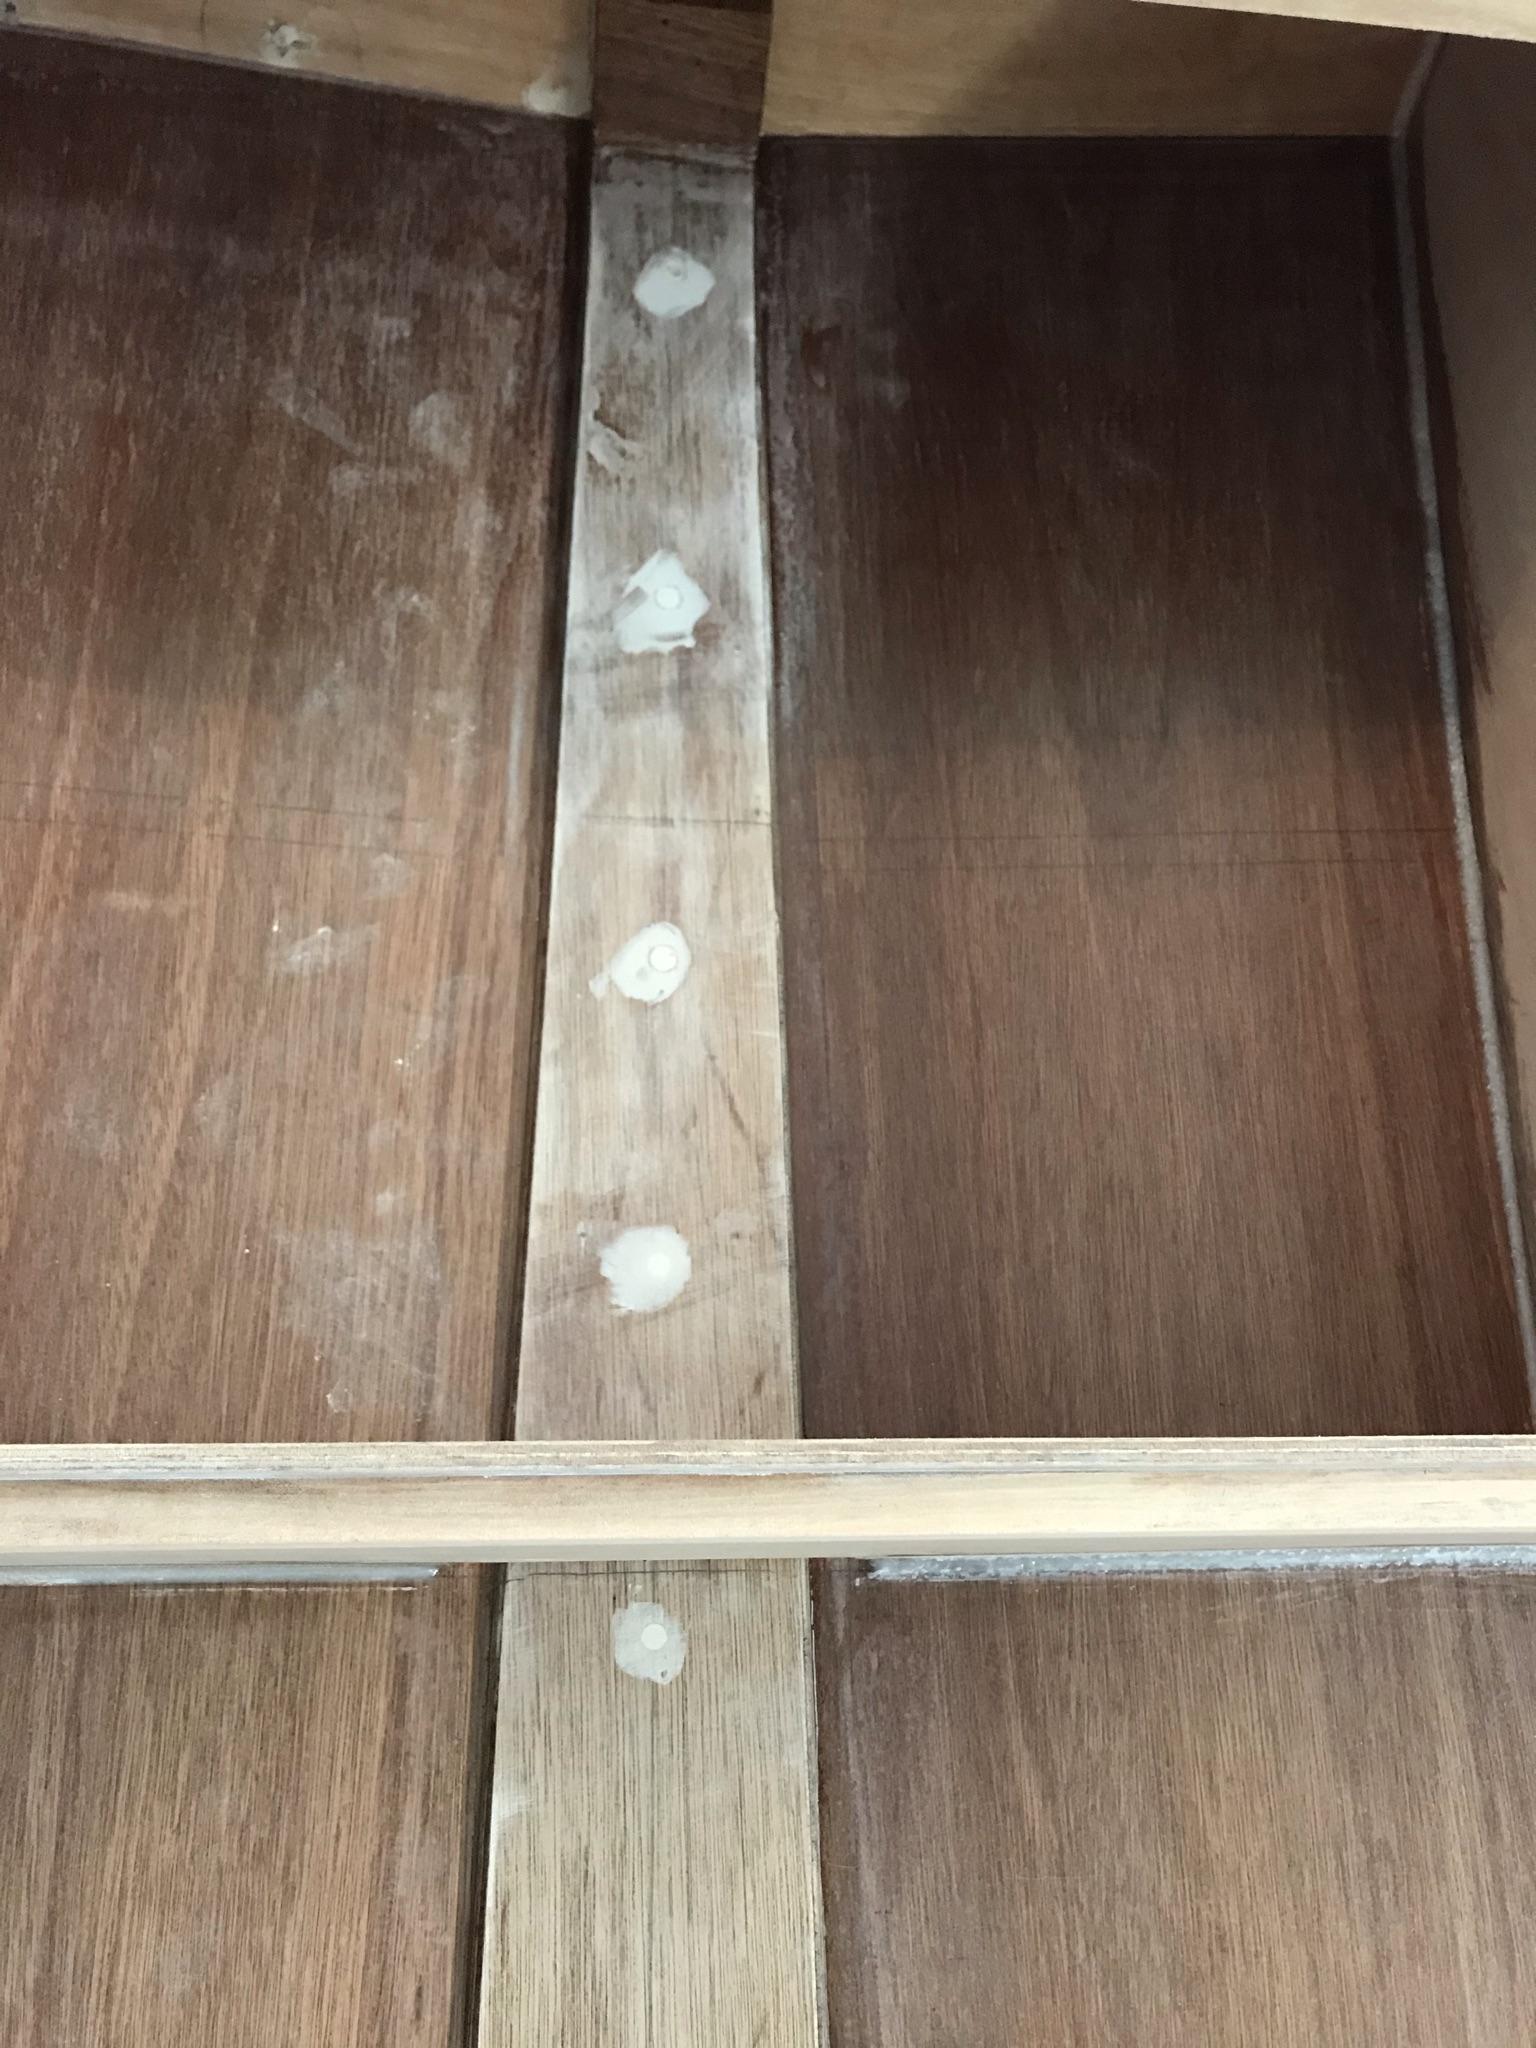
1. I initially only epoxied the skeg because nothing in previous videos gave me any indication that it was necessary. However, in a subsequent video, Kit showed how she secured the skeg from the outside. By this time I had already turned the boat over and no longer had access to the bottom of the skeg. I then secured it by putting screws through the inner keel and outer keel into the skeg. Where the skeg is largest, I used 3-inch #12 screws. I address this in my blog post: https://house-doc.net/Oonagh/?p=702
2. The forward end of the skeg is firmly epoxied to the outer keel and I have no concern with it separating. The epoxy is stronger than the wood. You should see Russell Brown’s video series on Mastering Epoxy. He does a test of an epoxy joint and tries to break the joint and only succeeds in breaking the wood elsewhere.
Here is a photo of my screws going through the keel into the skeg:
Good luck with your build.
Bob
-
April 18, 2021 at 8:57 pm #43533
Ian Douglas
ParticipantNice job, Bob!
You are correct….the wood will usually break before the epoxy does, but I was thinking that a few stout screws would add to the shear strength should the skeg be subject to such a force (which you have now done).
Are you going to paint or varnish the interior? If painting, the filled screw heads will disappear nicely. If varnishing, you might think of counter boring, sinking the screws, and filling with wood plugs. I have used blonde plugs on mahogany and it comes out quite nicely.
Good photos and captions, Bob!
-
April 19, 2021 at 8:15 am #43534Bob DonaldsonParticipant
I am definitely going to paint. Otherwise, I wouldn’t have been so messy with the white fairing filler.
-
-
AuthorPosts
- You must be logged in to reply to this topic.