Home › Forums › 11′ 10″ ARRIBA / OONAGH Dinghy – Official Step-by-Step Boatbuilders’ Forum › ARRIBA / OONAGH – 21 – Spars › Making the Spars
- This topic has 0 replies, 1 voice, and was last updated 5 years ago by
 Bob Donaldson.
-
AuthorPosts
-
-
July 9, 2021 at 7:30 am #44013Bob DonaldsonParticipant
From my blog: https://house-doc.net/Oonagh/?p=1077
5/14/21 – While waiting on more EasyPoxy primer to be delivered, I decided to go shopping for the Douglas Fir for the Spars. I was able to get a couple of 2x4x12’s for the mast and a couple of 2x8x10’s for the other two spars. The selection was meager and I got the last two of each. I could have used 2x6x10’s for the two smaller spars, but they didn’t have any. Fortunately, what they did have was clear and straight. It was also very pricy. When I got home I glued up the mast sections.
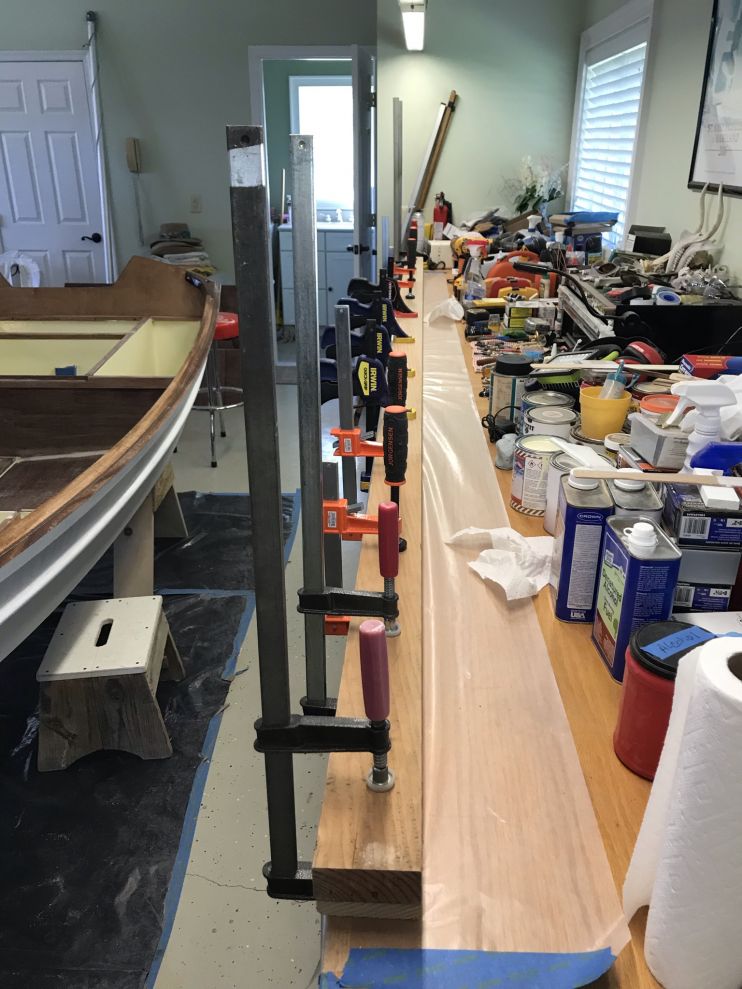


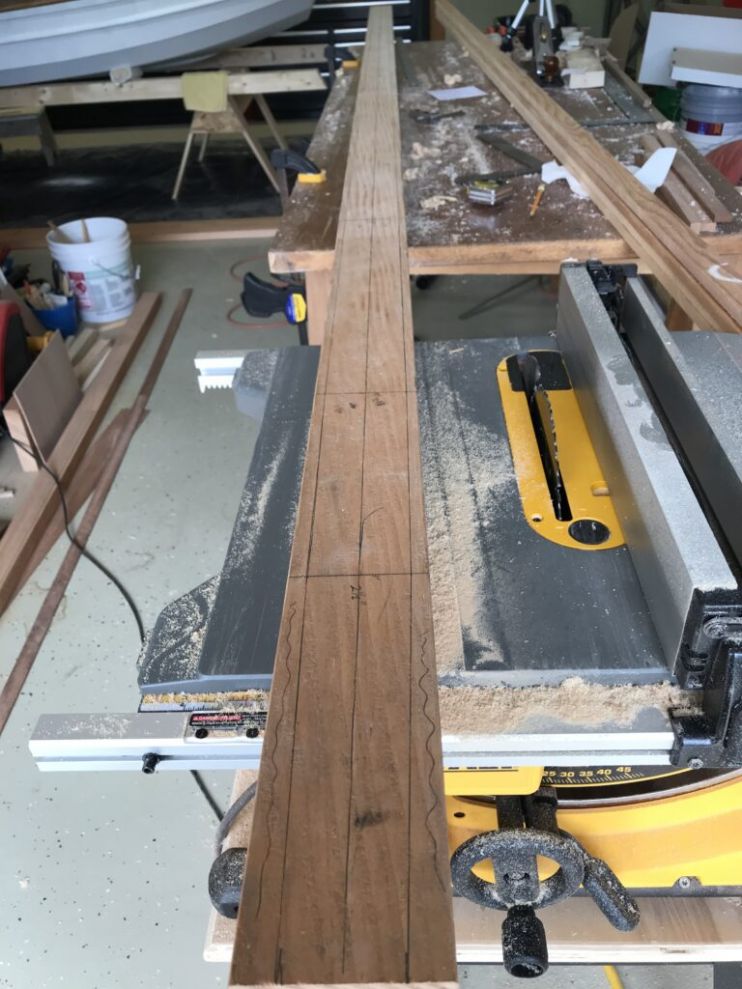
5/15/21 – I overestimated the amount of lumber needed for the spars. I cut the 2x8x10′ Douglas Fir down the middle and ended up with two pieces that were 1 1/2″ x 3 1/2″. When glued up, it looks like I can get both the boom and gaff out of the single piece since the widest point on each is 1 5/8″.
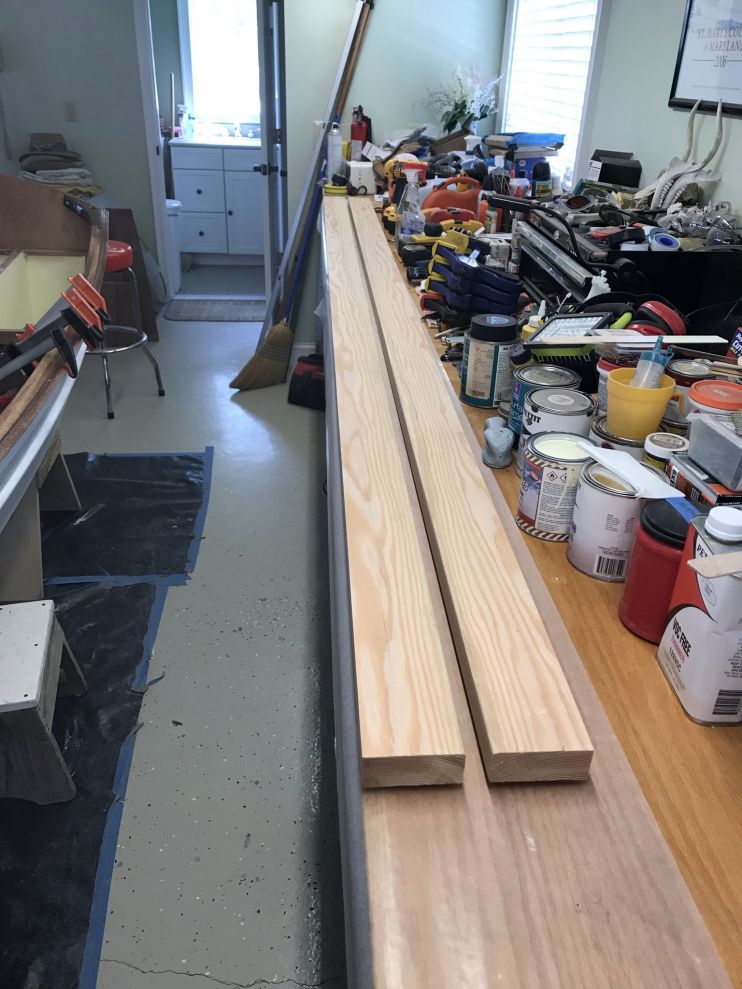

5/16/21 – I cut the 10’ glue-up into two pieces.
Then I squared them up into blanks that can be shaped into the boom and gaff.
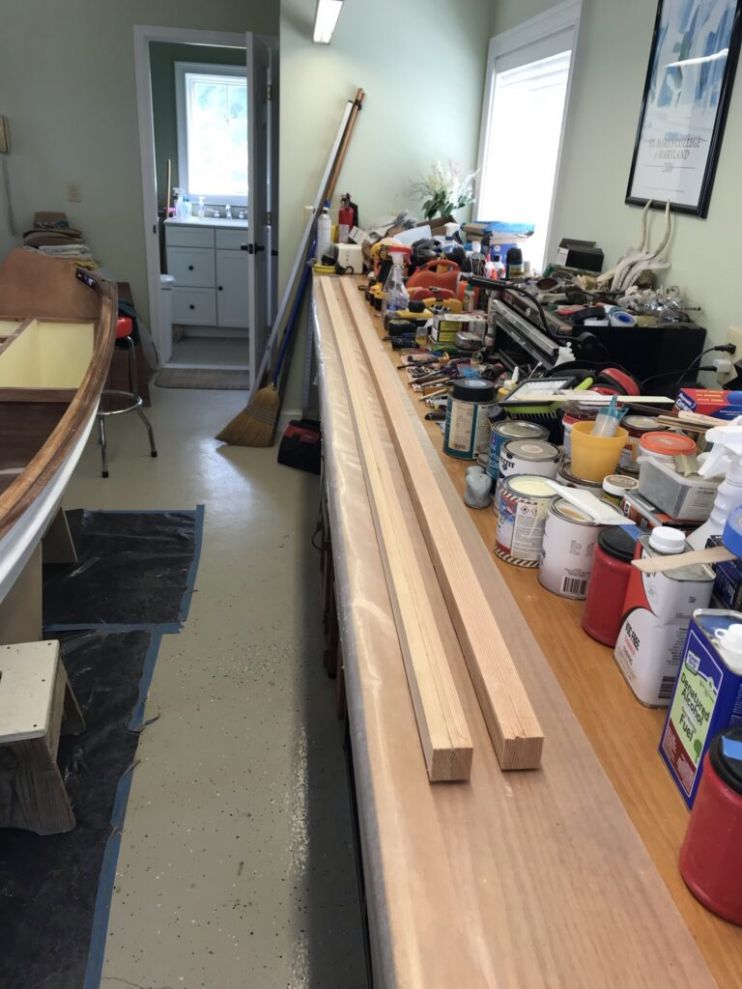
Then I laid out the shape of the mast on the 12’ glue-up.
5/17/21 – This morning I returned one of the 2x8x10′ Douglas Fir boards. It was unbelievably expensive. I got a $105.00 refund for one board. Next, I set about making a Spar Marking Guage. I found a design on the internet and it wasn’t that hard to make.
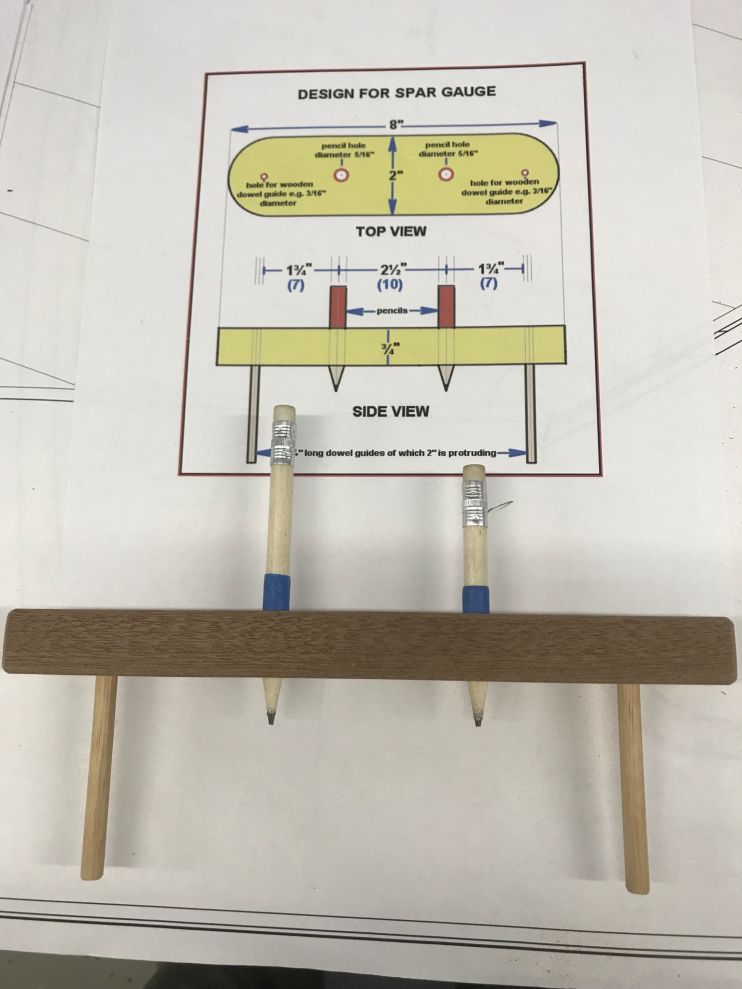
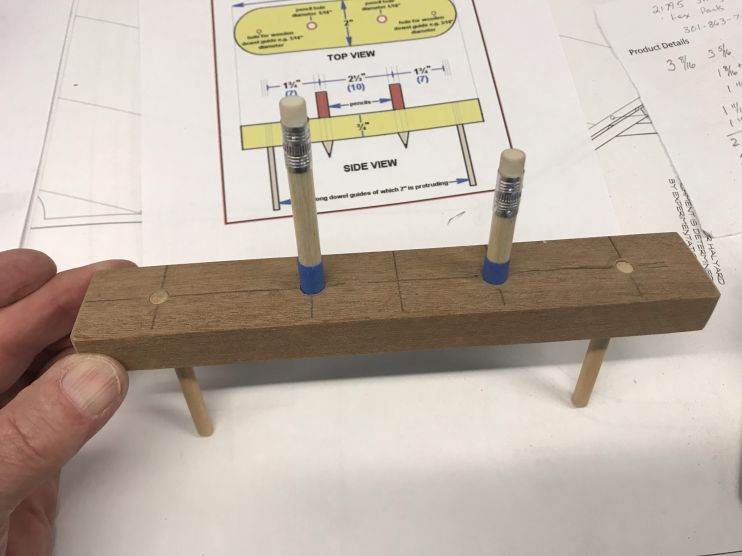
It helps to use a drill press to make sure the holes are perpendicular.
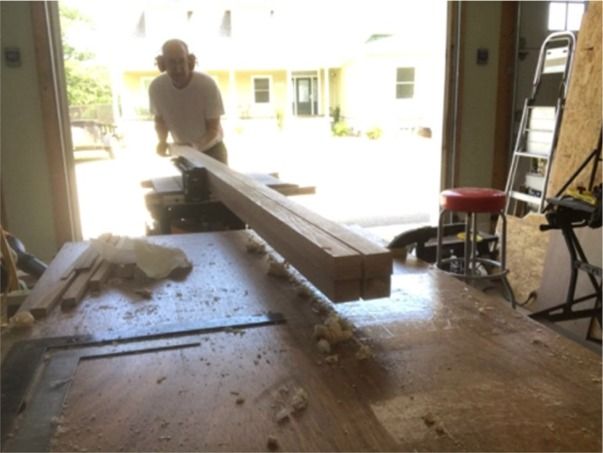
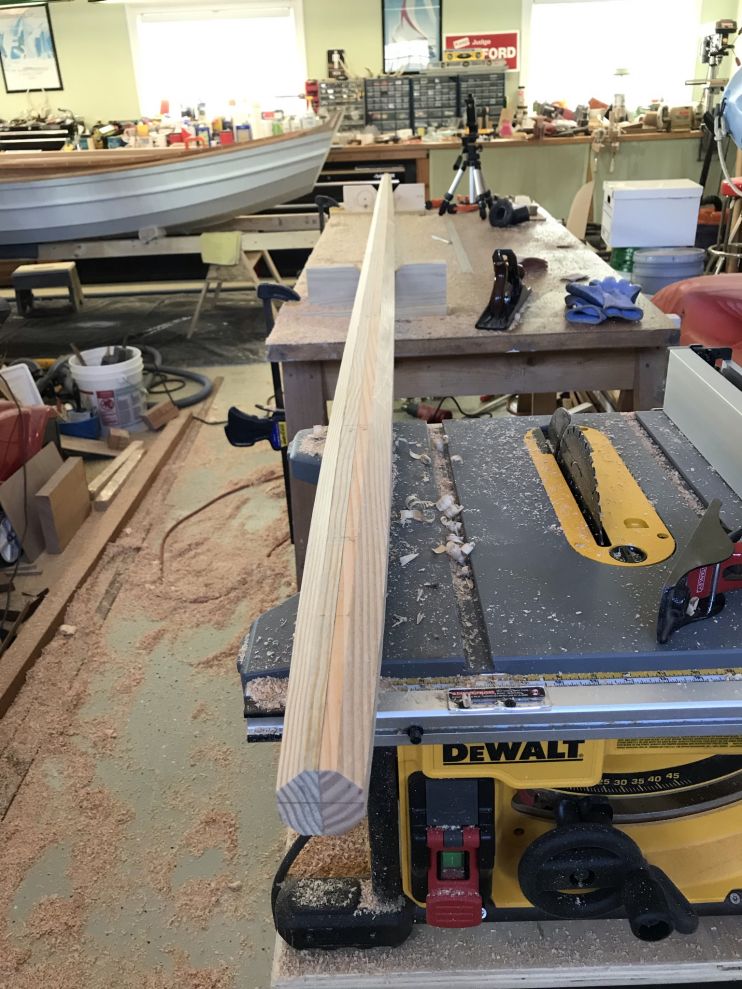
I spent the rest of the afternoon working on the mast. The glued-up blank was 3 1/3″ x 3″ thick and my table saw blade will not cut something that thick. I was left with using my electric hand plane. What a mess! There was a lot of wood to get rid of and I spent a couple of hours planeing just 2 of the 4 sides. It made more than 3-5 gallon buckets of chips.
The end result is starting to look like a mast.

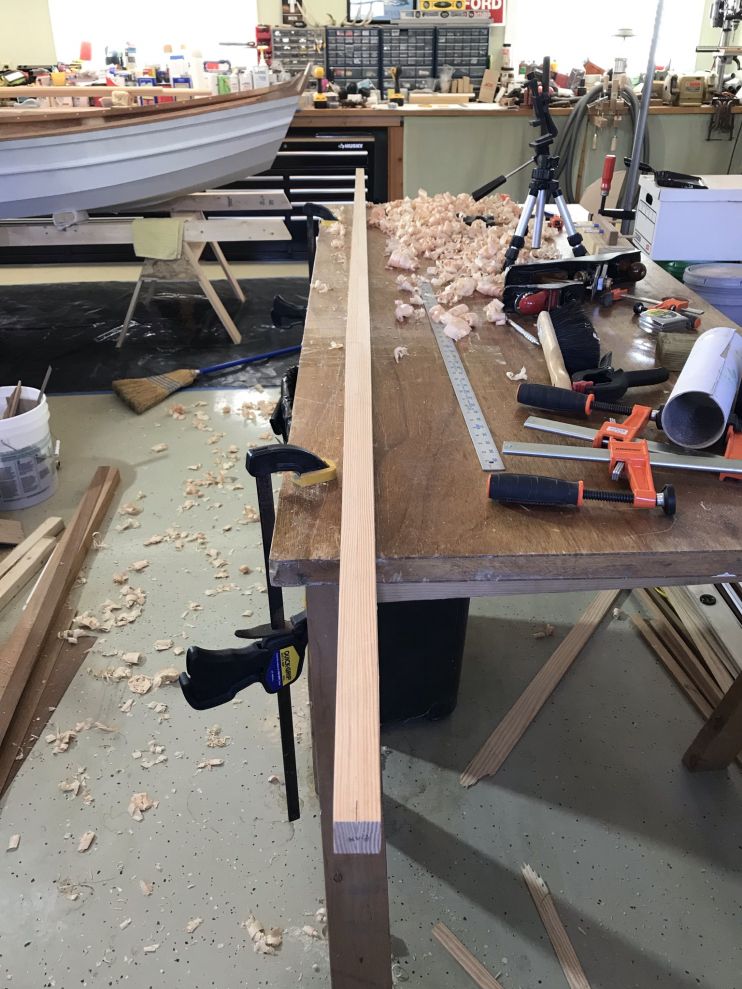
5/18/21 – Today I finished squaring and tapering the mast to the basic starting shape. It took a lot of planing to get rid of the bulk of the excess material.

I used my Spar Marking Guage to mark the 4 sides with the lines to plane to. Then I used my power plane to take it from 4 sided to 8 sided.
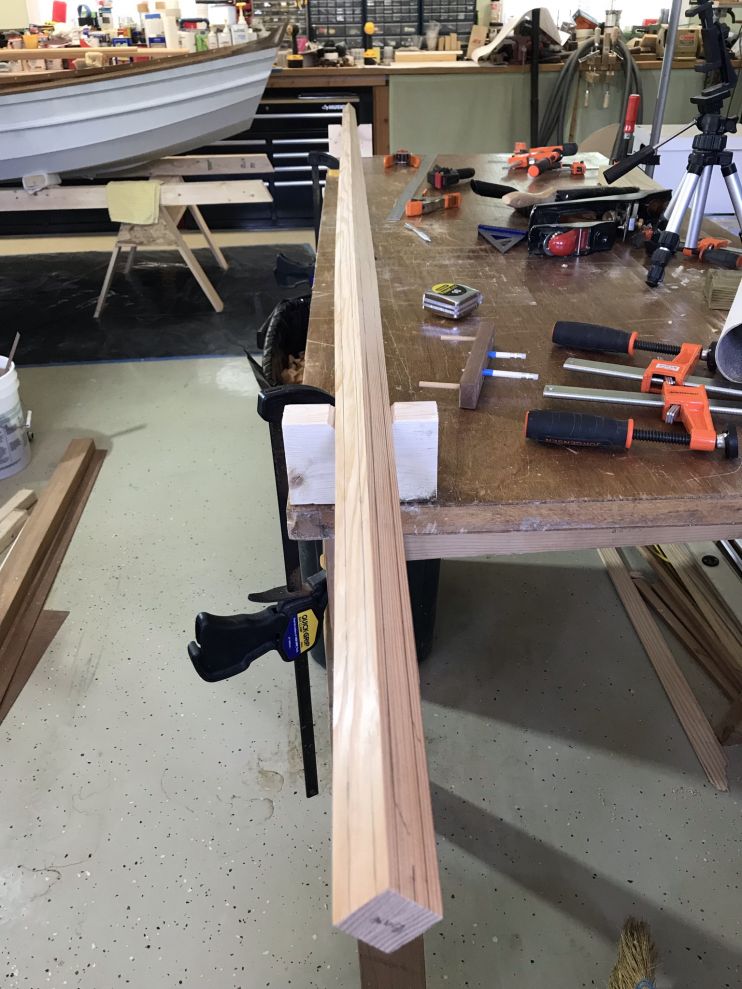
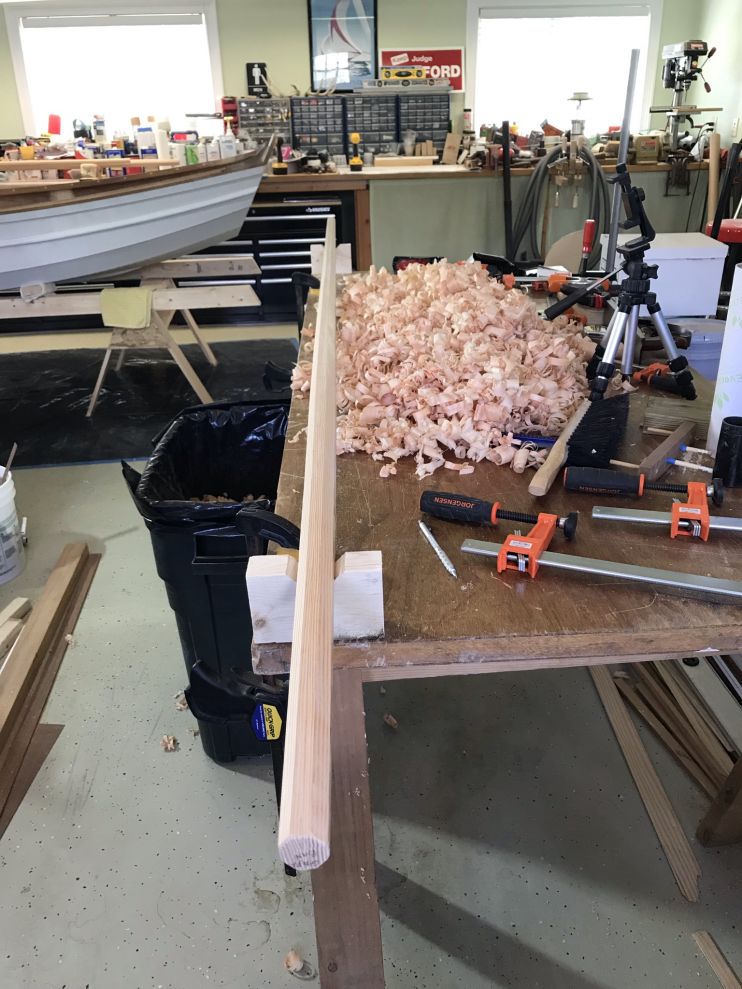
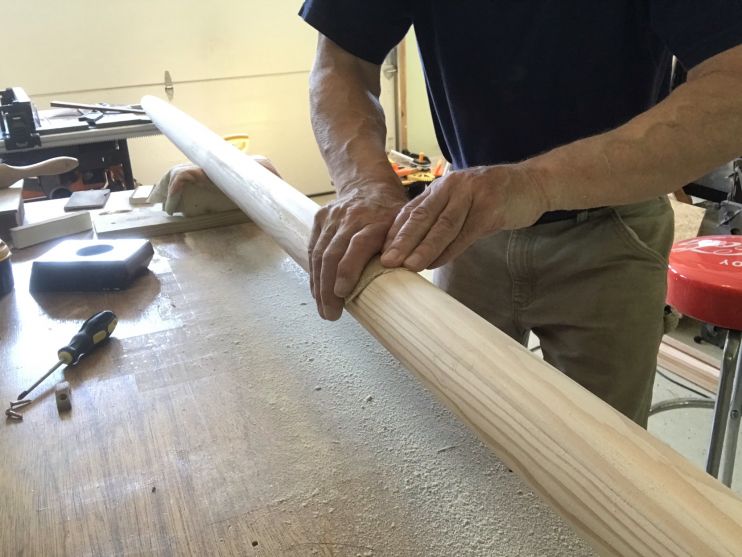
5/19/21 – Today I used my electric planer to go from 8 sides to 16 sides. Then I used my bench plane to take it to 32 sides. After that, I used 40 grit sandpaper inside a 3″ mailing tube to sand off the remaining corners. The mast is roughly circular and shaped to the specified thickness along its length.
This is what it looks like after sanding.

Then I started working on the boom.

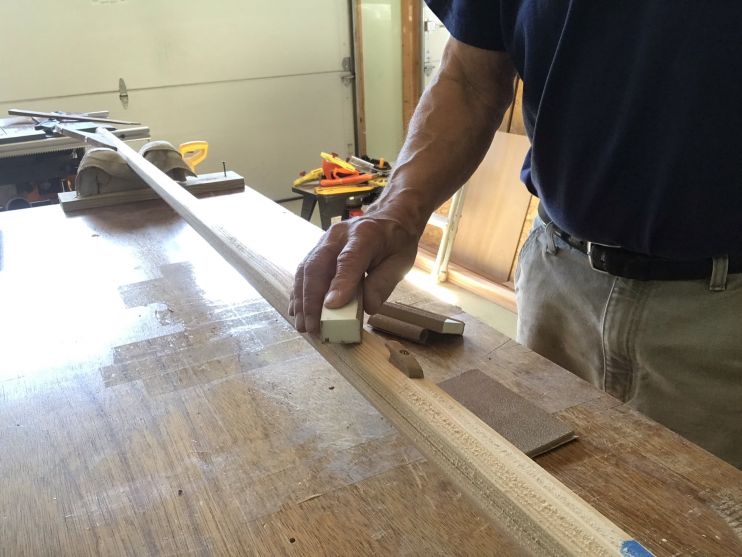
5/20/21 – Today I worked on the boom. After laying out the taper, I was able to use my table saw to remove most of the material on the 4 sides and then used my hand plane to finish smoothing it out into a square that tapers at both ends. I then used my marking gauge to mark the lines to take it to 8 sides. Before I could get started on making it 8 sided, I had to build a jig to hold the boom while I plane the material away.

I will take it to 8 sides tomorrow.
5/21/21 – After using my marking gauge on the boom, I planed the 4 corners with my hand plane to get to 8 sides.

After finishing with the Boom, I started squaring up and tapering the Gaff. The Gaff is a little thicker than the boom and I decided to use my bench plane instead of the table saw since there was not as much material to remove.

The Gaff is now square and tapered.
I’m going sailing tomorrow, so I won’t be able to make this 8 sided until Sunday.
5/23/21 – Today, I used my marking gauge to mark the 8 sides and went to work with my hand plane.
The end result is 8 sided with a lot of shavings.
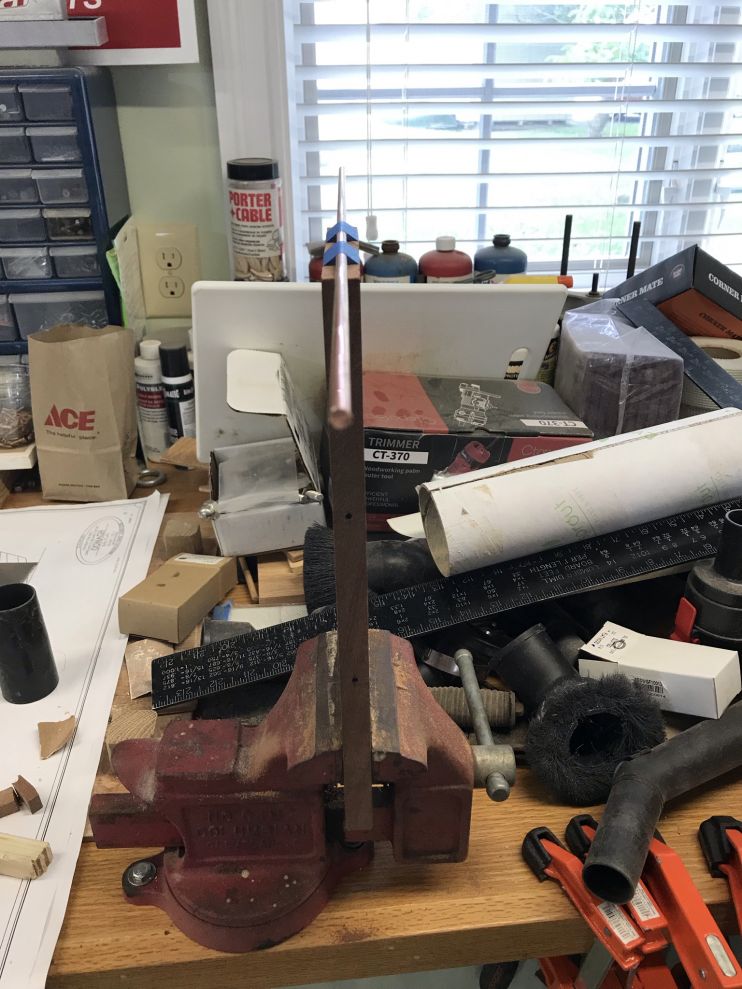
6/1/21 – Back to work on the spars. Today I started work on the Gaff. I started by putting in 3/16″ rivets in both ends. This is a lot harder than it looks. Since both ends have to be hammered at once. I tried to put the rod in my vice and hammer one end over the washer, but the hammering just pushed the rod out of the vice. Then I put the bottom washer and rod in a curved form made for riveting and hammered it from the other end with a washer in place. This eventually worked, but I think it bent the rod inside the wood since it showed signs of splitting.

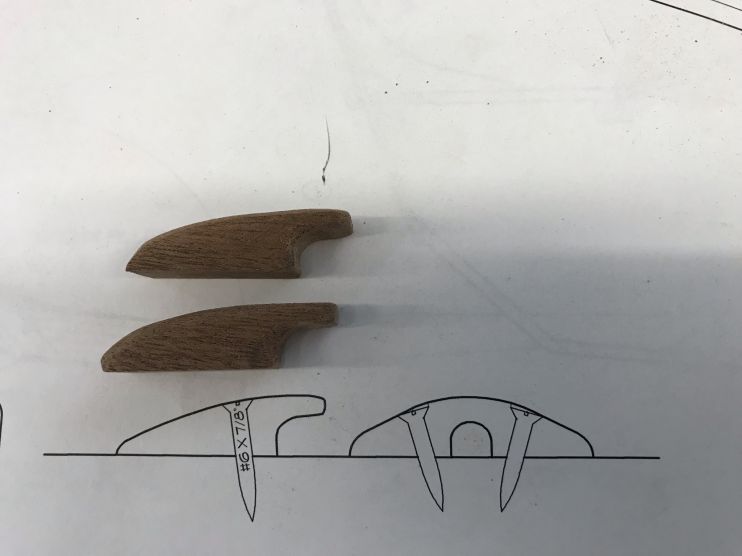
I also got started working on the cleats.


I’m going to have to do some more research on riveting before I try to tackle the really long rivets in the boom jaws. Perhaps heating the ends up before starting would work better. I can try that on the remaining small rivets tomorrow.
6/2/21 – I had better luck with the rivets today. I cut the rivets for the boom ends to length and then put them in the vice and heated the end with a propane torch. I was then able to hammer one end properly in the vice and then insert it into the boom and do the other end. A little tricky heating the end without setting the boom on fire.

Next, I attempted to drill the hole for the boom jaw rivets. This didn’t go as well. I used my drill press to make sure the hole was straight and I clamped the wood to the fence and it was perpendicular, but it blew out the side anyway. I almost think I would have had better luck doing it by hand and eyeballing a straight line.
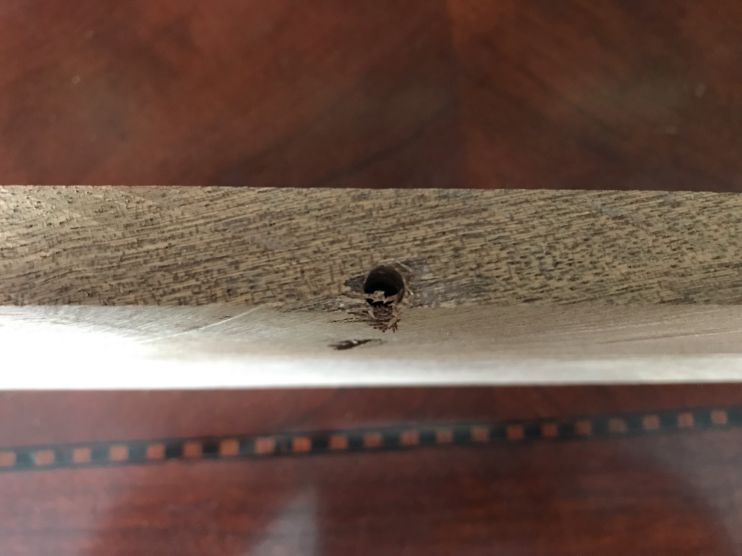

Fortunately, I decided to drill the holes first before cutting out the piece. I have another similar piece of mahogany I can use tomorrow, but first I will practice on some scraps.
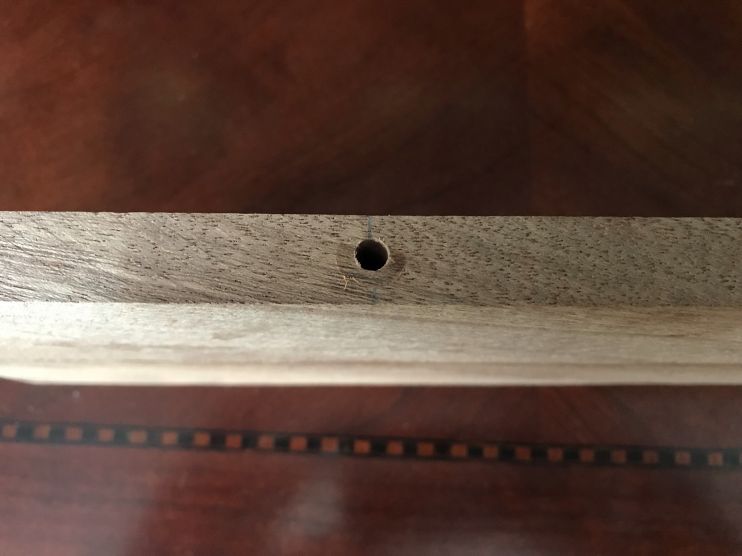
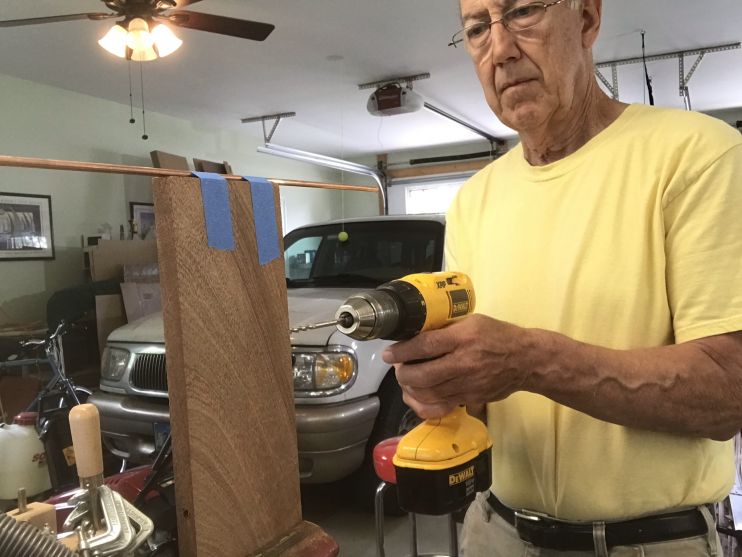
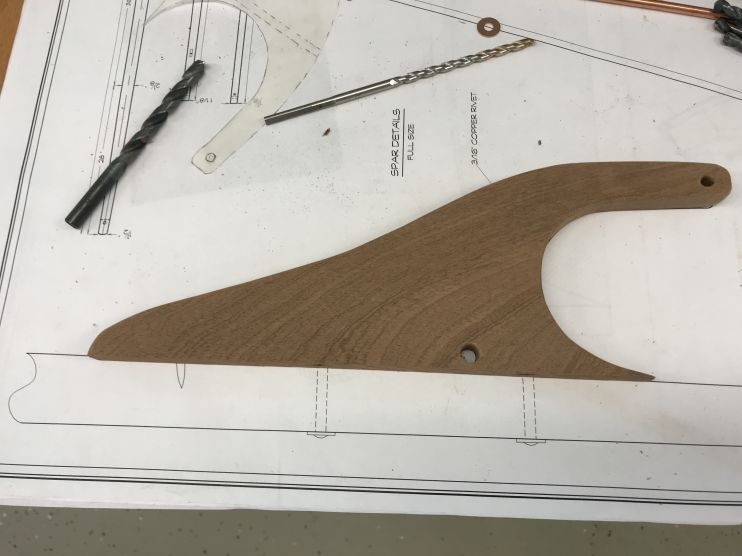
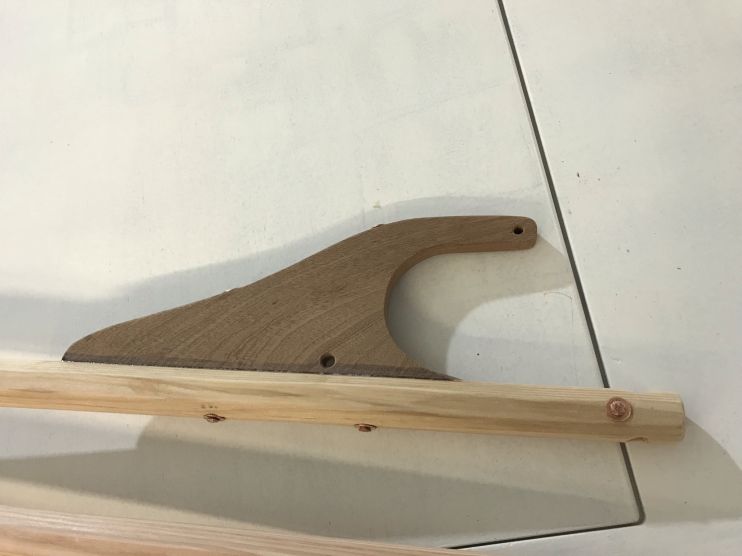
6/3/21 – Better luck today with the boom jaw. I gave up on using the drill press and tried drilling by hand and was able to be pretty accurate. Then I had the idea of using the copper rod as a guide for my line of sight and that did the trick. Perfect hole every time.

Then it was just a matter of tracing the pattern onto the mahogany and cutting it out with the jigsaw. But first, I drilled the two holes.

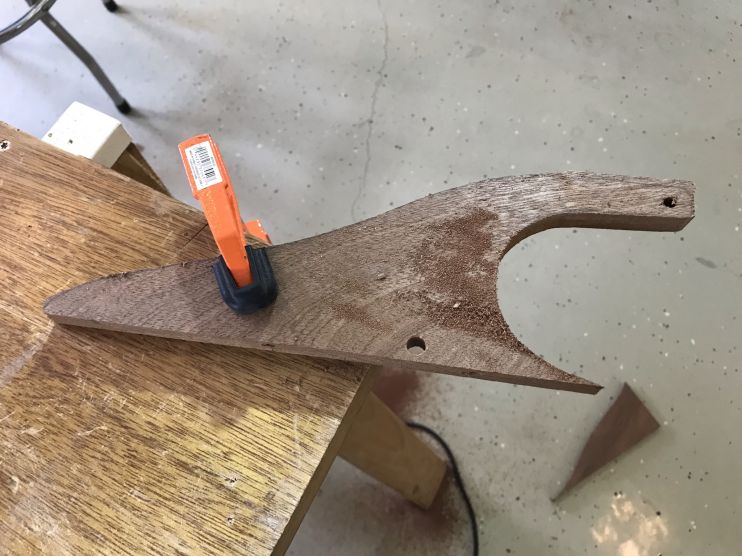
Then I finished shaping it with the belt sander.

The end result was a perfect overlay on the pattern.
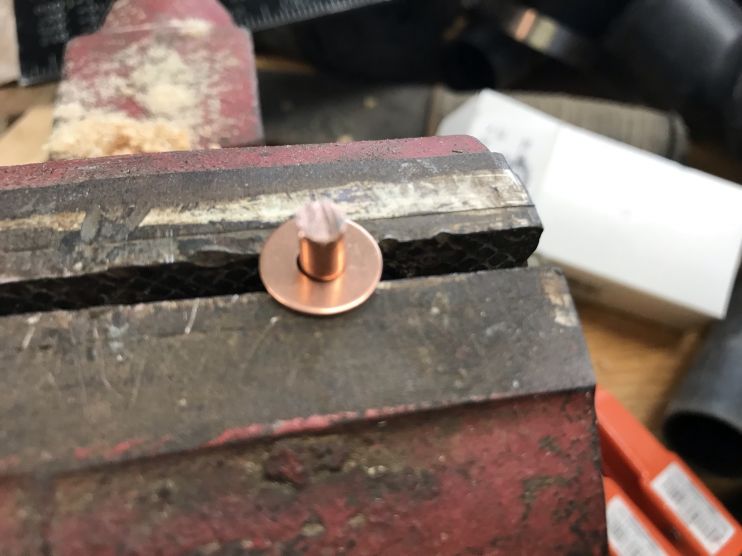
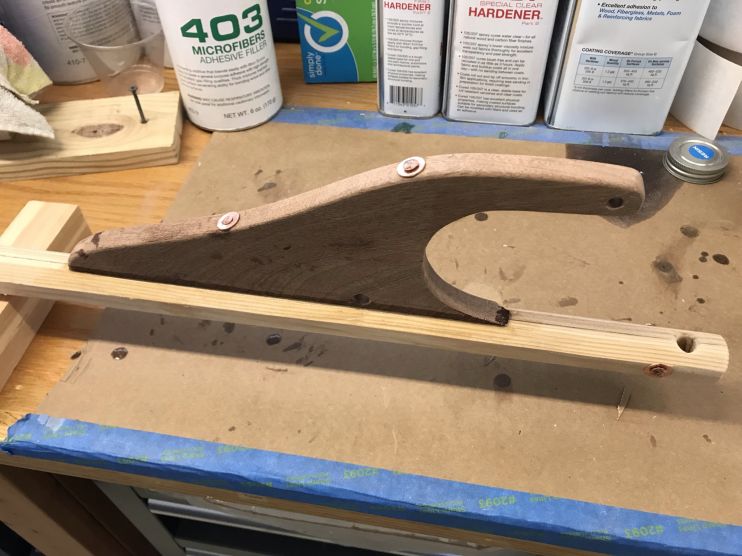
In fitting the rivets through the boom, I started by marking the correct location on the boom, and then I set the jaw on the boom and drilled the smaller rivet hole using the hole in the jaws as a guide. Then I cut the rivet to length and inserted it, locking the two pieces in place. Then I was able to drill the longer hole through the boom without the jaws moving accidentally. Finally, I prepared one end of each rivet in my vice.

Once I had the two rivets ready, I mixed some thickened epoxy and applied it to the joint, and proceeded to hammer the top side of both rivets in place.
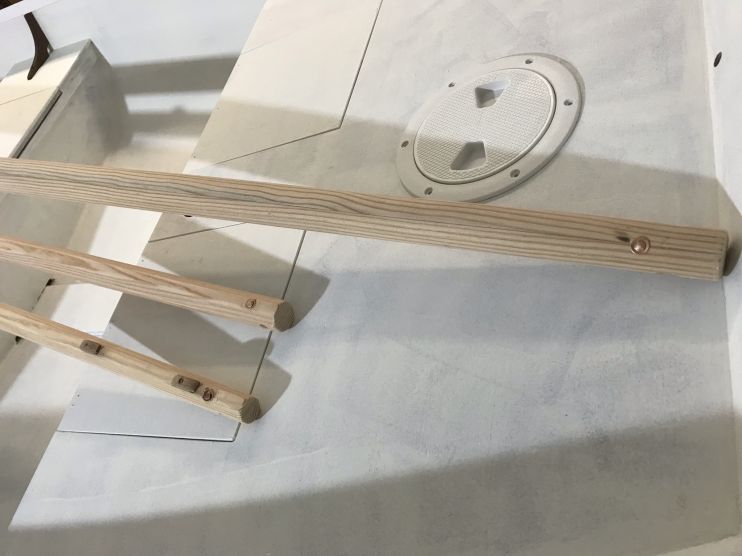
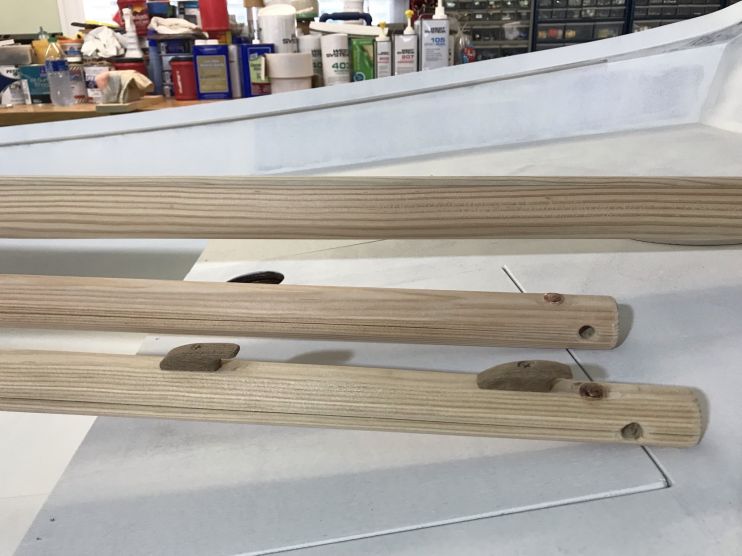
6/5/21 – Finishing up the spars today. After making all the cleats, installing the rivets, and drilling the holes where needed, there is nothing left to do but the final sanding and varnishing.
I completed making the parts for the boom today and gave it a sanding with 80 grit and 120 grit sandpaper.
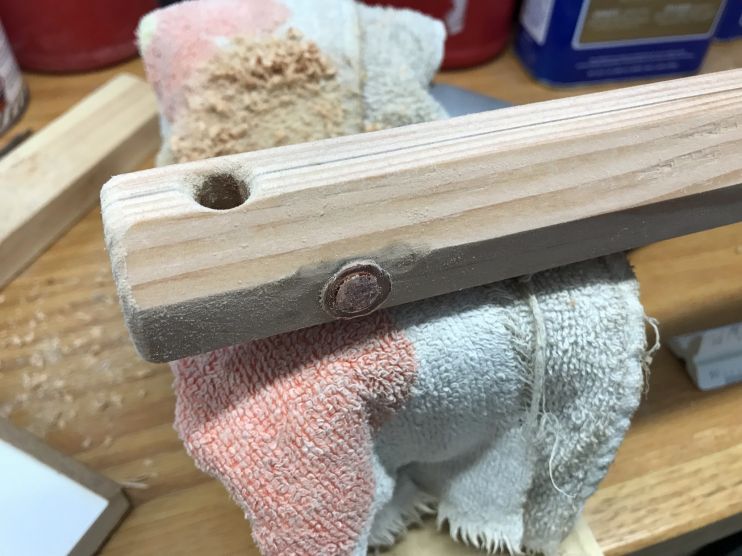
Then I finished the mast by adding a rivet at the top, drilling a hole for the main halyard, and adding the two cleats on the lower mast. Then sanding with 80 grit and 120 grit sandpaper.
There is nothing left to do on the spars but a couple of coats of clear epoxy and 10-12 coats of varnish.
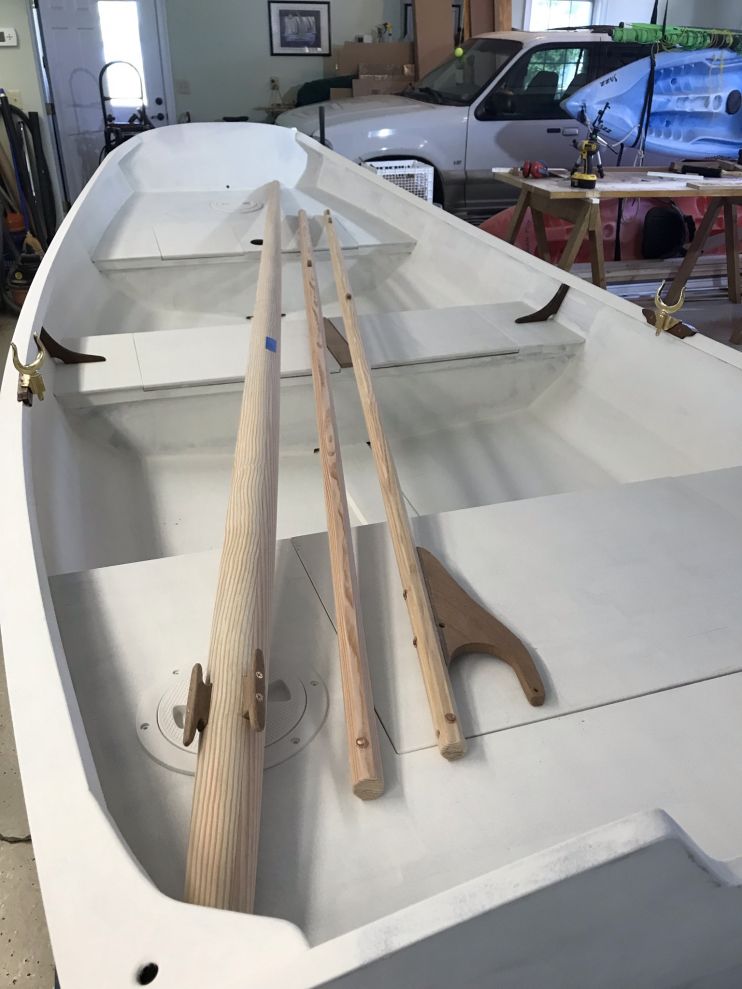
Here are some closeups.


Next, work on the rudder pintels and gudgeons.
-
-
AuthorPosts
- You must be logged in to reply to this topic.