Home › Forums › 11′ 10″ ARRIBA / OONAGH Dinghy – Official Step-by-Step Boatbuilders’ Forum › ARRIBA / OONAGH – 16 – Mast Step & Partner › Mast Step and Partner
- This topic has 0 replies, 1 voice, and was last updated 5 years, 2 months ago by
 Bob Donaldson.
-
AuthorPosts
-
-
April 28, 2021 at 1:54 pm #43645Bob DonaldsonParticipant
From my Blog: https://house-doc.net/Oonagh/?p=996
4/28/2021 – Today I am back to work on the mast step. Before I get to that, I should recap the work done so far on the mast step and partner. The work on the partner was integral to building the bow compartments earlier.
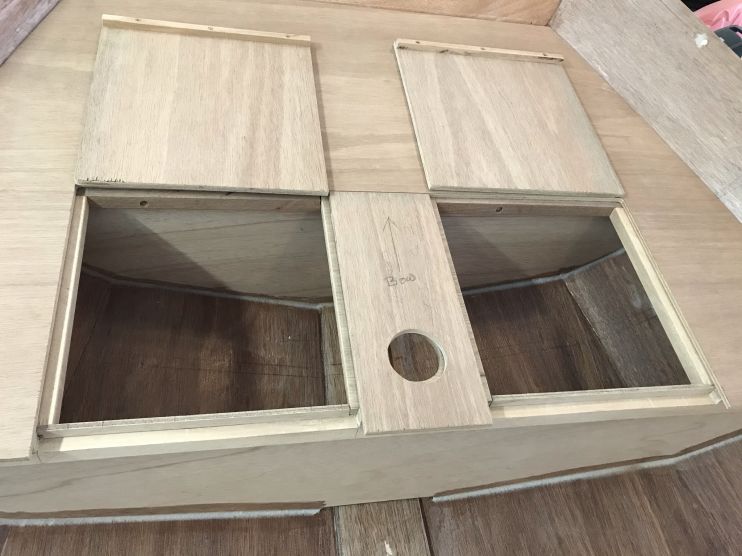
4/12/21 – Still working on the bow seats & supports. The mast partner is integral to the seat. It has to be inset into both partitions and the brace across the middle. I used my router to remove 1/2″ of material from all points that it touches. There is also a 6-degree slope to the cross brace or it won’t lay flat.
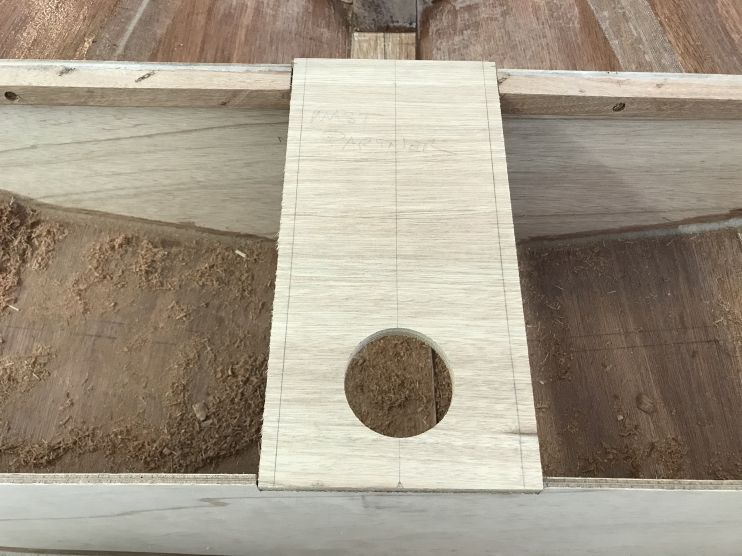
After the mast partner is fit, I was able to dry-fit the seat tops to determine where the hatches land and where to drill the hole in the covering panel.
Once I got the hatches in the right place, I was able to draw lines on the mast partner for where the covering panel goes. I then positioned the panel on top of the mast partner and used the hole in the partner to draw a corresponding mark on the panel, then cut it out with a 2 1/2″ hole saw.
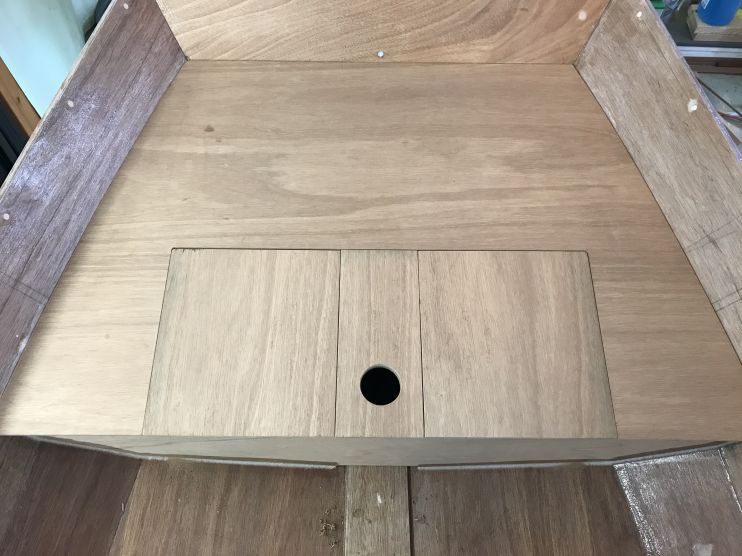
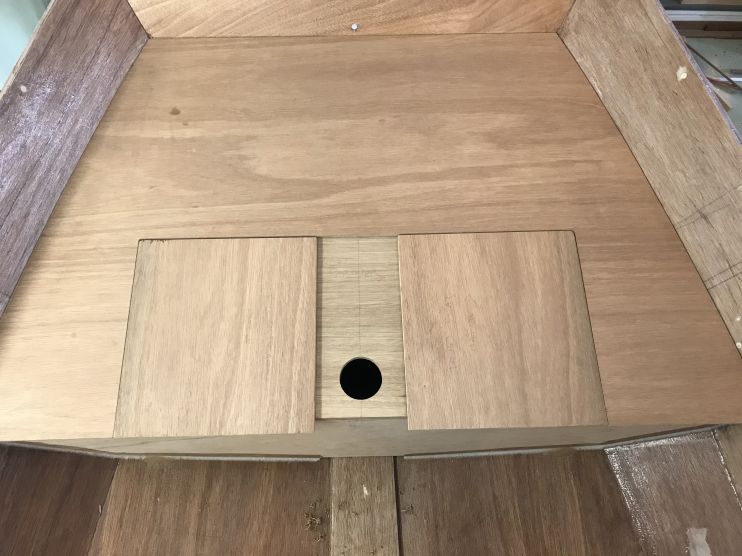
Then I glued down the covering panel between the hatches.
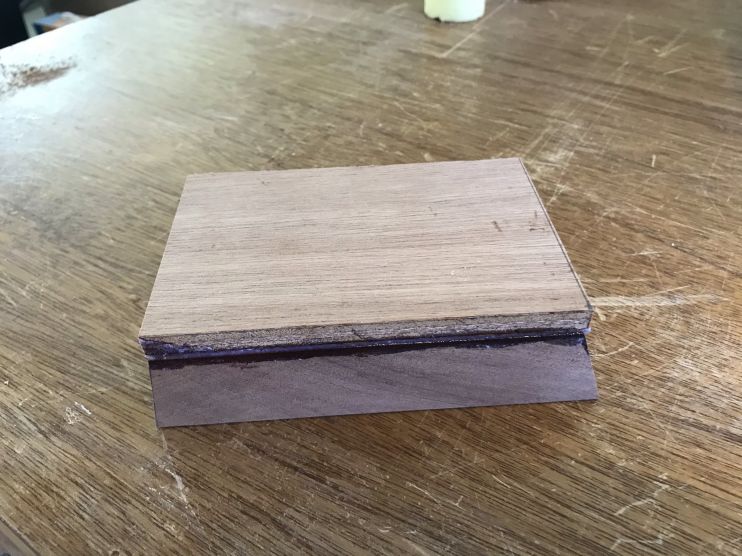
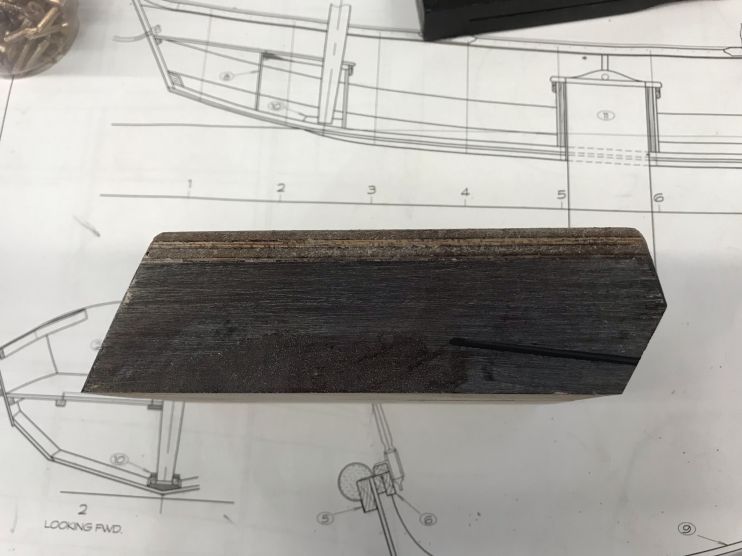
4/26/21 – I started working on the mast step. Starting with a 3 1/2″ x 6″ block of mahogany, I cut the angles necessary and then epoxied a top layer of plywood to prevent splitting, per the plans.
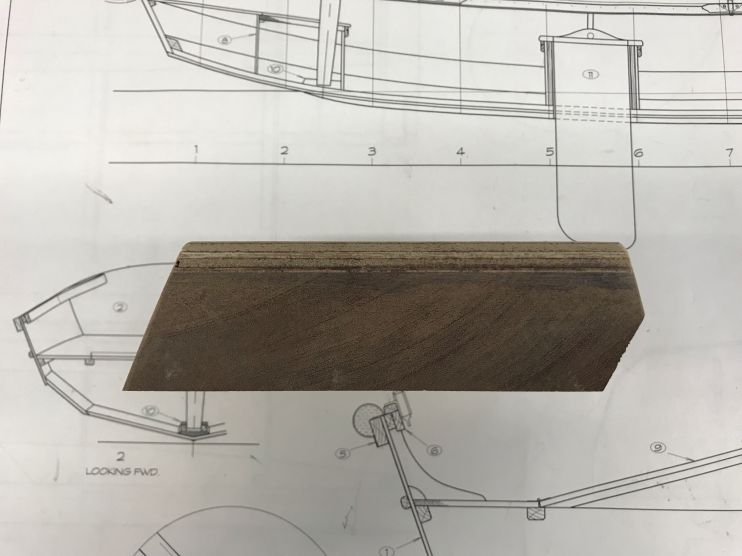
Tomorrow, I will plane off the edges flush with the mahogany and cut a 1 7/8″ round hole 3/4 of the way through the block to seat the mast. I will have to figure out the correct angle to cut the hole so the mast goes in straight. The mast is on an angle to the boat and the boat is on an angle to everything.
4/27/21 – Today I planed and sanded the plywood epoxied to the mahogany and determined, by measurements from the plans, exactly where the foot of the mast should land on the mast step.

Then I verified that placement by taking the angle of the mast relative to the front seat and running a straight edge from the mast step through the center of the mast partner and matching the angle. It was right where it should be.

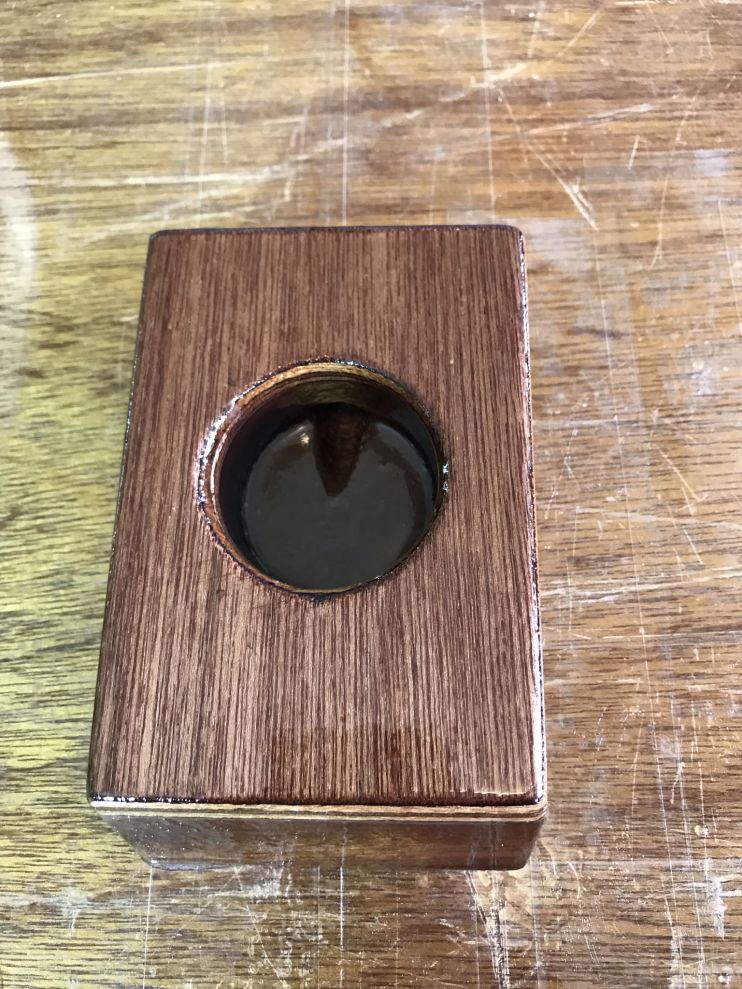
4/28/21 – Today, I beveled the lower corner of the mast step to provide a channel for water to drain out of the mast step.
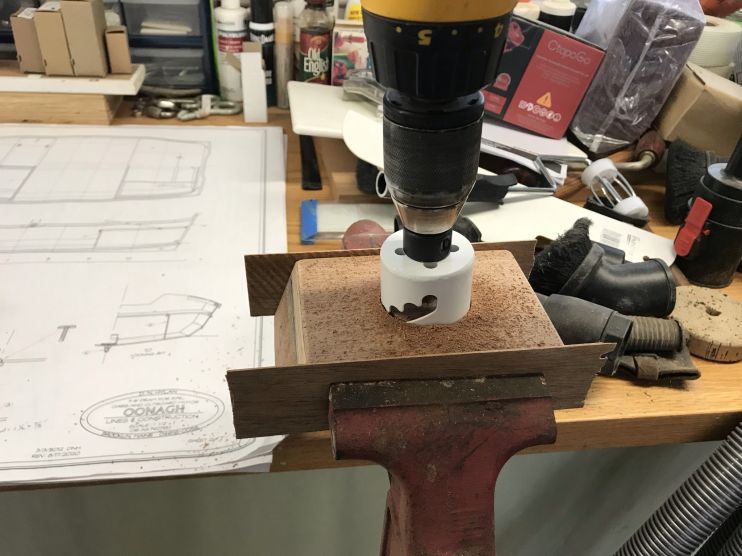
Next, the plans show that the foot of the mast is to be 1 7/8″, so I purchased a 1 7/8″ hole saw and drilled down about 80% of the way through on the angle I measured yesterday.
Then I had to chisel out the center of the hole.
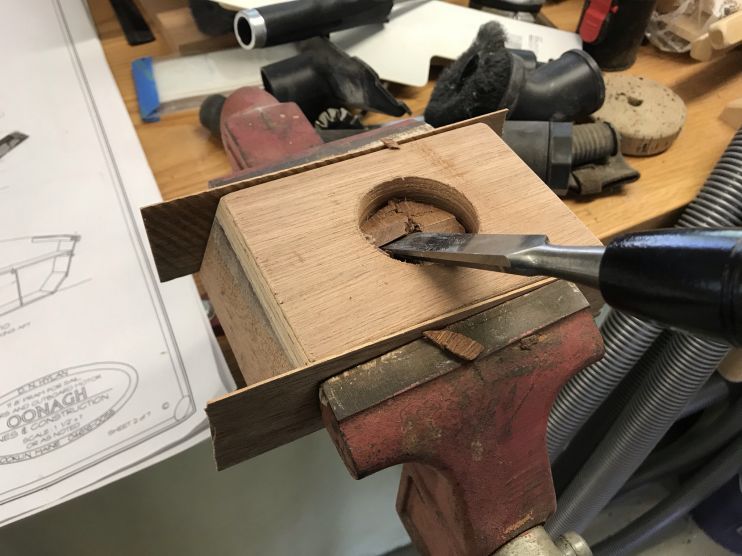
Finally, the hole saw left a drill bit hole through the bottom of the bigger hole, so I mixed some epoxy, painted the whole step, and filled the hole in the bottom.

Tomorrow, I will drill a hole in the forward end of the mast step to drain any water running down the mast.
4/29/21 – Today I sanded the mast step and figured out where to drill the drain hole.
I first drilled a pilot hole to make sure I had the right angle. Then, I drilled a 1/2″ hole along that line.

The result is a drain hole that is definitely downhill.


Then I gave the mast step another coat of epoxy and used a Q-Tip to reach the inside of the drain hole.

There is not much more I can do with the mast step until I have the mast finished. Since I can’t test the fit of the mast in the mast step inside my garage, I decided to not epoxy it in place until the mast is finished, and I know the base of the mast fits.
-
-
AuthorPosts
- You must be logged in to reply to this topic.