Home › Forums › 11′ 10″ ARRIBA / OONAGH Dinghy – Official Step-by-Step Boatbuilders’ Forum › ARRIBA / OONAGH – 20 – Final Bits on the Hull › Painting and Varnishing
- This topic has 0 replies, 1 voice, and was last updated 4 years, 12 months ago by
 Bob Donaldson.
-
AuthorPosts
-
-
July 9, 2021 at 7:30 am #44016Bob DonaldsonParticipant
From my blog: https://house-doc.net/Oonagh/?p=1303
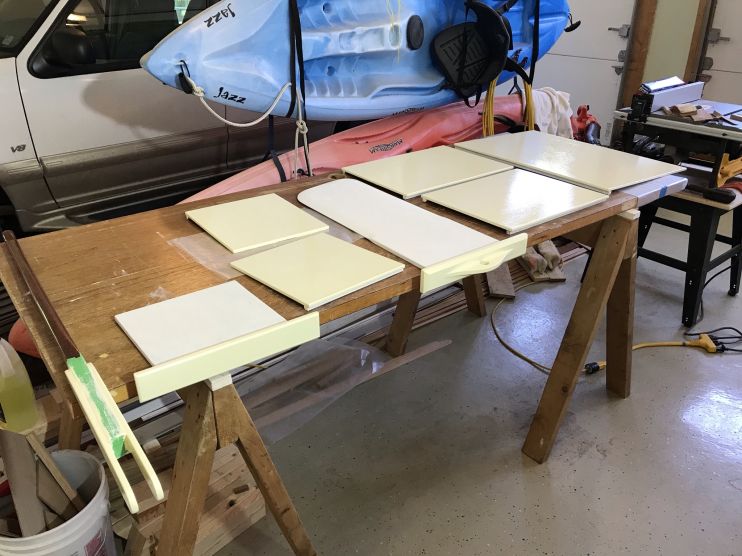
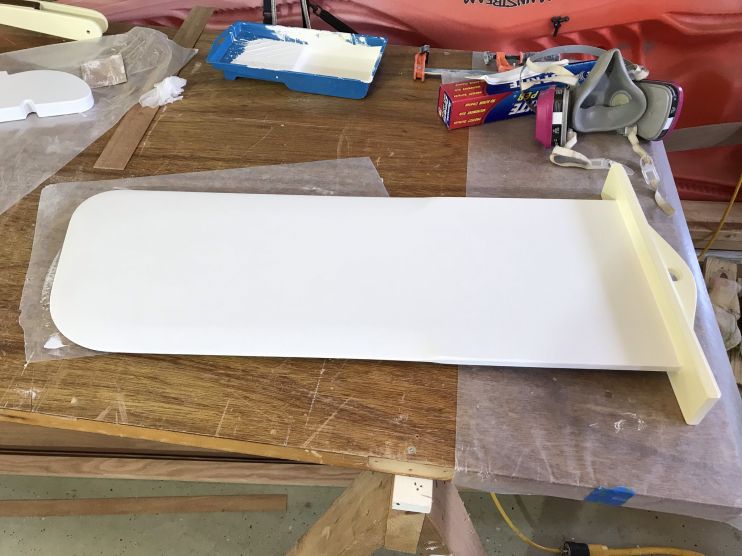
6/16/21 – Today I started prepping for painting. I sanded all the filled areas and put on a coat of EZprime. I also primed the Daggerboard, the Tiller cheeks and the Daggerboard slot filler.
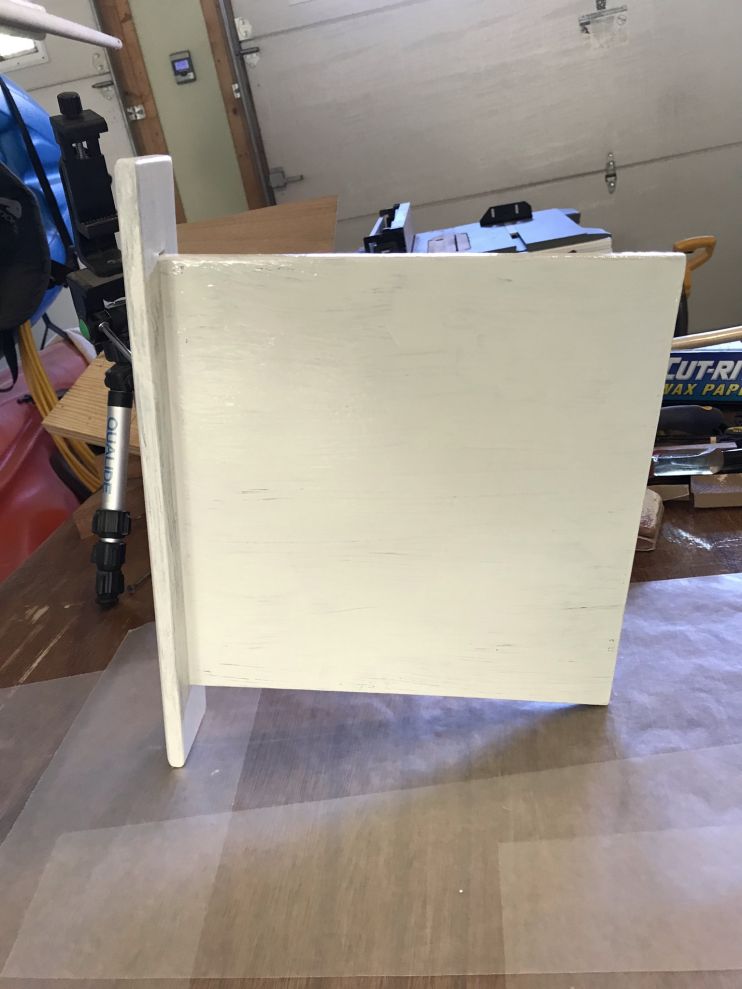


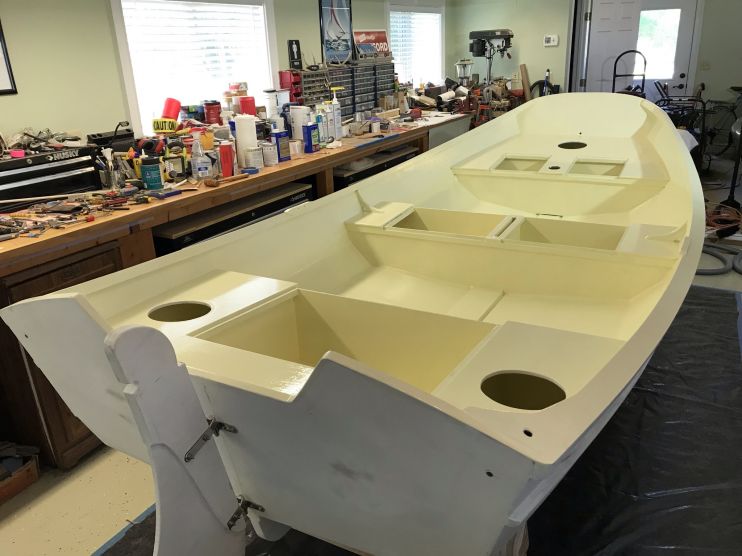
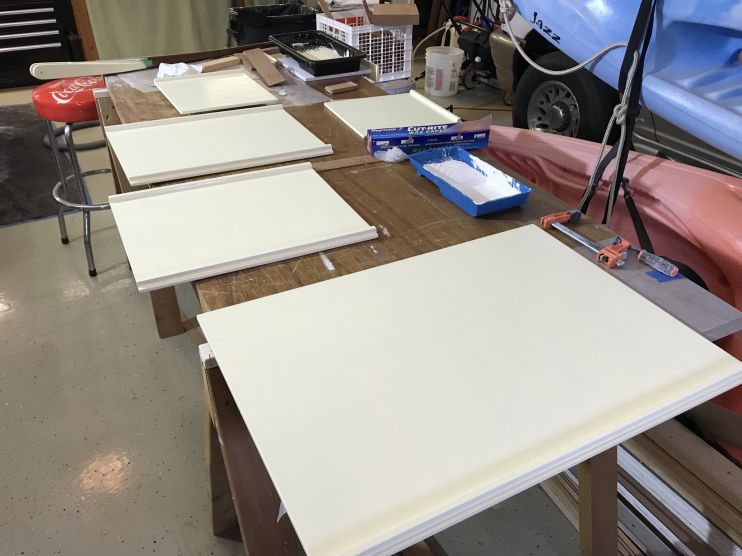
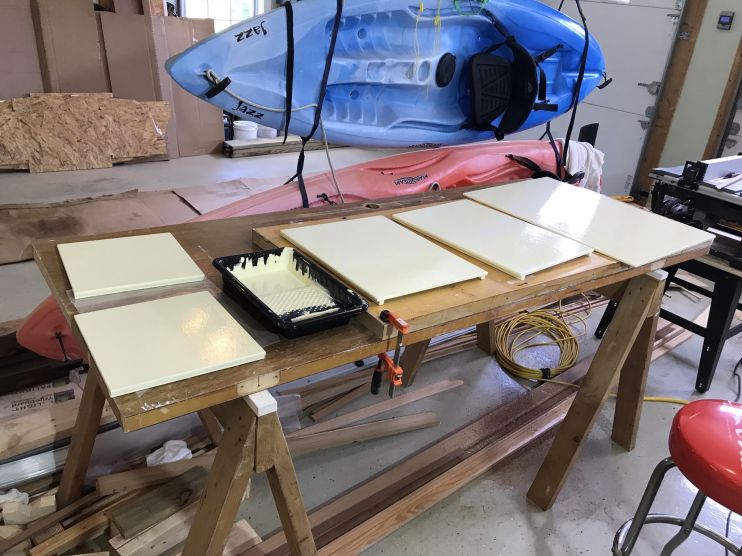
6/17/21 – I put on a first coat of Epithanes monourethane Cream.

6/17/21 – I put on the first coat of Epithanes monourethane Cream.
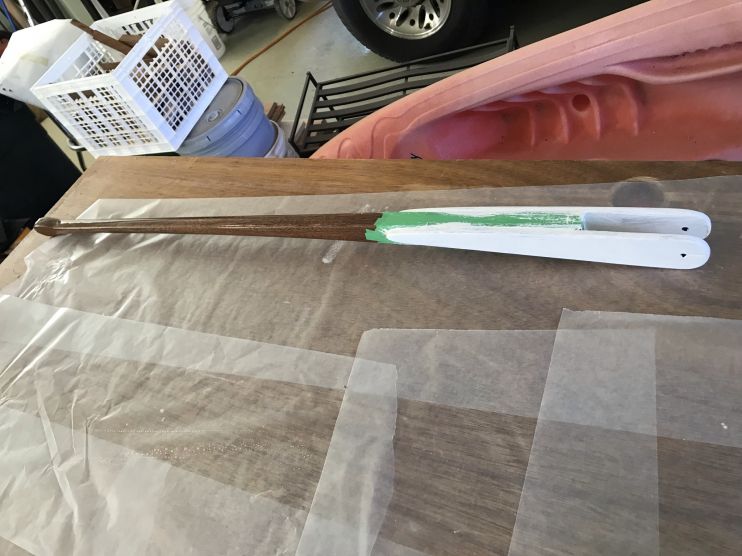
I put a coat of satin on the tiller cheeks, the daggerboard parts, and the hatch covers. I also finished up one of the shears that I couldn’t do yesterday when I ran out of paint.

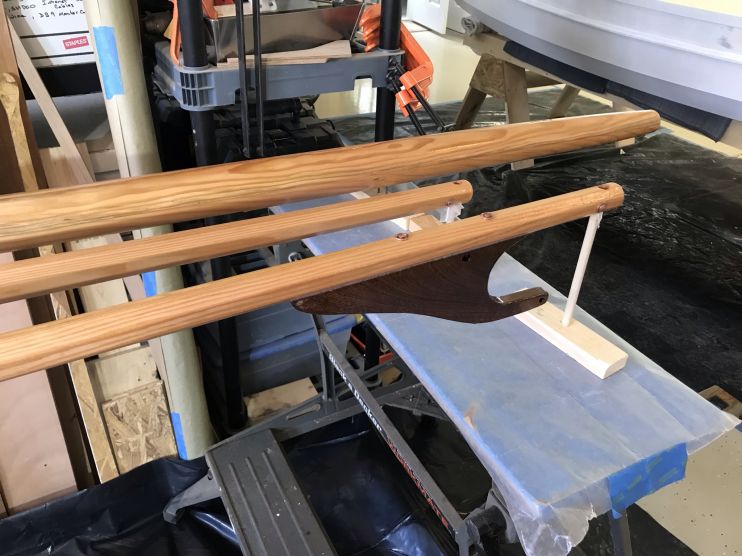
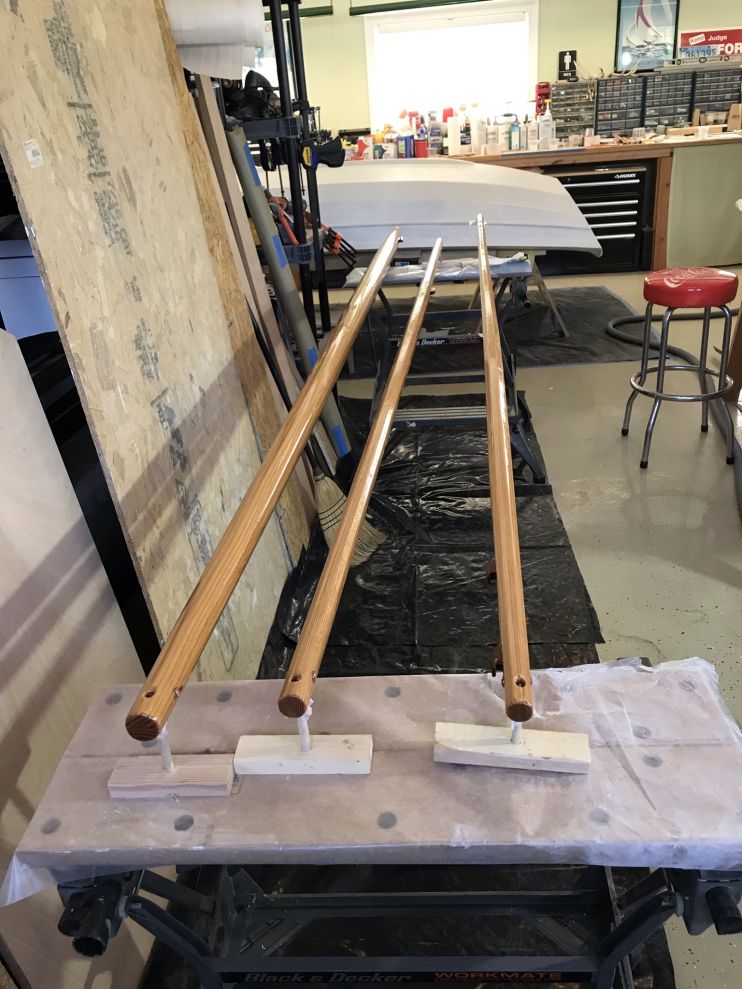
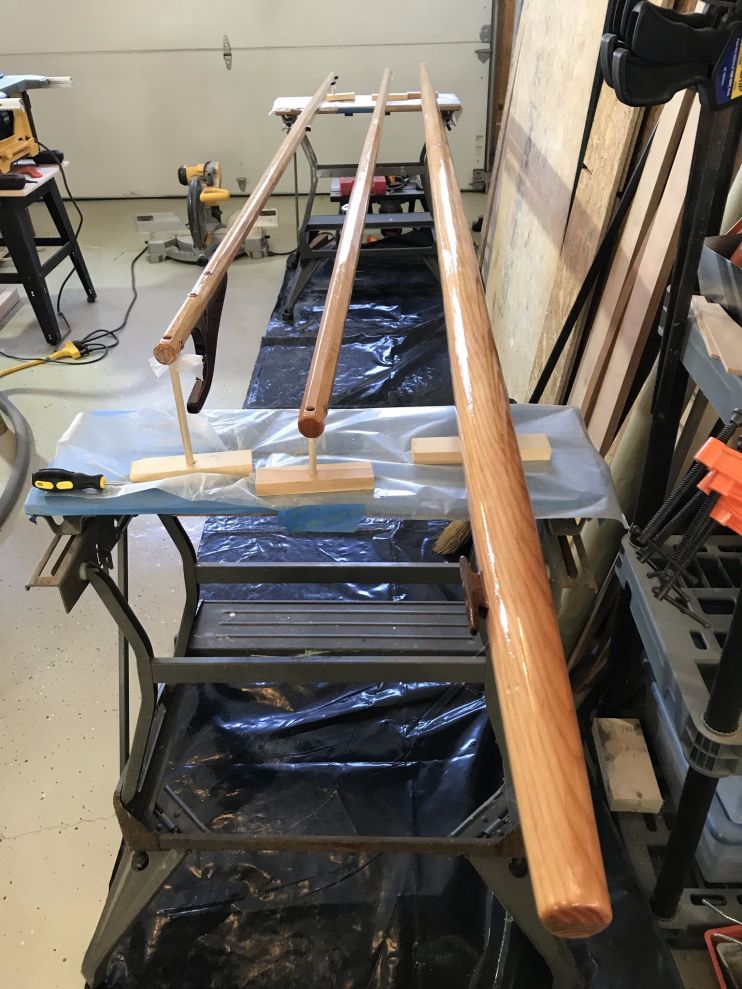
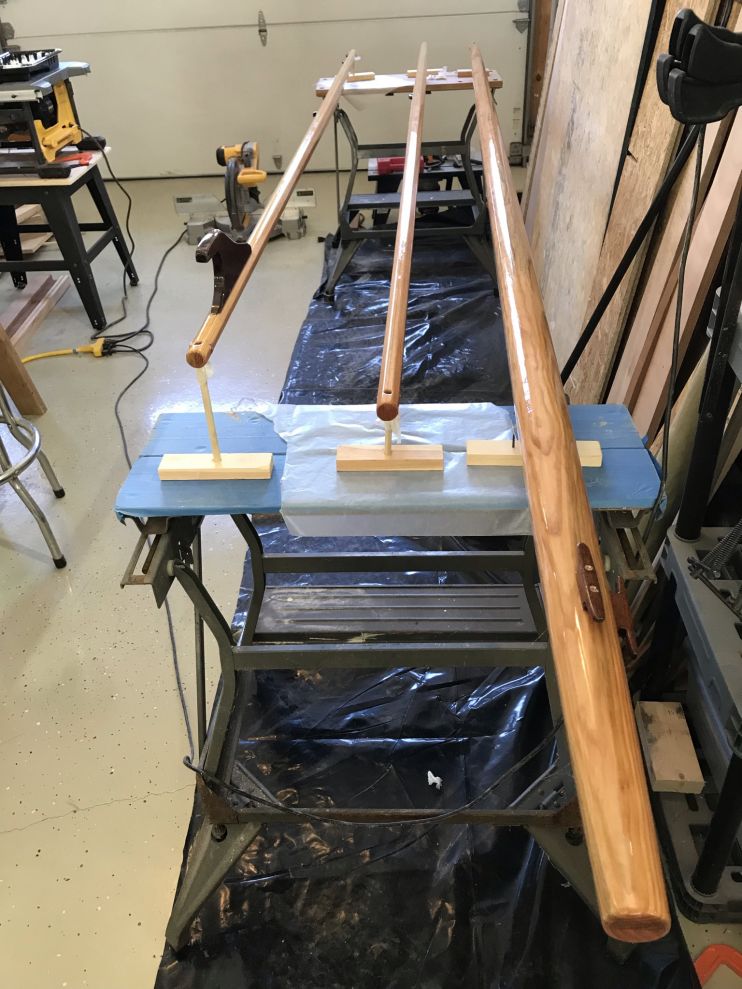
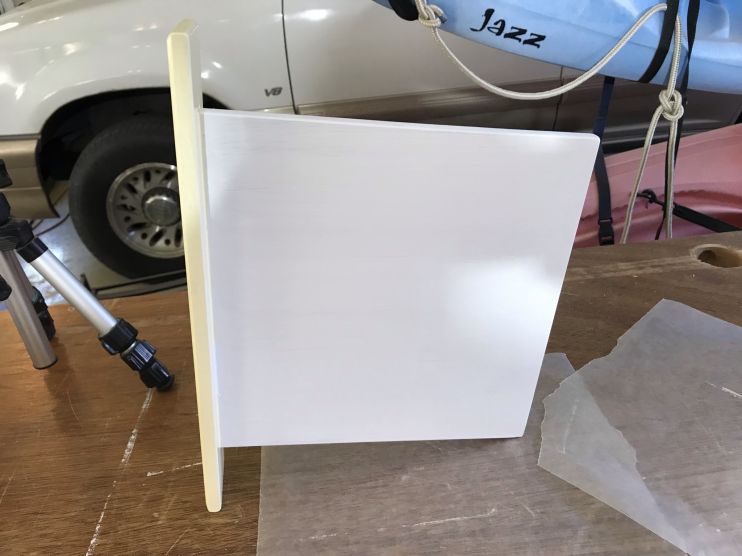
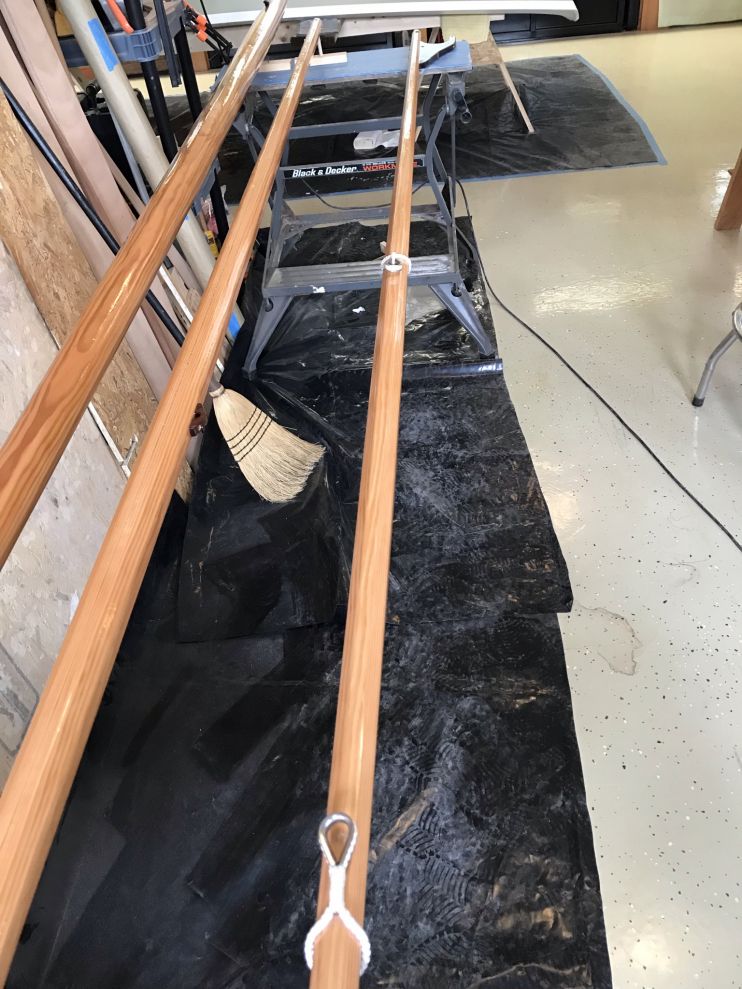
6/19/21 – Today I started on finishing the spars. My first problem was how to suspend them so the epoxy could be applied all the way around and not stick to something. I couldn’t hang them from the ceiling because it is finished. I finally thought of using a 3/8″ dowel on a pedestal that would fit into the holes in the ends of the spars. Covering the dowel with wax paper will keep it from sticking.
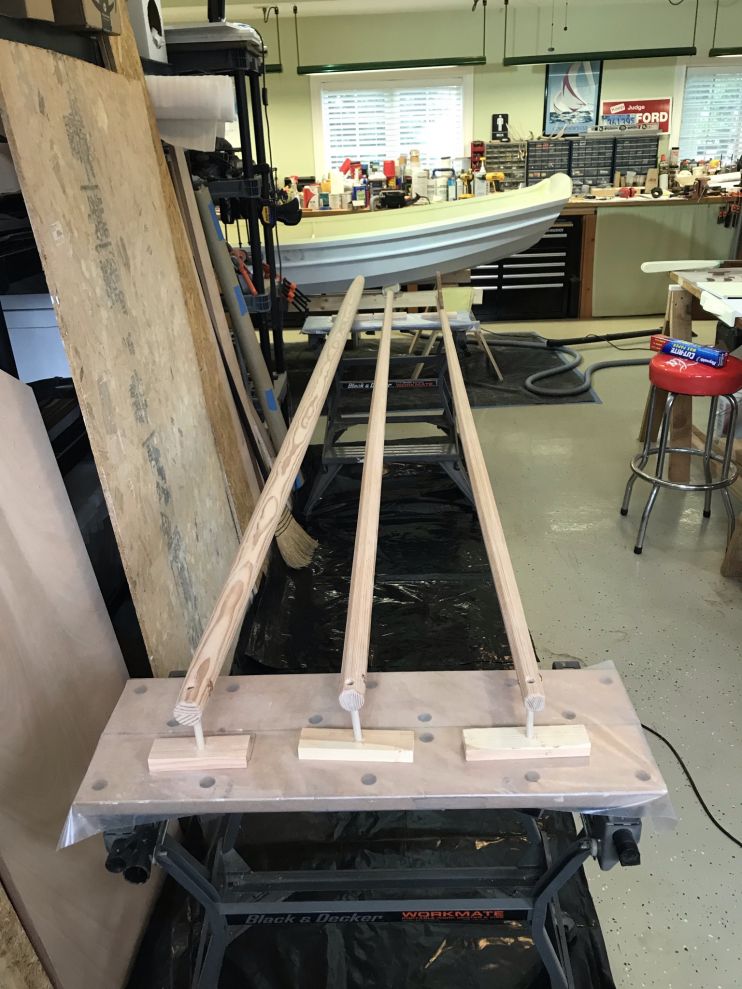

The base of the mast doesn’t have a hole in it. It is resting on some screw points.

Another coat of clear epoxy and then multiple coats of varnish.
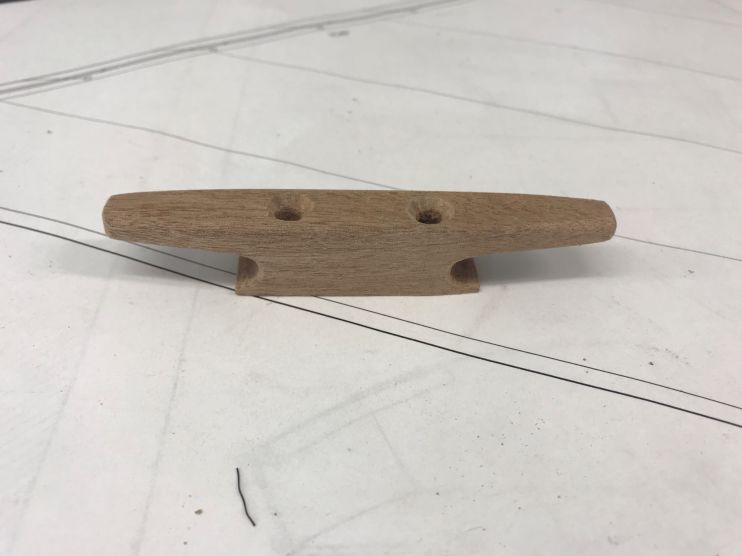
6/21/21 – I sanded the spars, installed the cleats, and added a second coat of epoxy.
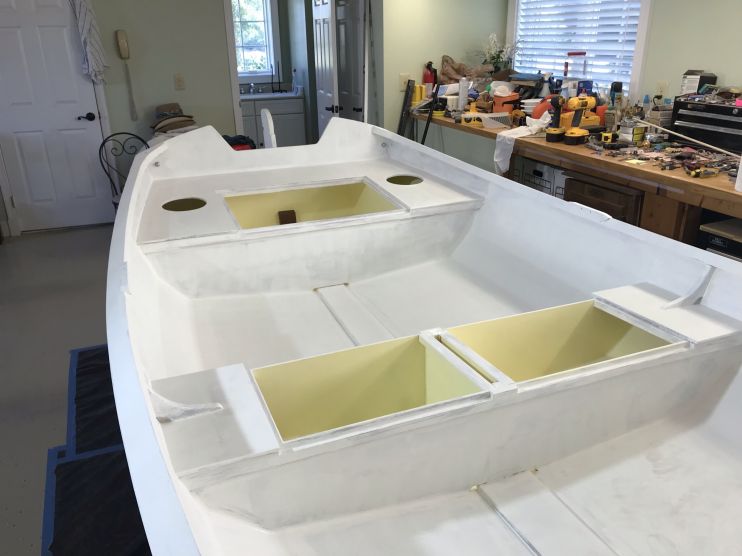
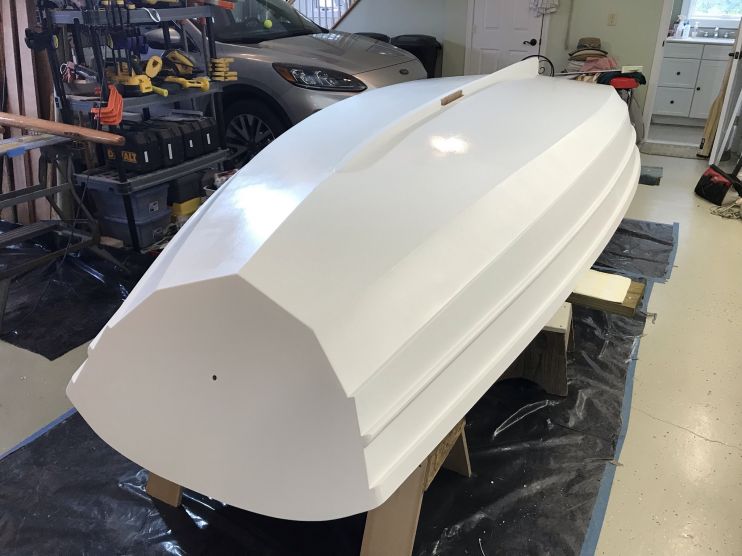
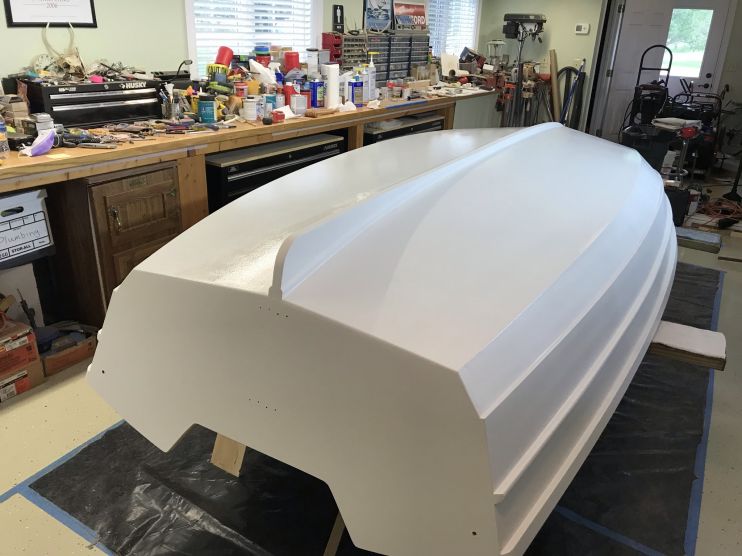
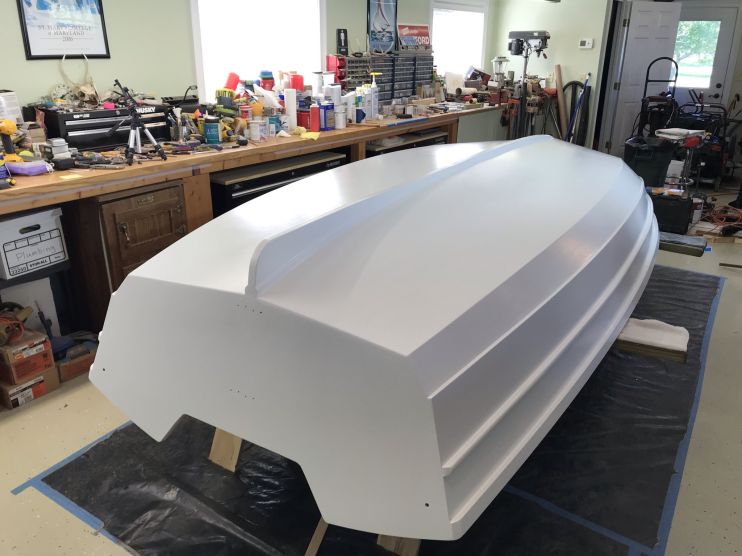
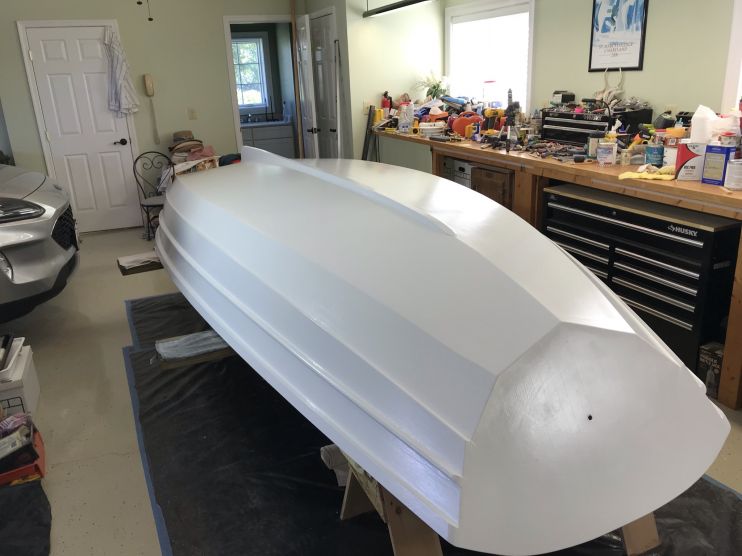
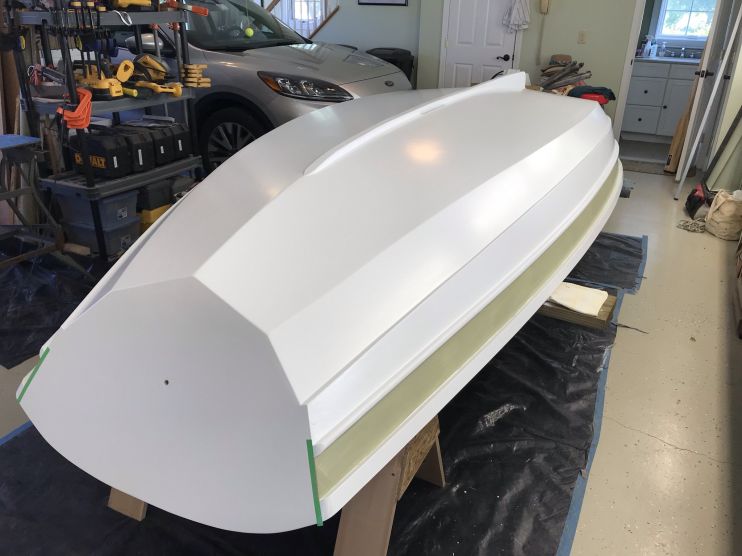
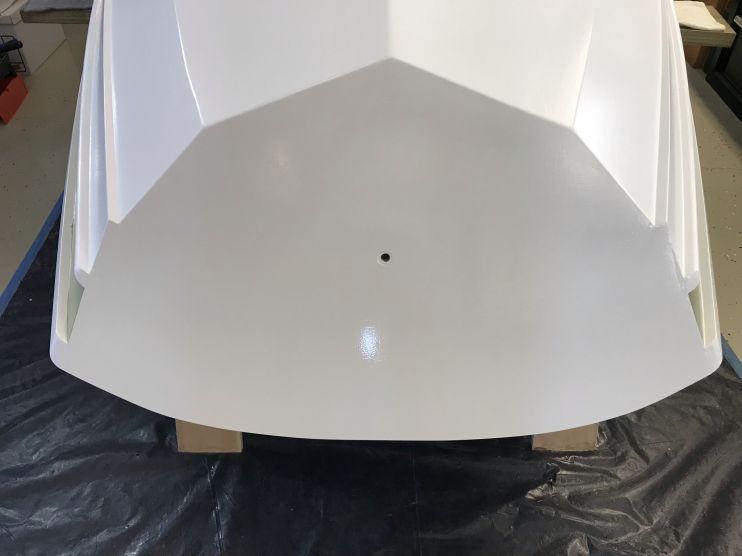
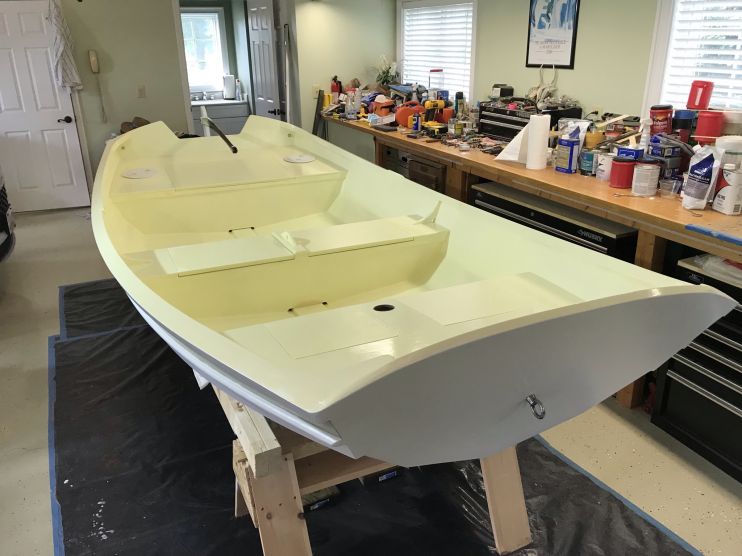
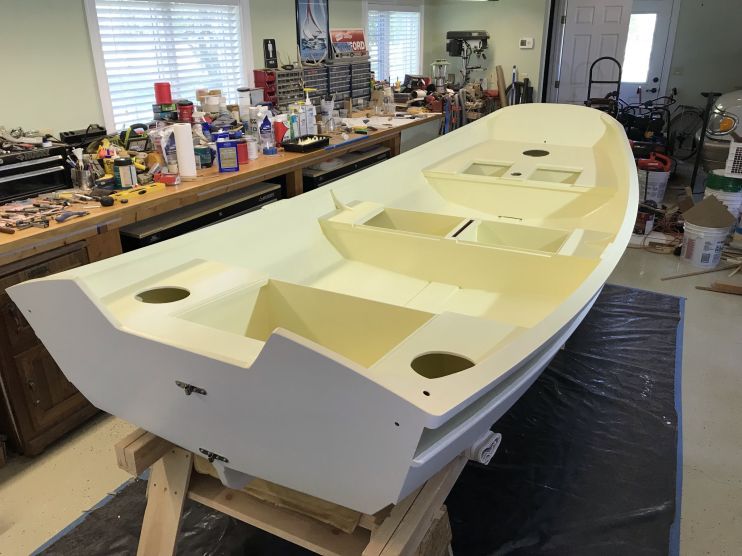
Then I turned the boat over to begin work on the bottom. Another coat of primer, sanding, and then a couple of coats of Pettit EasyPoxy in white.


6/22/21 – Today I put a second coat of primer on the bottom in order to fill the weave of the Dynel.
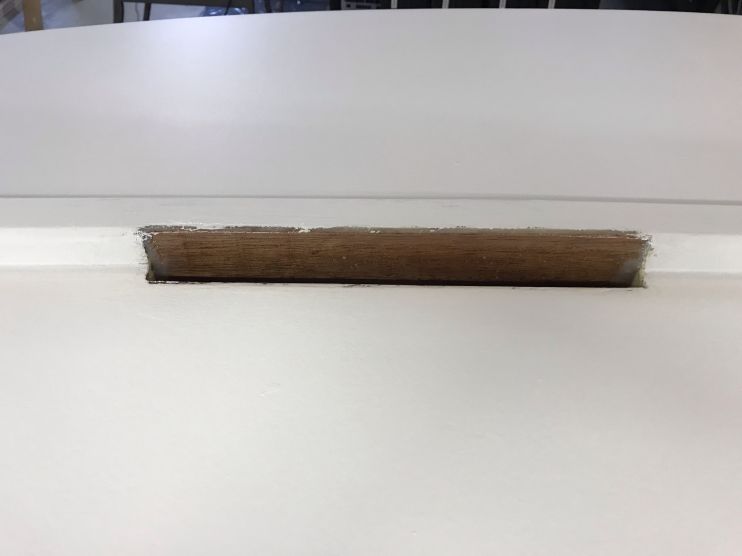
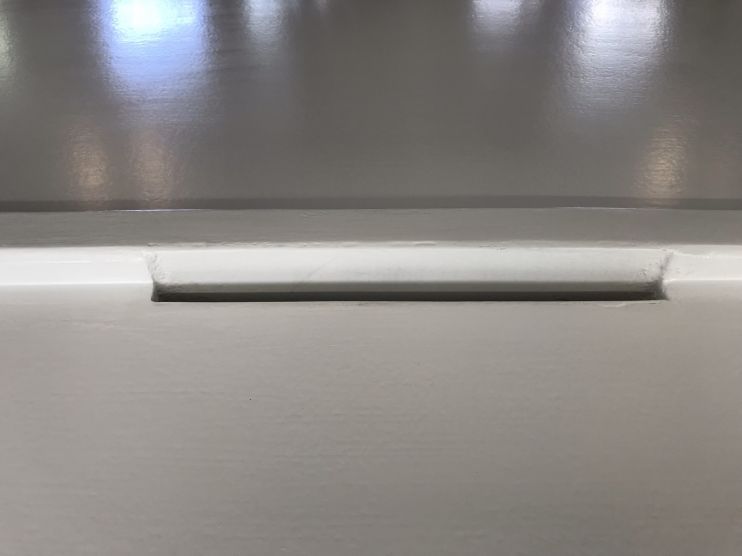
I also put another coat of epoxy on the inside of the daggerboard slot.
I put a second coat of Epiphanes Satin Cream on the tiller cheeks.

And a first coat on the undersides of the hatch covers.
6/23/21 – I spent the morning sanding the primer.
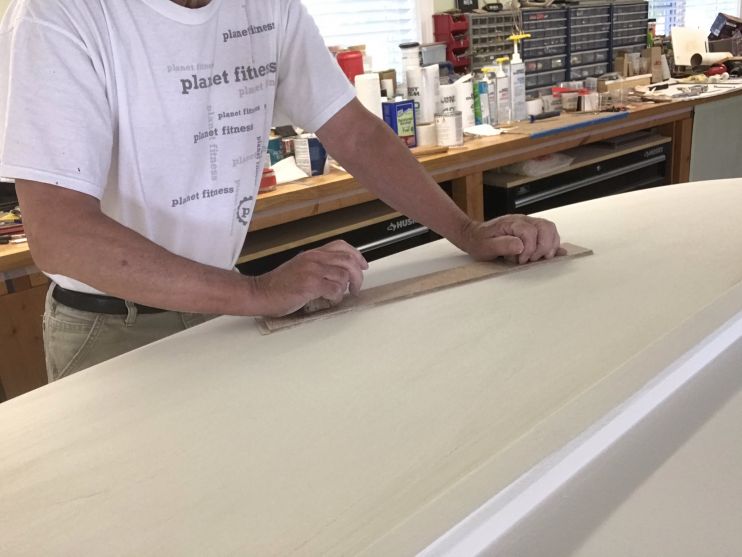
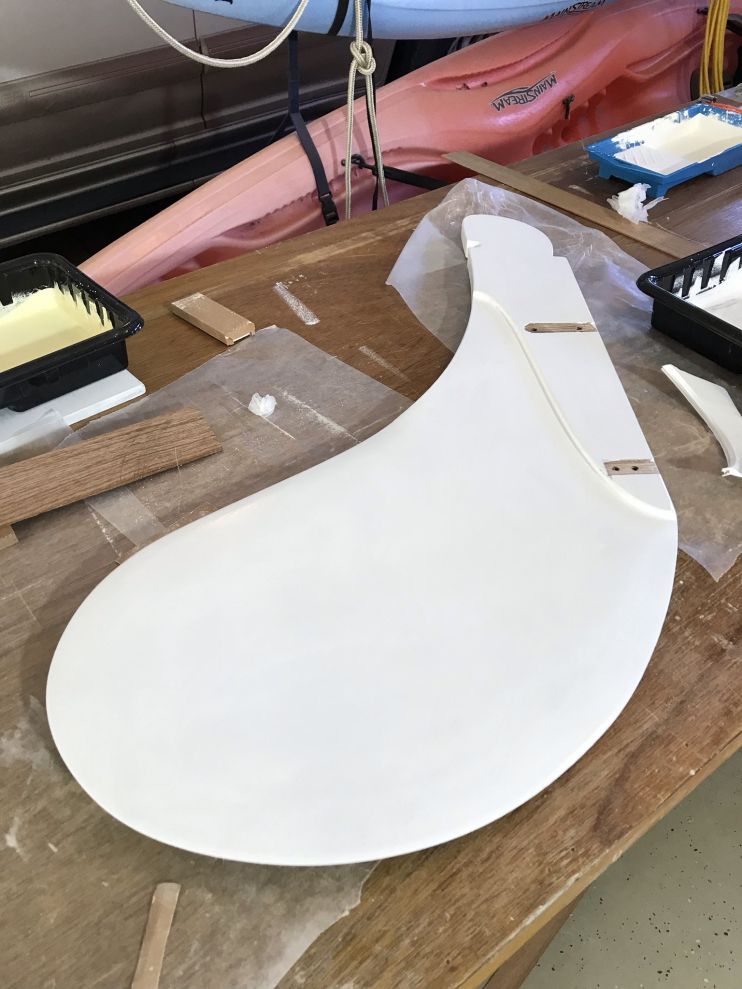
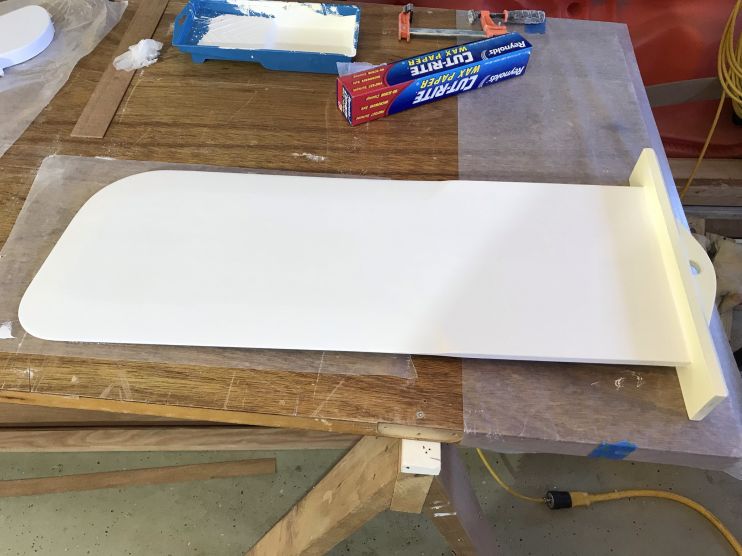
Then I rolled and tipped the first coat of Pettit EasyPoxy on the bottom, the rudder, and the daggerboard.
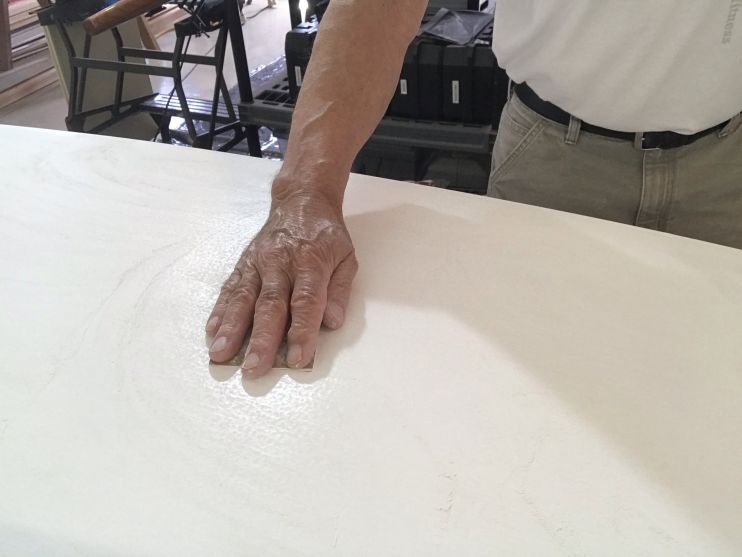
6/25/21 – This morning I lightly sanded the boat with 220 grit sandpaper, then vacuumed up and wiped down the boat with a tack cloth.

Then I painted the 2nd side of both the rudder and daggerboard.

Then I rolled and tipped the 2nd coat on the boat.


6/28/21- I spent most of this morning sanding the 2nd coat of epoxy on the spars. I purchased a quart of Total Boat Halcyon Clear Gloss Varnish that will allow re-coating without sanding after 1 hour for up to 5 coats per day and it cleans up with water. This should speed things up considerably.

Next, I put a second coat of EZpoxy on the daggerboard slot.
And then added some thickened epoxy to the exposed grain of the rudder where I had to chisel out for the pintels.
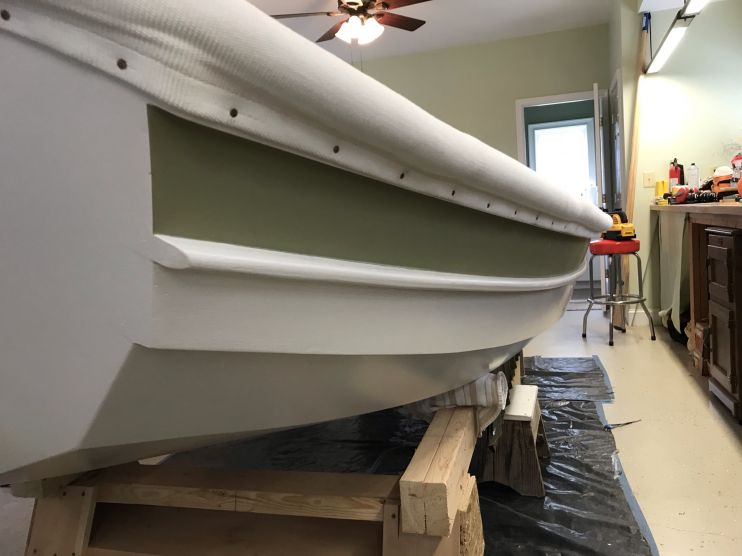
Finally, I put on the first coat of Heathered Moss as an accent stripe.


A second coat tomorrow. The Heathered Moss is the same color I used on my garage doors painted over 10 years ago and still looks good.
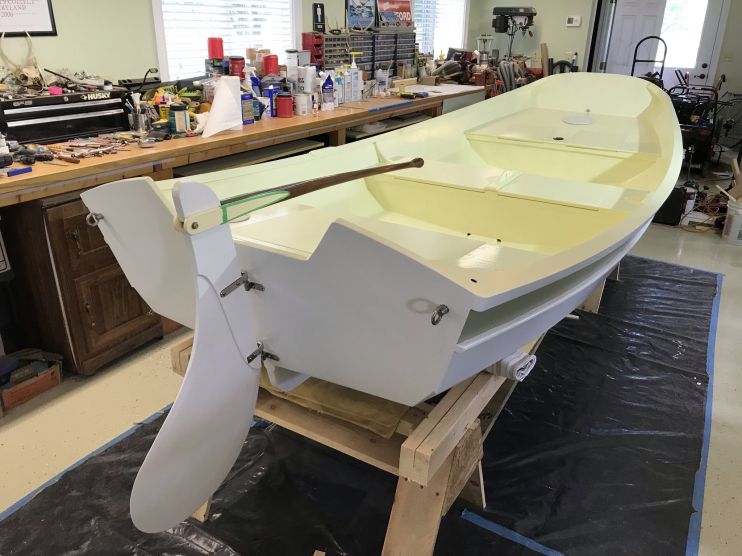
6/29/21 – Today I applied the second coat of Heathered Moss on the accent stripe. With that done, the bottom is finished. I just have to find some help to turn the boat back right-side-up so I can complete the final coat on the inside.


Tomorrow I will start varnishing the spars.
6/30/21 – Today I applied 4 coats of Total Boat Halcyon Clear Gloss Varnish to the spars.
I also applied 4 coats to the tiller.

I applied another coat of white Pettit EZPoxy to the bow, daggerboard, and slot filler in between coats of varnish.

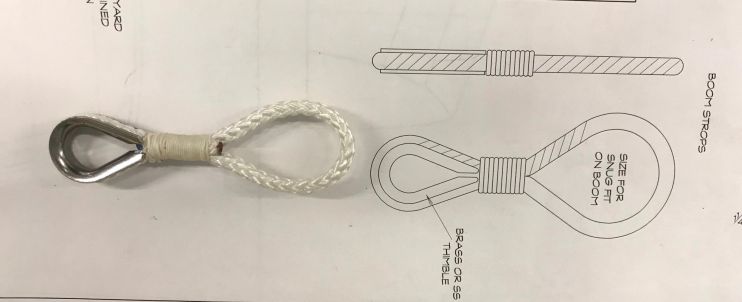
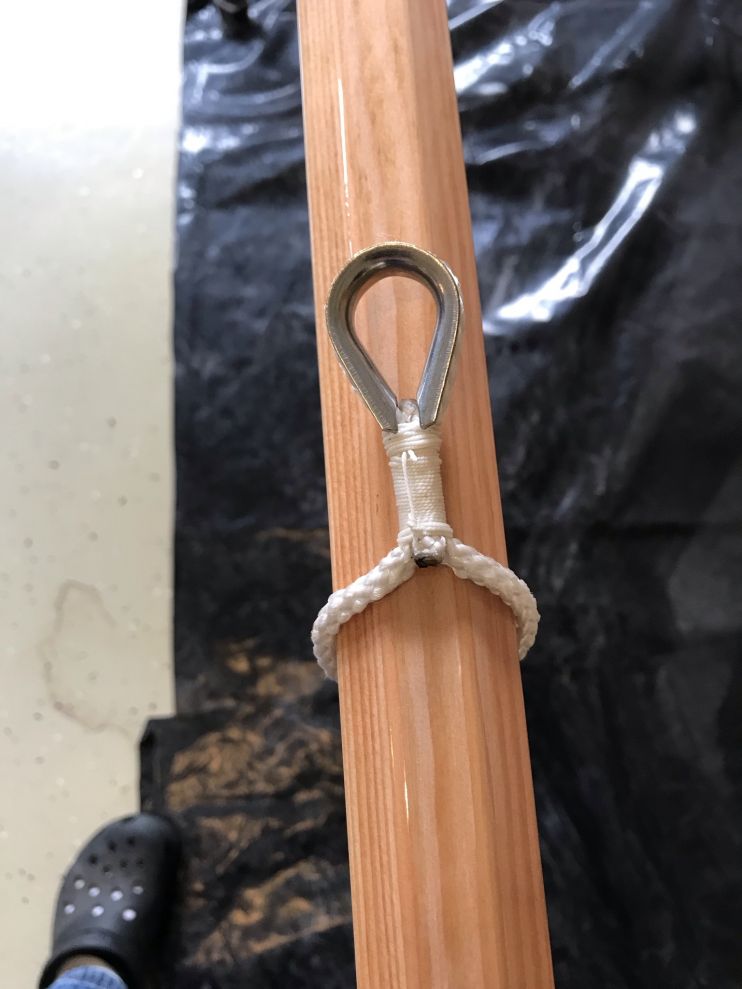
7/2/21 – Today I made up the thimbles for the mainsheet connection to the boom.
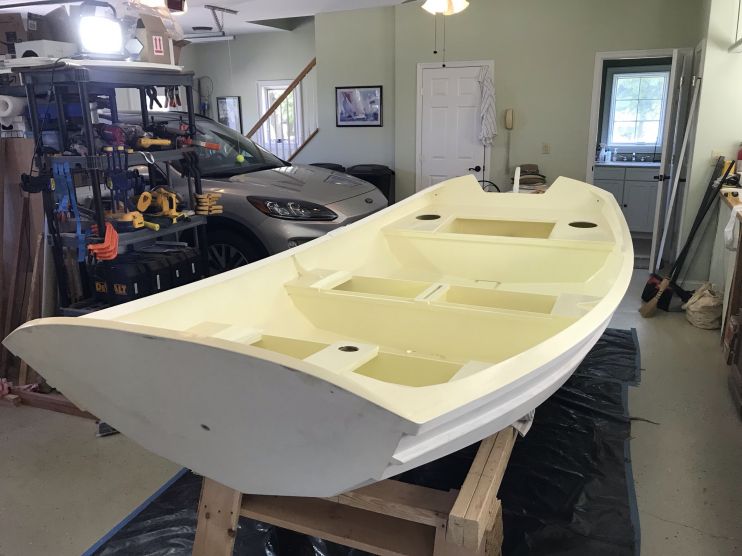
7/5/21 – Took a couple of days off with the kids and grandkids visiting for the holiday. I had hoped to have the boat ready for them, but it looks like I still have a couple of weeks of work left to do. They did help me turn the boat back upright so I can put the final coat of finish on the interior.
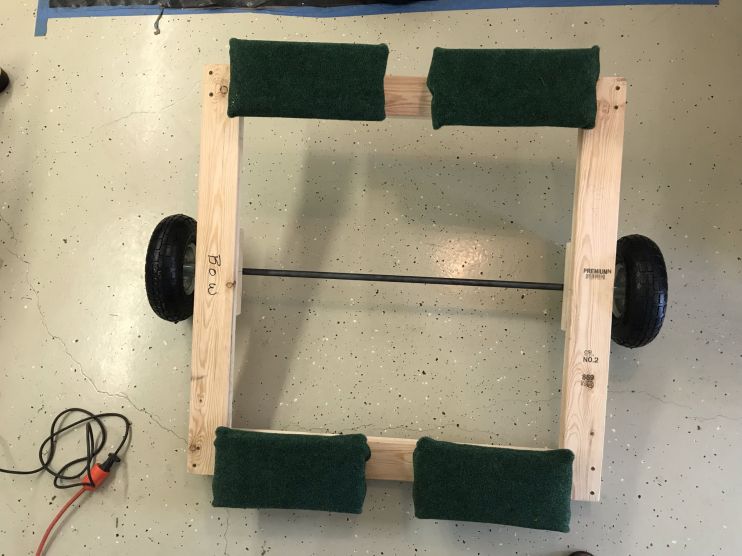
Today, I spent the afternoon measuring the angle of the hull and adapting my dollys to fit the boat bottom.
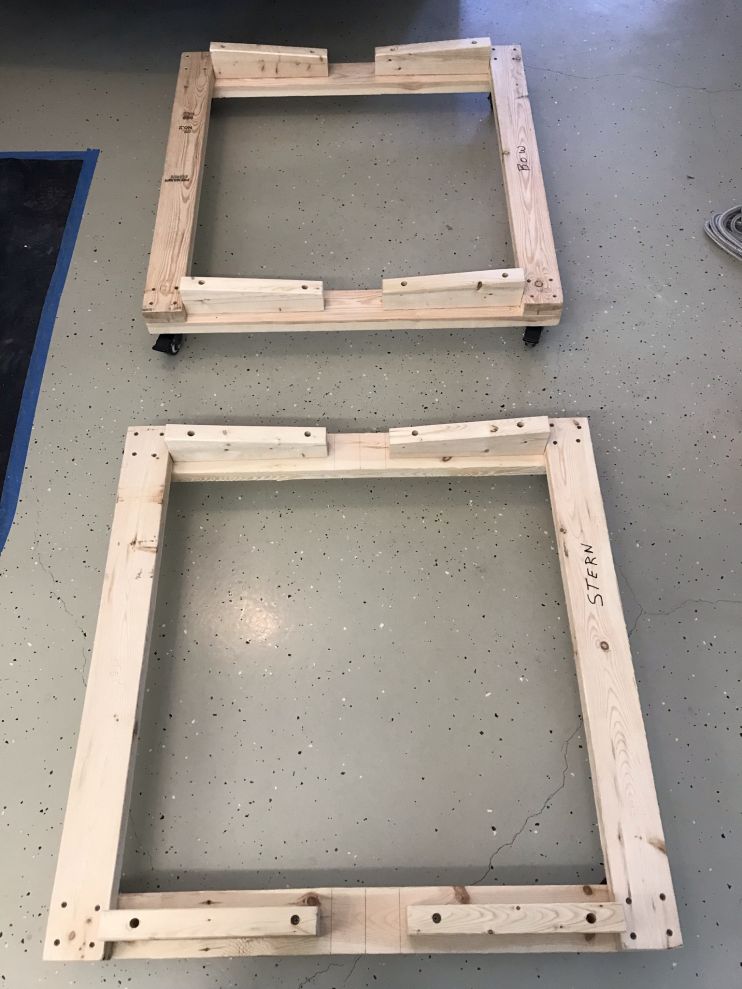
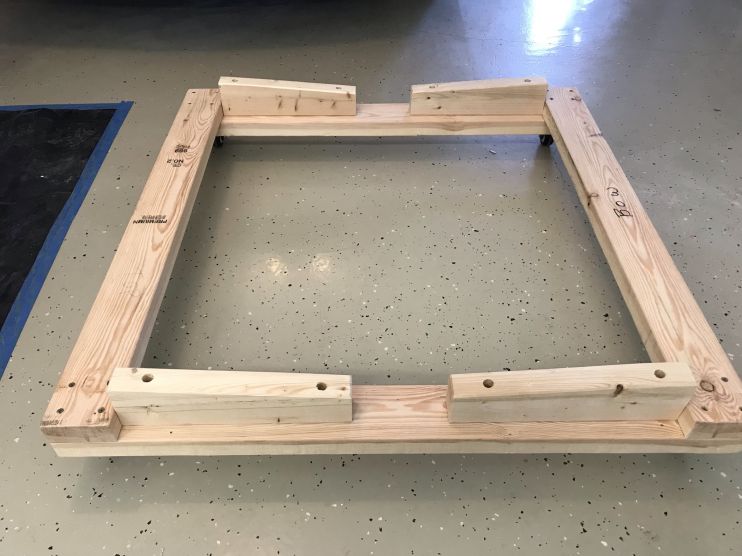
I have ordered some wheels so that I can easily transport the boat down to the water and have something to store it on in the winter.
7/10/21 – Leonardtown Wharf Regatta, 2nd Place.
7/12/21 – Sanded and prepared the interior for a final coat of paint.
Also, made an additional cleat for the mainsheet.
7/13/21 – This morning I applied the 2nd coat of paint to the interior.

I spent the afternoon modifying my dollies with larger pads and then added indoor/outdoor carpet to protect the bottom.


7/14/21 – Today I was busy with other stuff, but I sanded the spars with 320 grit 3M pads to prepare for additional coats of varnish tomorrow.
7/15/21 – Today I applied 3 more coats of varnish to the spars.
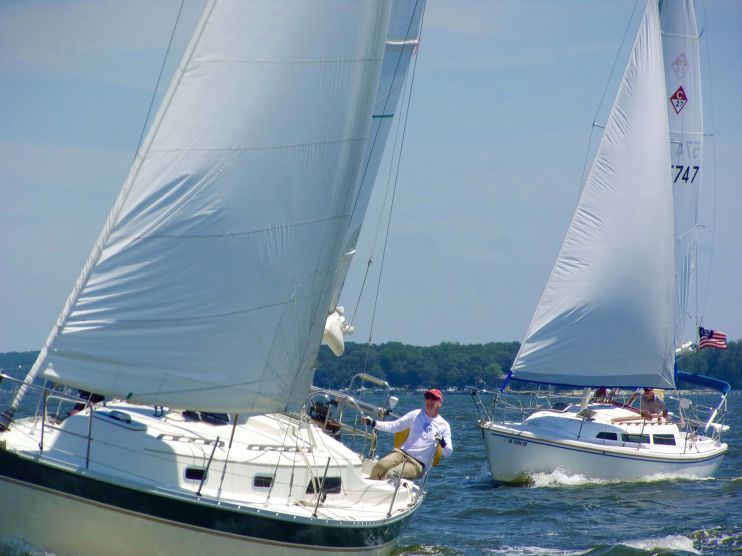
7/17/21- This morning I had my large sailboat hauled so the bottom can be cleaned and painted in preparation for the Governor’s Cup Regatta at the end of the month. It is an overnight race that ends in St. Mary’s City. This will be my 12th Governor’s Cup race.

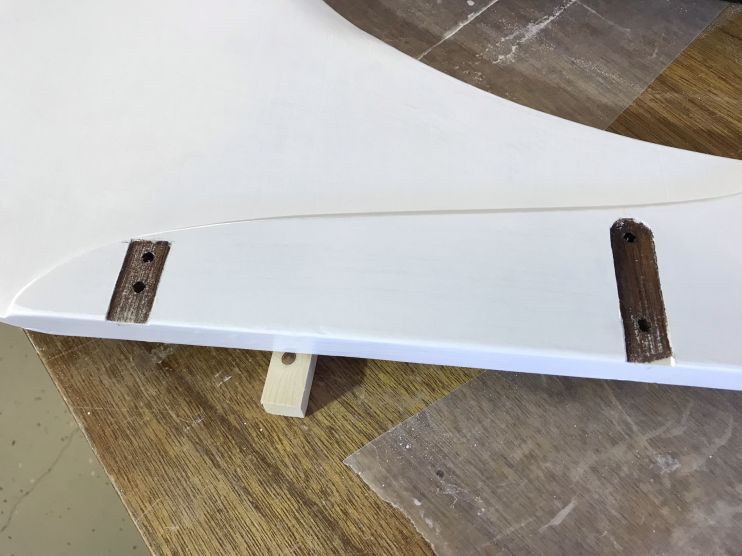
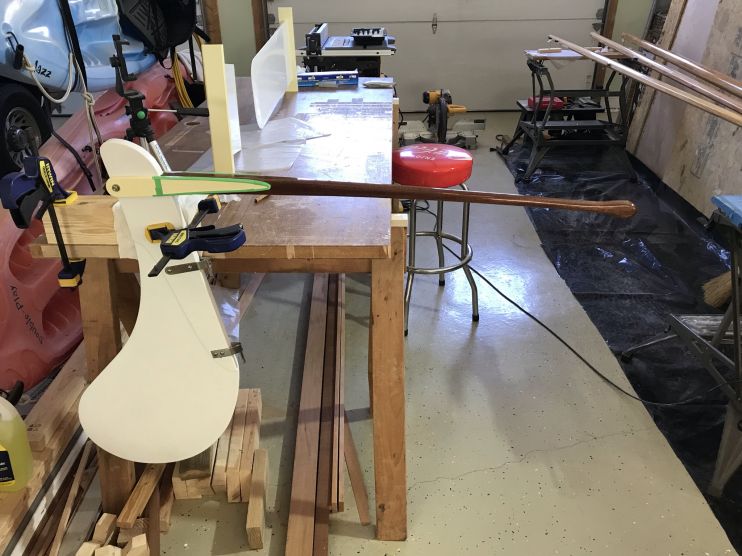
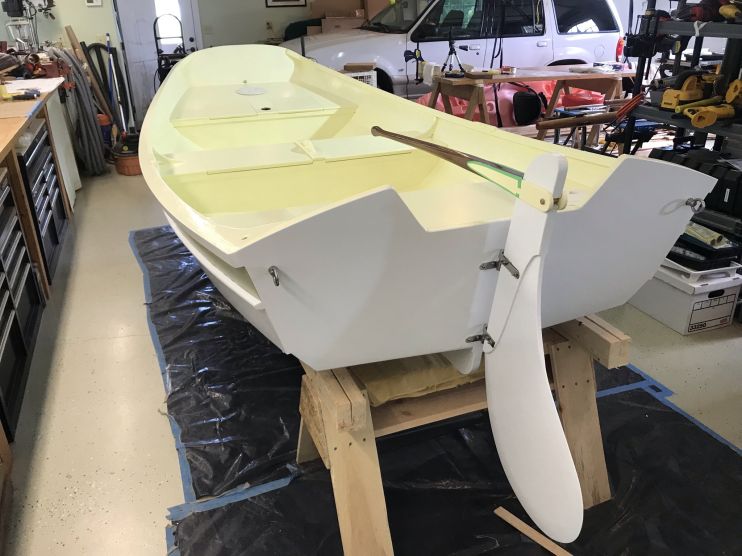
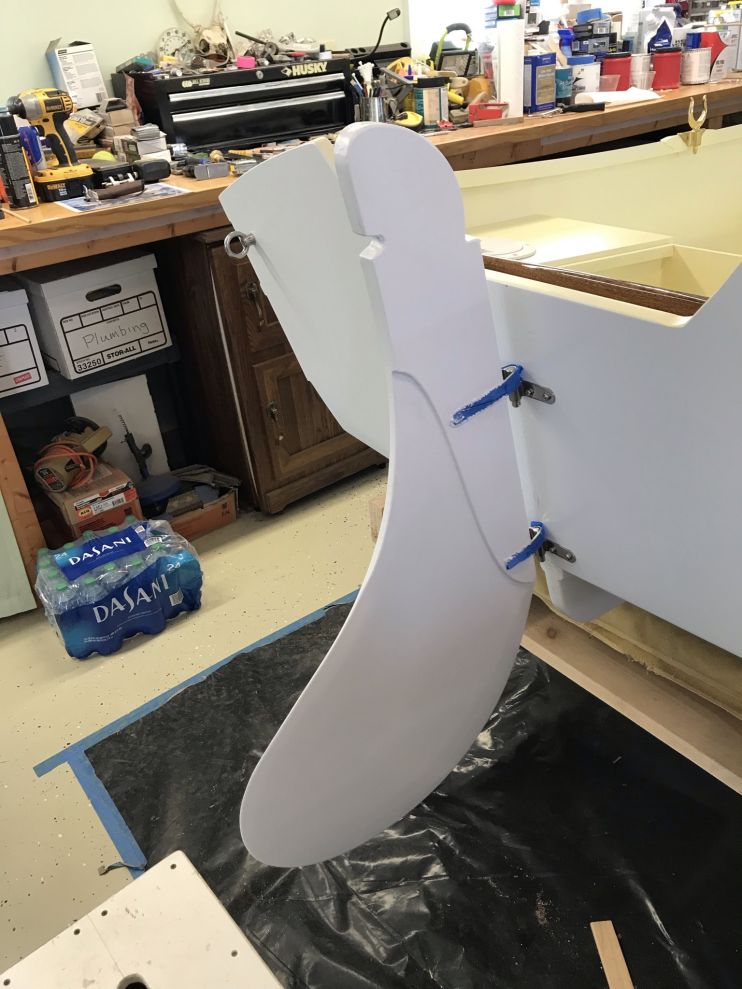
This afternoon I tackled the alignment of the pintles and gudgeons. I have had problems with the rudder binding and I couldn’t figure out what the problem was, so I kept putting it off. The first thing I did was to purchase a 3/8″ steel rod to check the alignment of the gudgeons and sure enough, that was the problem. The bottom gudgeon was off level just slightly. Using the rod, I was able to align them perfectly.
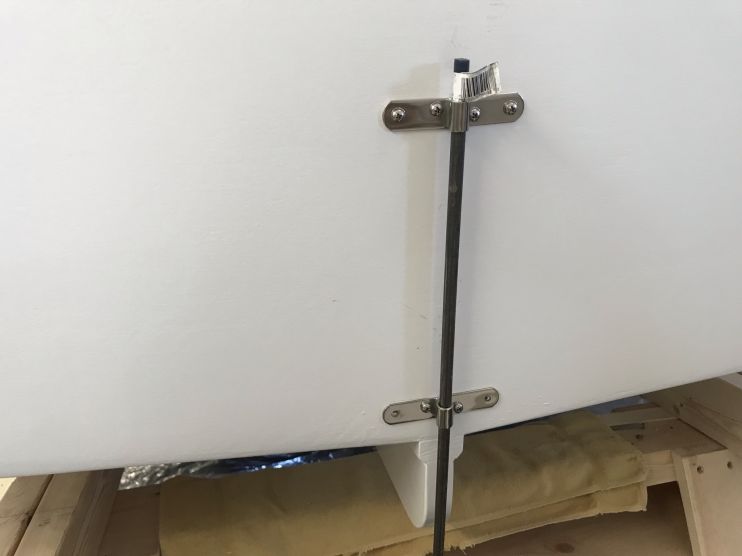
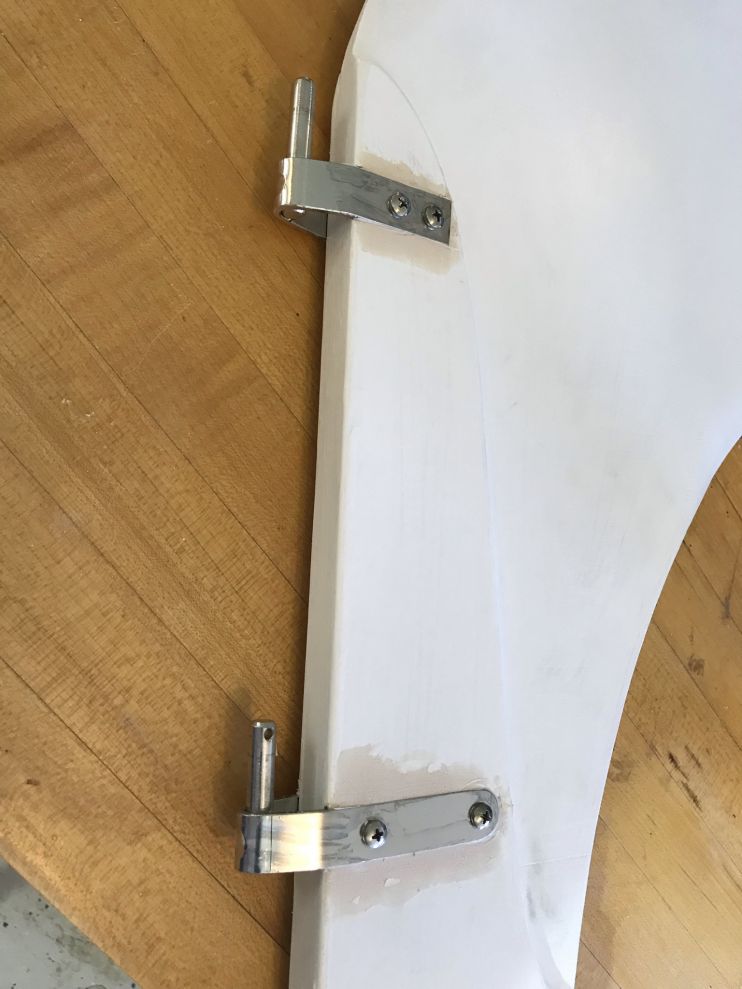
Next, I had to align the pintles on the rudder to swing freely and be installed and removed without binding. Once that was done, I tightened the bolts and then had to cut off the excess.
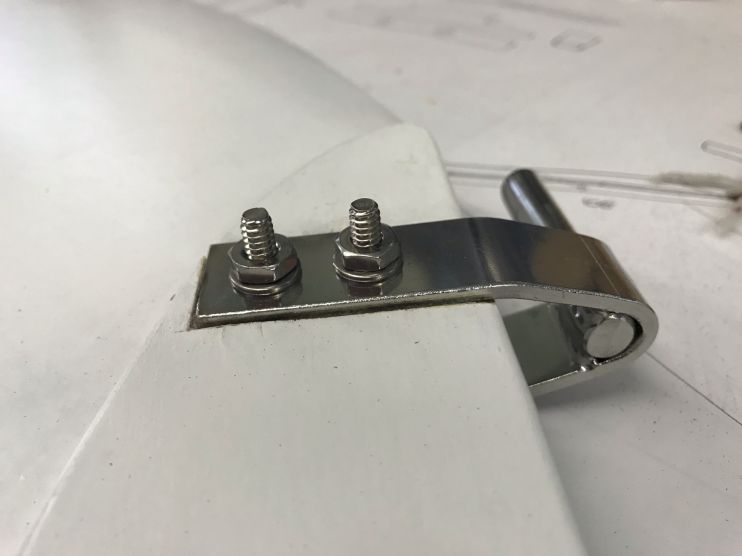

Finally, I mixed up some epoxy filler and filled in around the pintles.
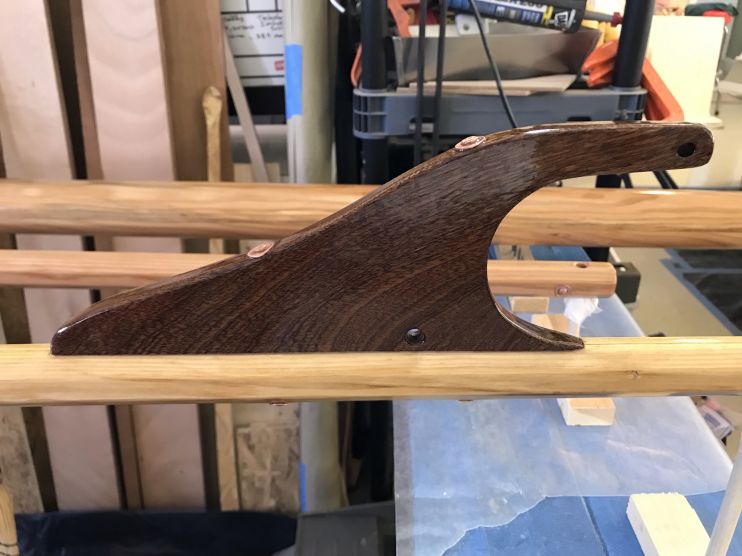
I also made some final adjustments to the width of the cheeks on the tiller. I initially left the spacer a little long until I finished painting and varnishing. I ground about 1/16″ off the spacer so the tiller cheeks now fit more snugly around the top of the rudder.
Tomorrow I will sand the filler and apply a final coat of white to the rudder. I will also add a final coat of Satin Cream to the hatch covers and do some other touch-up painting.
Remaining work to do before the boat can go in the water:
1. Install the hinges on all the seats.
2. Install the mainsheet cleat.
3. Install the 3 bow and stern eyes for the davits.
4. Install the gunwale guard bumpers.
5. Rig the sail to the spars.
6. Put the wheels on the dollies.
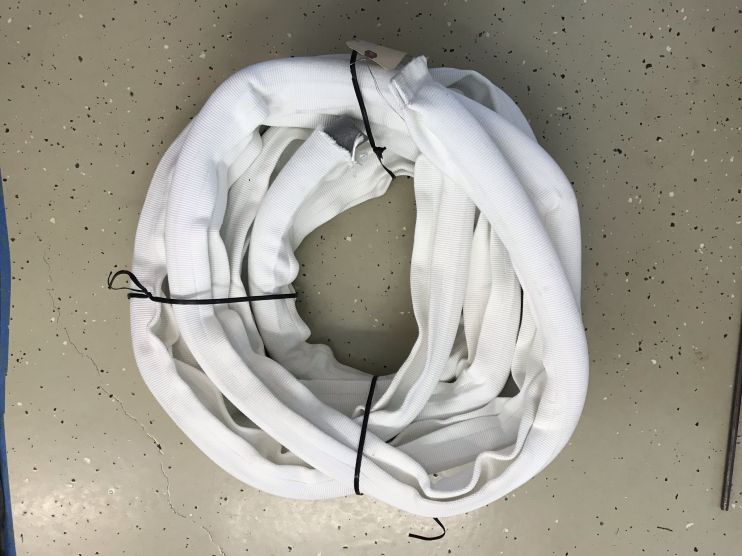
7. Get the boat measured for a cover.
8. Get help to put it in the water.The gunwale guard arrived a couple of days ago but I can’t install it until I get the bronze nails I ordered to tack it on the boat. They should arrive on Tuesday.
I put 2 coats of clear epoxy and 7 coats of gloss varnish on the spars and I decided that would be enough since they will require annual varnishing anyway.

7/18/21 – Today I sanded the area I filled yesterday and gave the rudder another coat of white paint.
I also added another coat of the Satin Cream to the seat tops.
I also installed the bow and stern eyes.
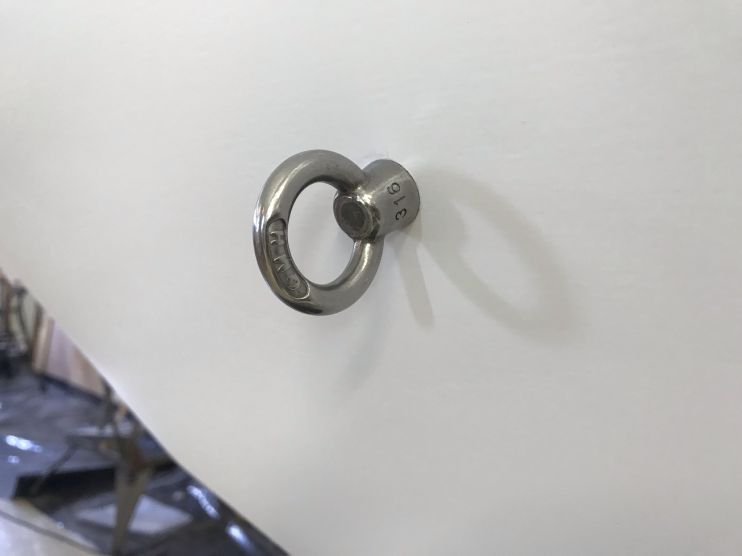

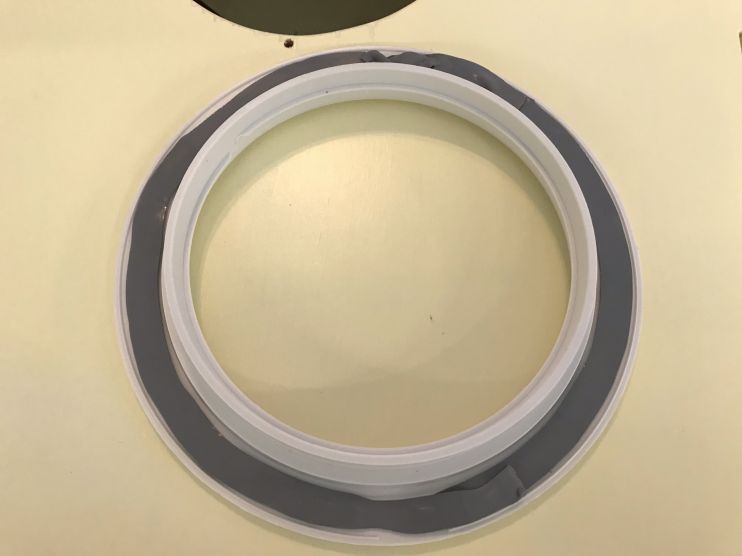
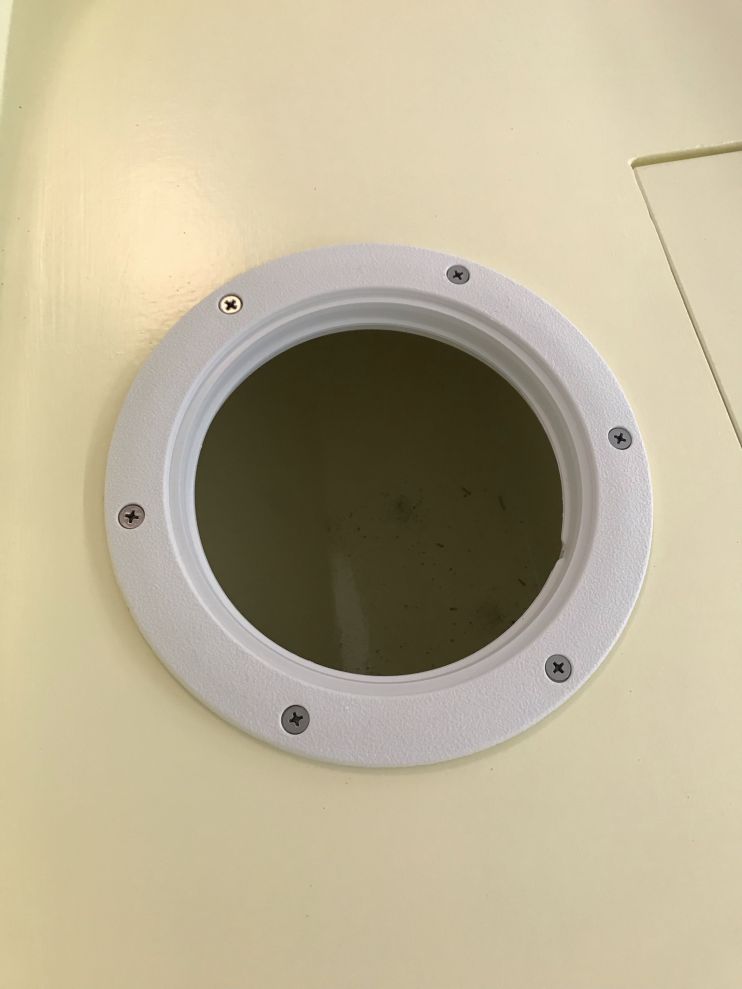
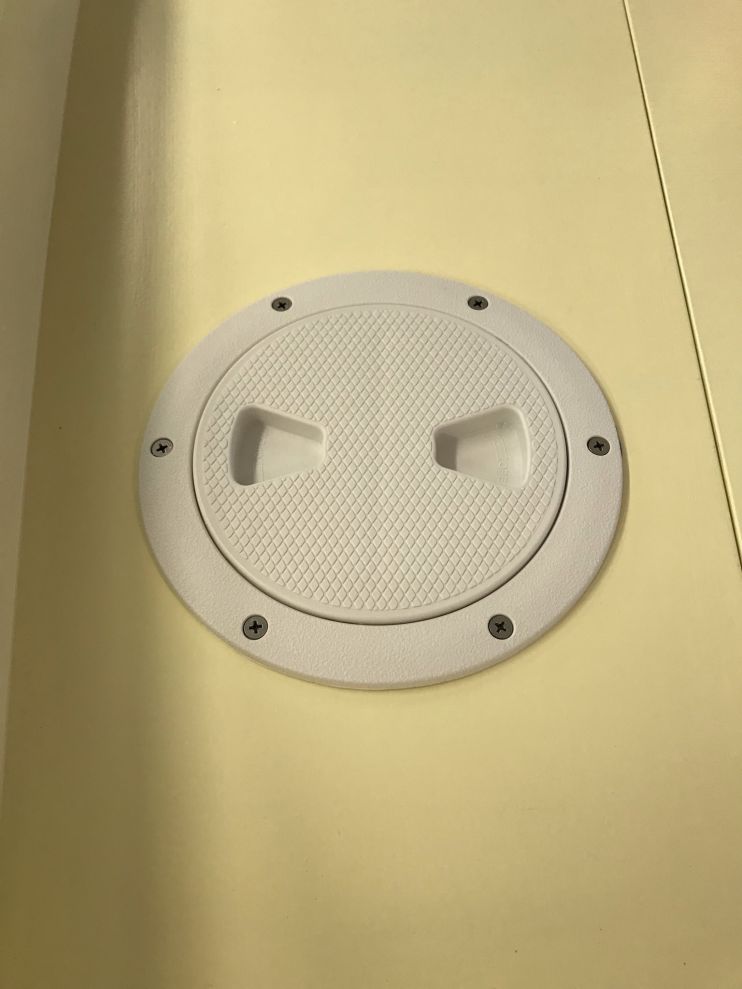
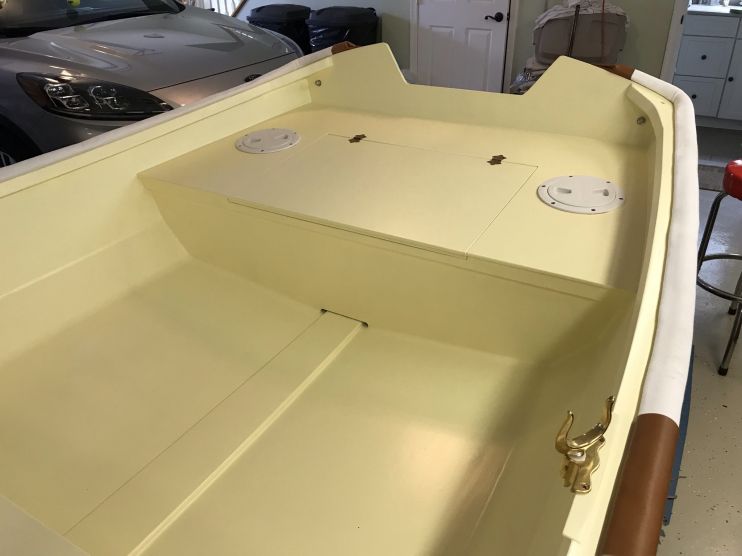
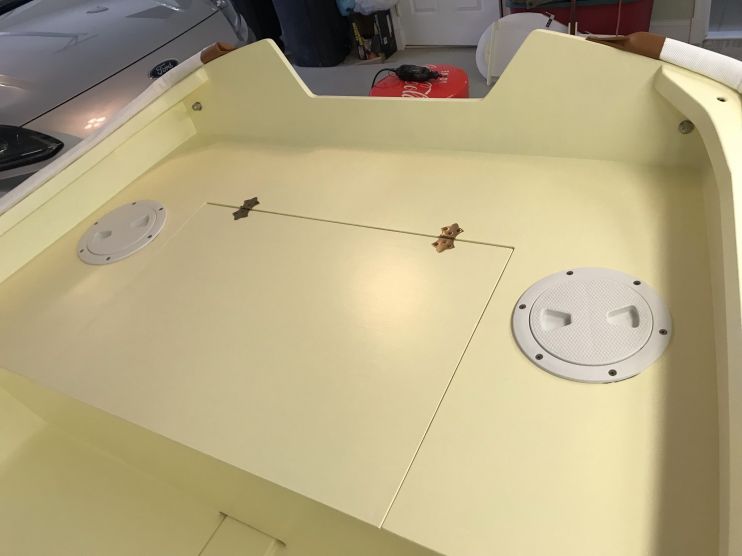
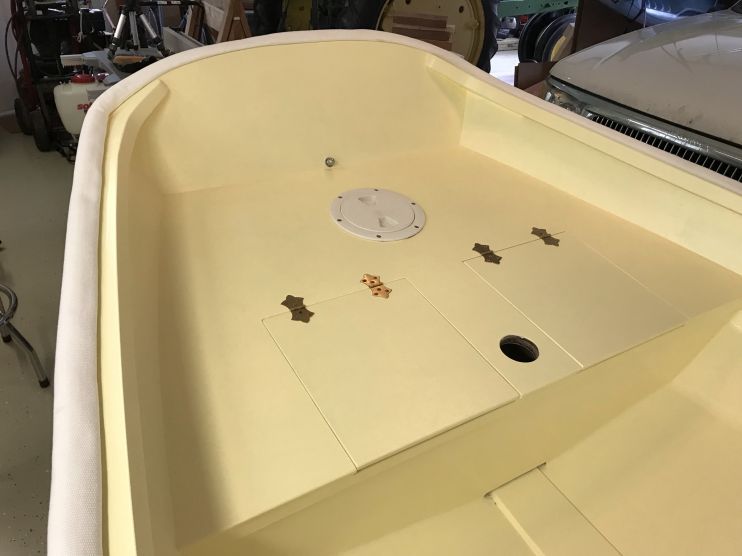
7/20/21 – This afternoon I installed the deck plates that will provide dry storage inside the watertight compartments. I started by lining the underside of the plate with butyl tape, then used 316 stainless steel screws to fasten them to the deck.
I also installed the cleat for the main sheet.
7/24/21 – I got Evergreen back in the water yesterday with a sanded bottom and new bottom paint. A local race today and the Governor’s Cup next Friday night.

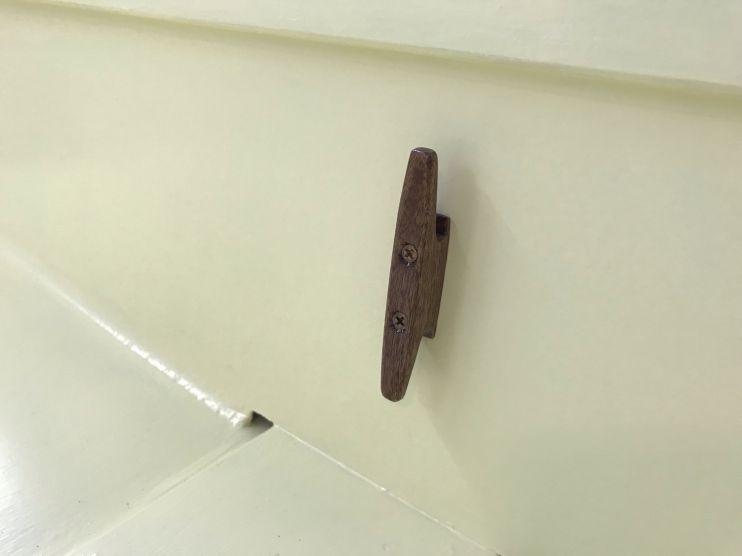
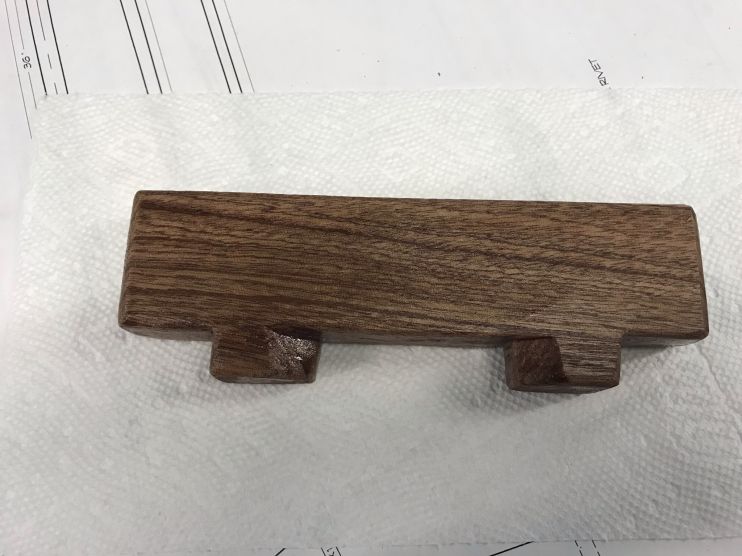
7/25/21 – This afternoon I took a block of mahogany and made a tool for opening the deck plates. The deck plates have a rubber gasket to make it watertight, but that also makes it hard to open without some additional leverage.

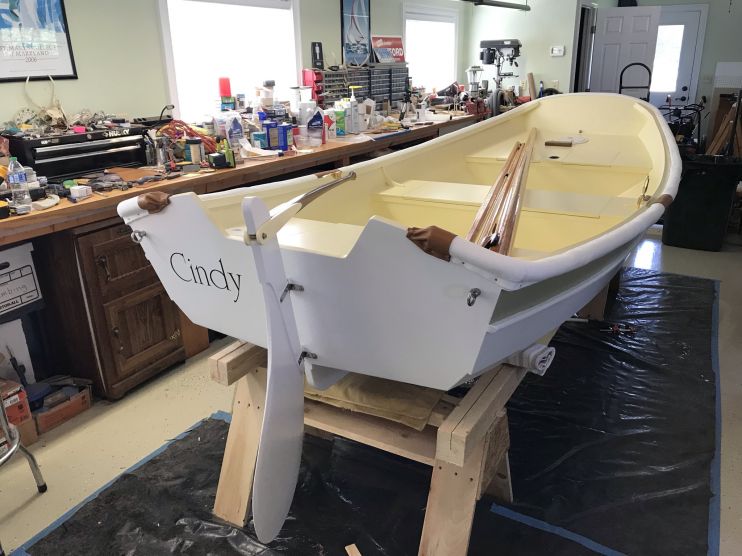
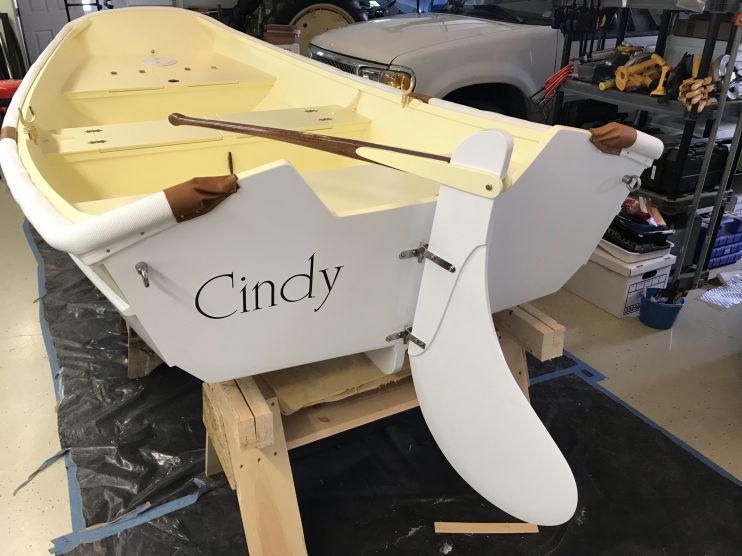
I also applied the boat’s name to the transom.
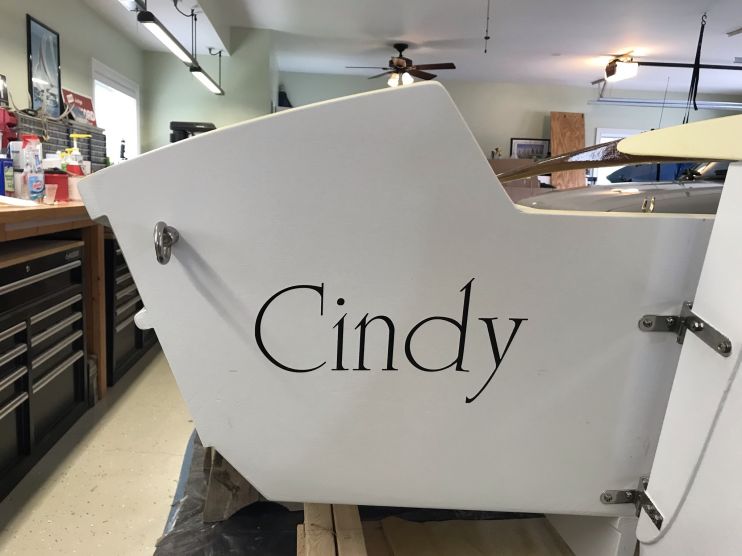
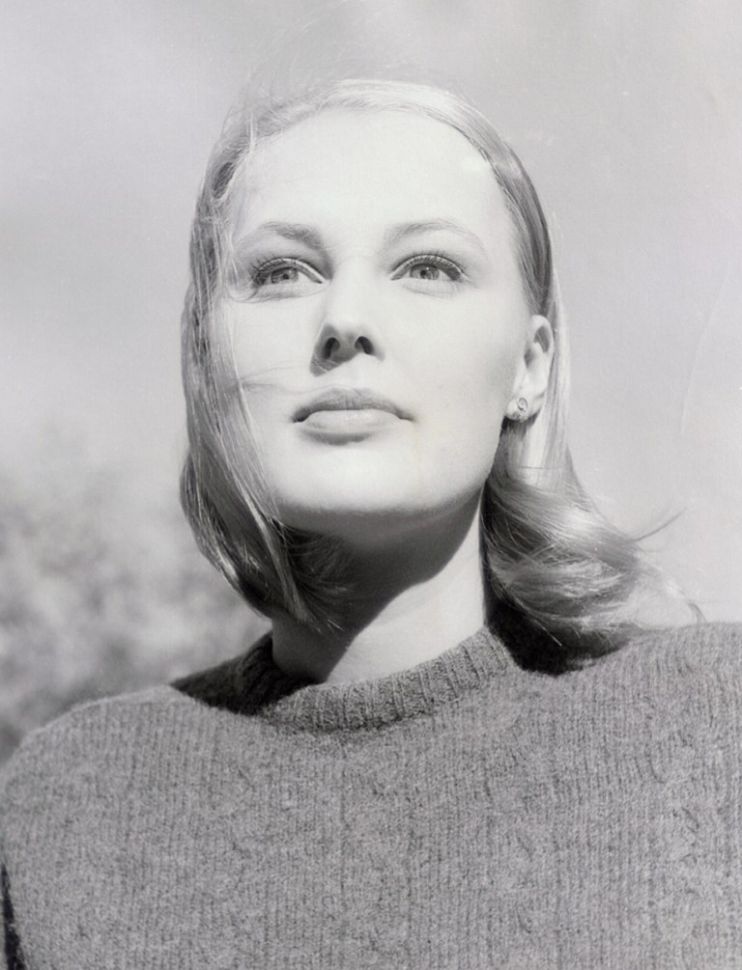
I named the boat after my bride of 43 years.
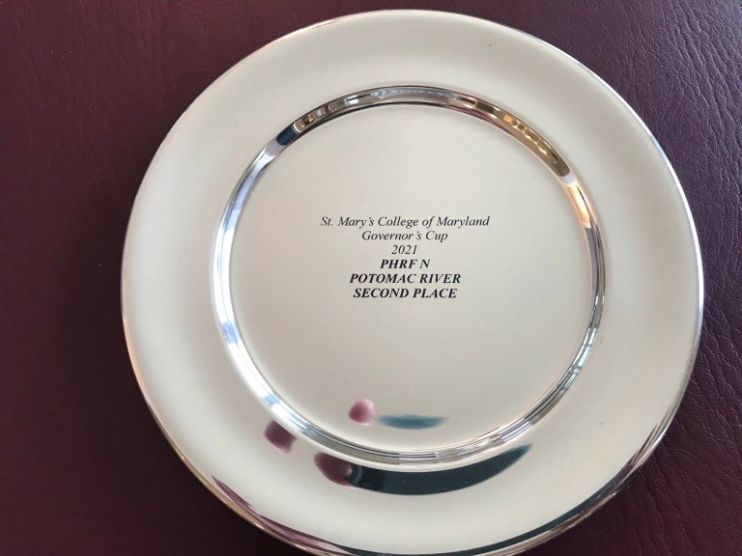
8/2/21 – I got very little work on the boat the last two weeks as I have been getting ready for the Governor’s Cup Regatta this past weekend. The work paid off with a 2nd place finish in the annual overnight race.
Back to work on Oonagh today. I only have to install the hinges, install the gunwale guard, put wheels on the dollies, get help to move the boat, step the mast, rig the sail and I am ready to put it in the water.
I started this morning by putting wheels on my dollies.

Then I got to work on the gunwale guard. I purchased a box of 3/4″ silicon bronze nails and they worked well but bent easily. You start by folding one of the tabs inward to hide when you fold it back over the guard.
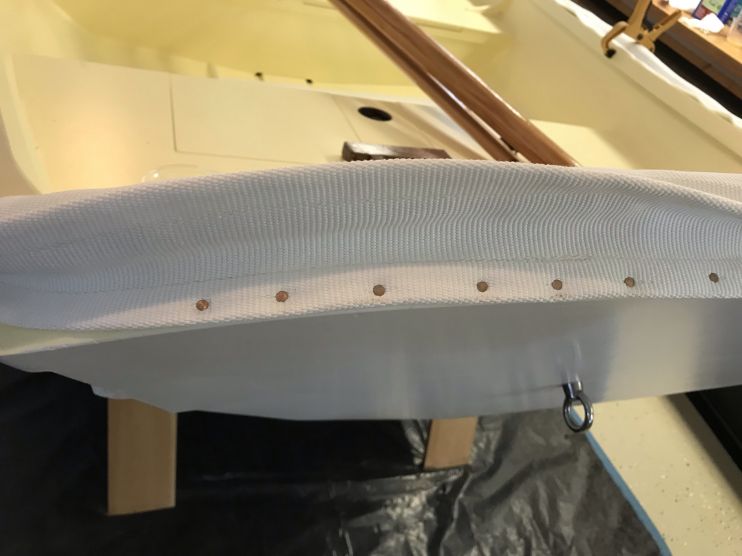
It took a lot of nails and a few hours of tedious work, but I got it finished.

Tomorrow I will install the hinges and then I will need to get someone to help me move the boat from the sawhorses to the dollies.
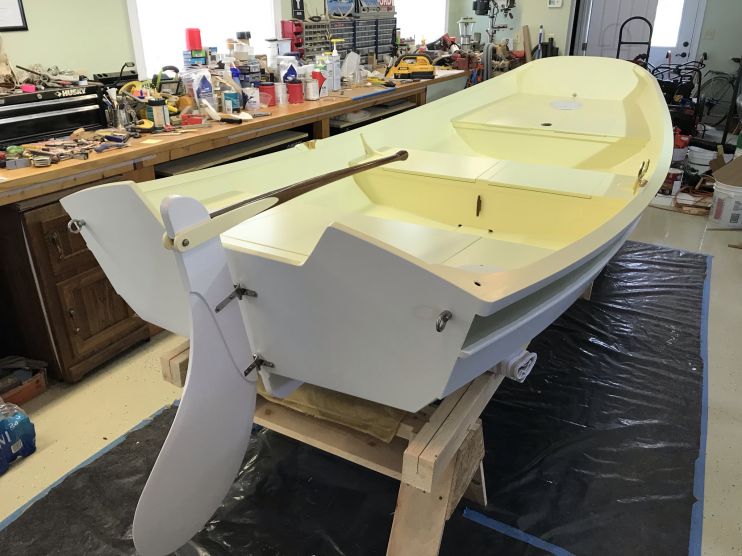
8/3/21 – Finished the hinges today. Nothing left but bending the sail and stepping the mast. Here are some shots of the finished boat.


-
-
AuthorPosts
- You must be logged in to reply to this topic.