Home › Forums › 11′ 10″ ARRIBA / OONAGH Dinghy – Official Step-by-Step Boatbuilders’ Forum › ARRIBA / OONAGH – 07 – Attaching the Bottom Planks › Planking
- This topic has 0 replies, 1 voice, and was last updated 5 years, 2 months ago by
 Bob Donaldson.
-
AuthorPosts
-
-
April 12, 2021 at 8:34 am #43478Bob DonaldsonParticipant
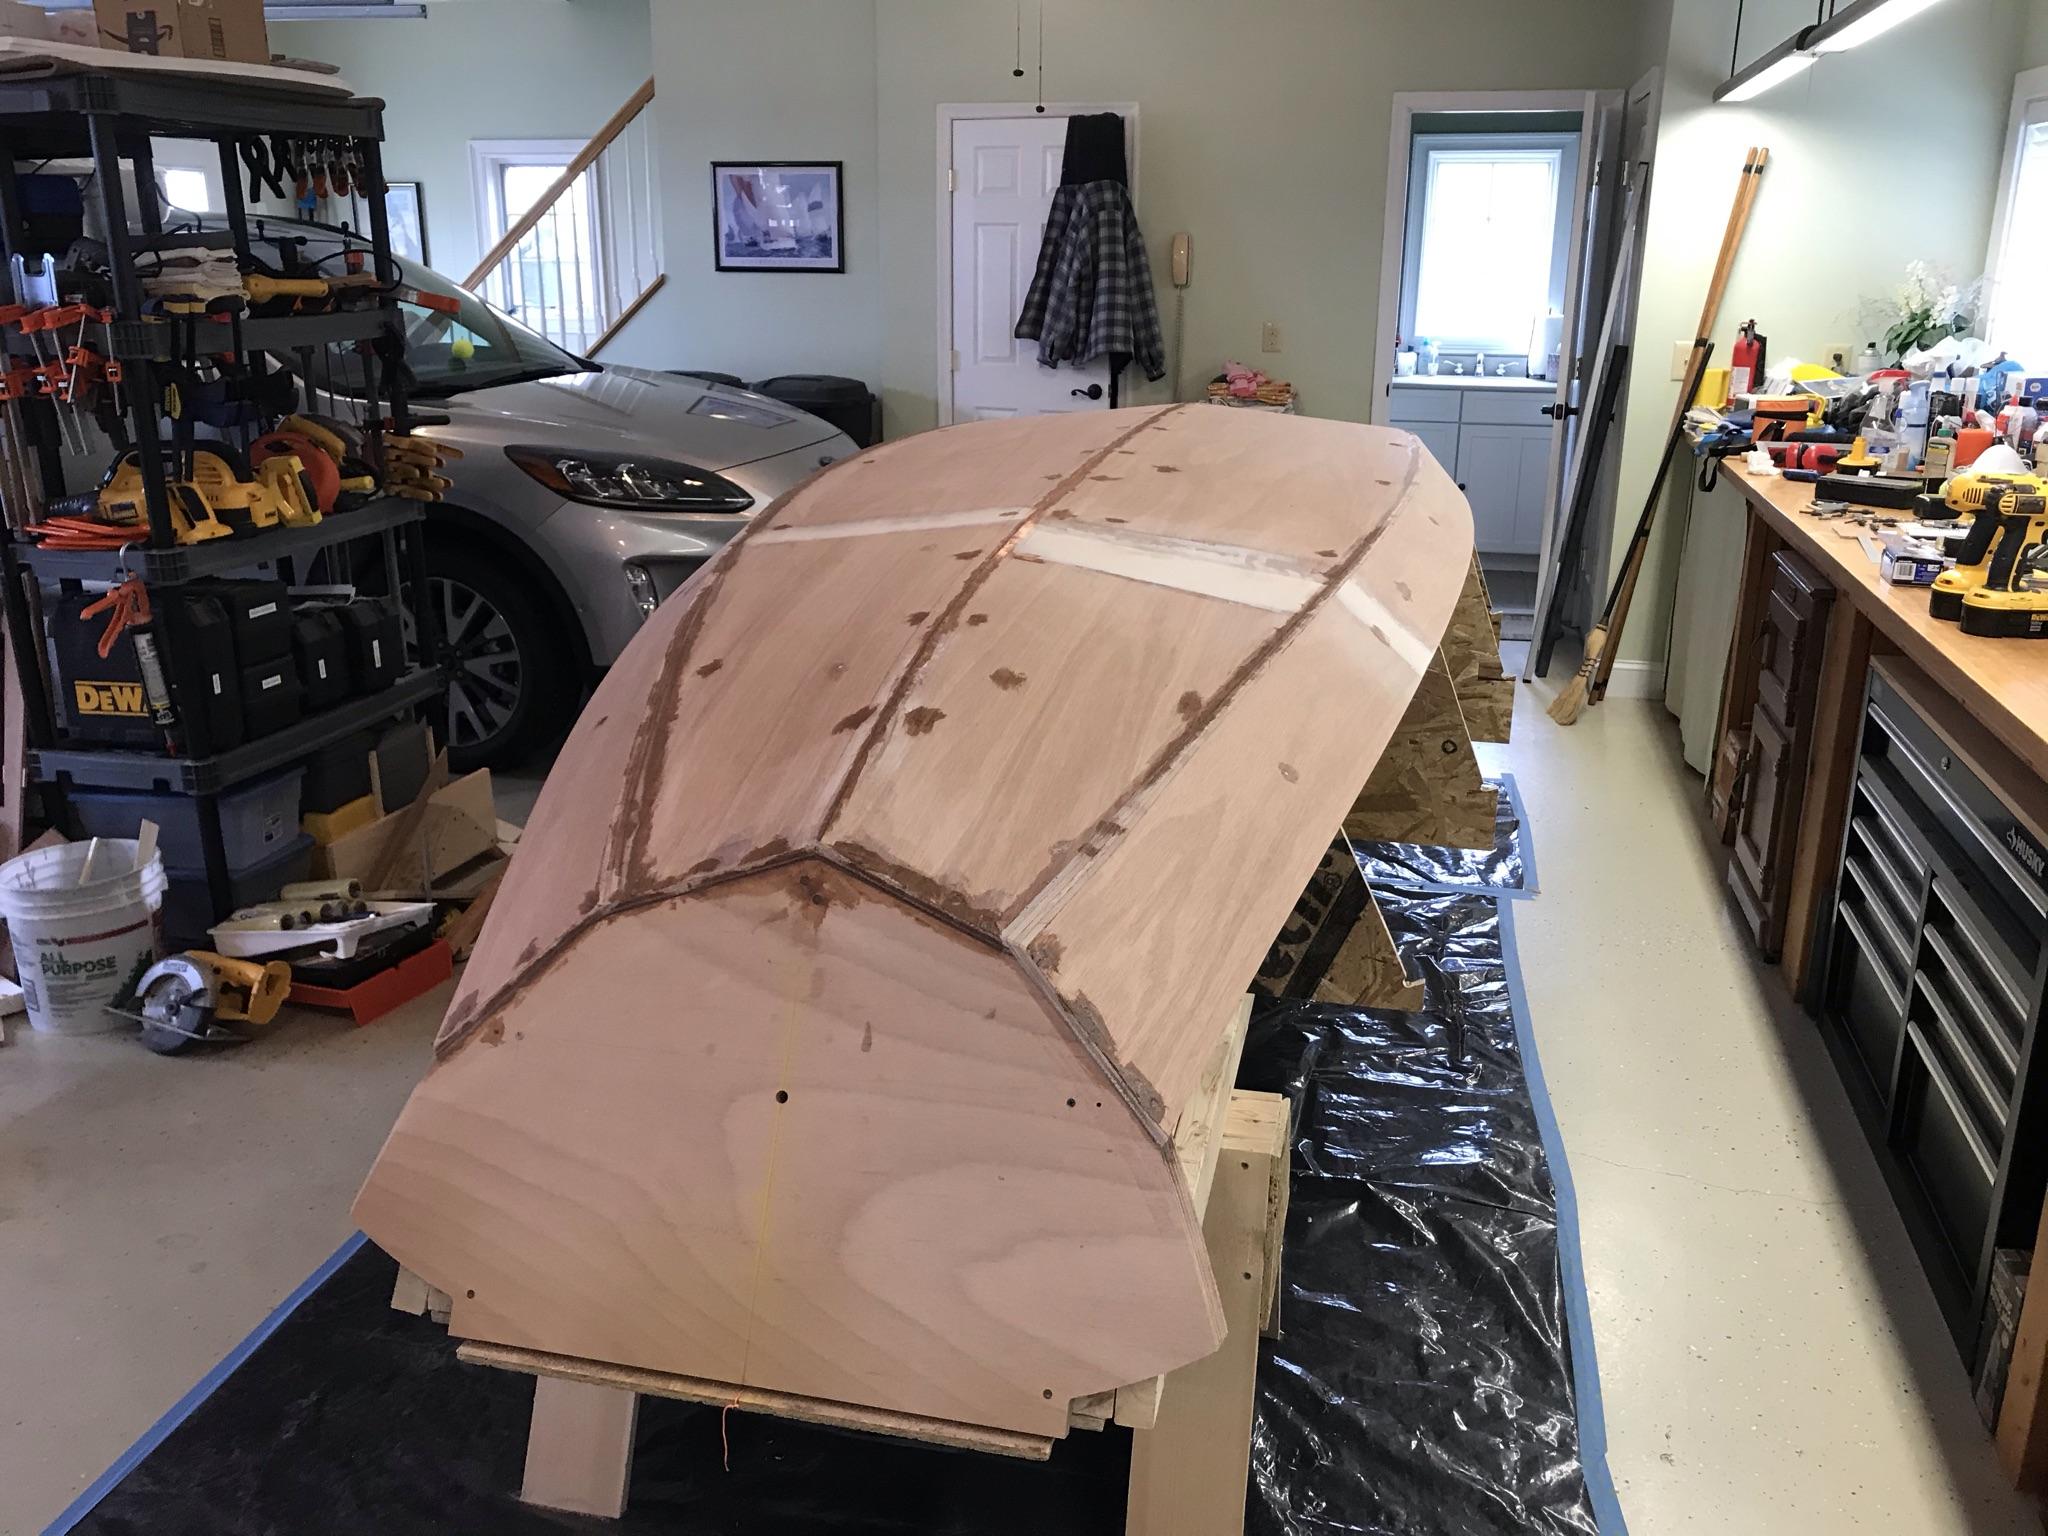
From my Blog: https://house-doc.net/Oonagh/?p=286
Test fitting the first bottom plank.
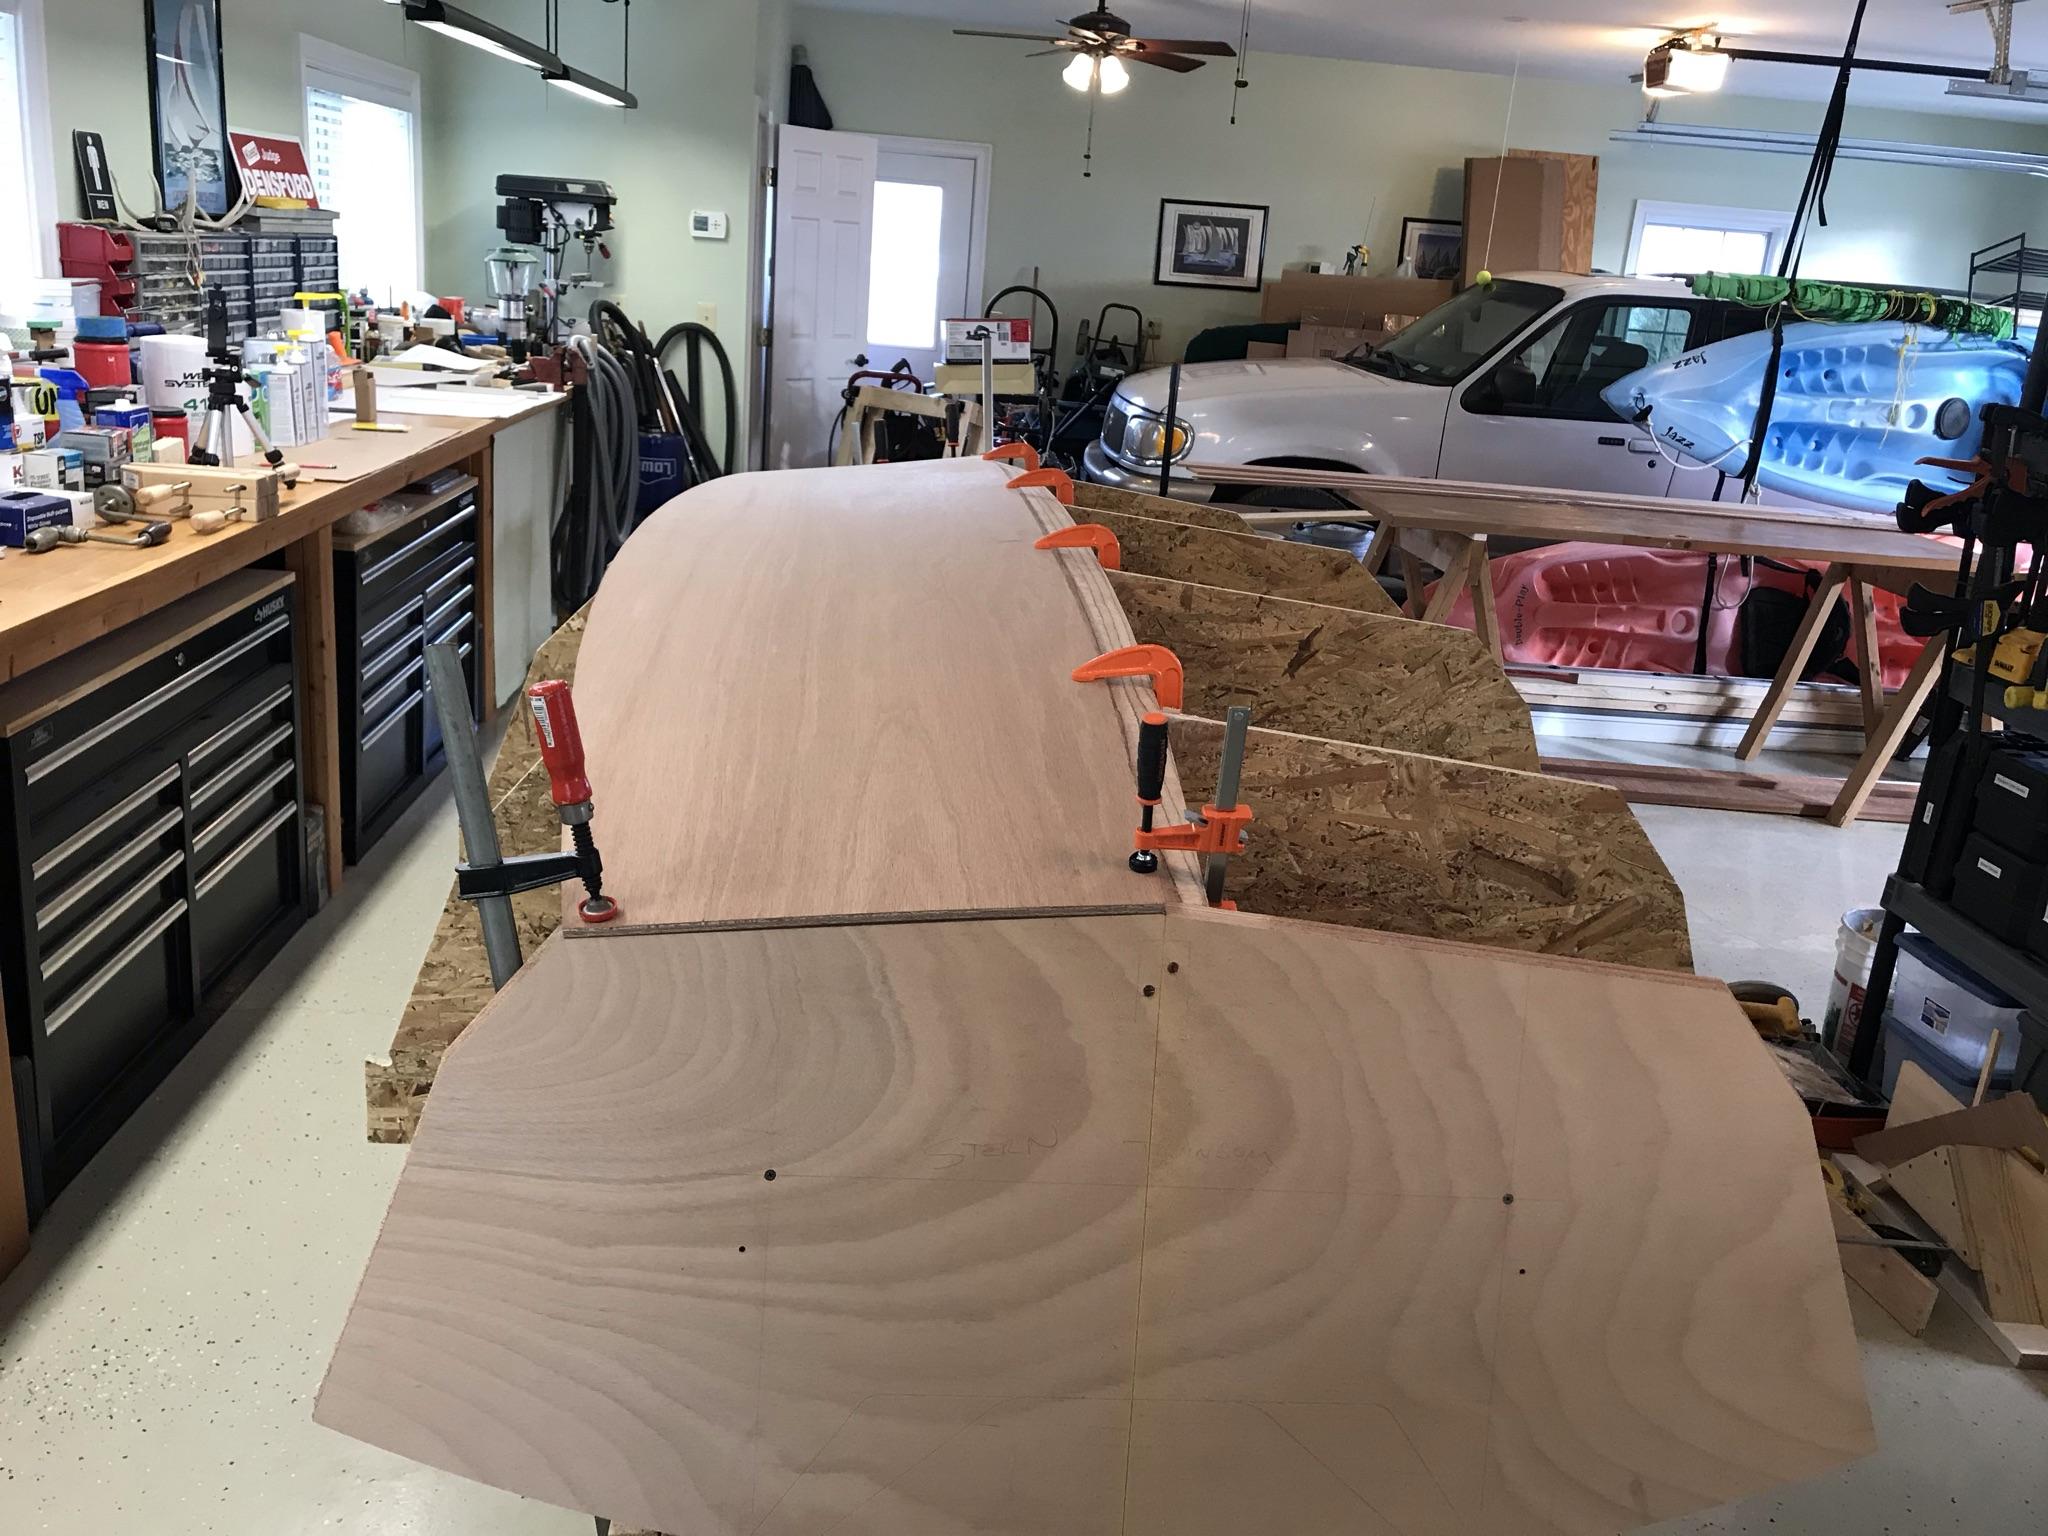
2/9/21 1:00 pm Finished drilling pilot holes in bottom planks and secured with 3/4″ #10 Silicon Bronze screws on the keel and 1″ #10 screws on the bow and transom.
Note: OCH recommend 5/8″ #8 screws on the keel and 7/8″ #8 screws on the bow and transom. Of course, I didn’t see the post until after I finished and I see why they recommended the smaller screws. I have a few screws poking through the keel on the inside. That will require some grinding when I turn the boat over. Ready for epoxy.
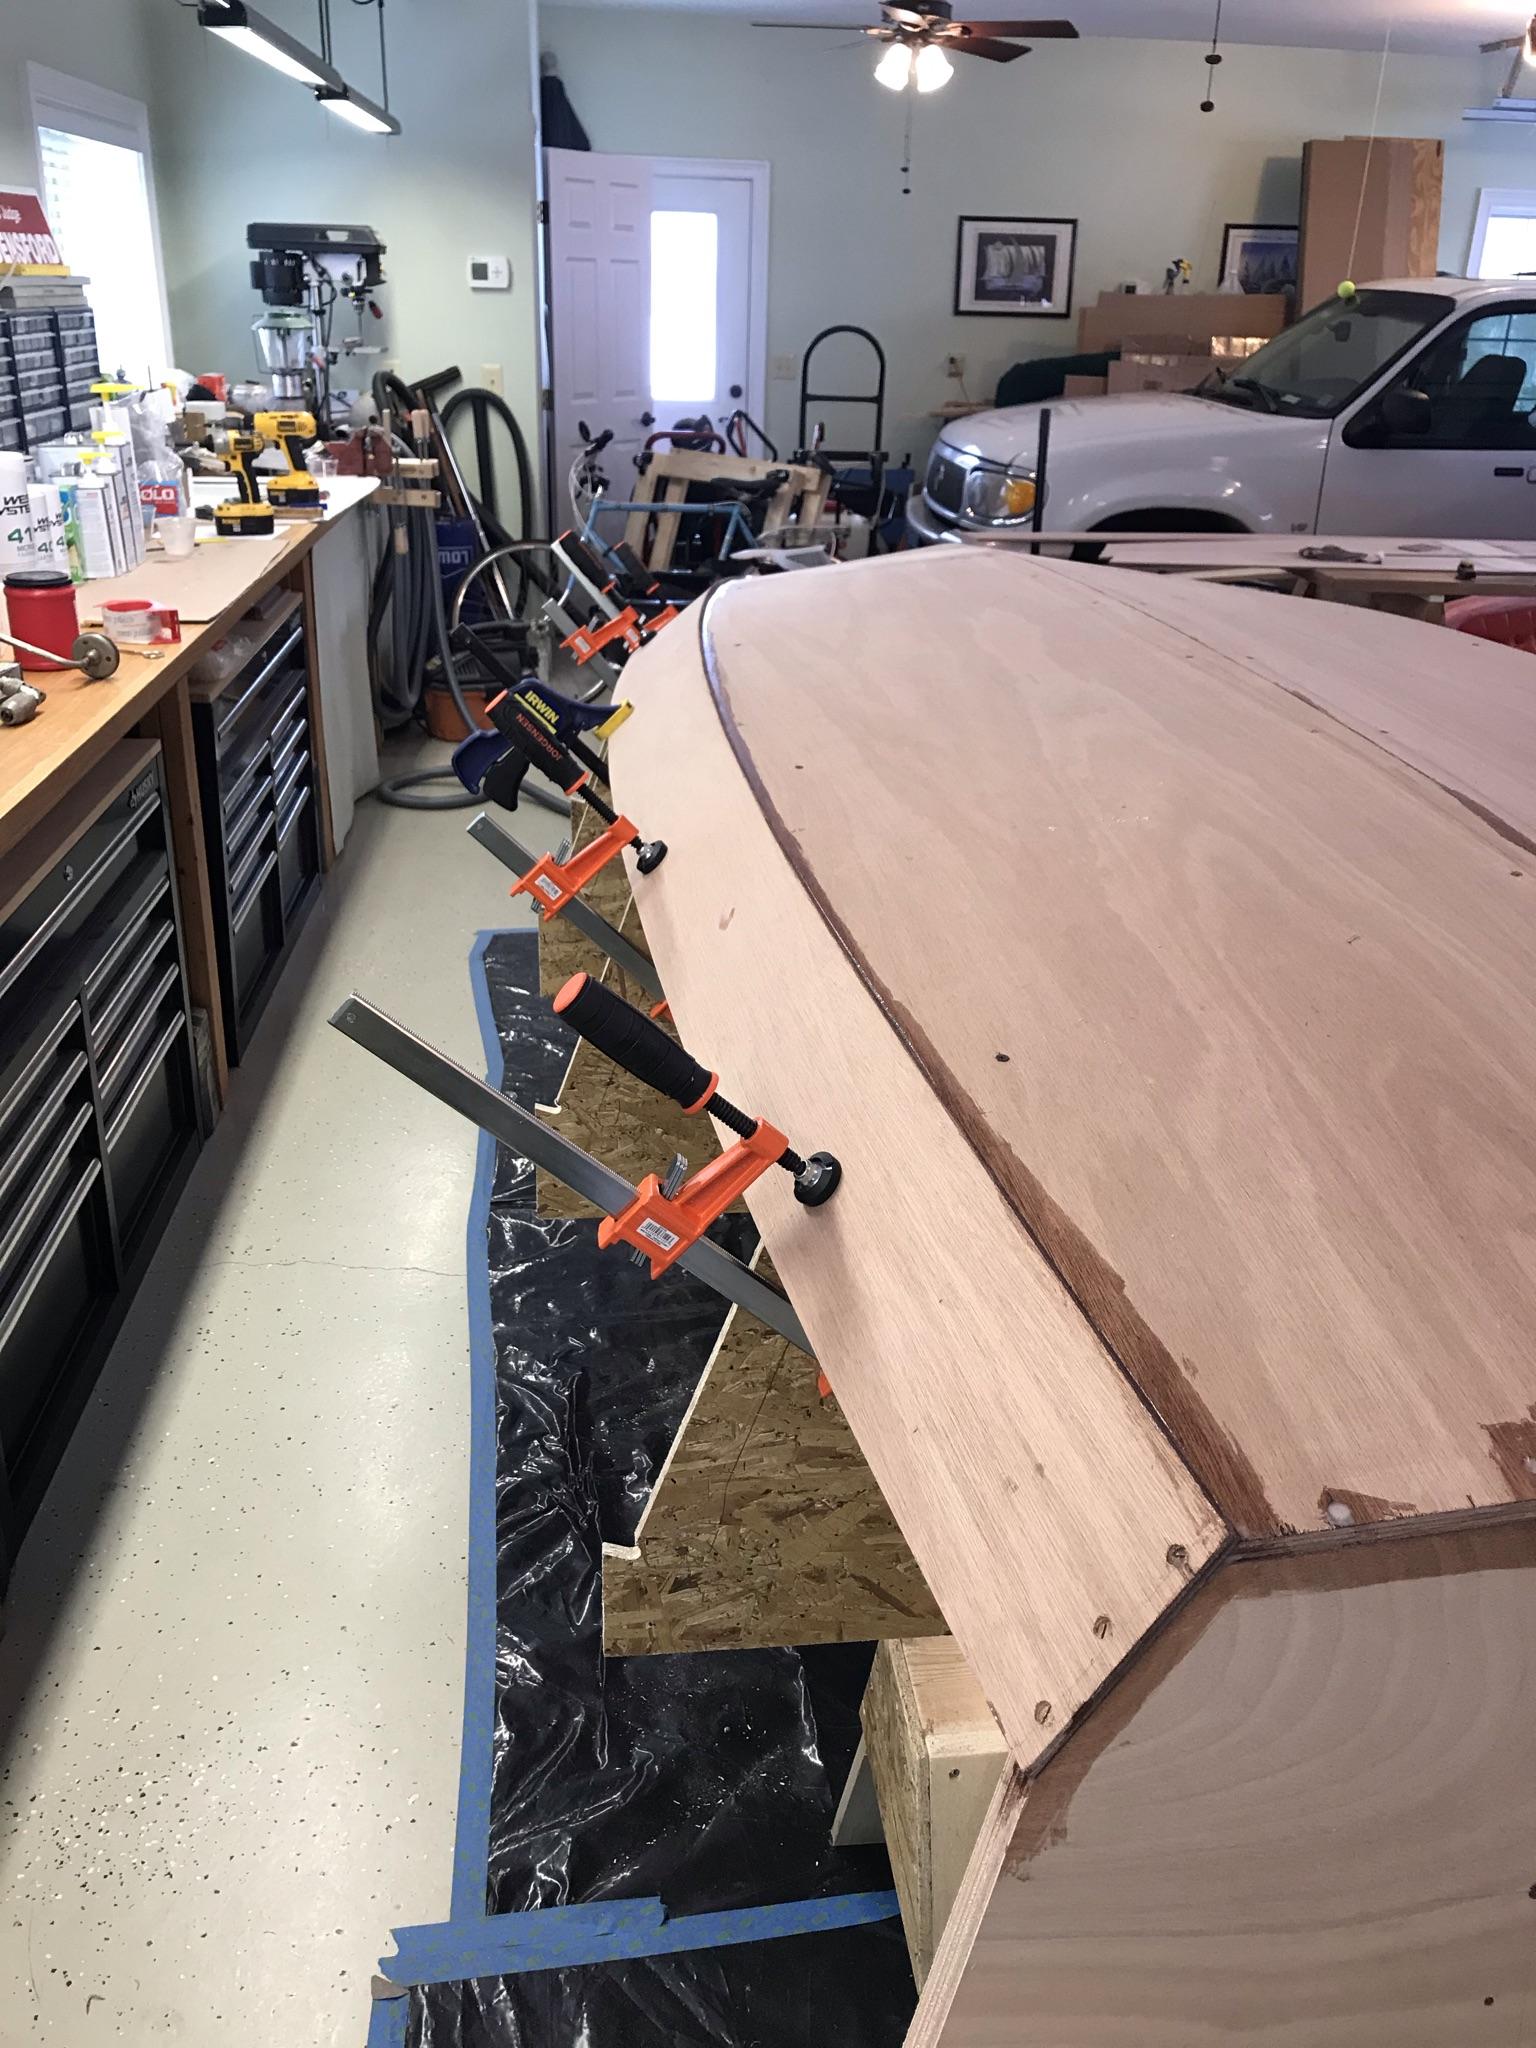
2/10/21 – Epoxied bottom planks in place. Ready to start on the Chine Planks. Put dropcloth under entire boat to catch epoxy squeeze-out or drips.
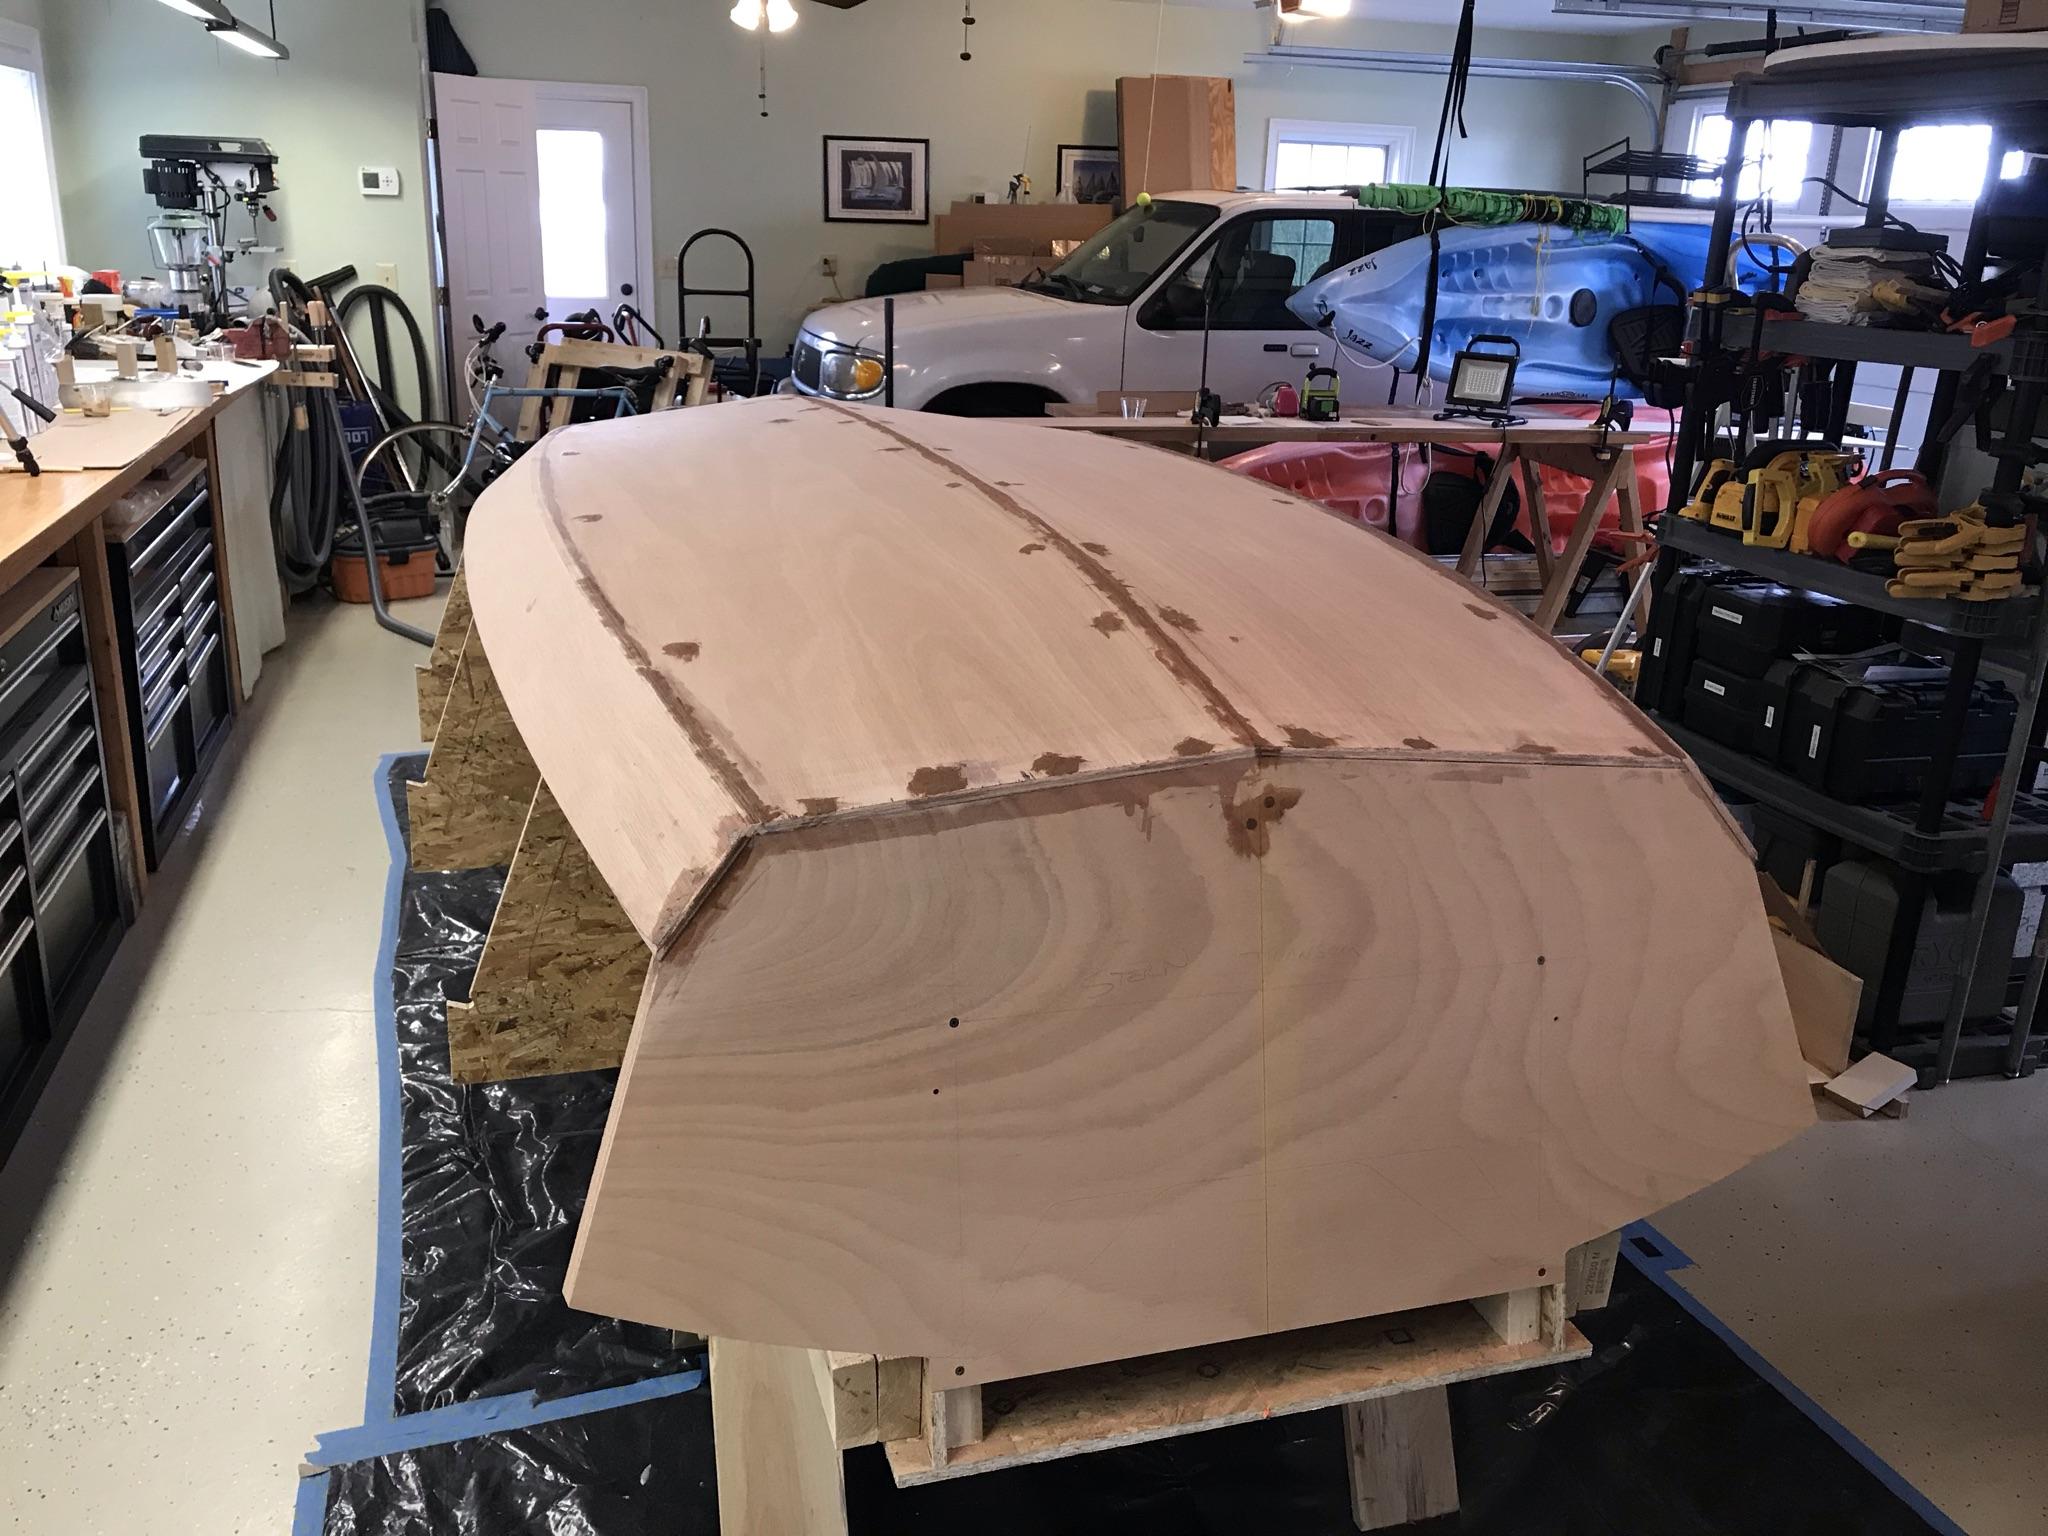
2/12/21 – Beveling the bottom planks to fit the chine planks. I started off using my bench plane on the bevel and then decided it would go faster with my electric planer. However, after trying it for awhile I decided it might be a little too fast. I then sharpened my bench plane and it was actually faster than the electric planer and with more control.
Here are some photos of the finished beveling.
Checking fairness of the curve.

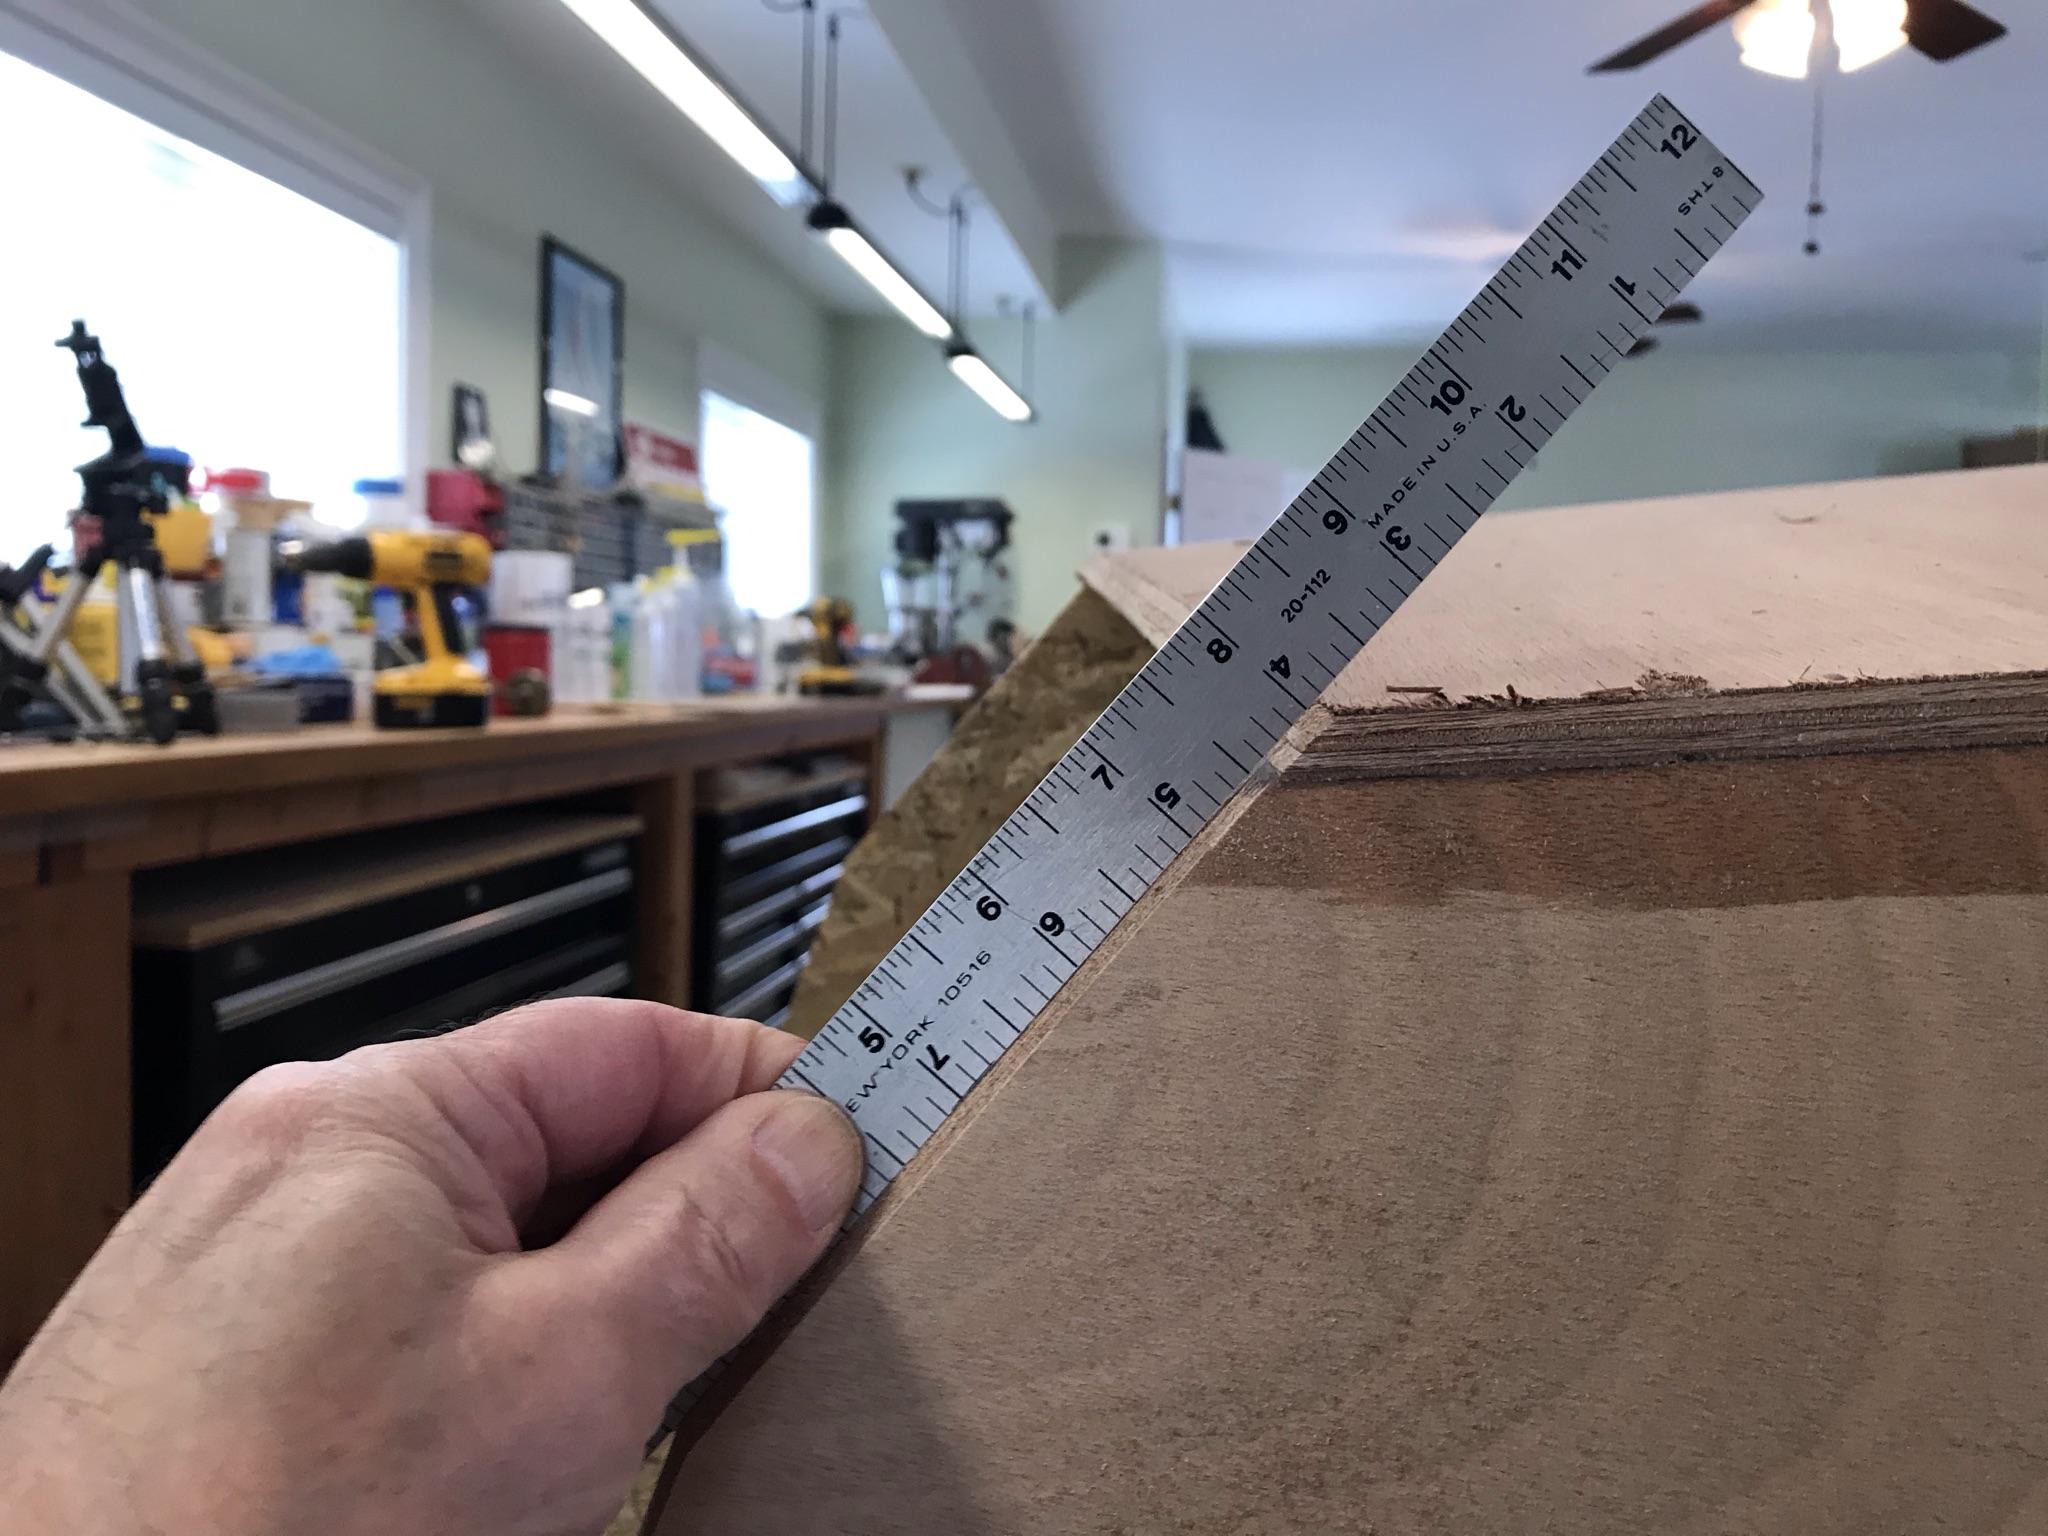
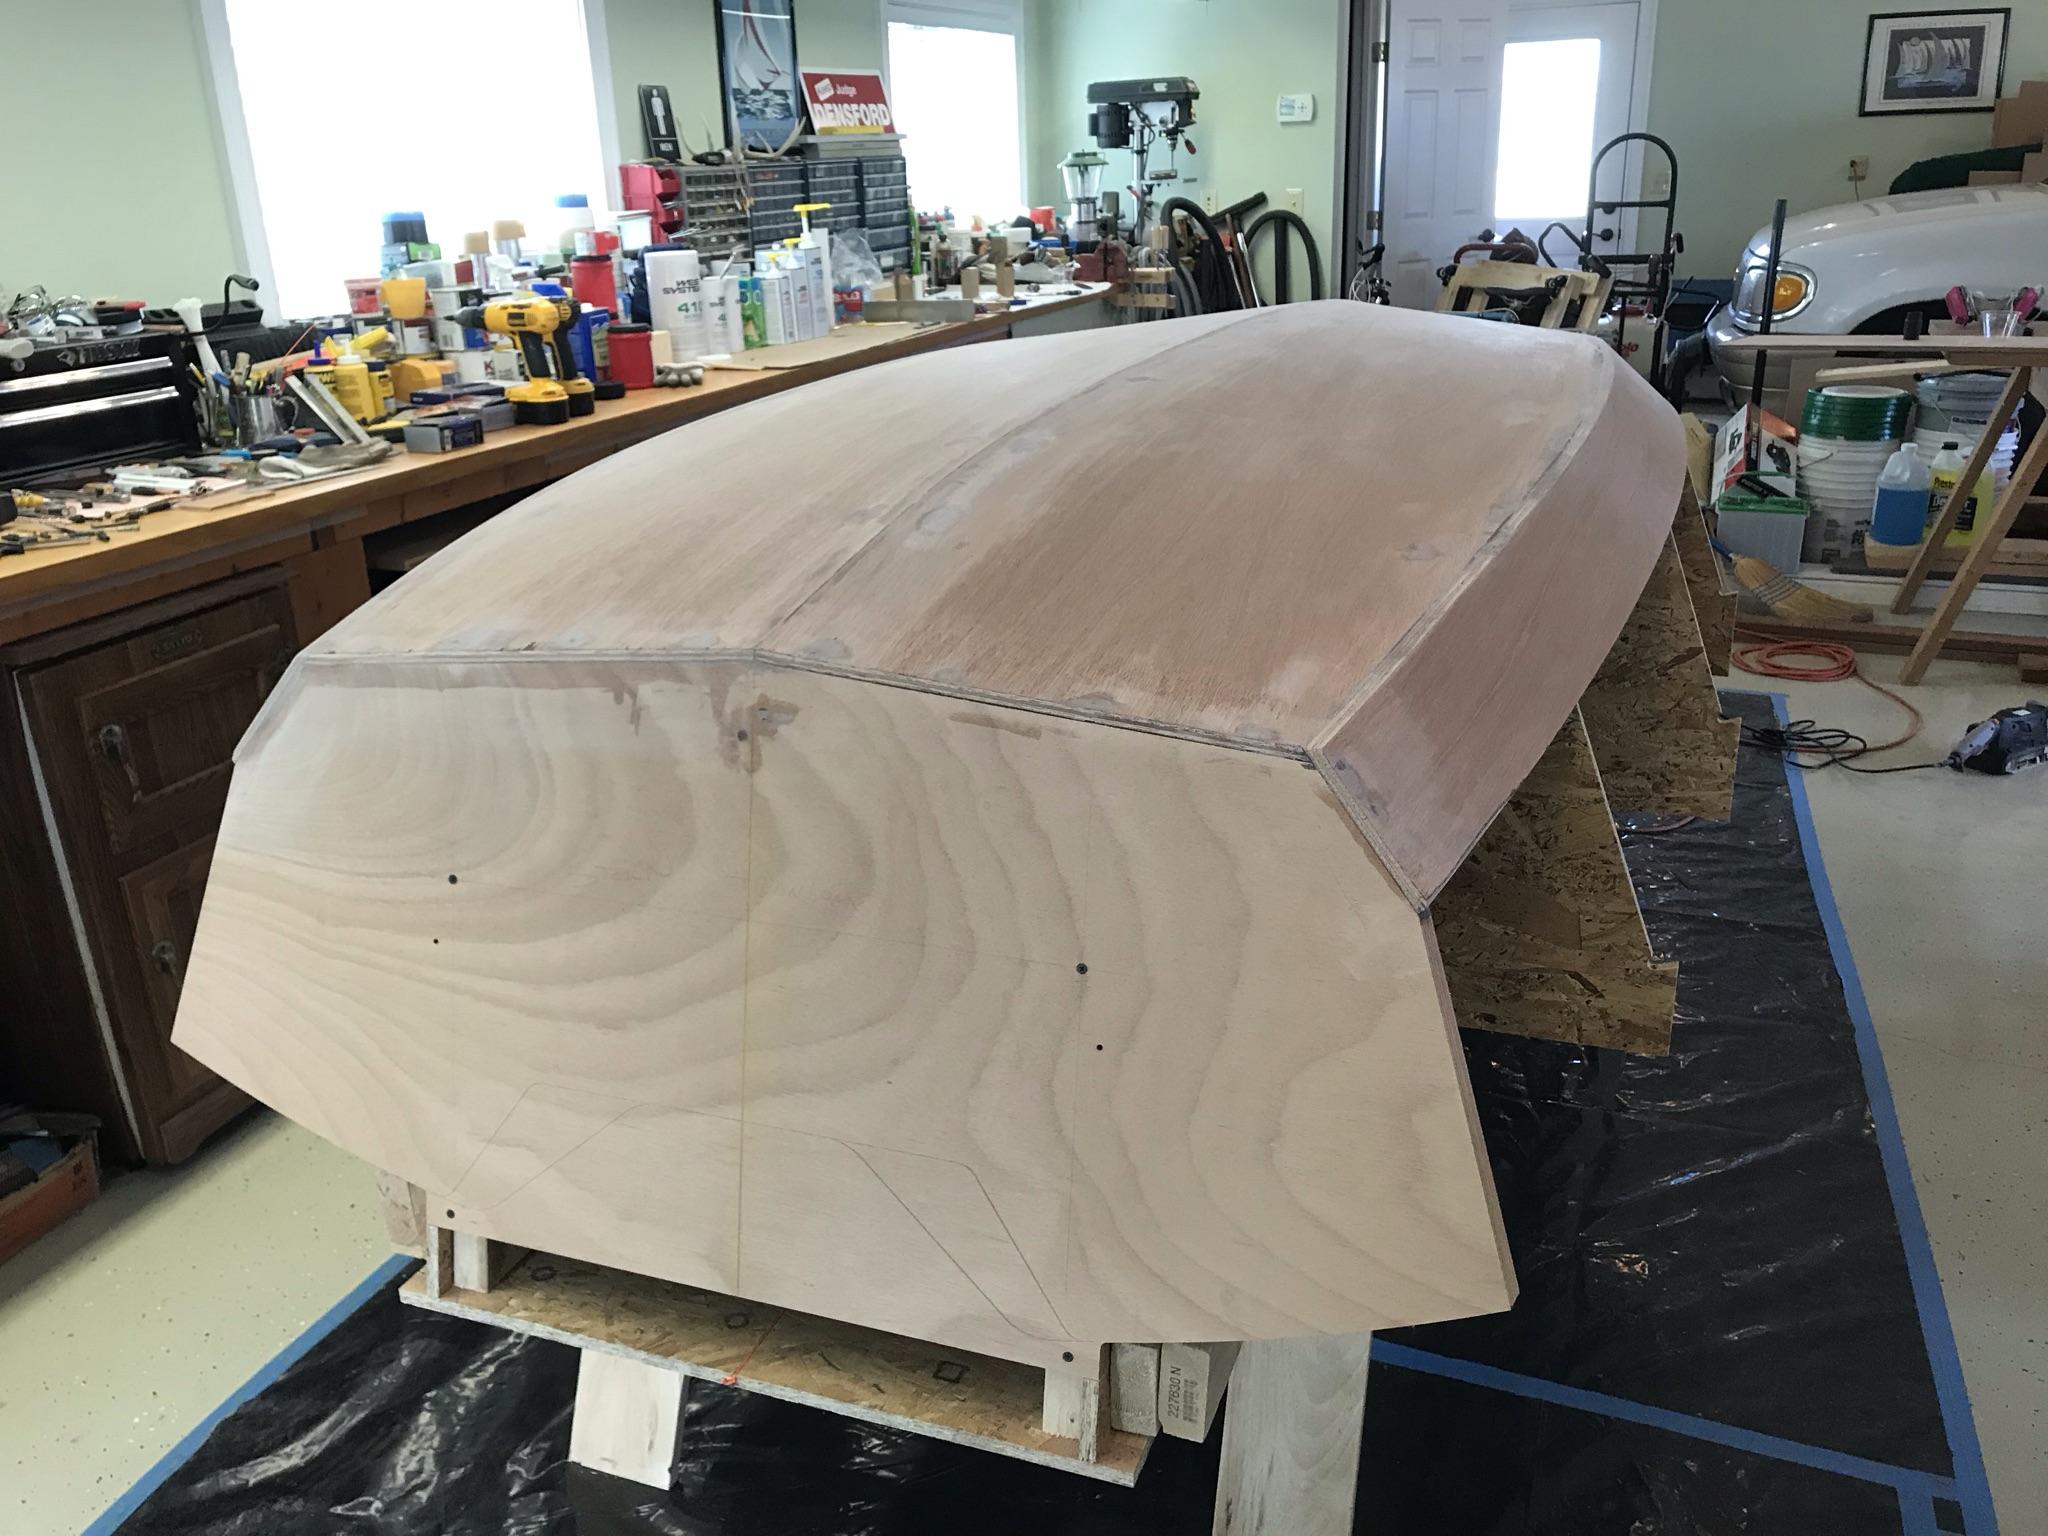
Where the chine plank meets the bow.

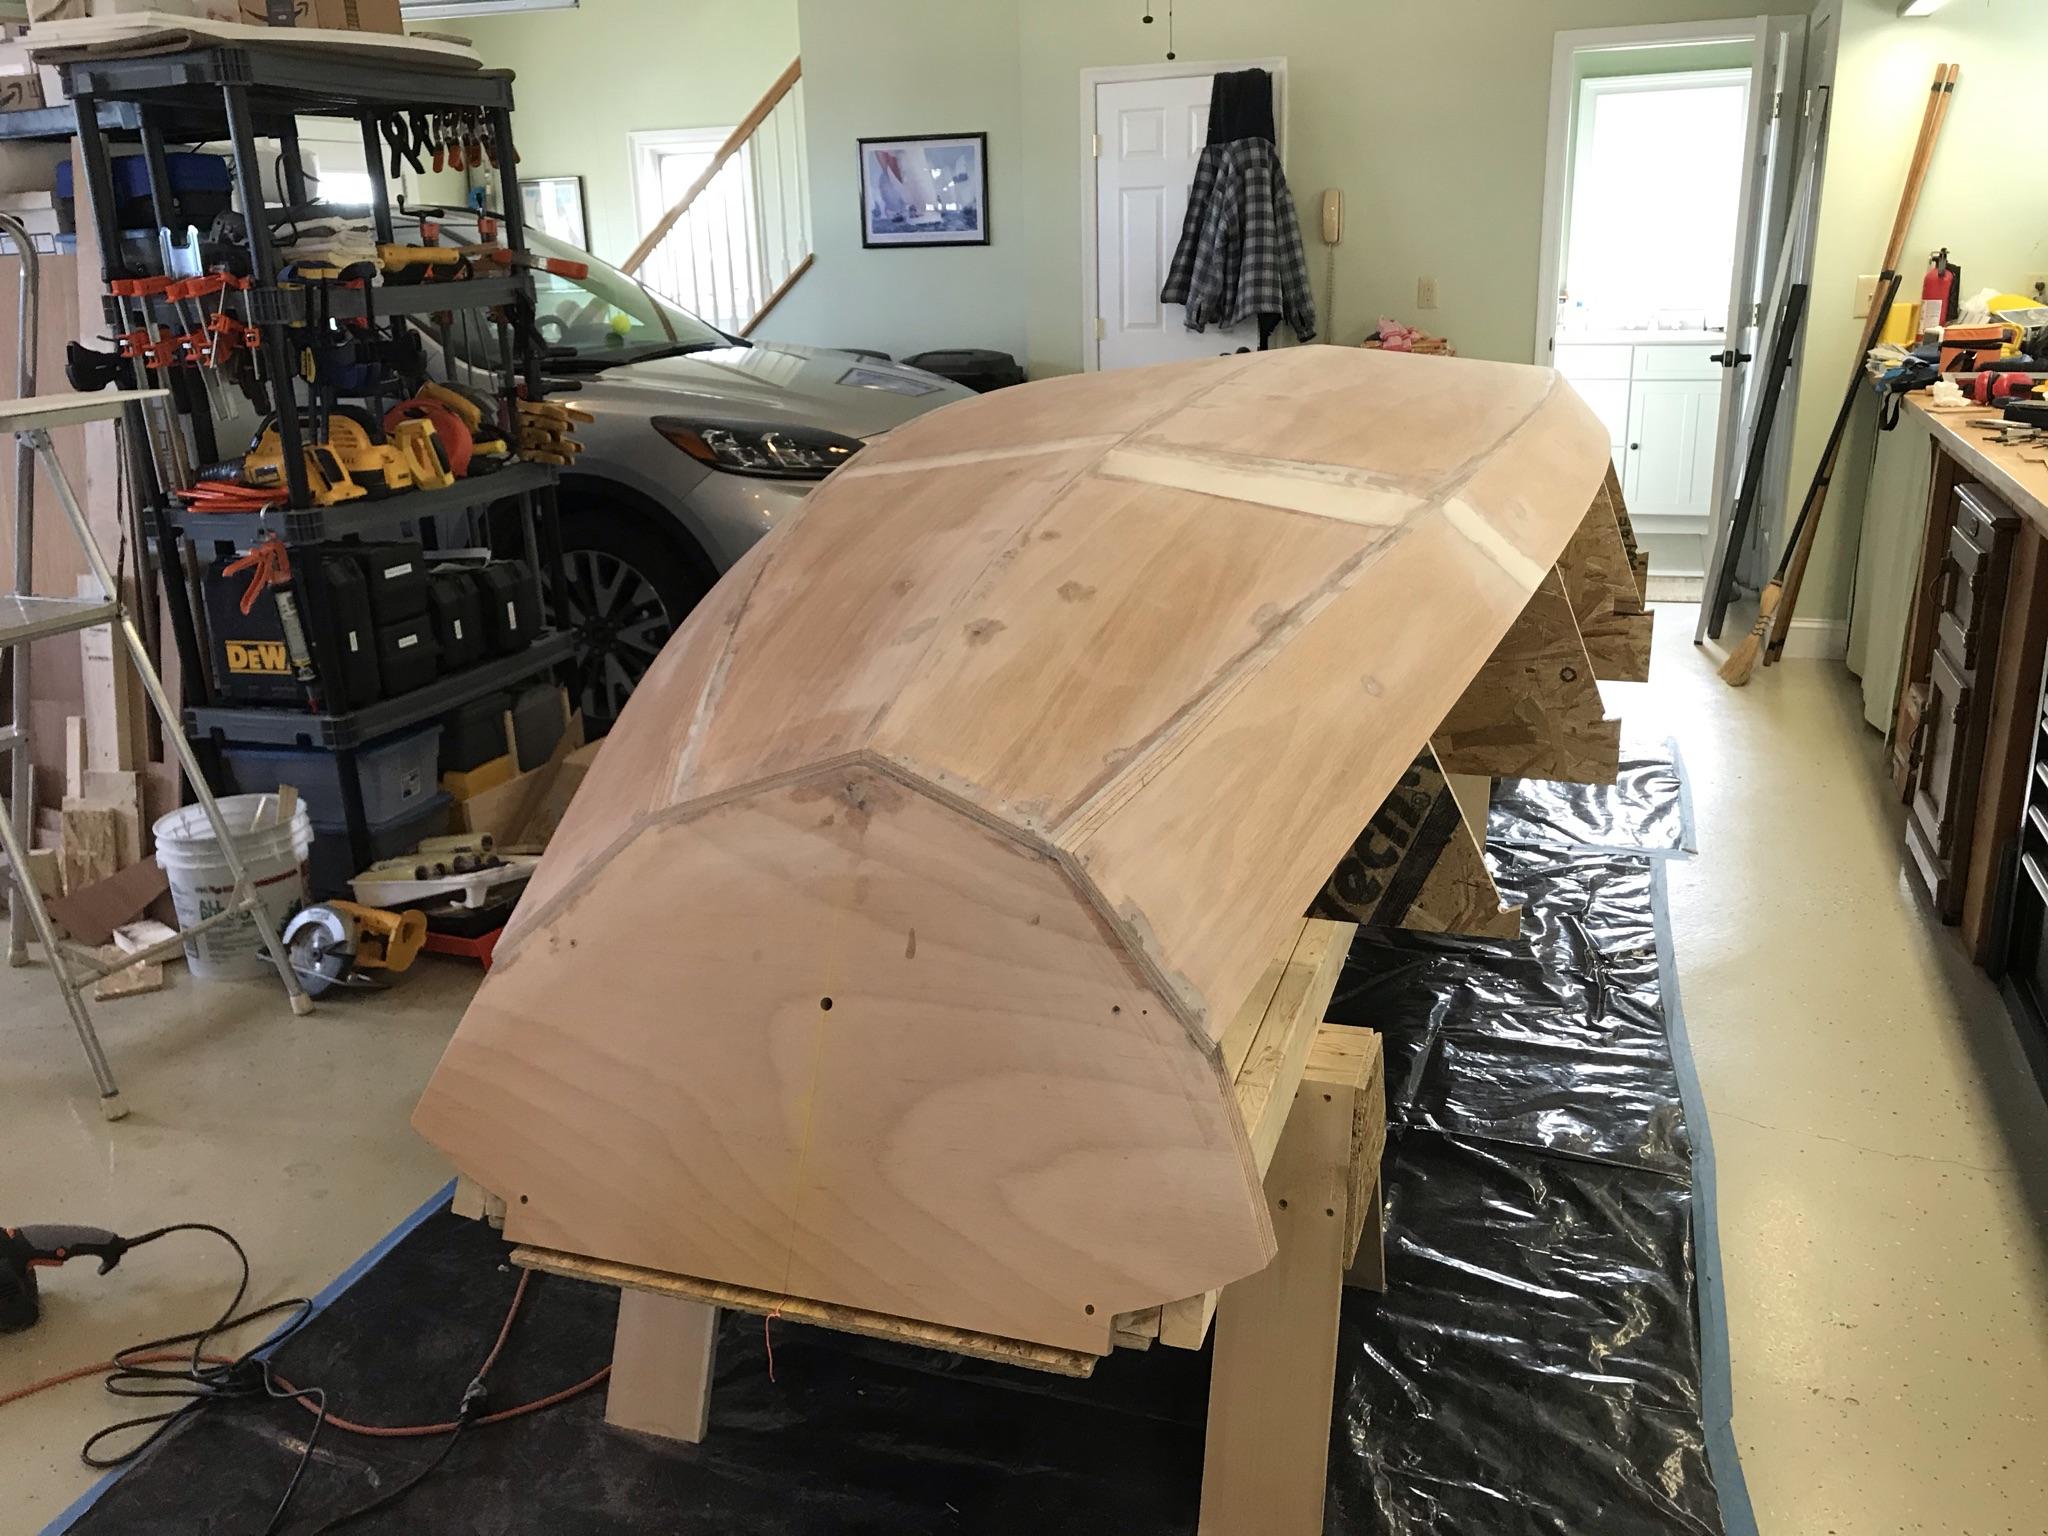
Ready to glue-up the Chine Planks tomorrow.
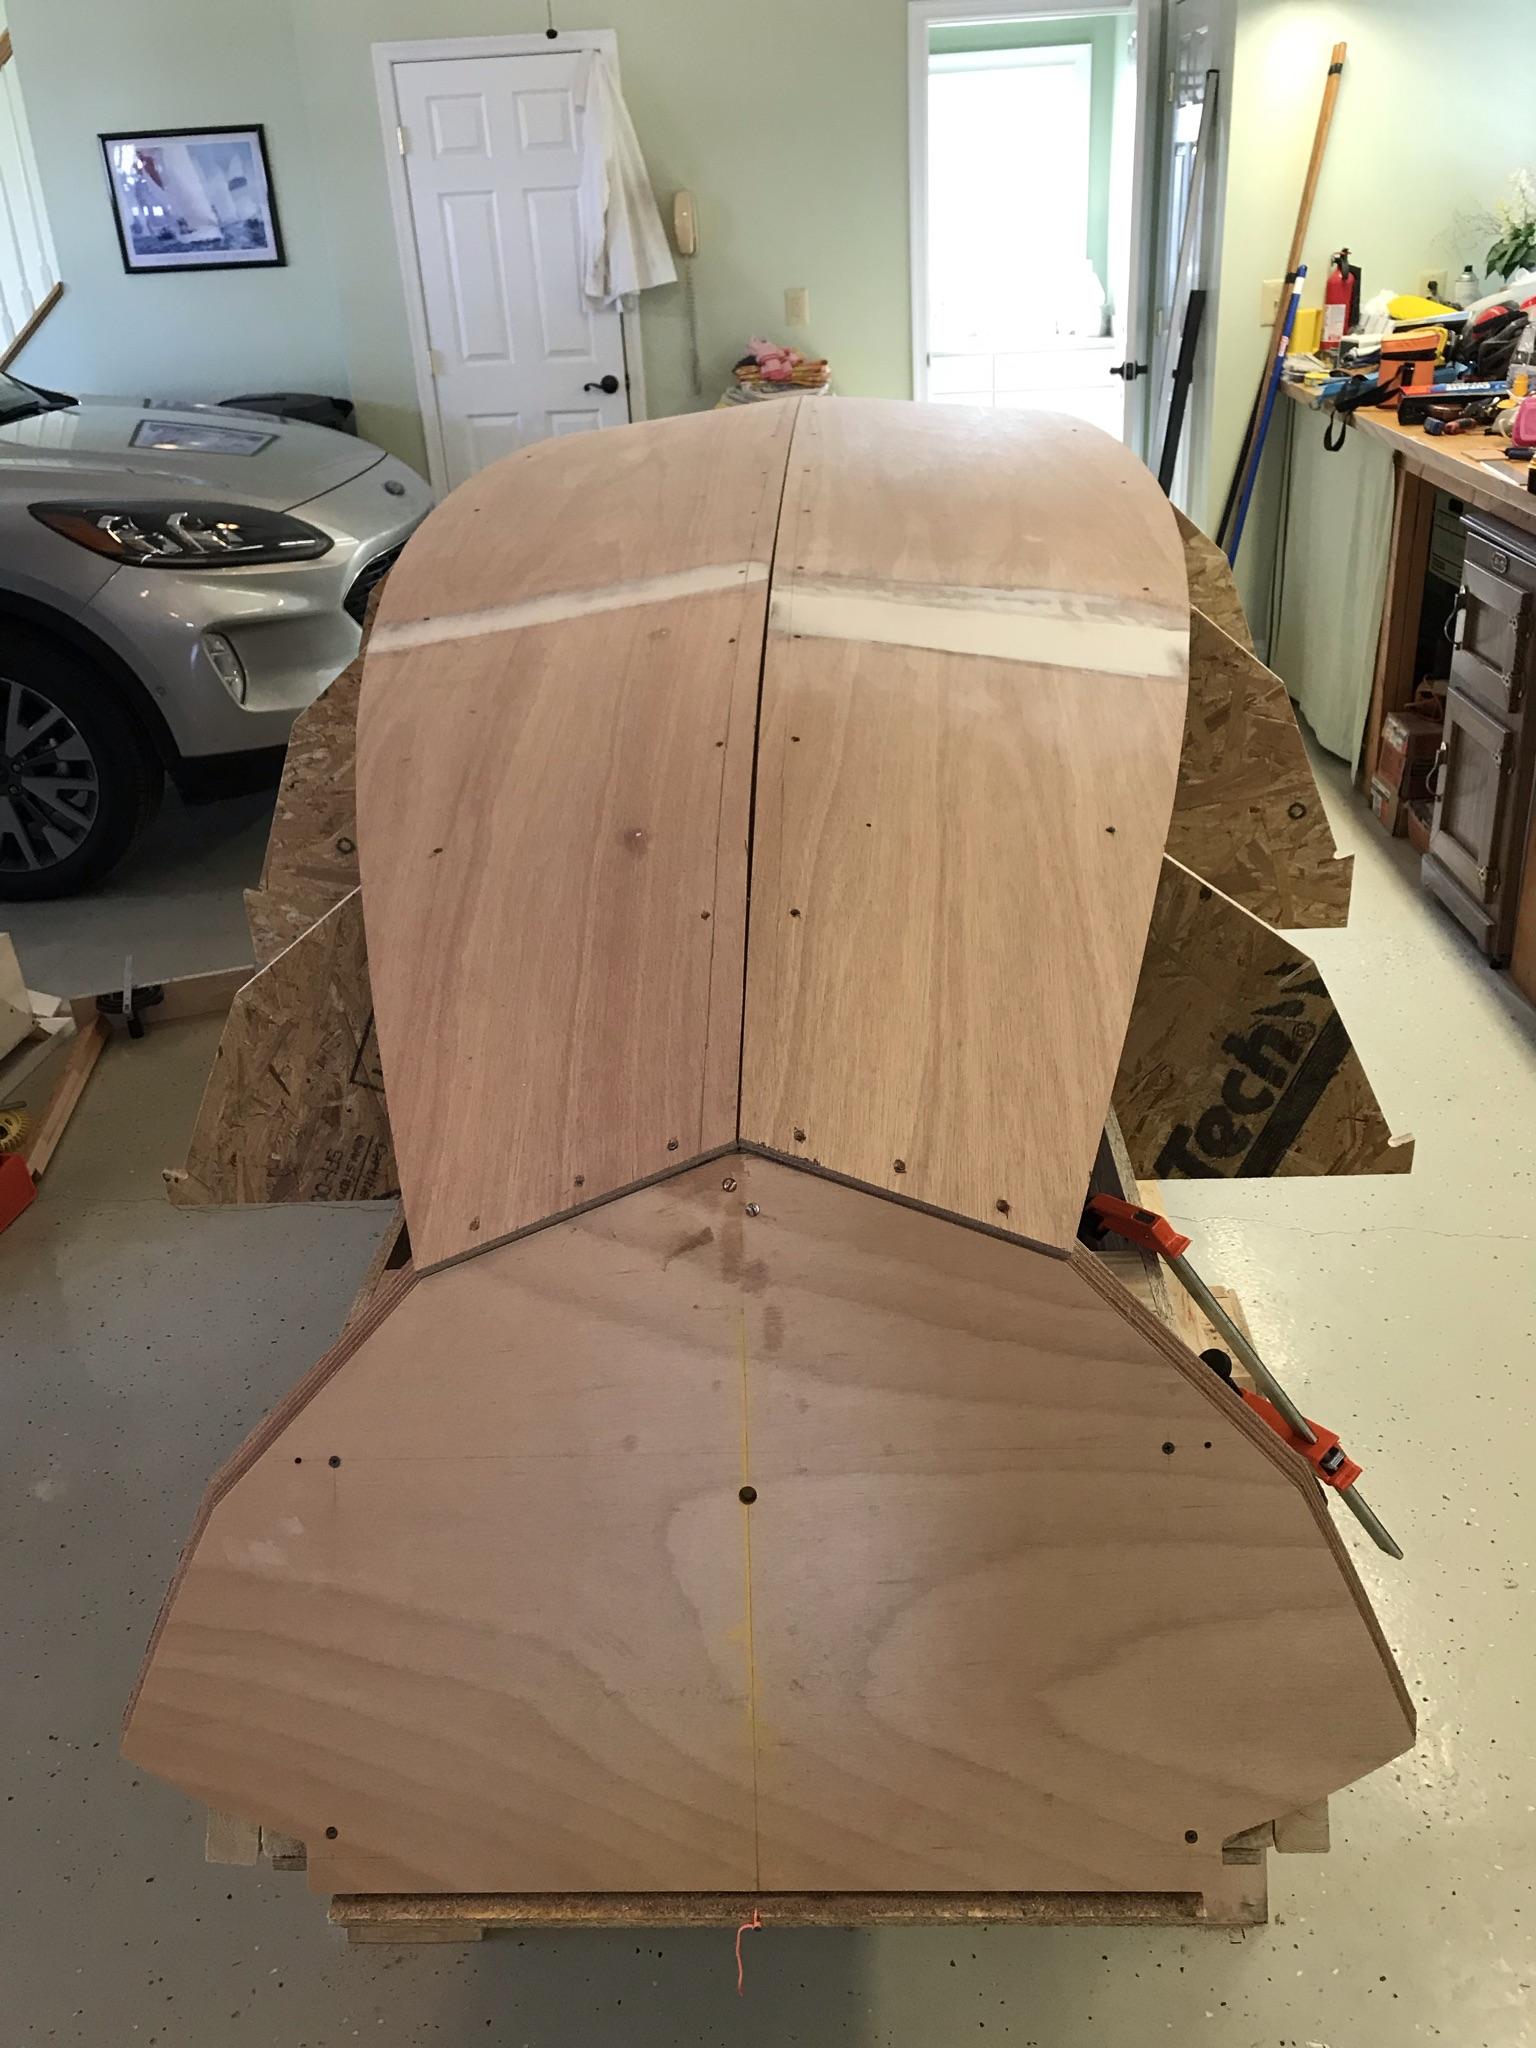
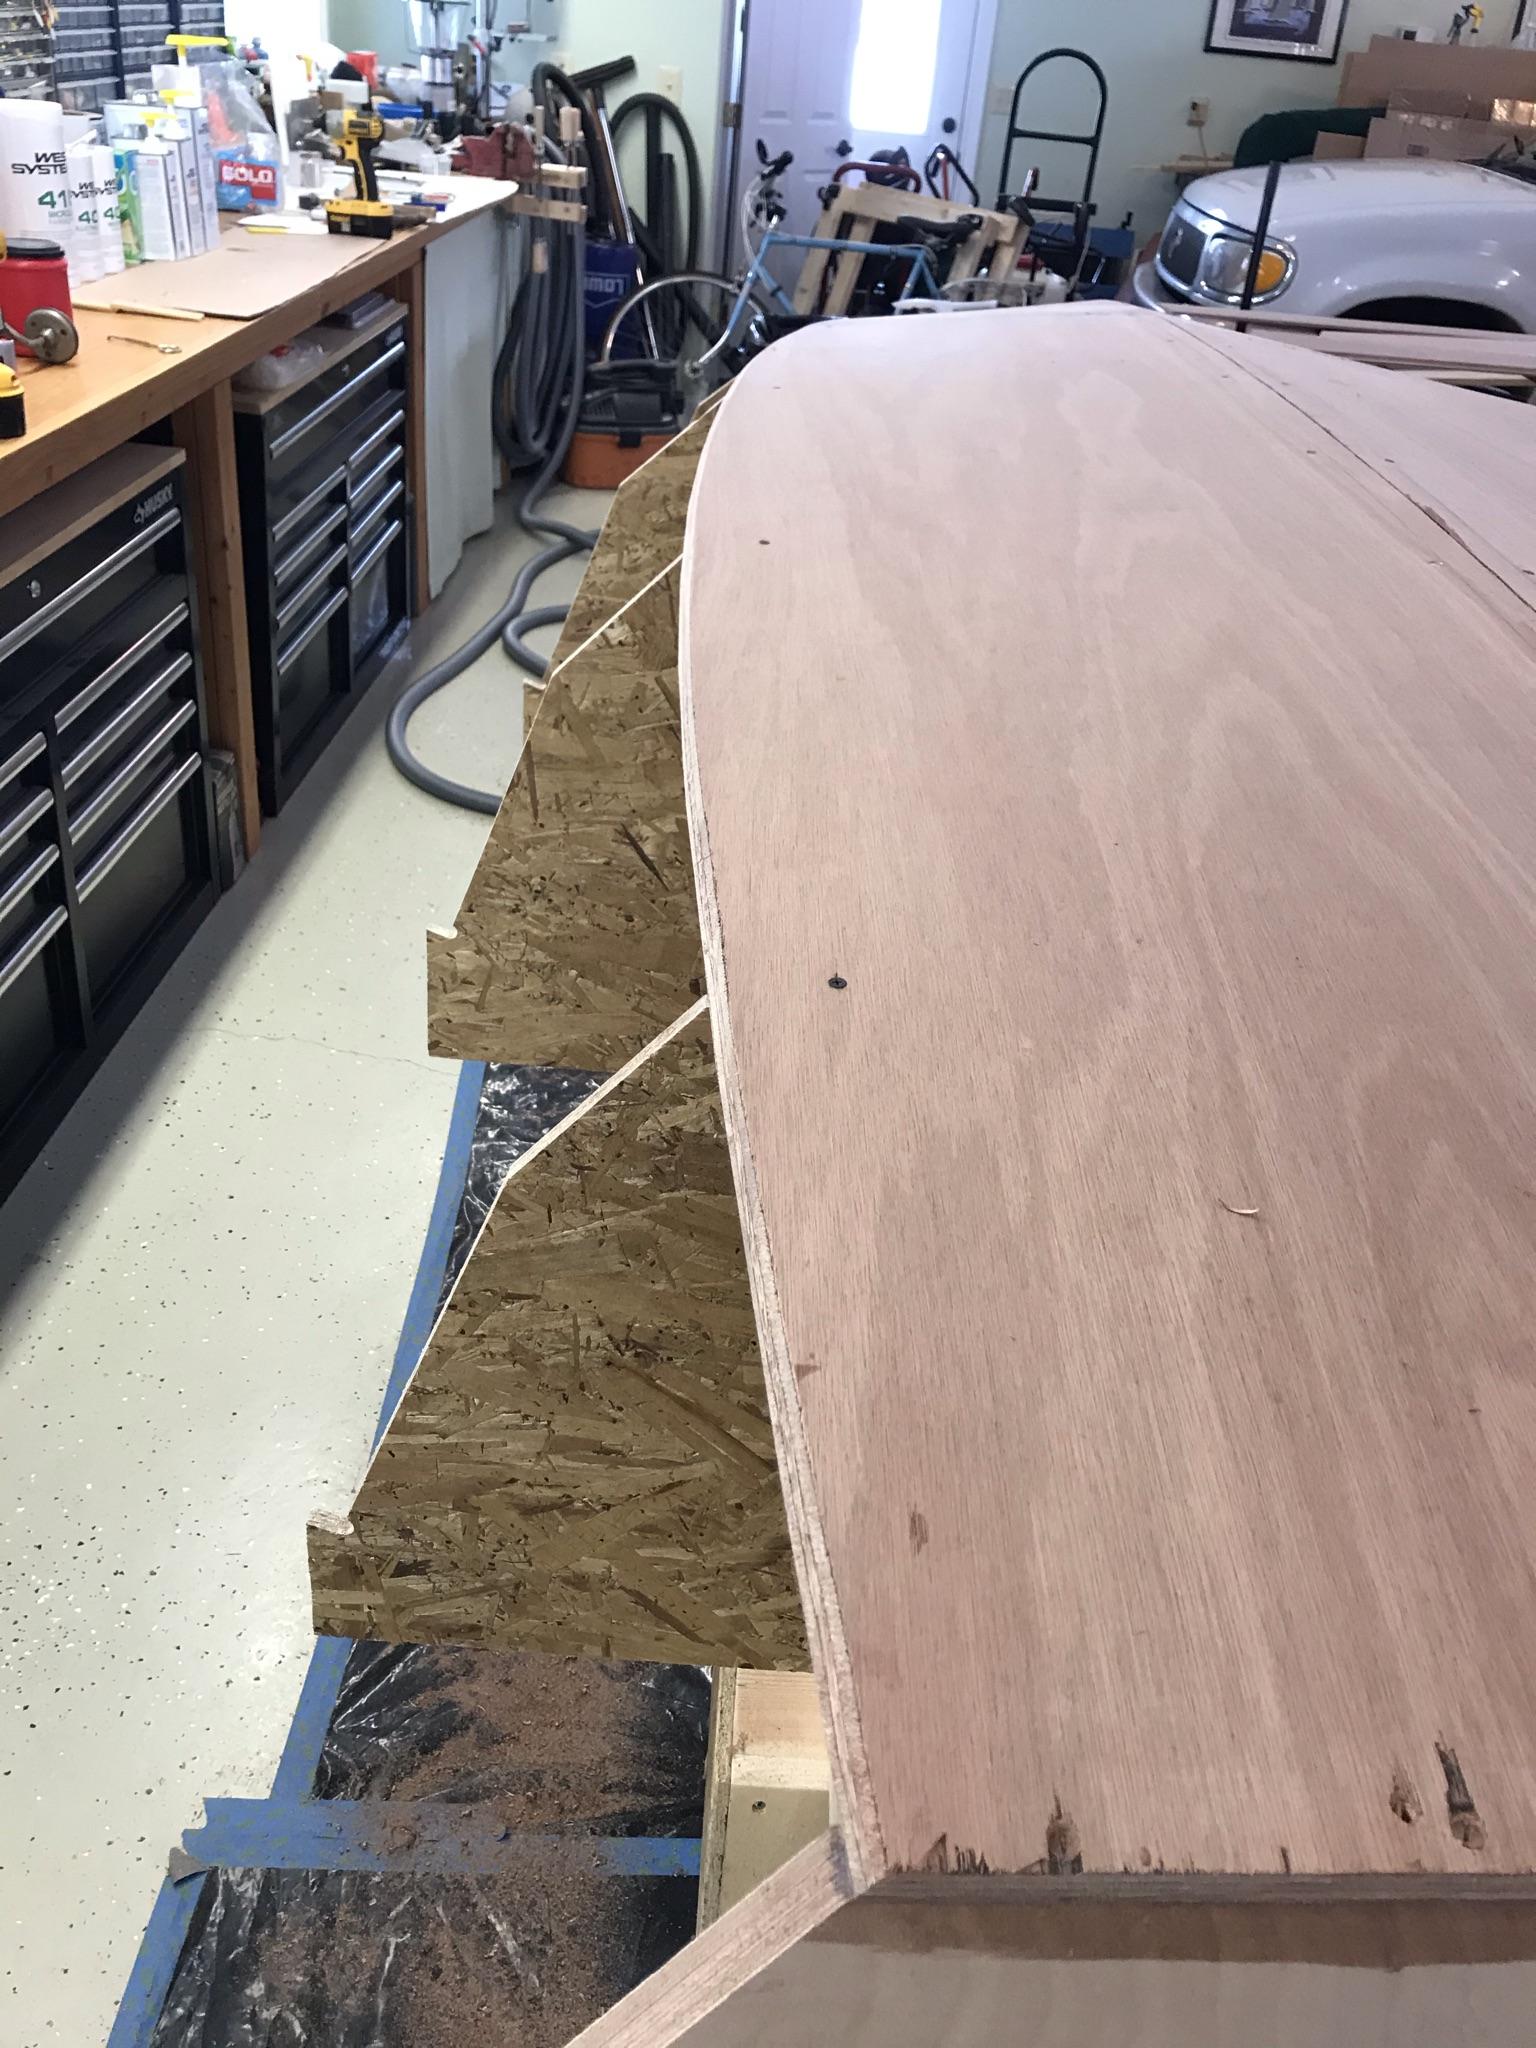
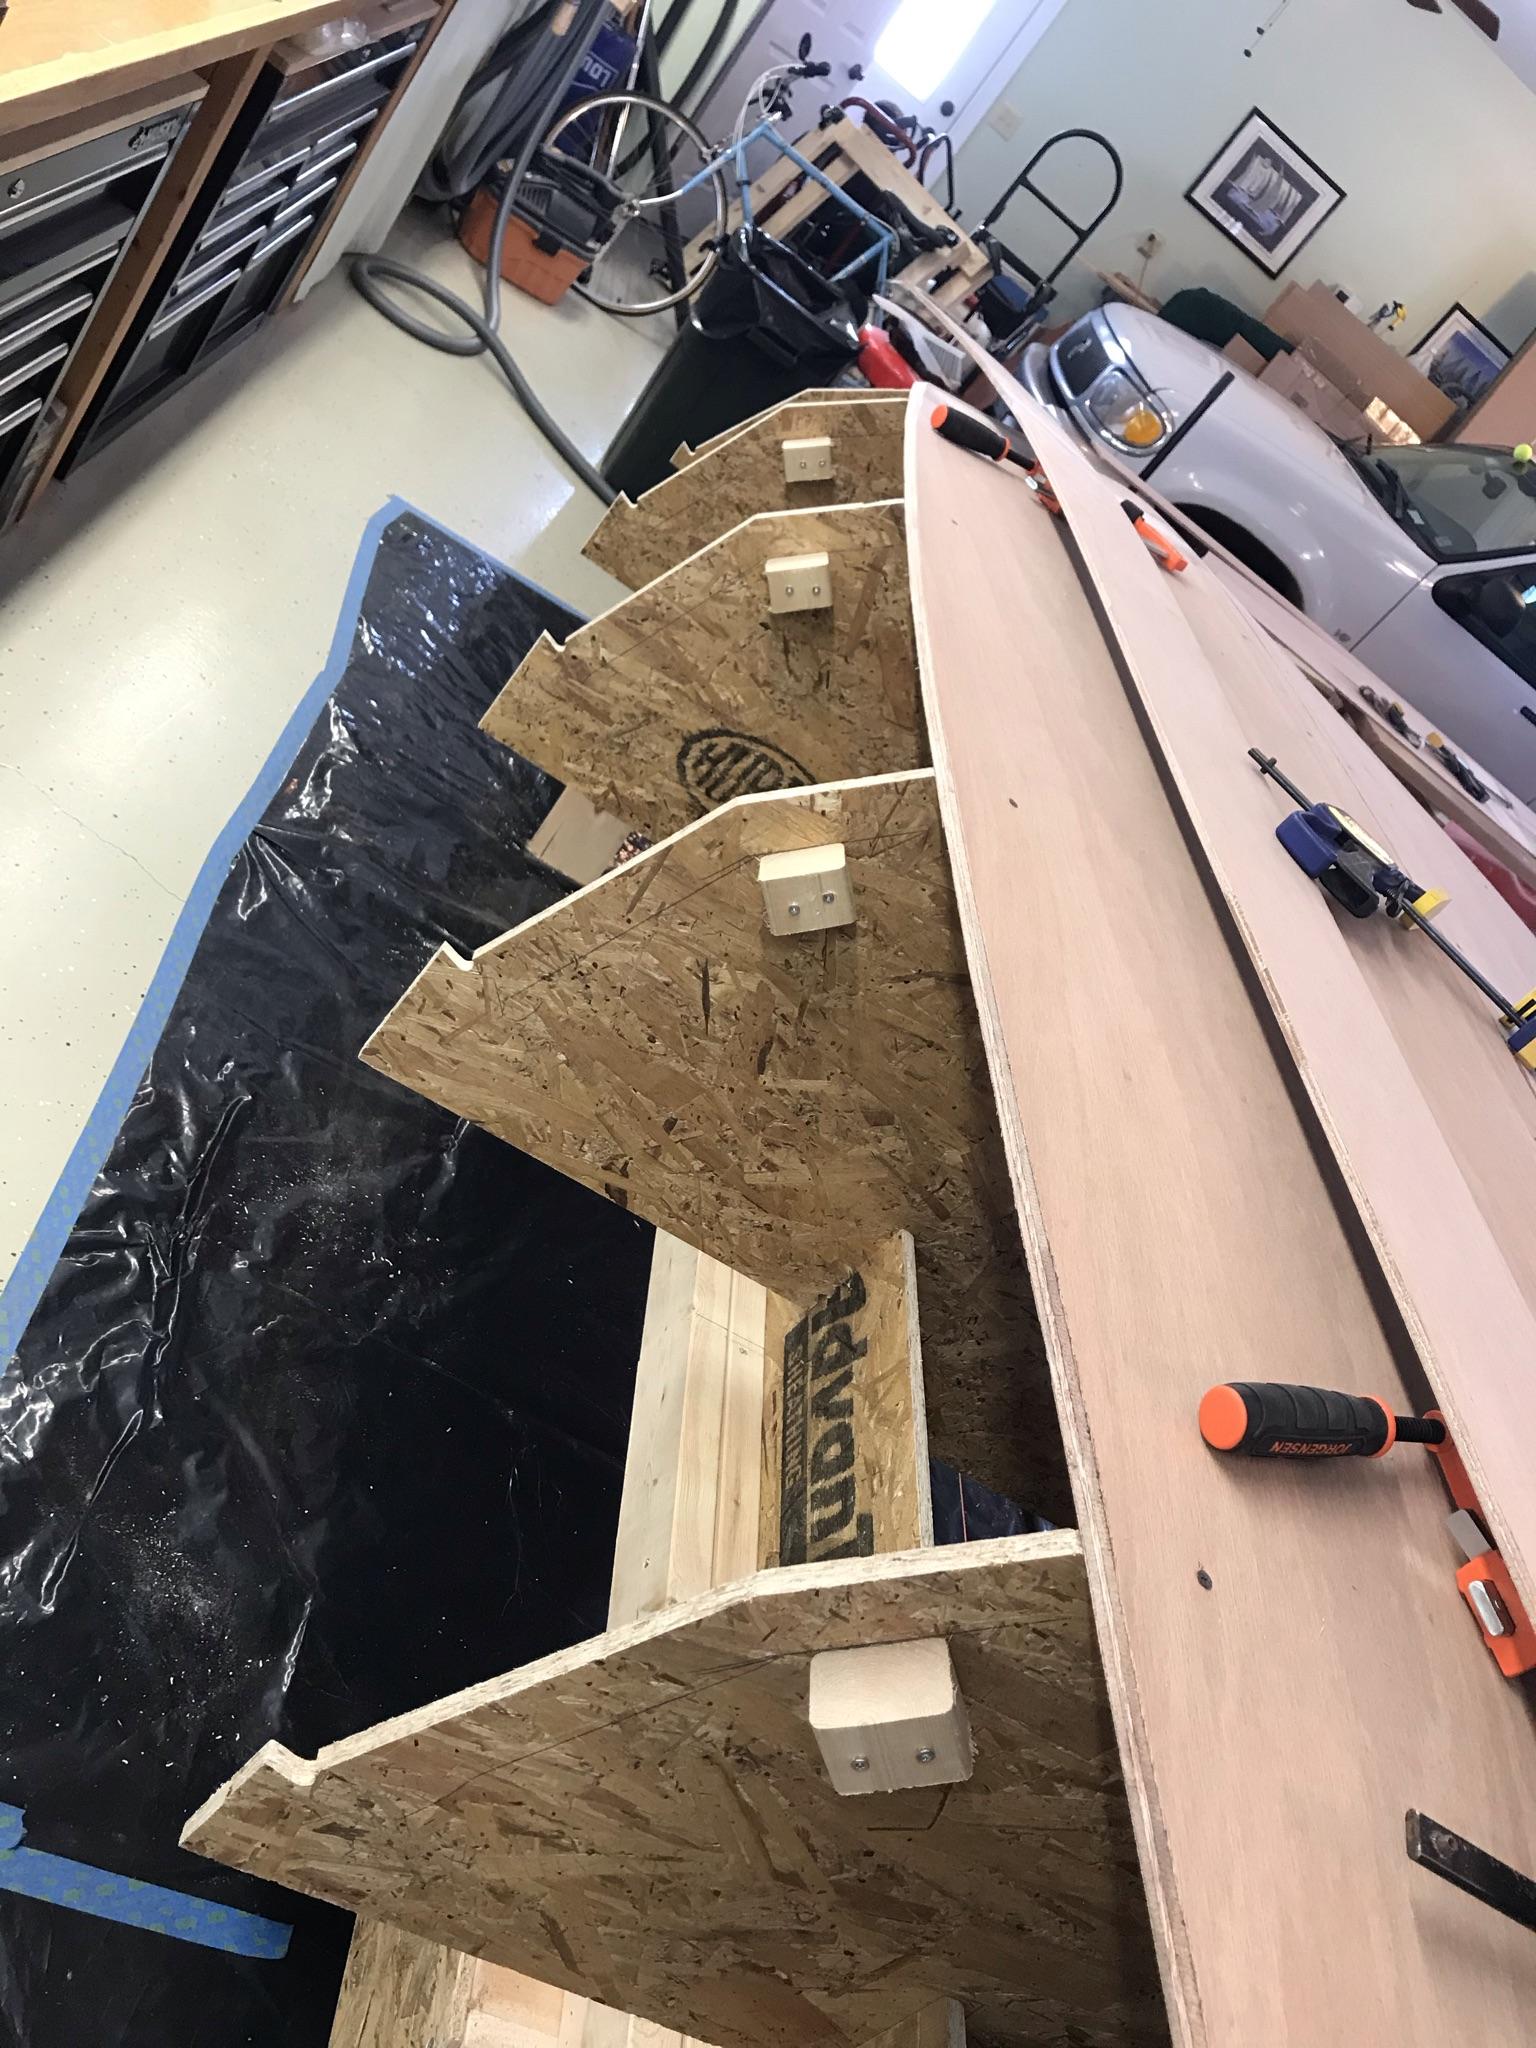
2/13/21 – Started fitting the Chine Planks. The first step is to install blocks on the mold in order to hold the planks in place while the epoxy cures.
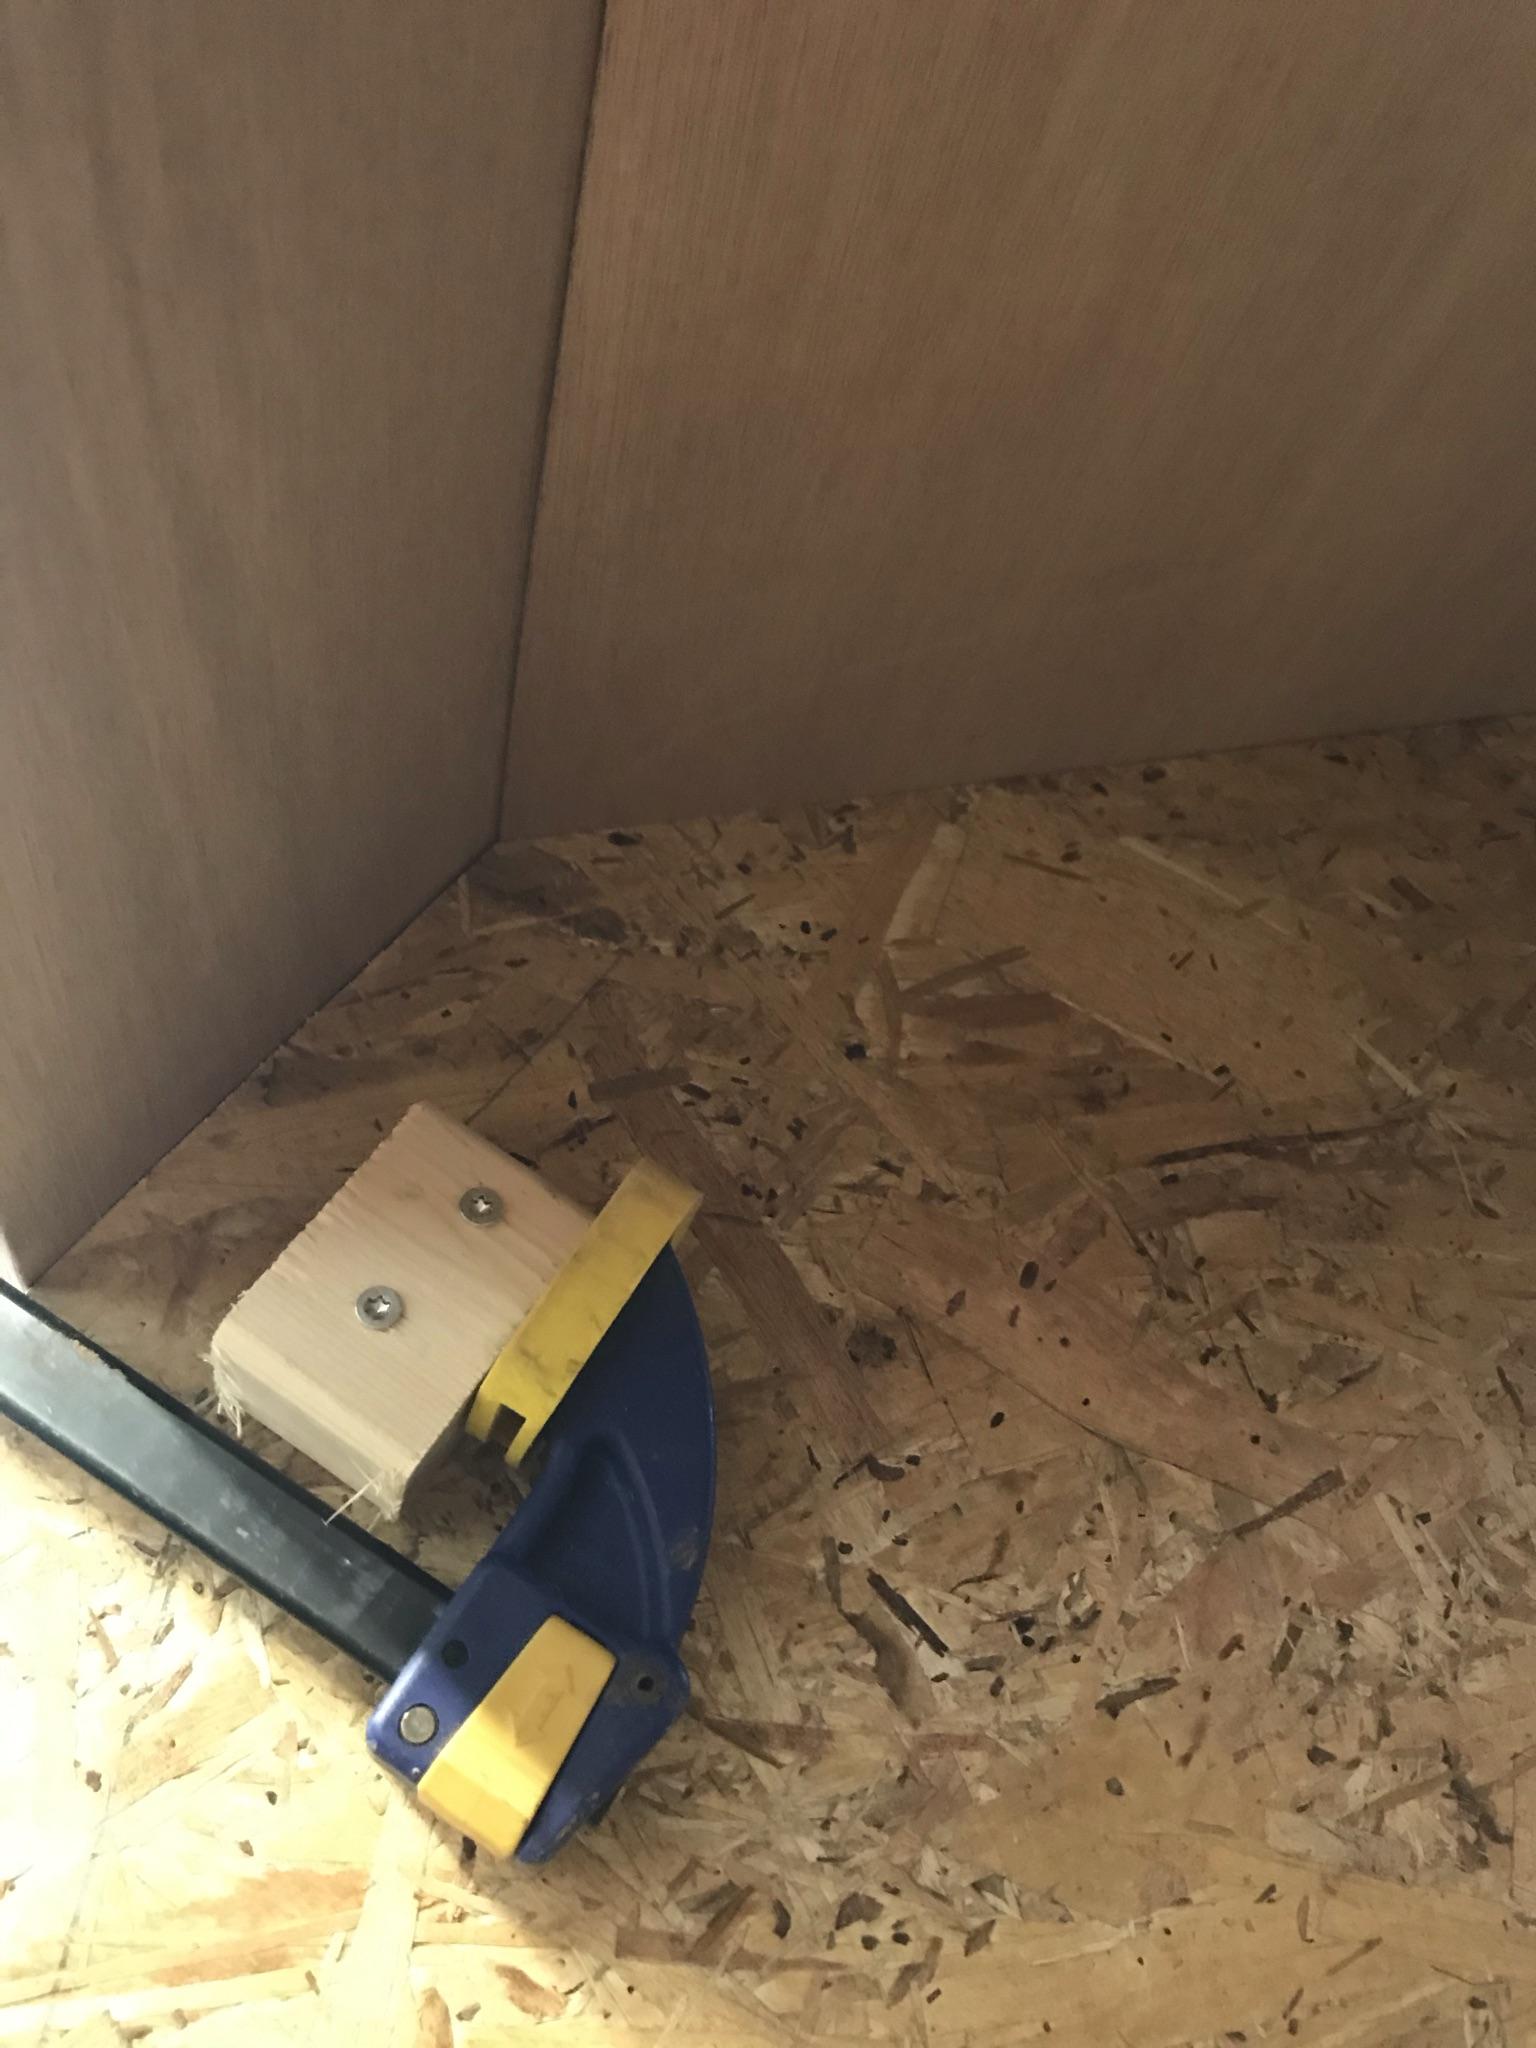
The mold has marks to show the alignment of the chine plank.

Once the plank is lined up, pilot holes can be drilled for the screws.
1st Chine Plank after epoxy. Will need to set overnight.
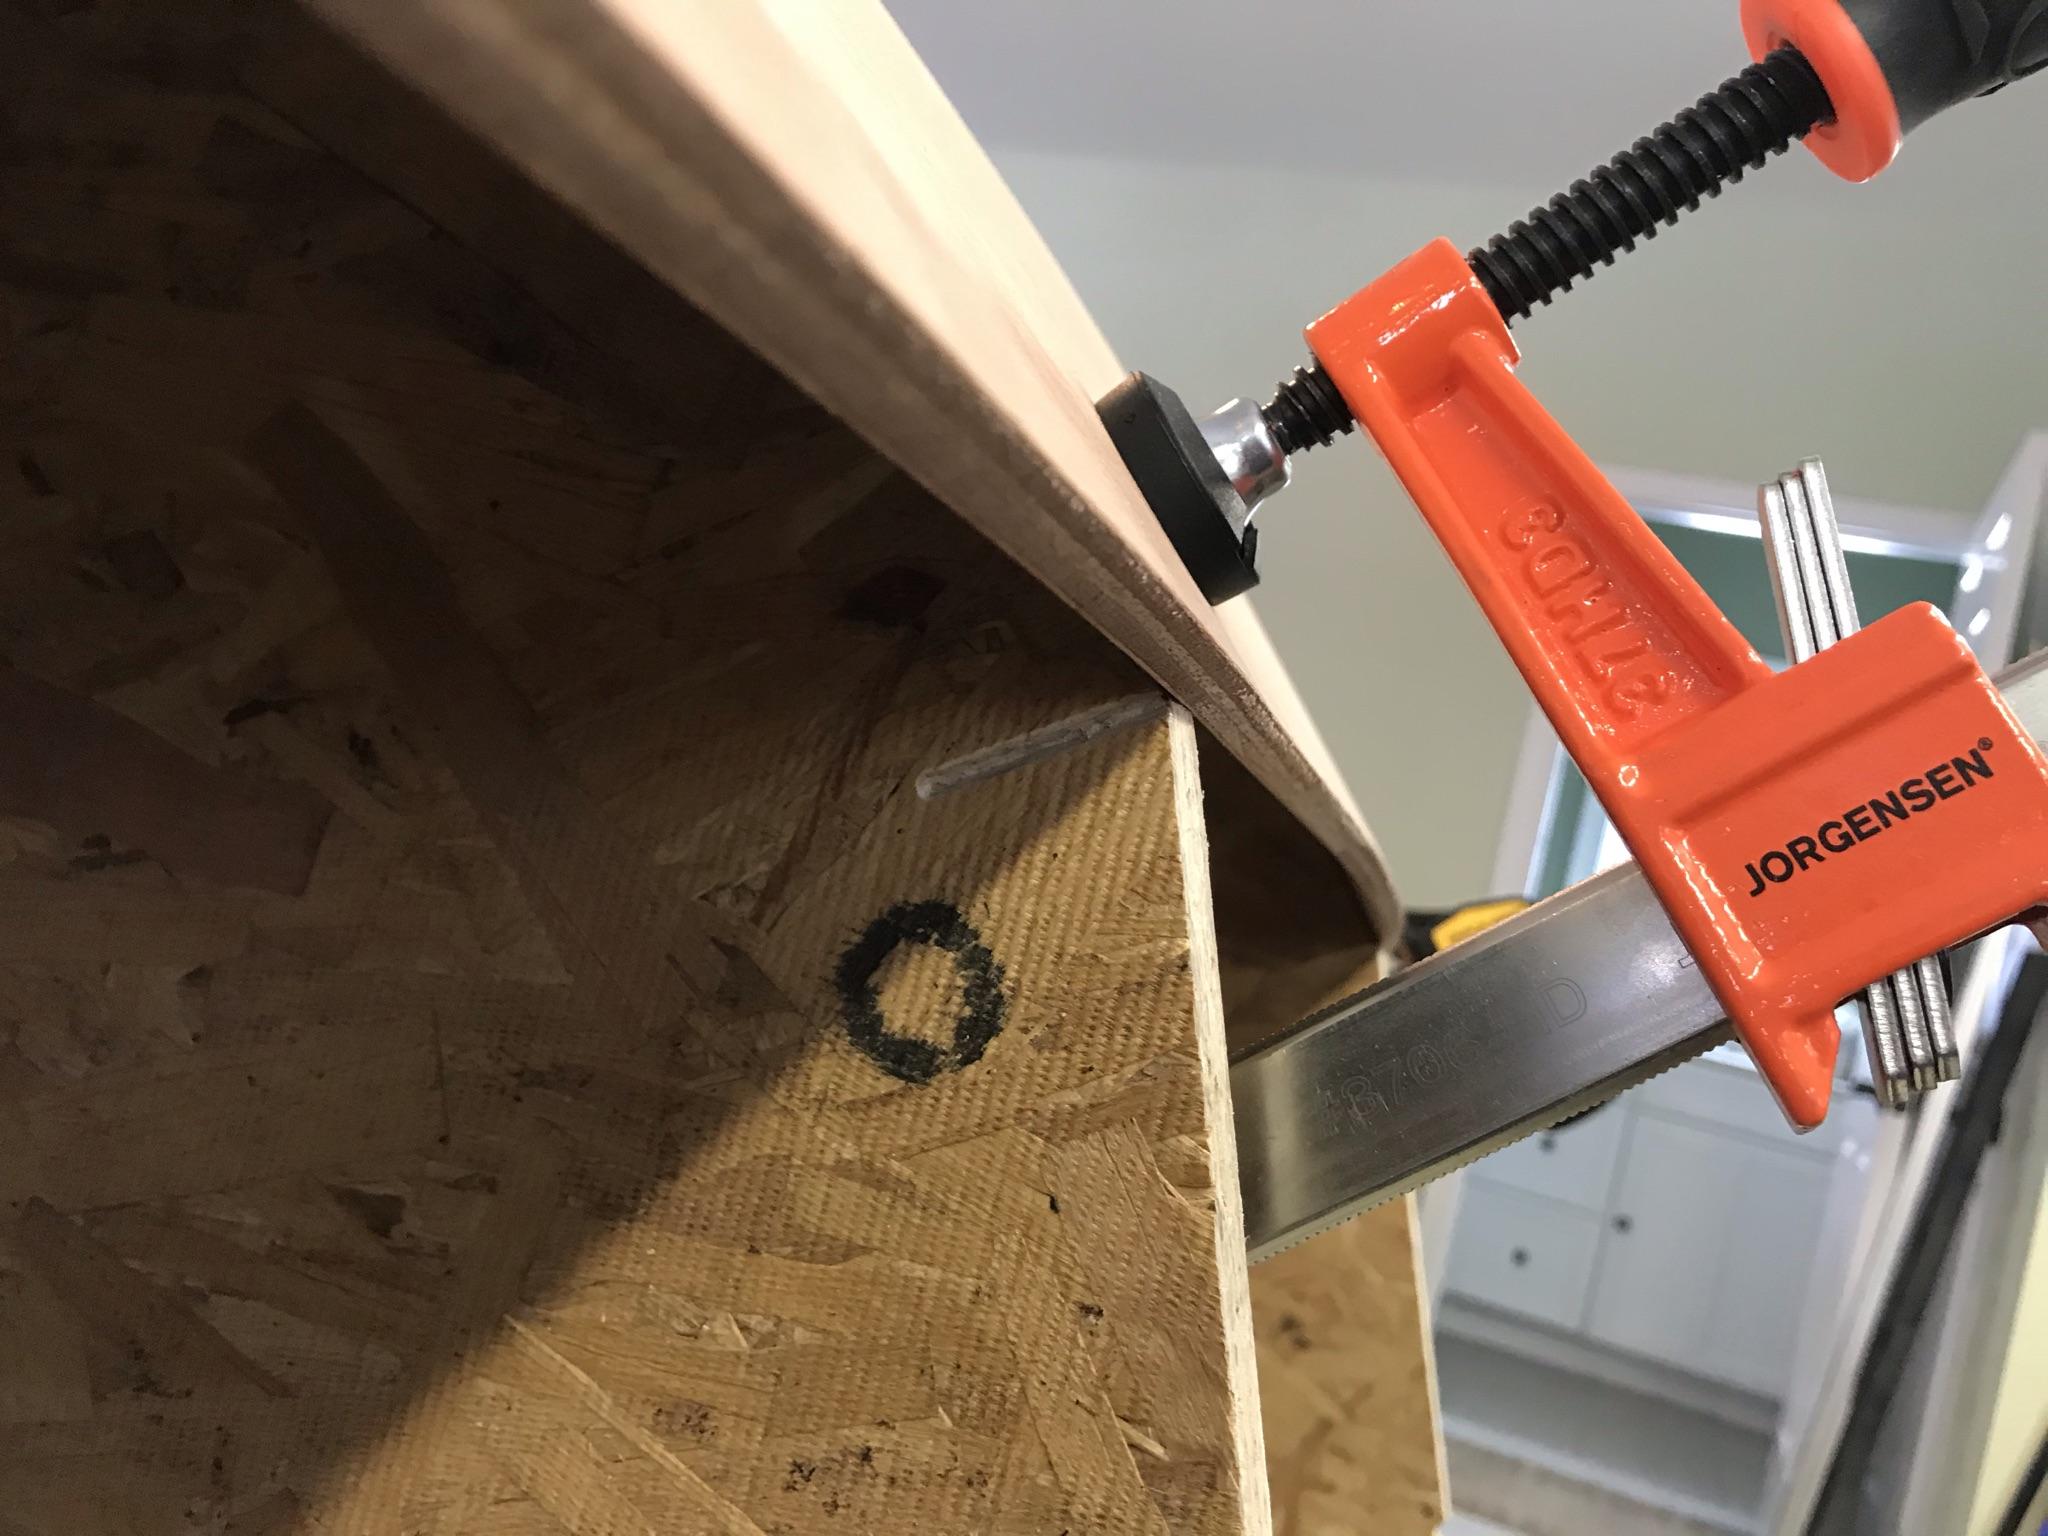
3:00 pm – Oops, almost made a big mistake by epoxying a screw in place that might be in the way of beveling for the next plank.
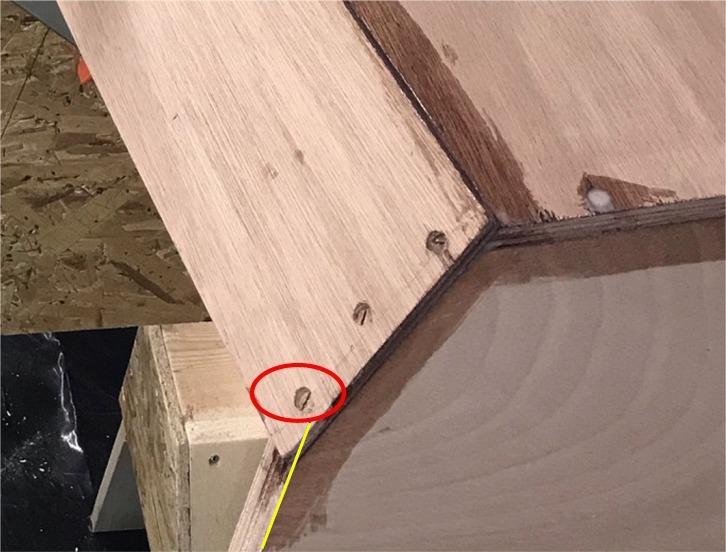
I caught this before the epoxy hardened.
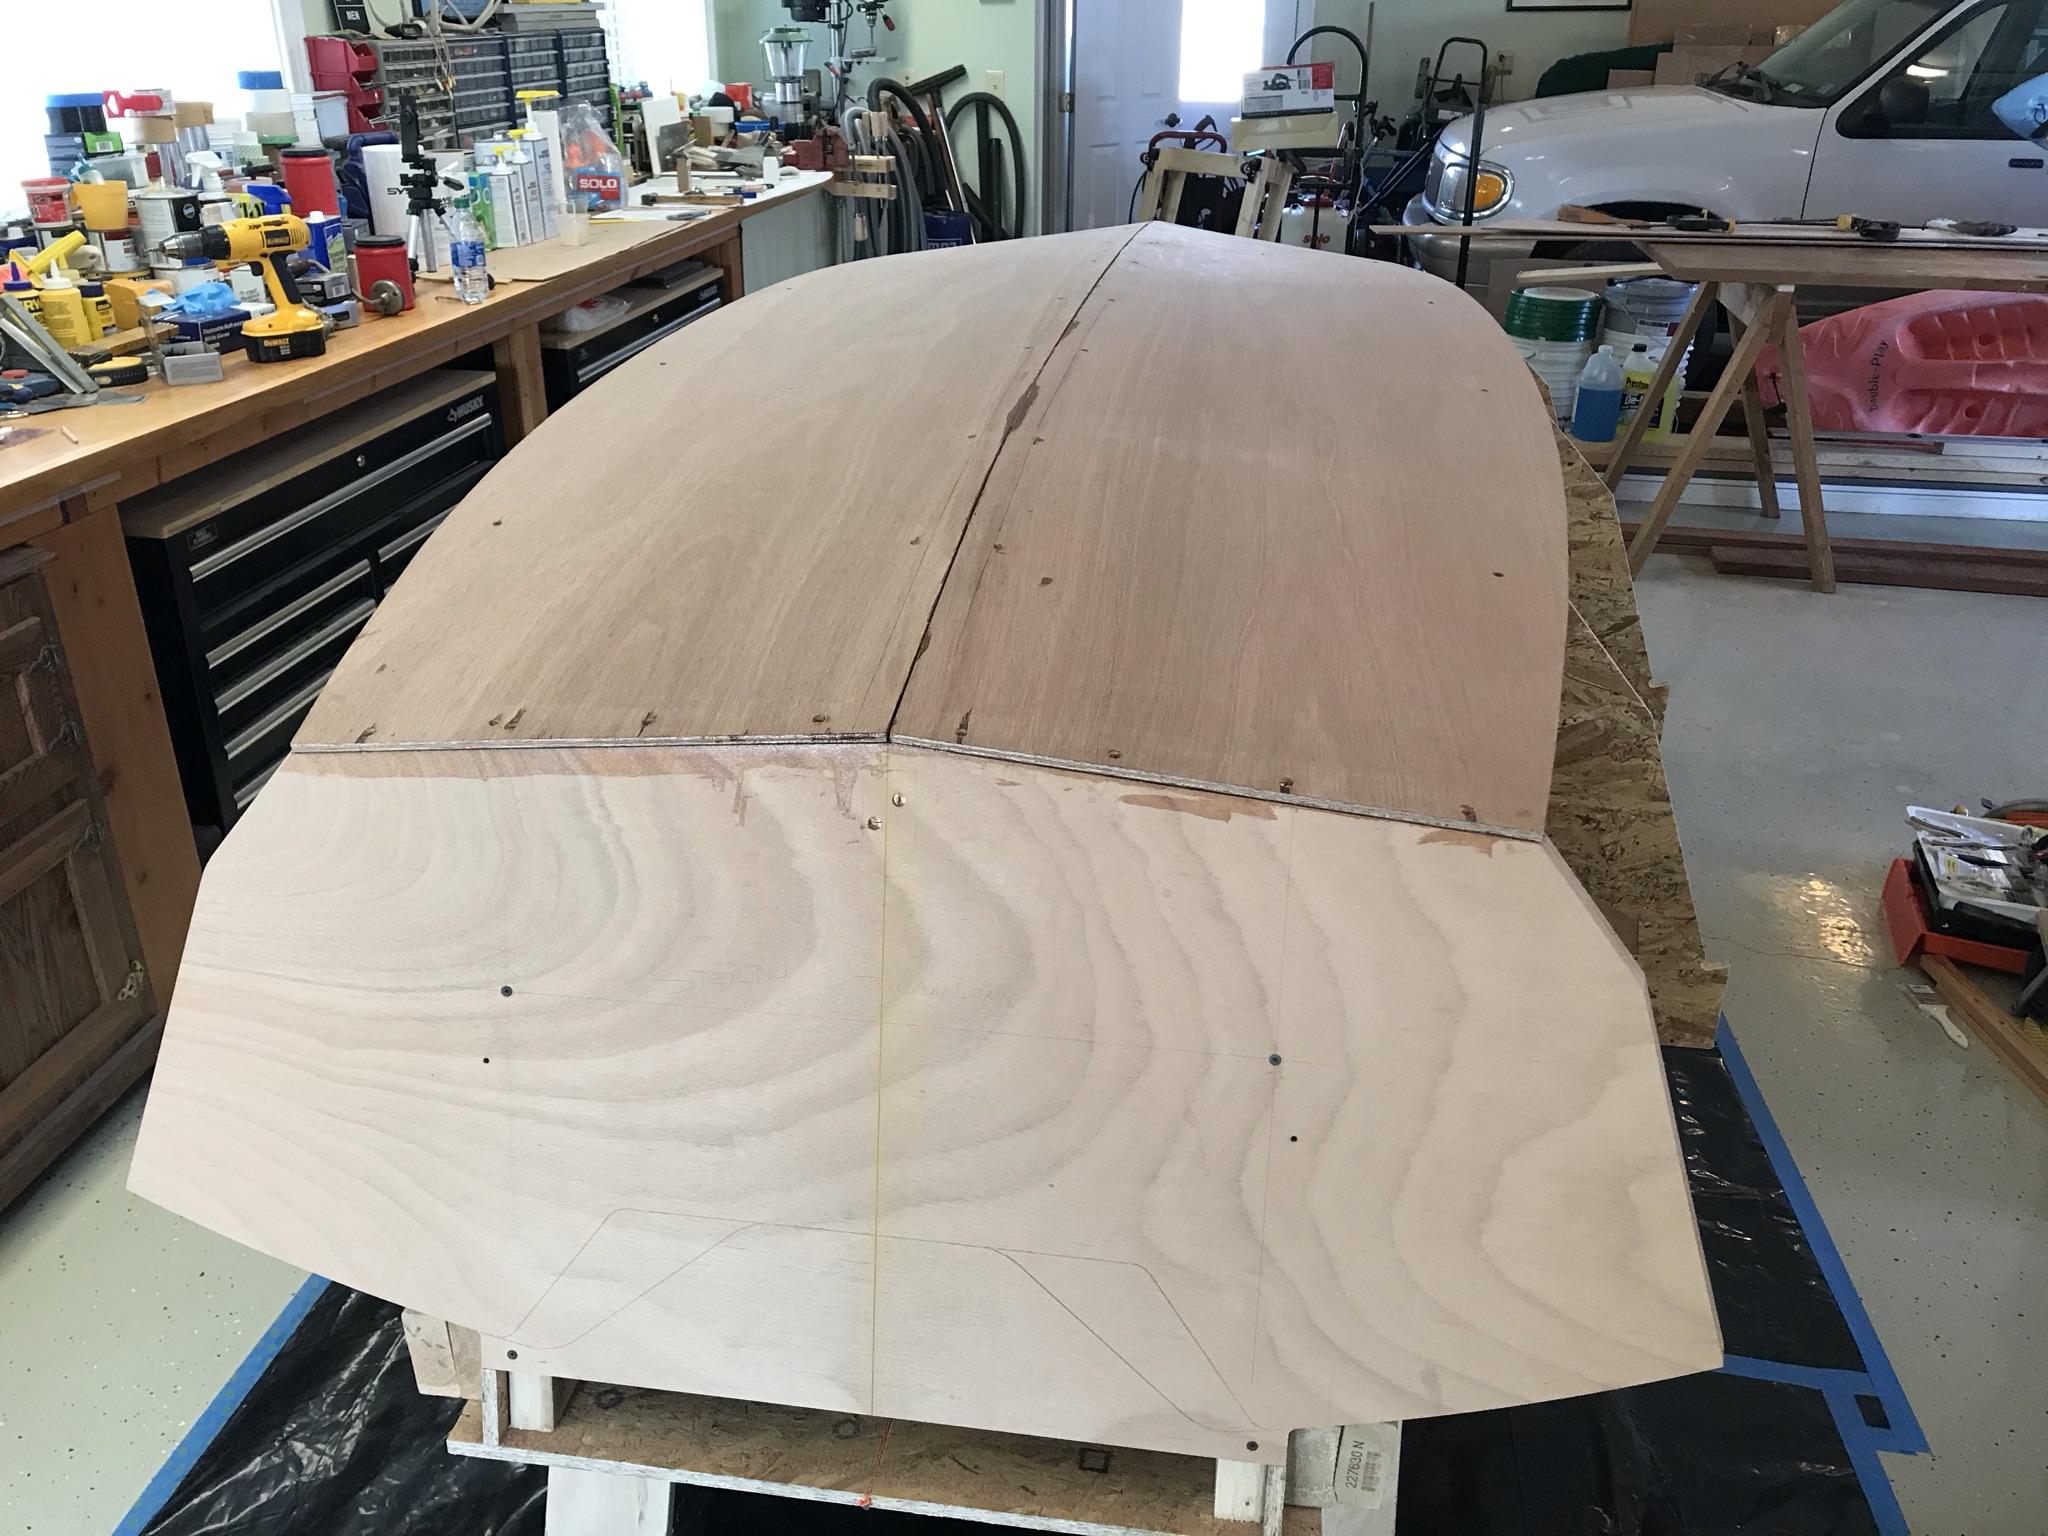
If you notice the angle of the last facet on the stern (in yellow), the bevel will be pretty wide. I just happened to be looking at the last picture while editing the blog and saw my mistake. I immediately went back to the garage and put a clamp on the panel and removed the screw before it was permenantly epoxied in place. I did the same at the bow. When I have beveled the spot for the next plank, I will then add another screw. When I do the other chine plank, I will be more careful in placing the third screw.
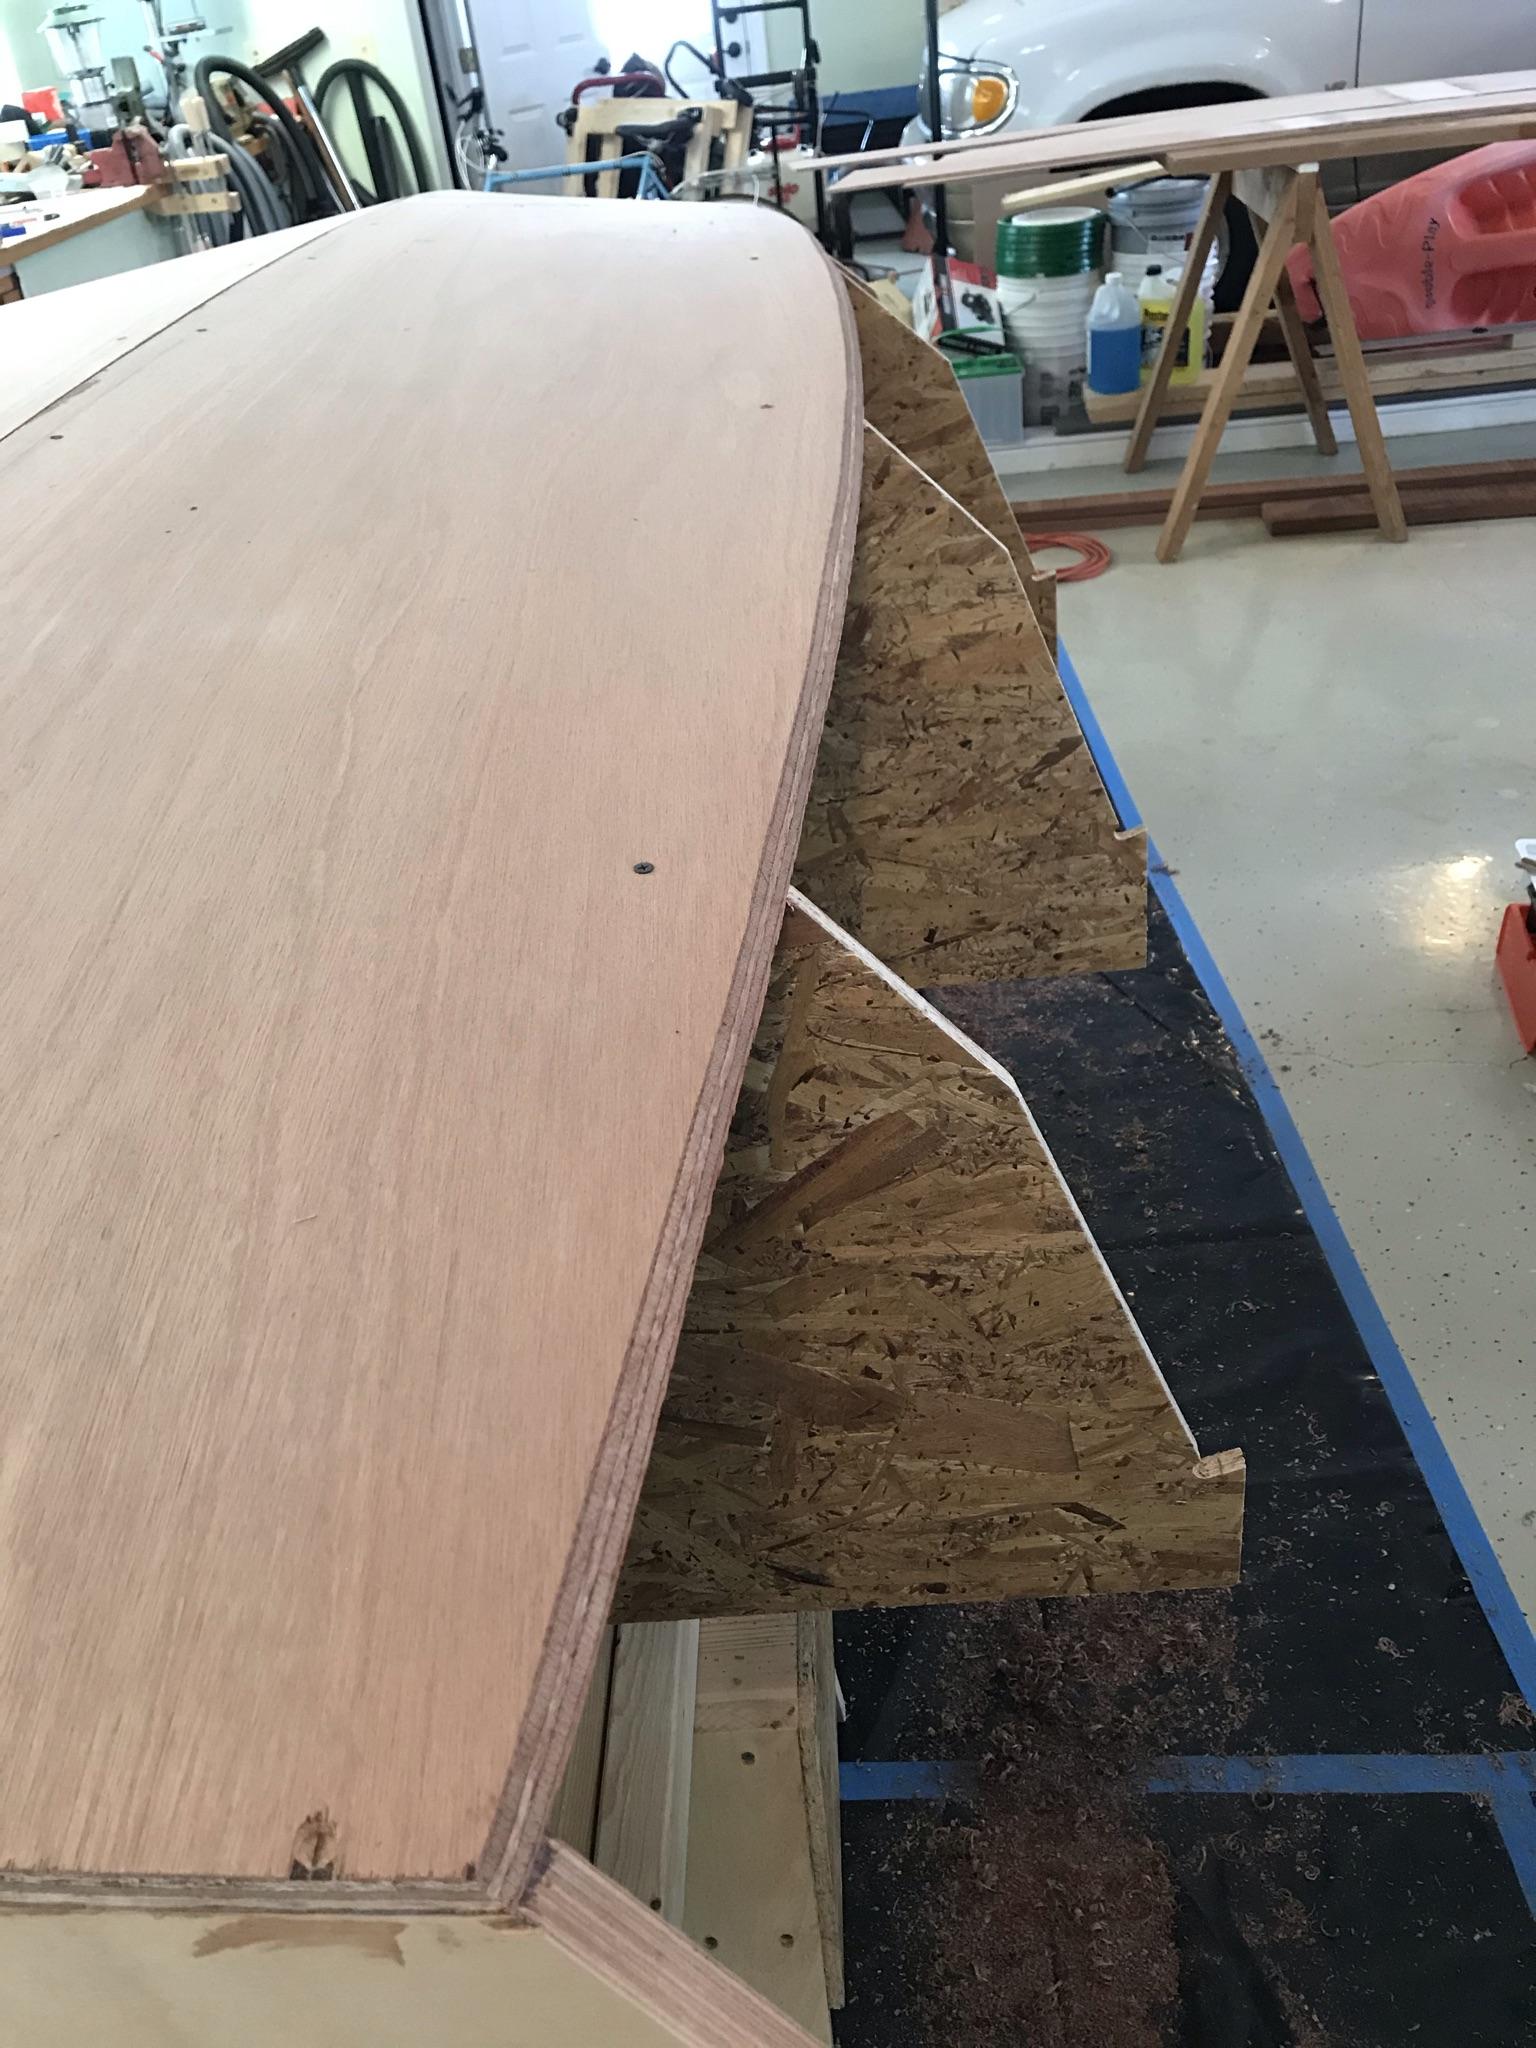
2/15/21 – Started fitting the 2nd Chine Plank. I marked the width of the bevel for the next plank so that the screws don’t interfere. I also got to start using my new square head screws. Sooo much easier to work with.

Planed the 1st Chine plank even with the bottom plank.
Finished epoxying 2nd Chine plank. It will need to set up overnight.
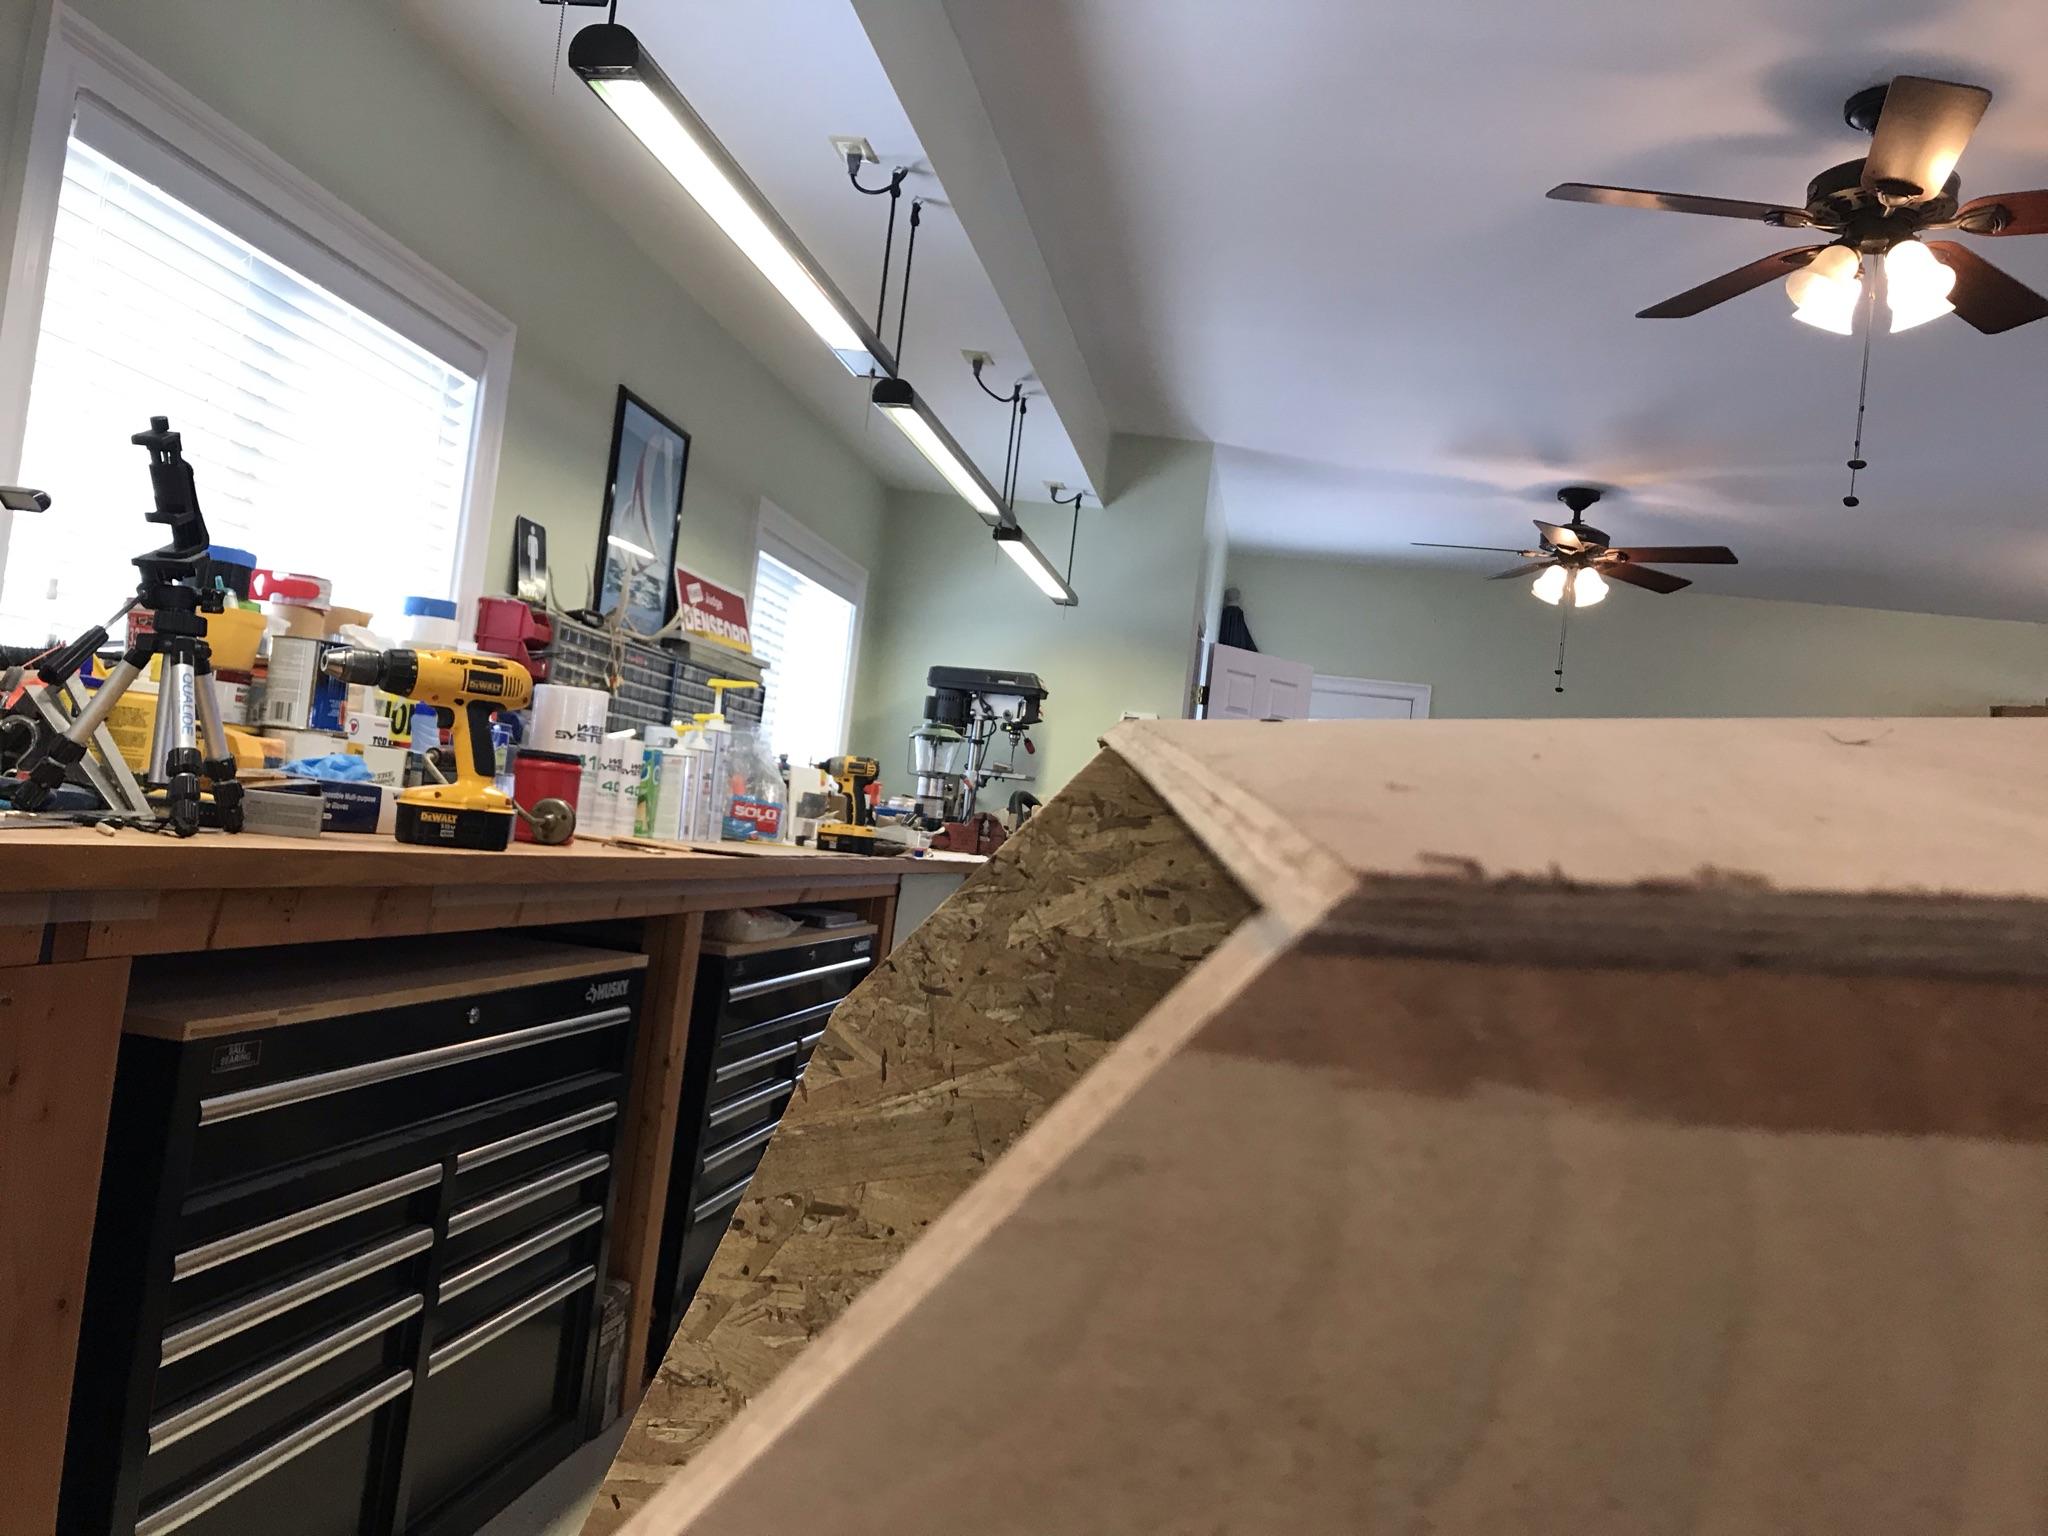
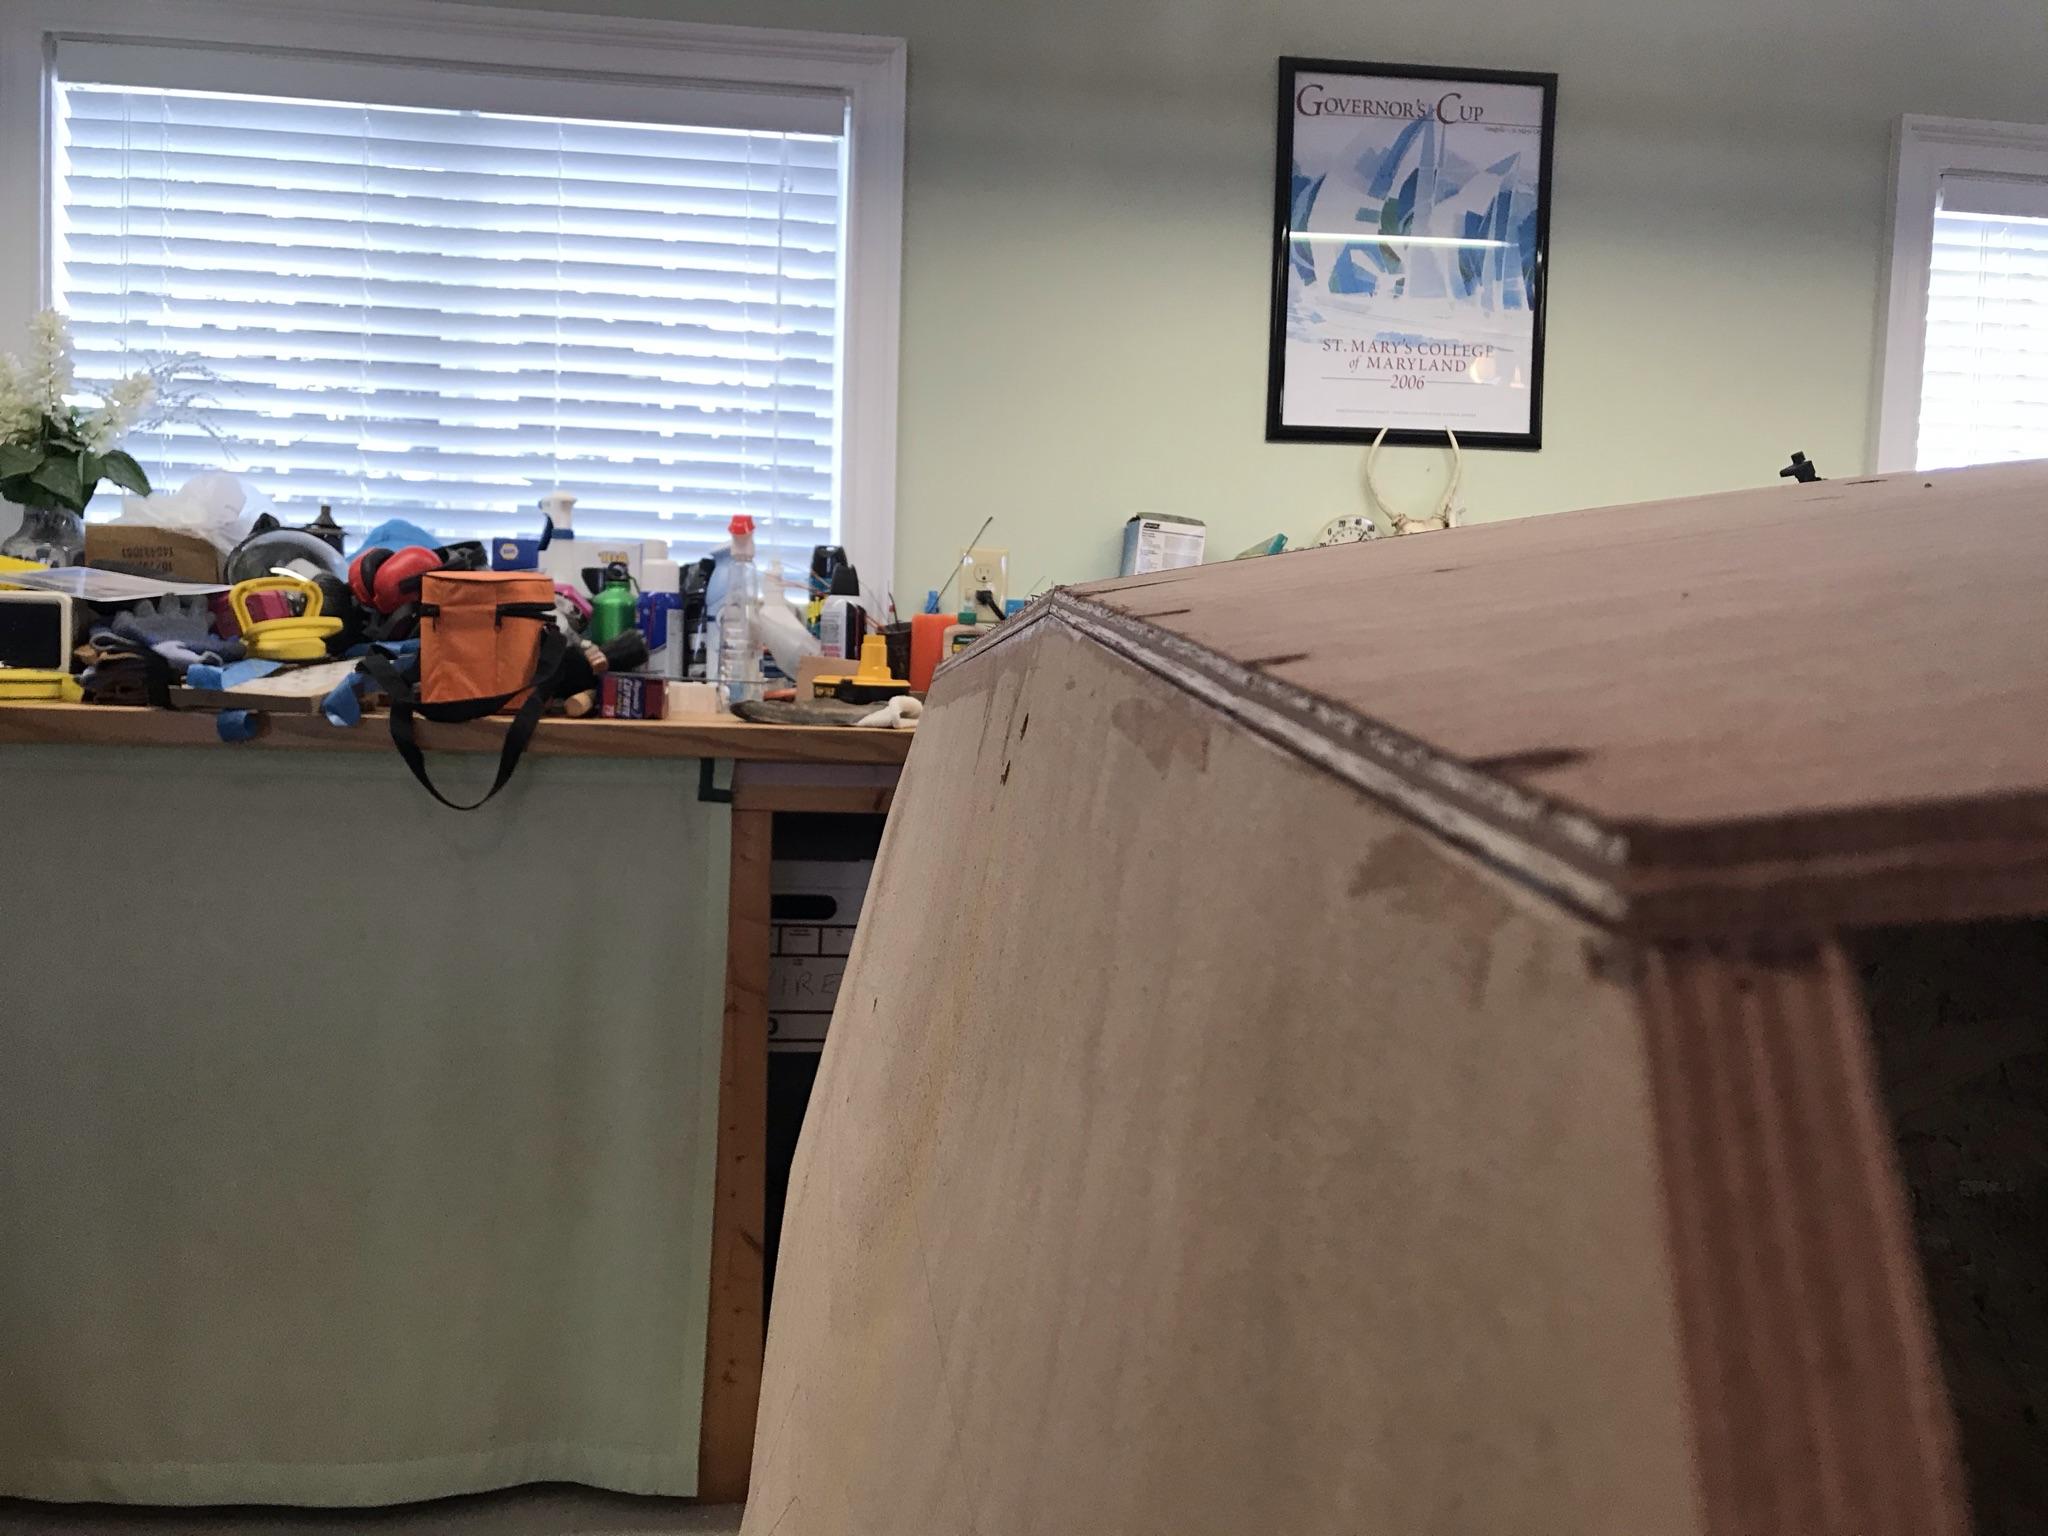
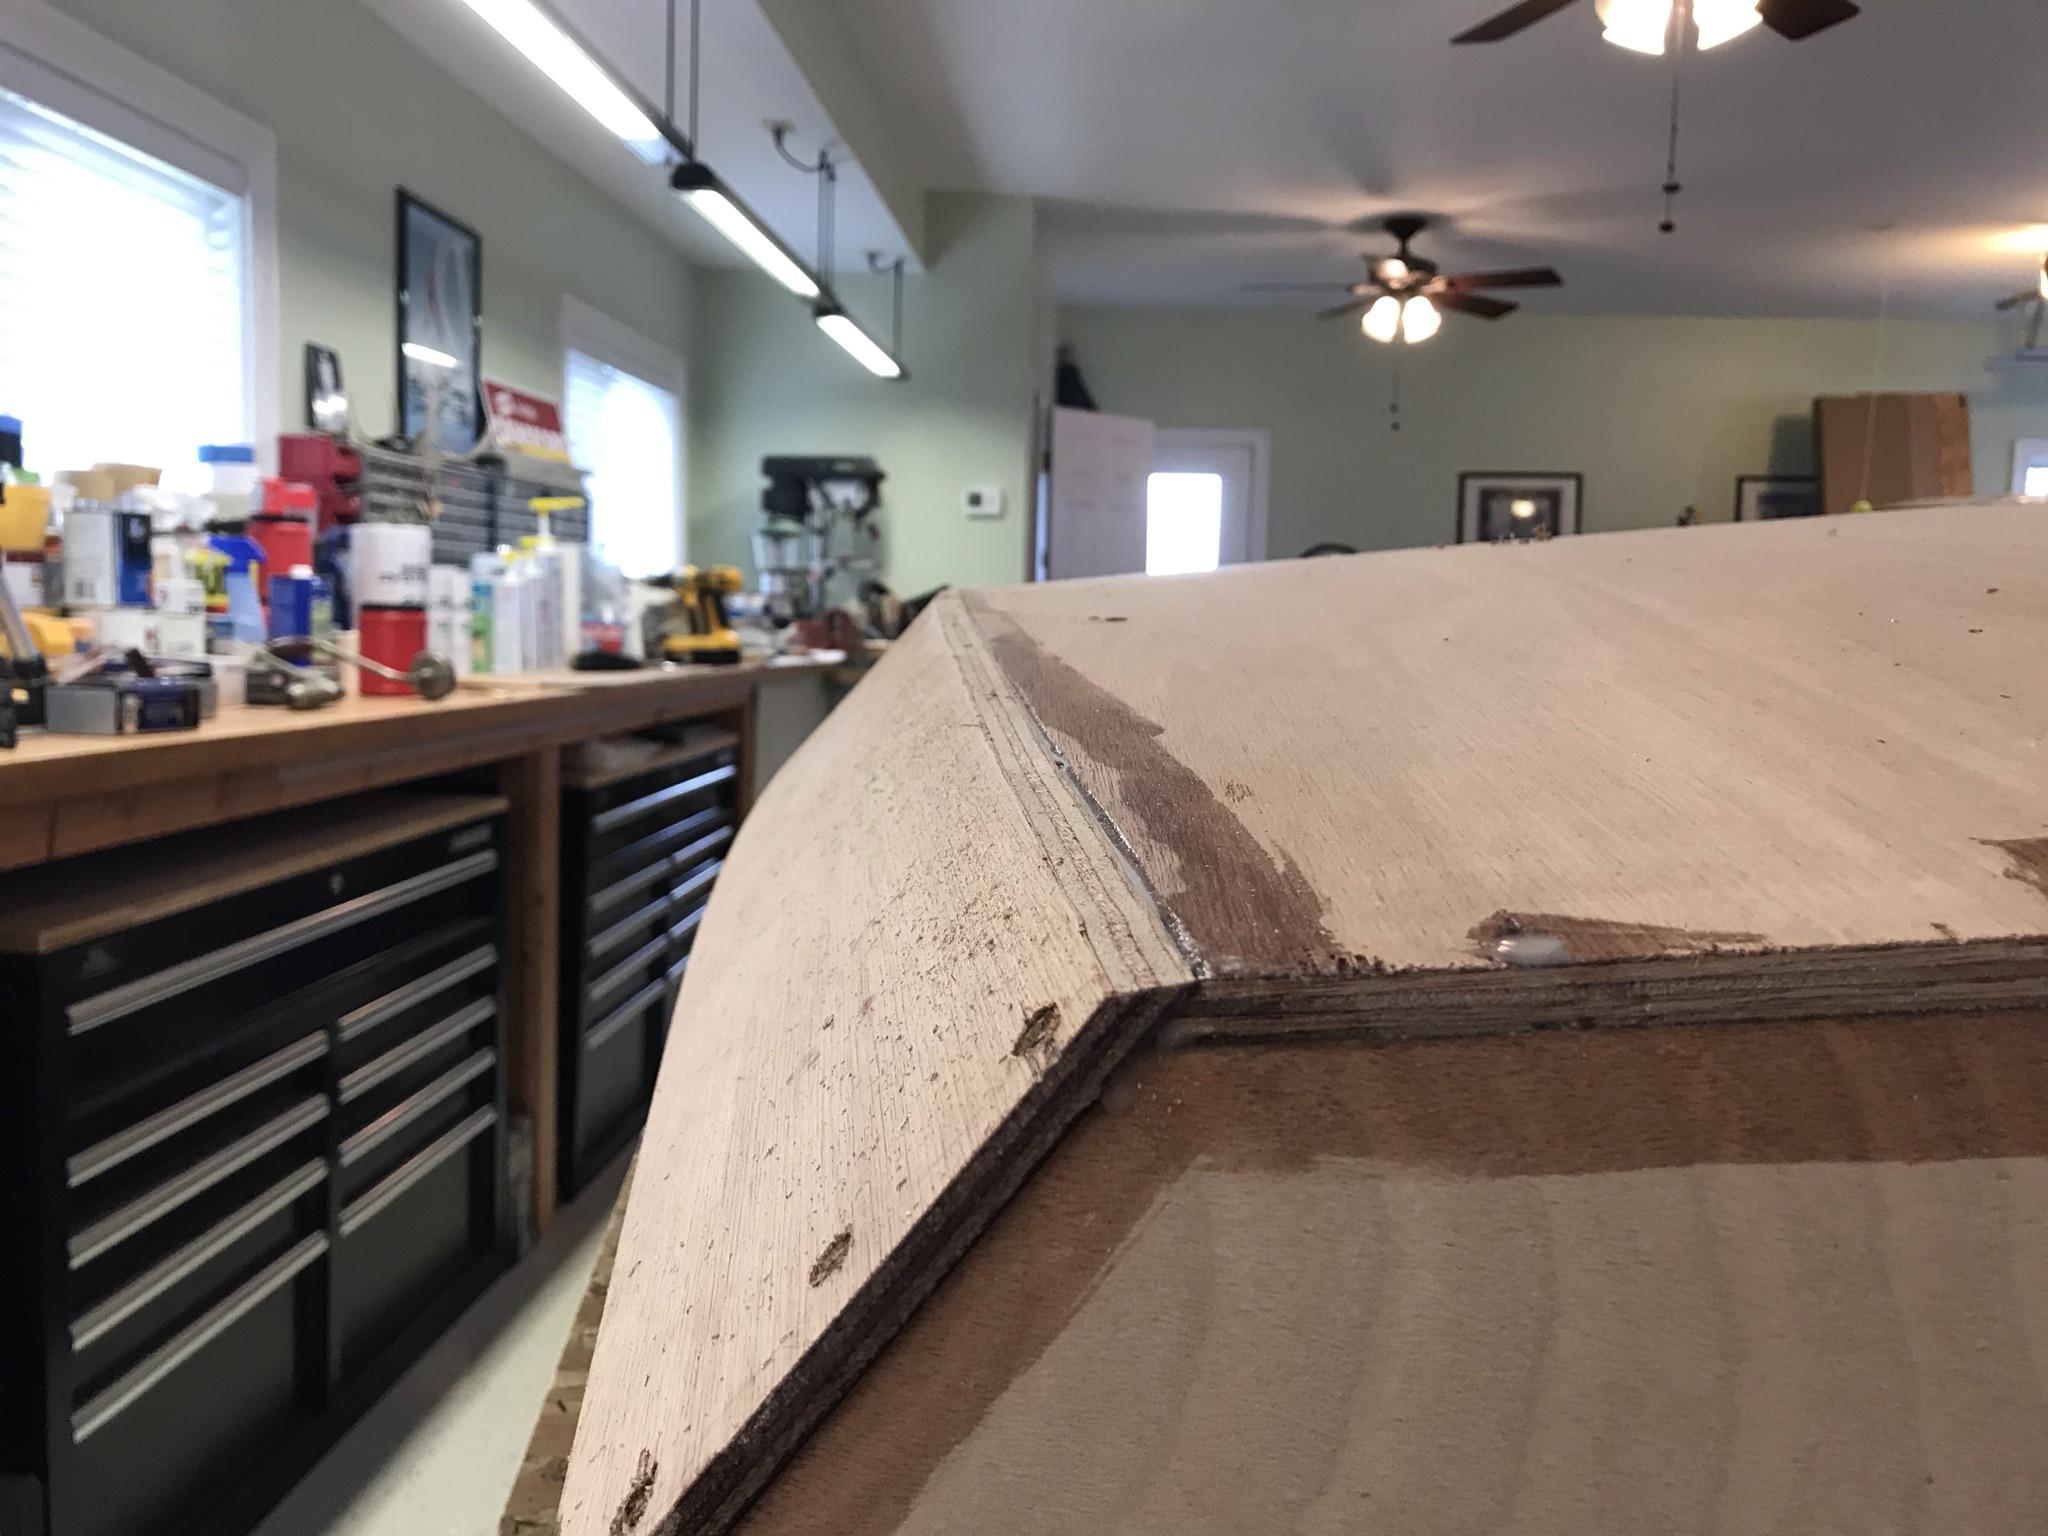
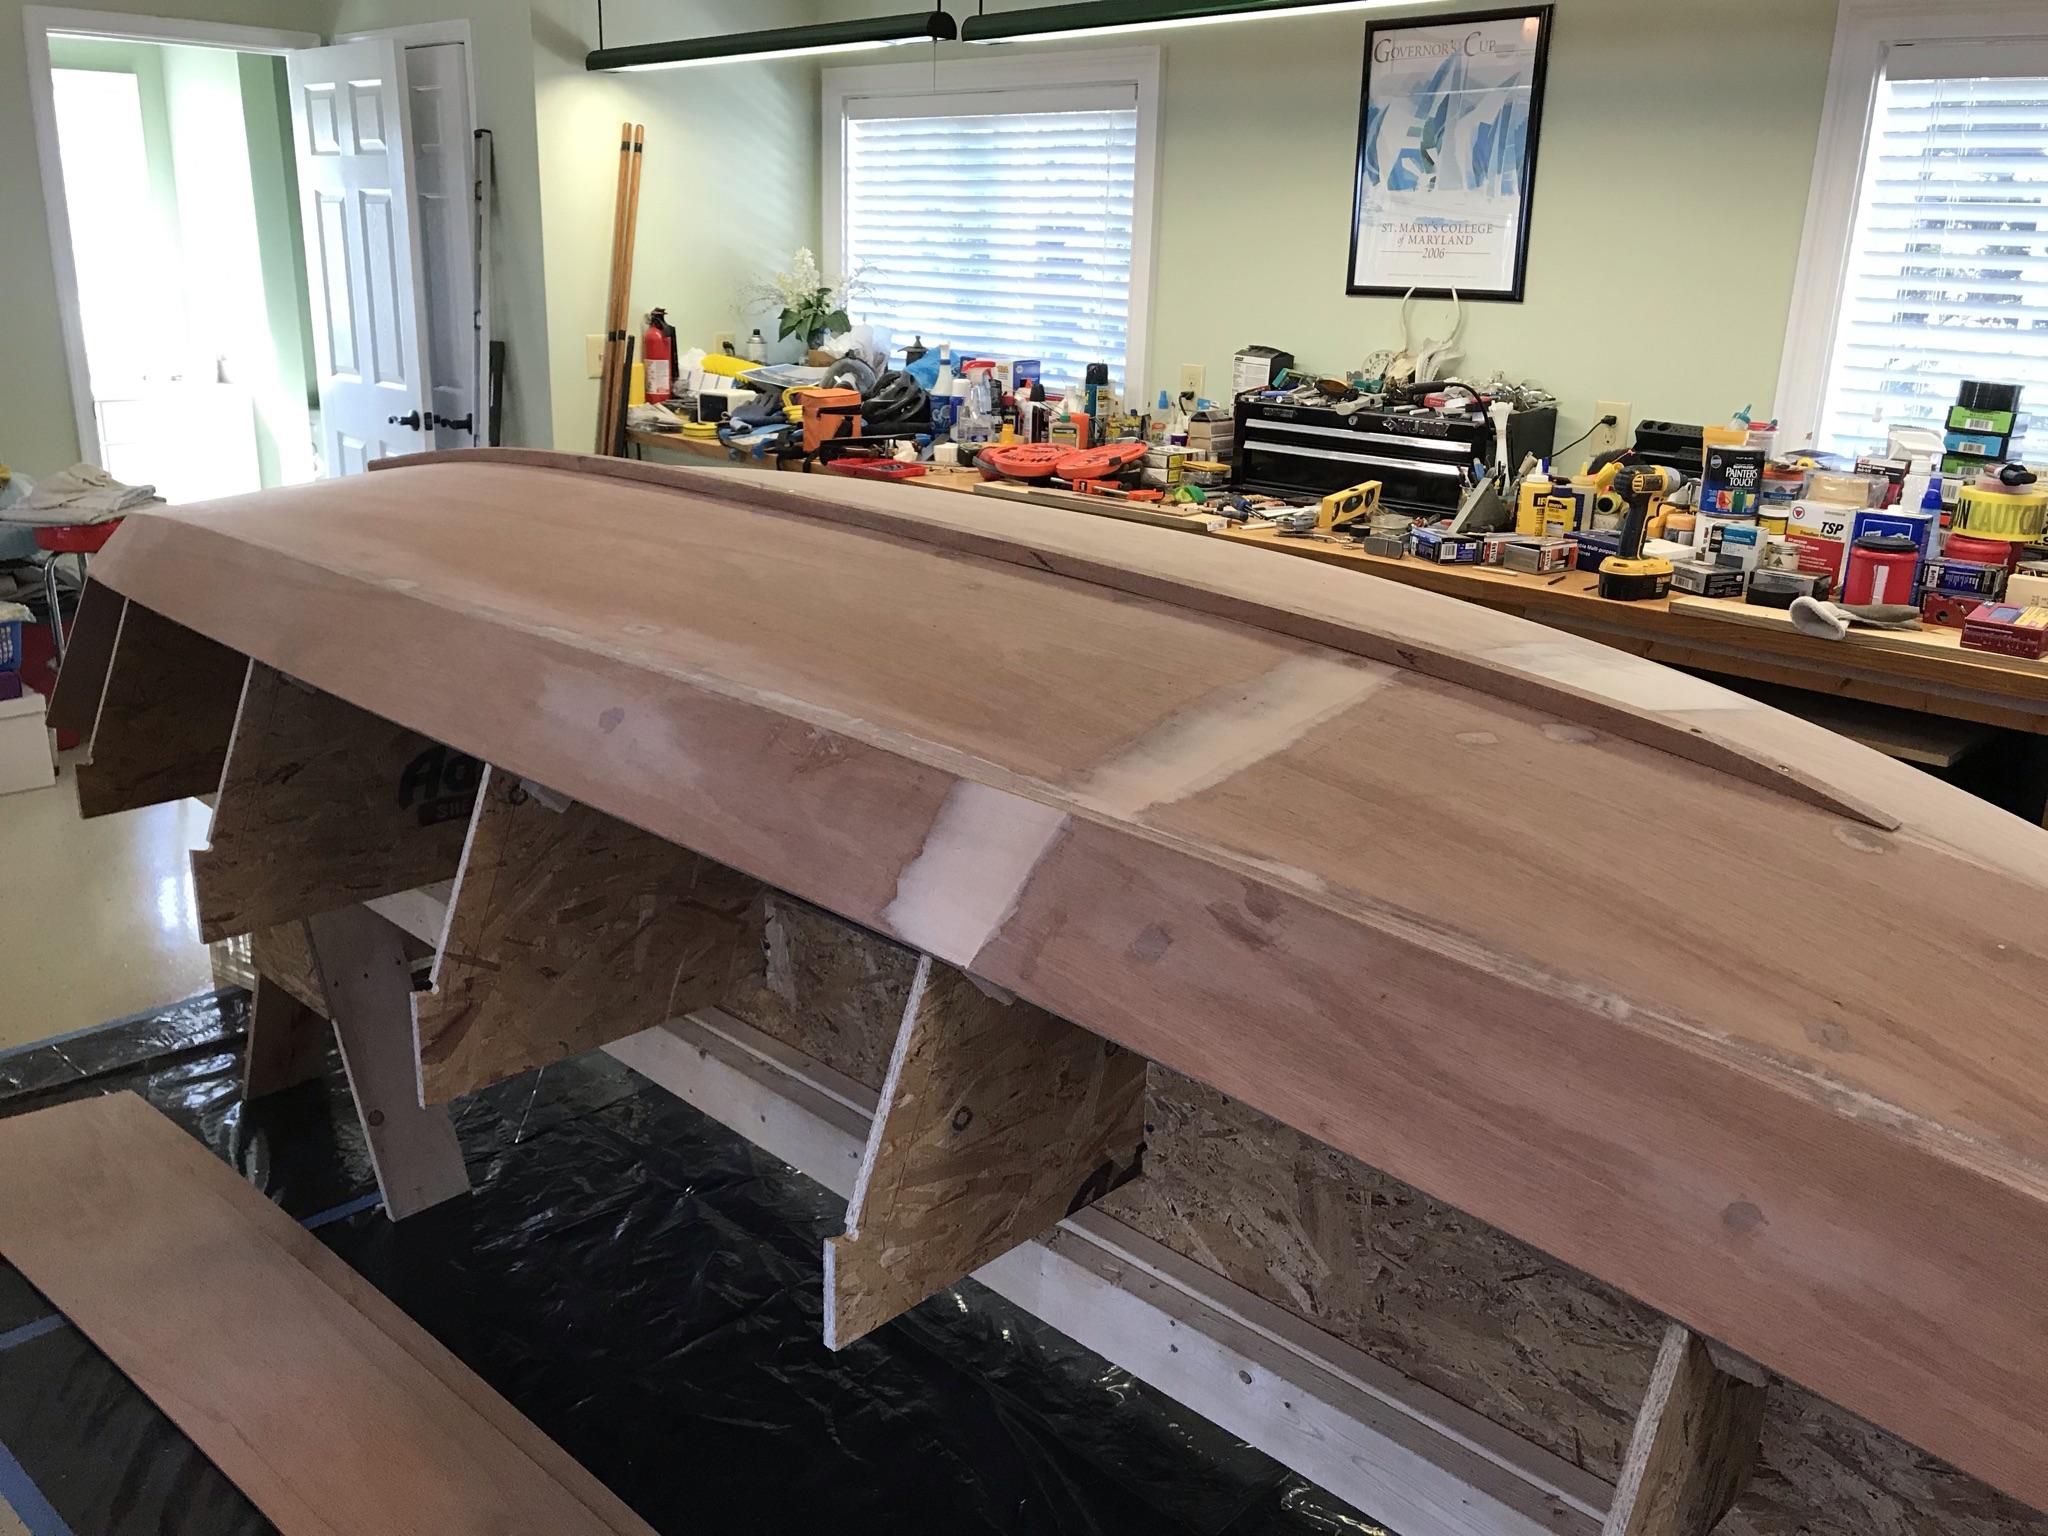
2/16/21 – The Chine planks are planed even with the bottom plank and I used an epoxy filler to fill all screw holes and joints for final sanding.
2/17/21 – Sanded the bottom where I filled all the screw holes and all the epoxy joints. I used the 405 Filleting Blend filler which was a lot harder to sand than the fairing filler. It was a pain to sand smooth.
After sanding, there were still a number of depressions where the filler shrunk in the holes, so it required another round of filling. This time I am using the 410 Microlight Fairing Filler with the 207 hardner.
The fairing filler dries white and will require another sanding tomorrow.
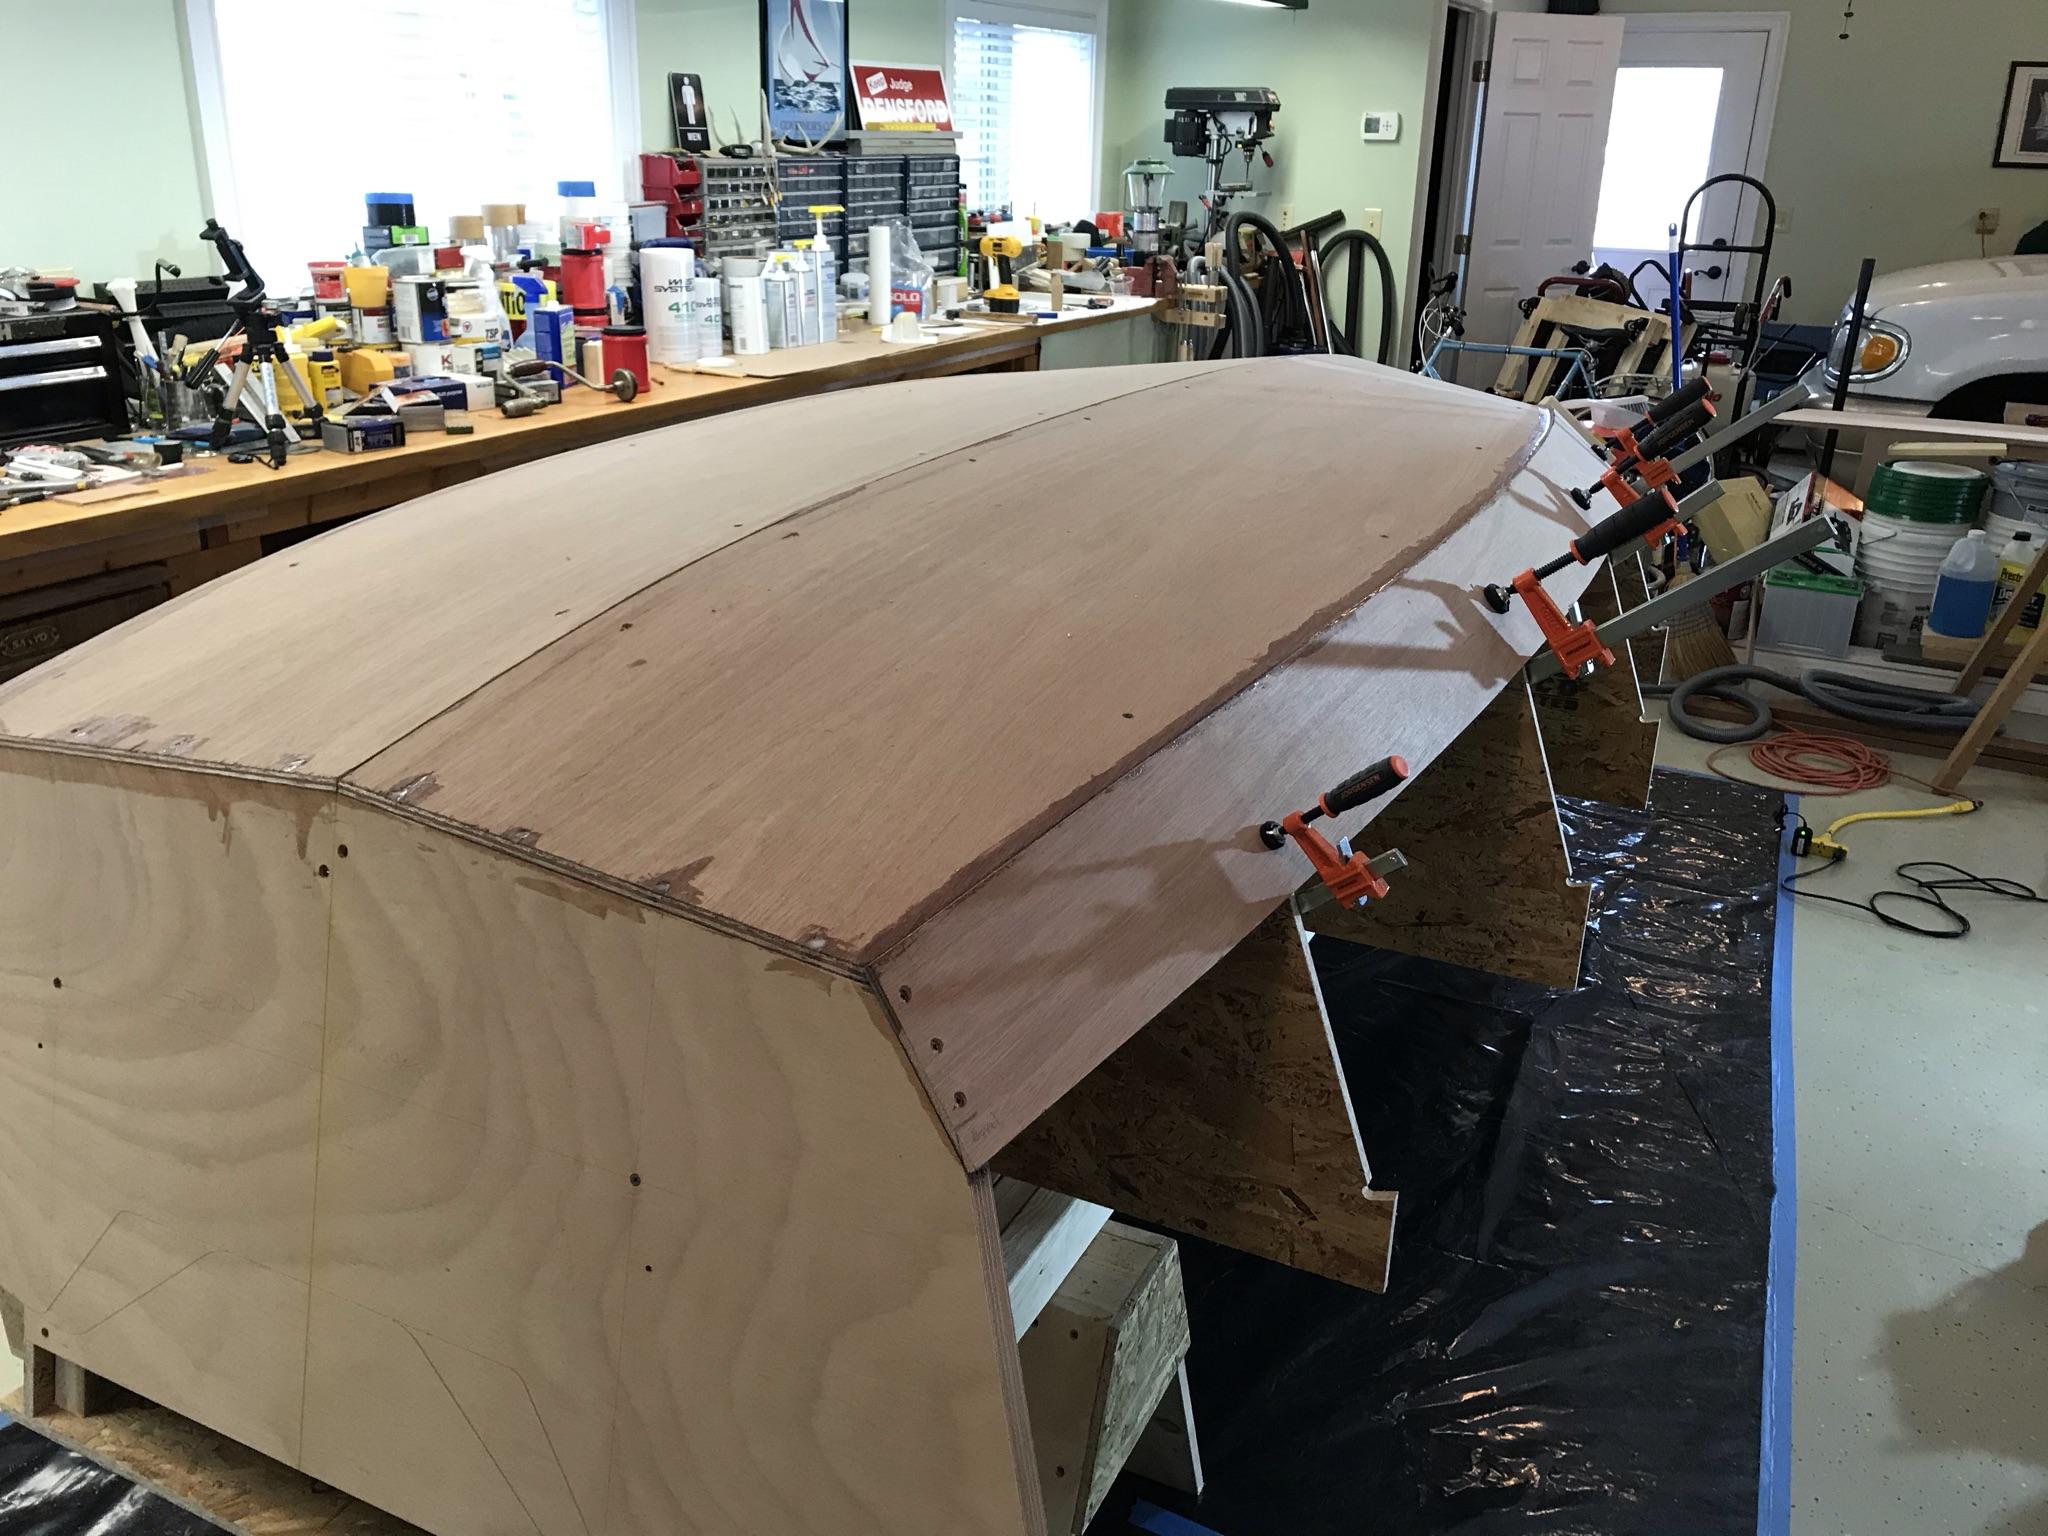
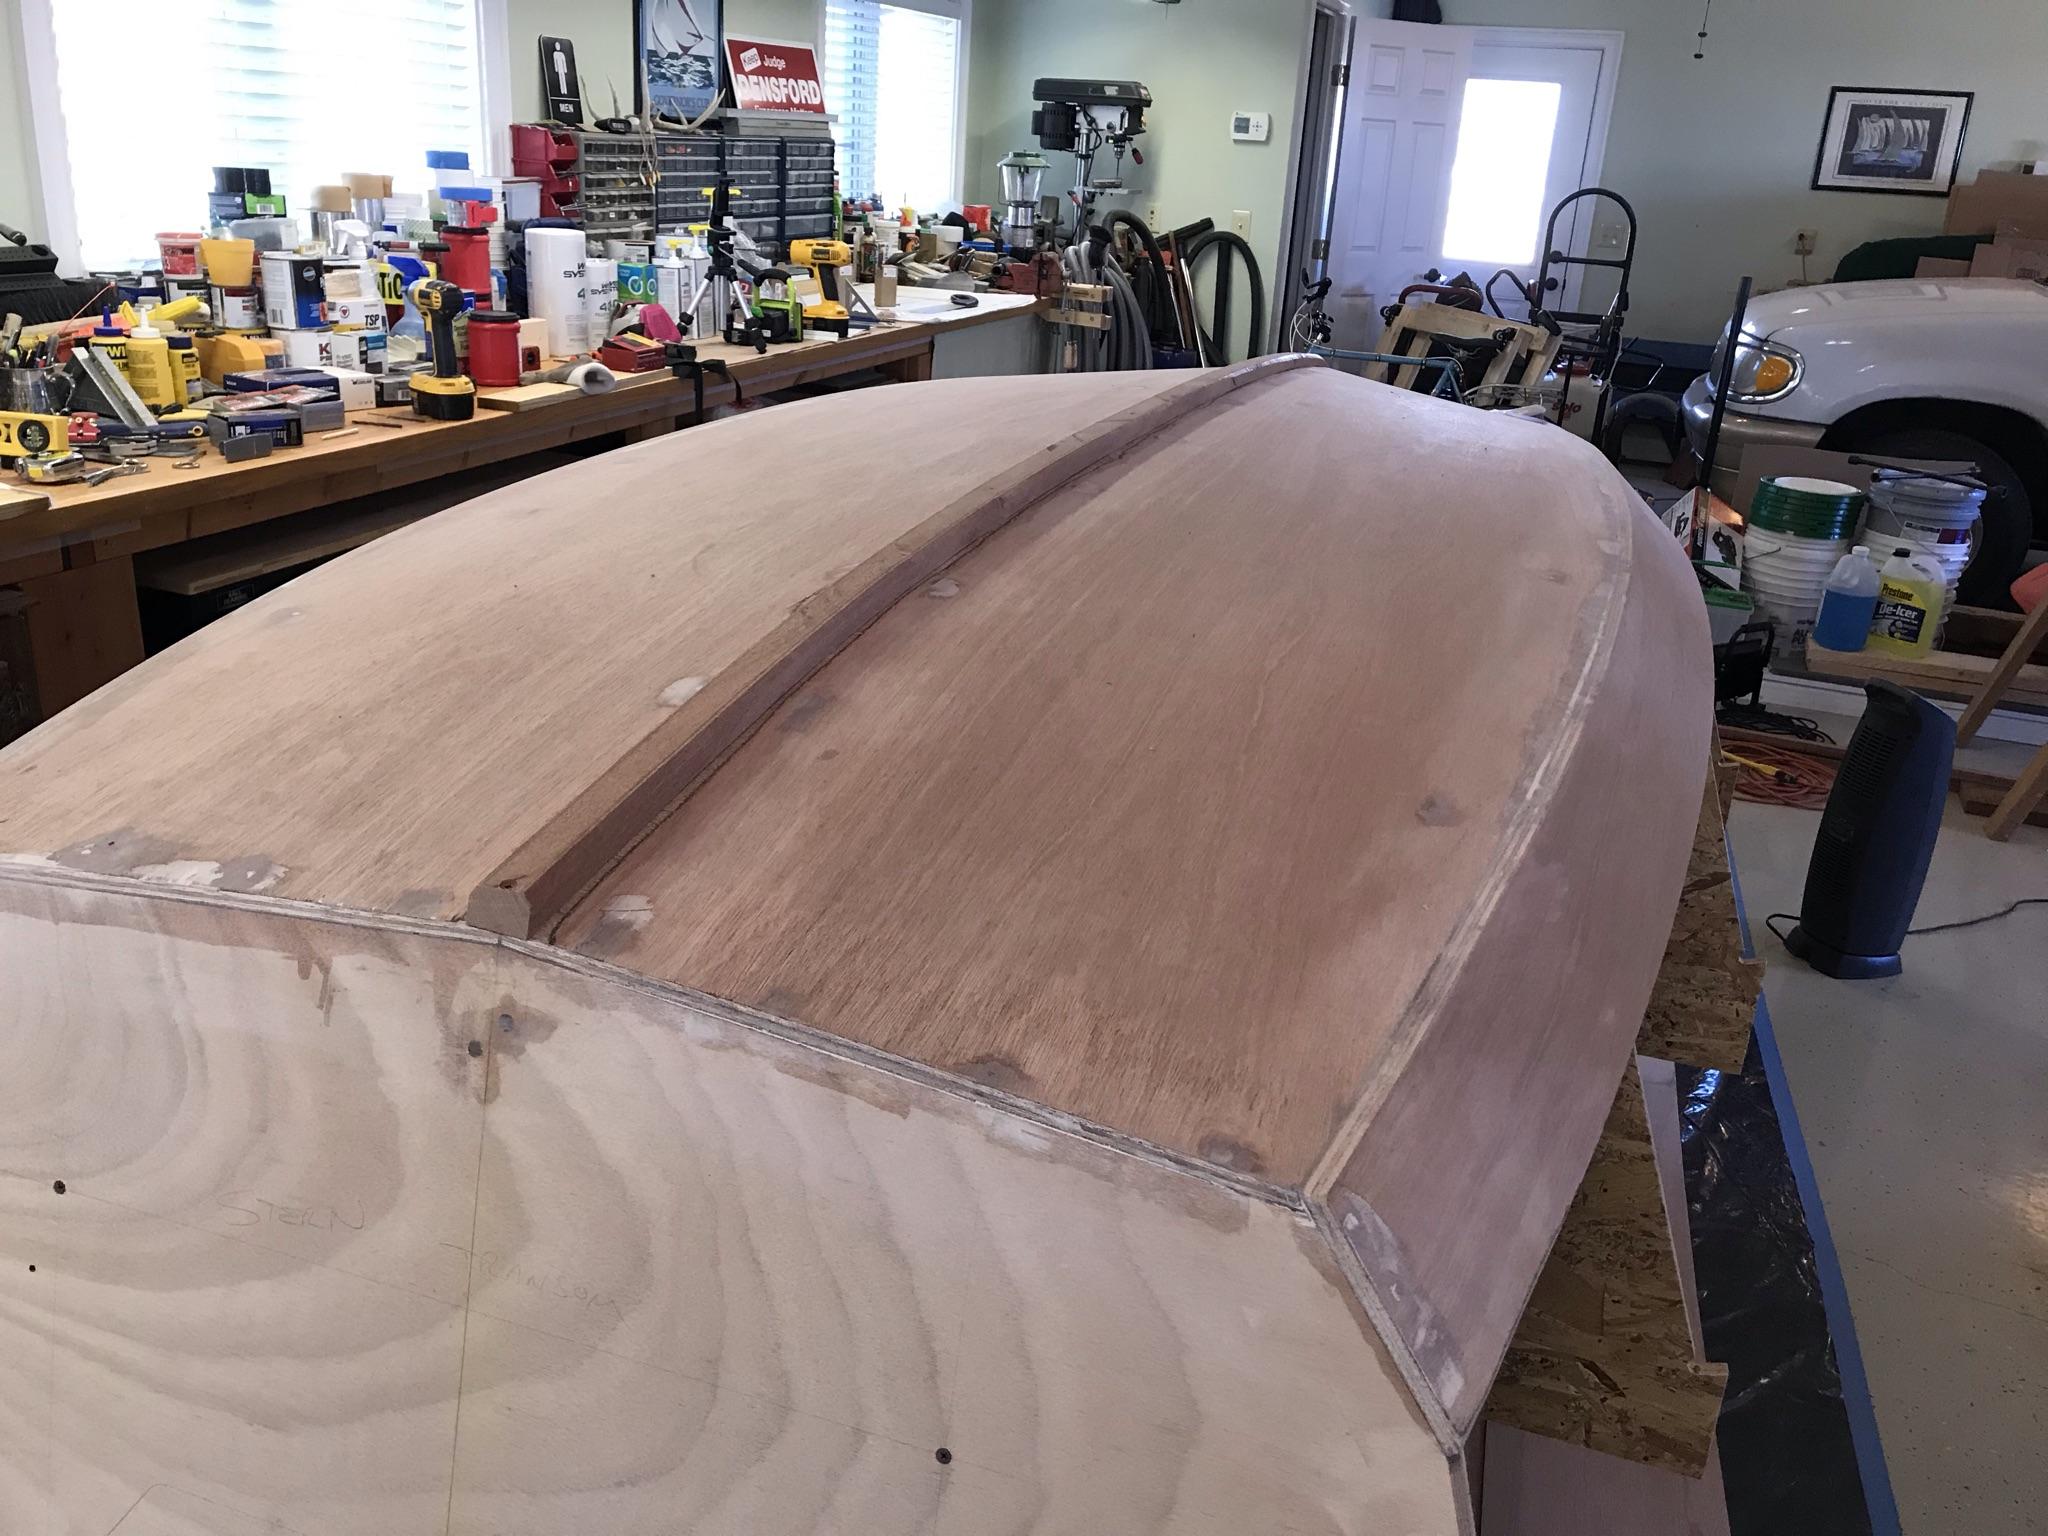
2/19/21 – Another sanding and then I have to plane the center of the bottom planks to provide a level spot for the outer keel to be attached.
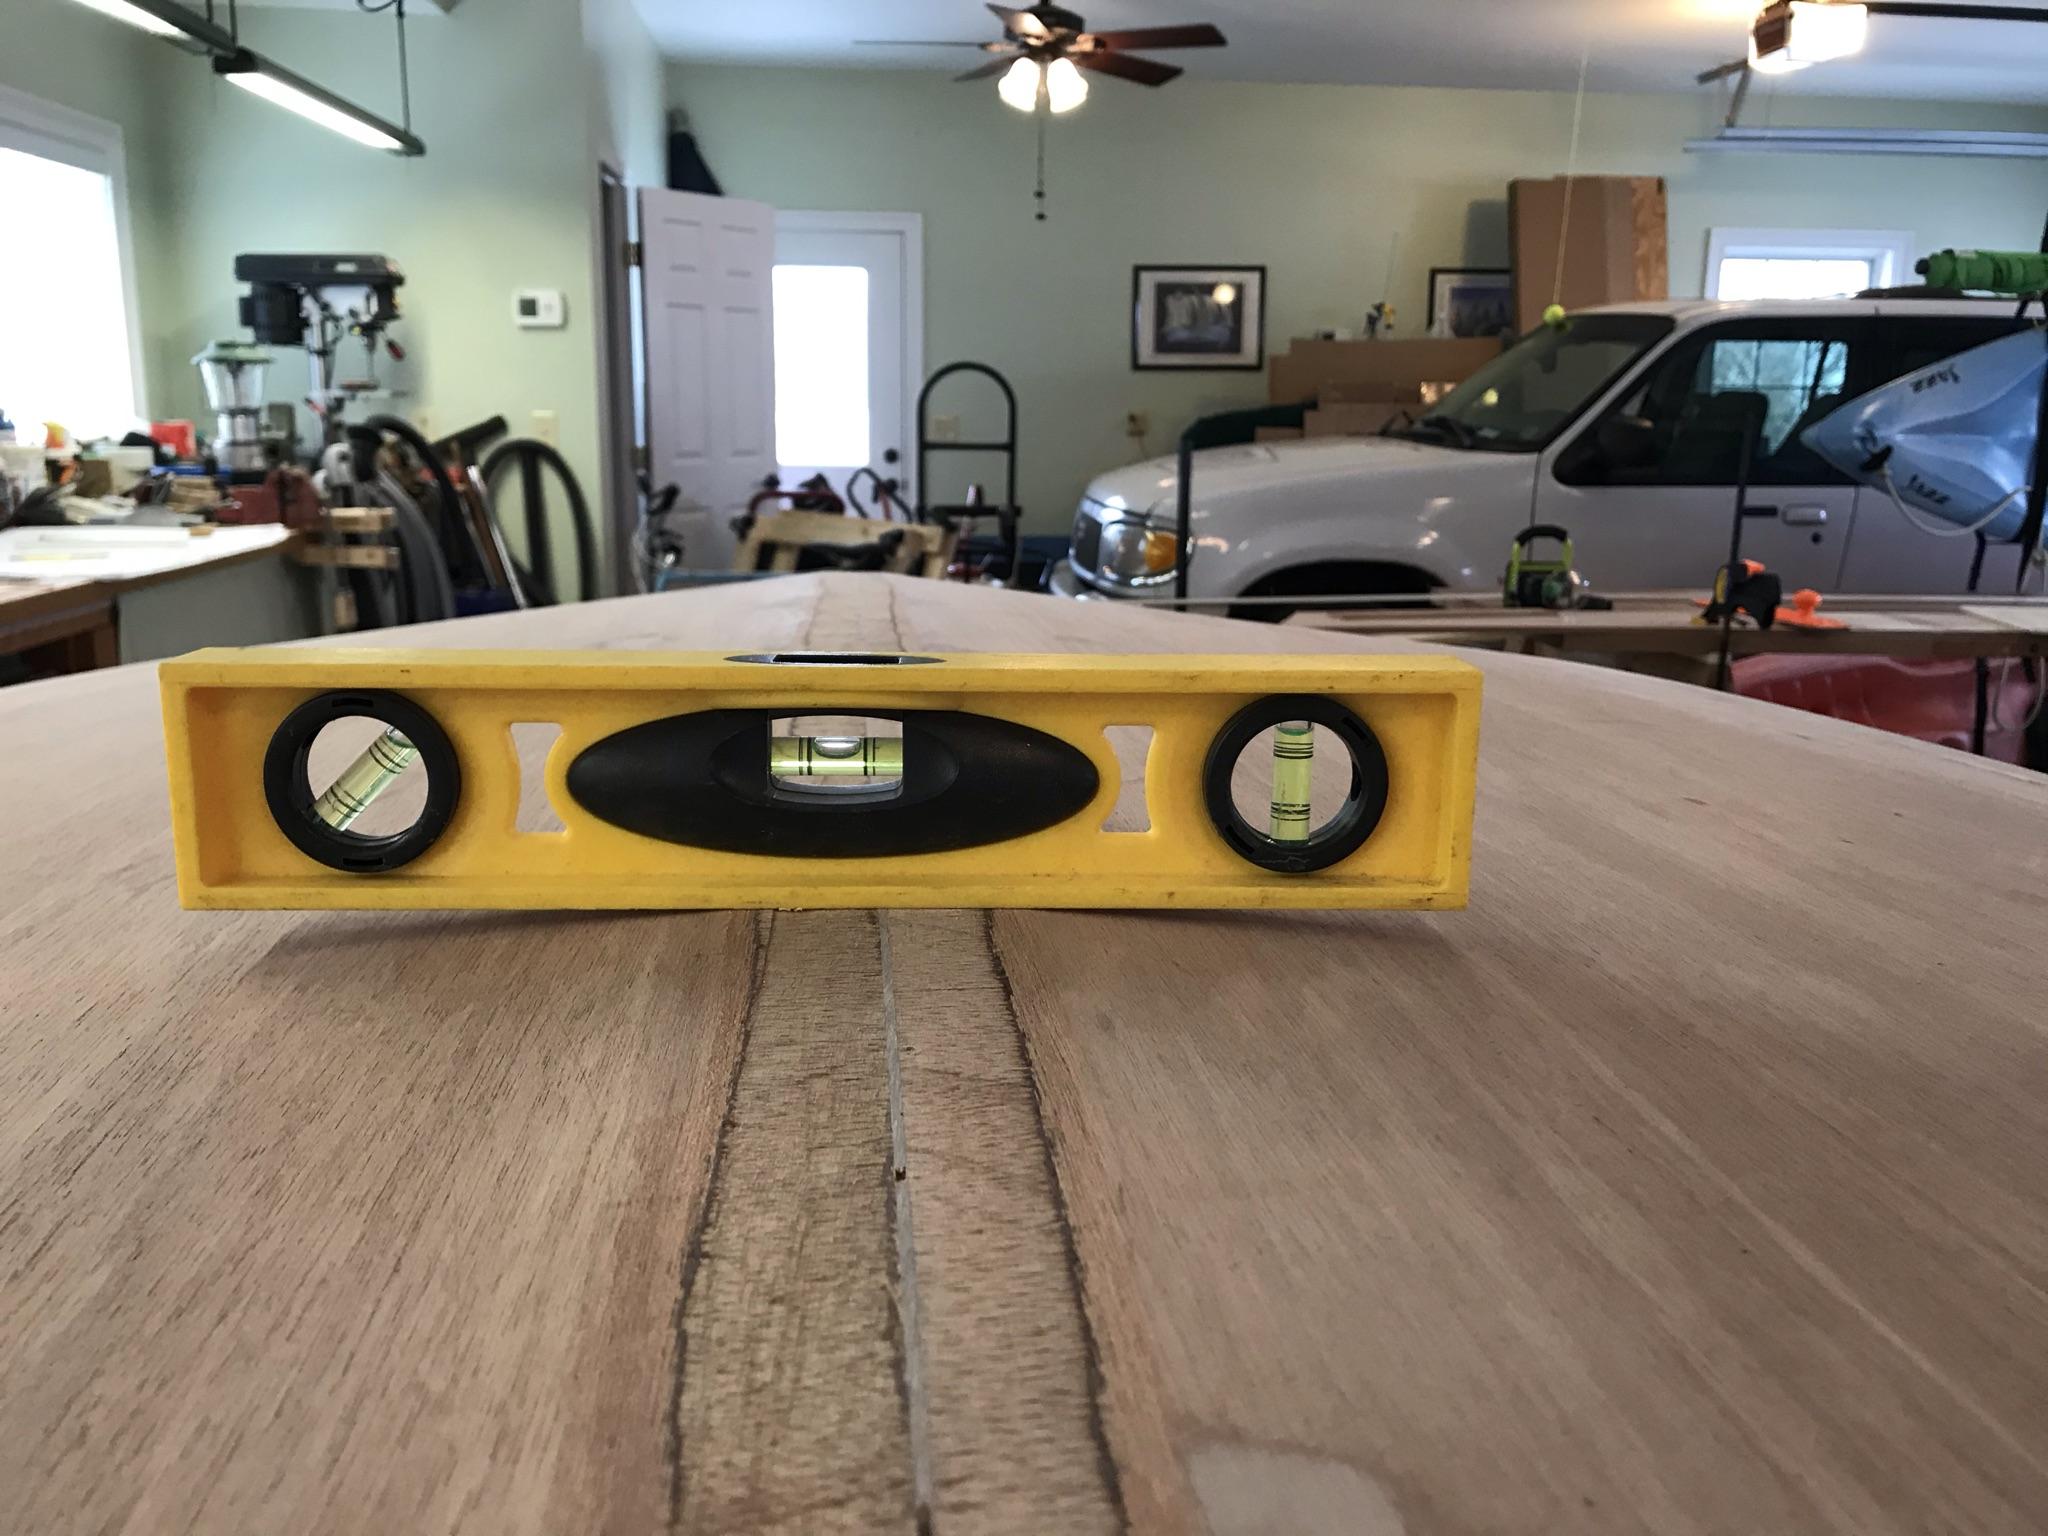
Next, I tack a batten along the keel to check fairness. Before applying the Dynel to the bottom planks, it needs to be fair and the centerline must be flat and level for the keel to be attached.
Checking the centerline is level.
Next, I will need to mill the outer keel out of my rough cut Mahogany and make sure it fits properly before applying the Dynel. The keel will be attached after the Dynel.
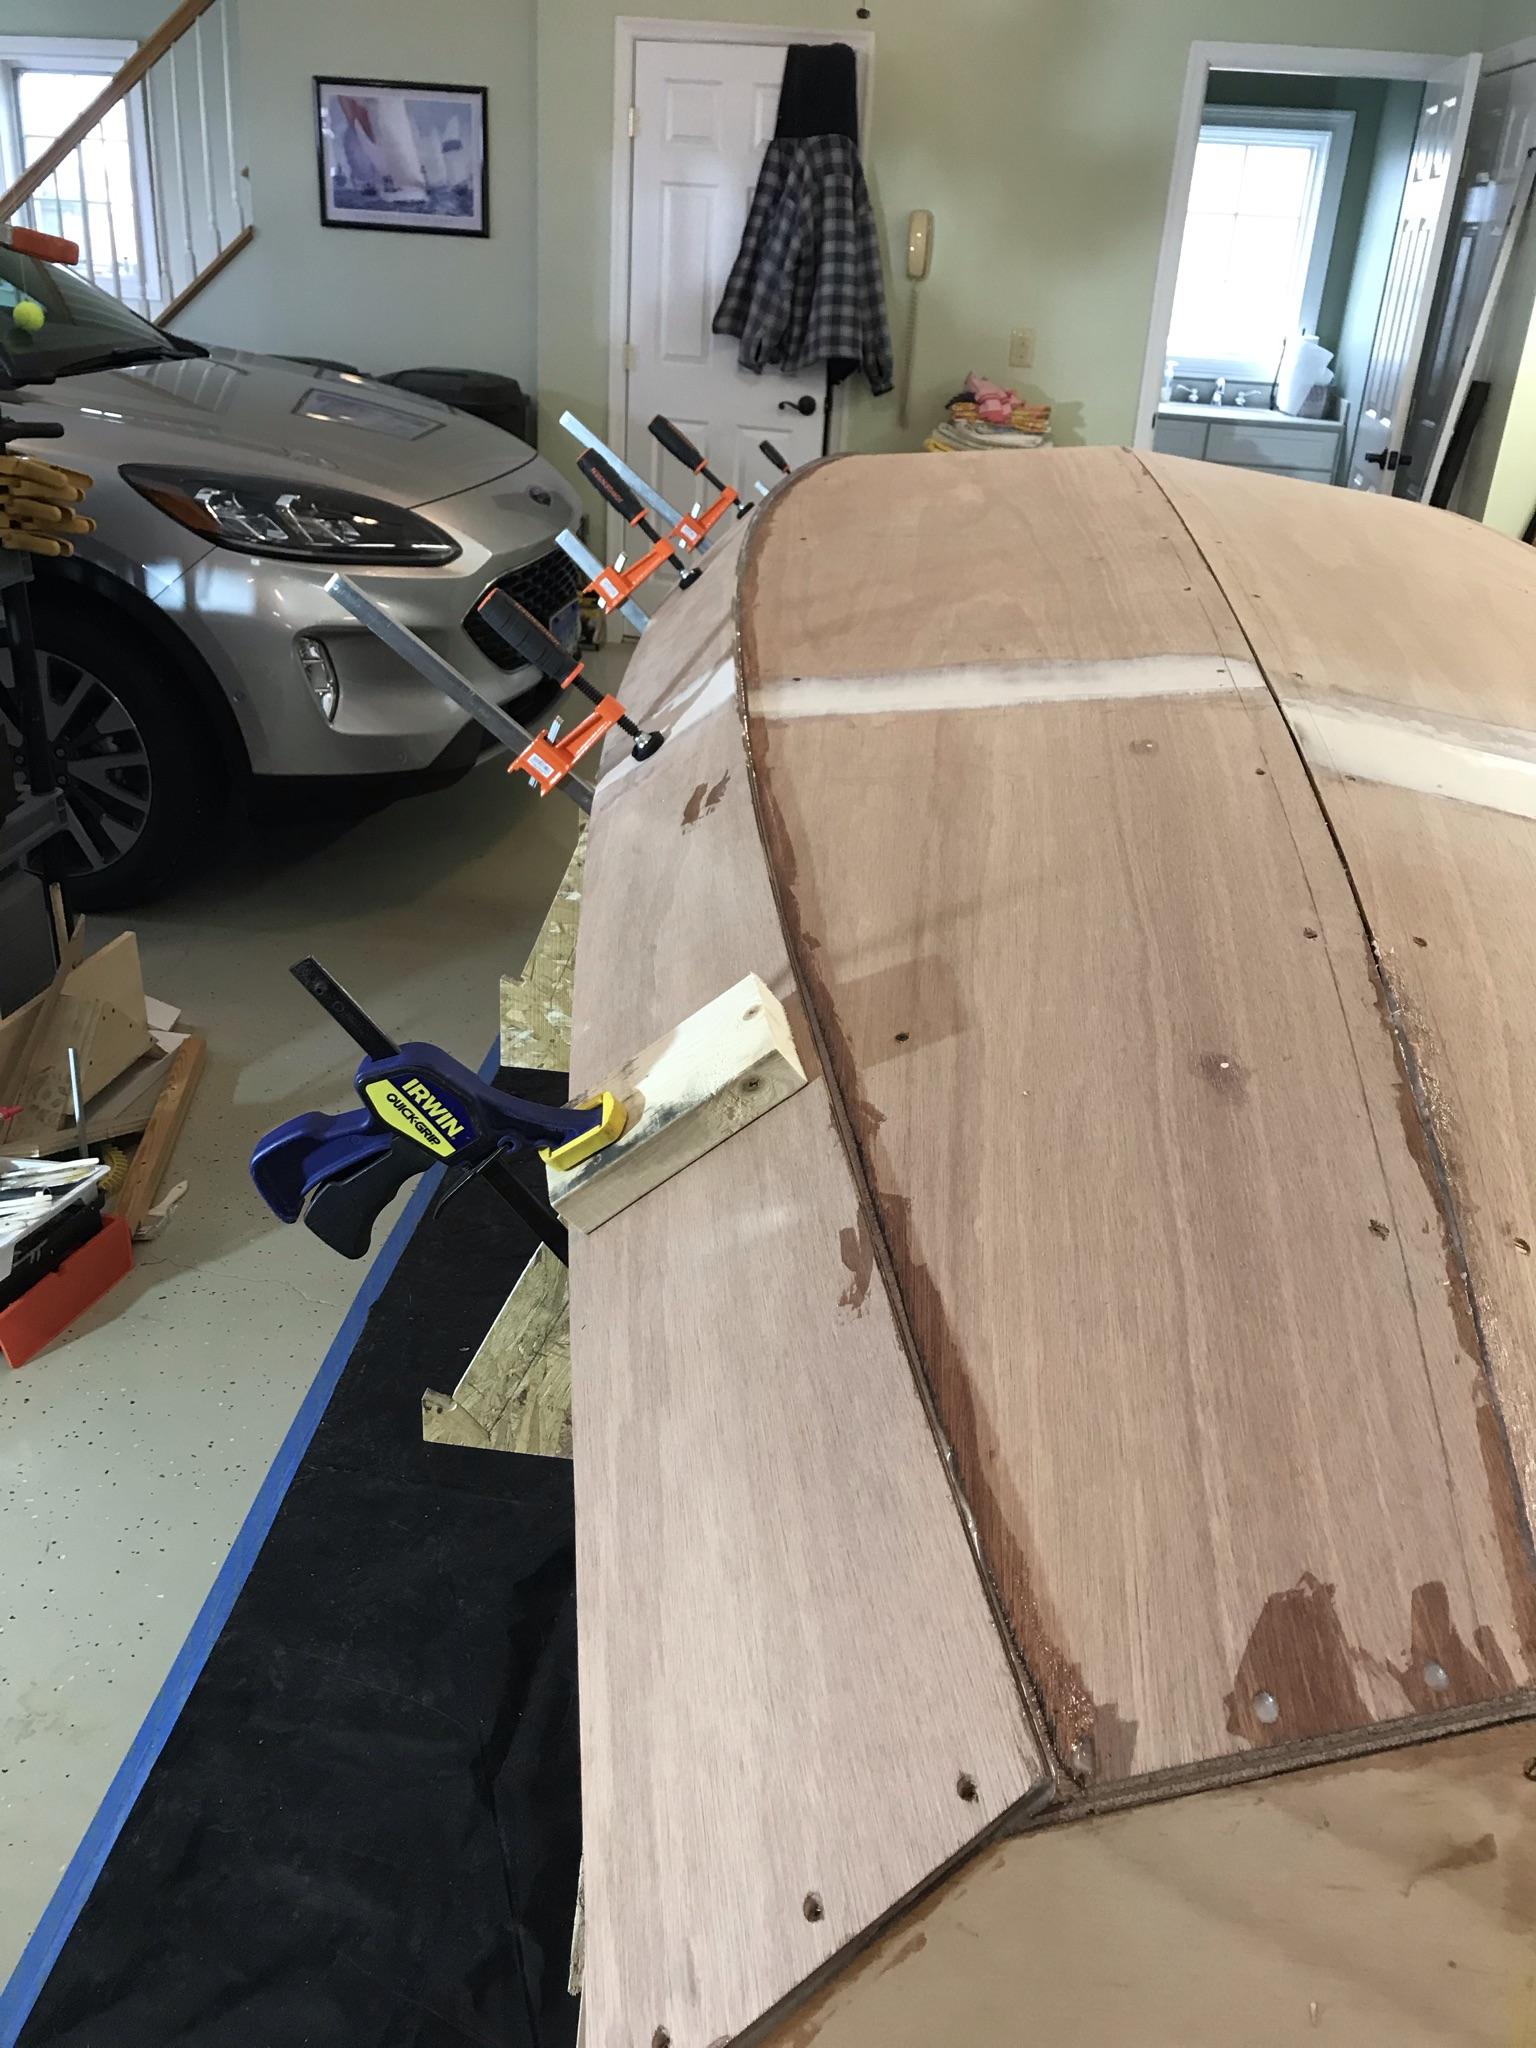
2/22/21 – Started working on the outer keel. I have to mill it to 1 1/2″ x 7/8″ from a mahogany board that is 1″ x 3 1/2″. After adding a 1/4″ bevel to the top of the keel, I need to plane the front end of the keel to a tapered edge.
Test fitting the keel. This is a pretty stiff piece of wood that is going to have to do a lot of bending to wrap around the curved bottom.
I will have to do some thinking about how to hold it down while I drill some pilot holes. There is no easy way to clamp it in place.
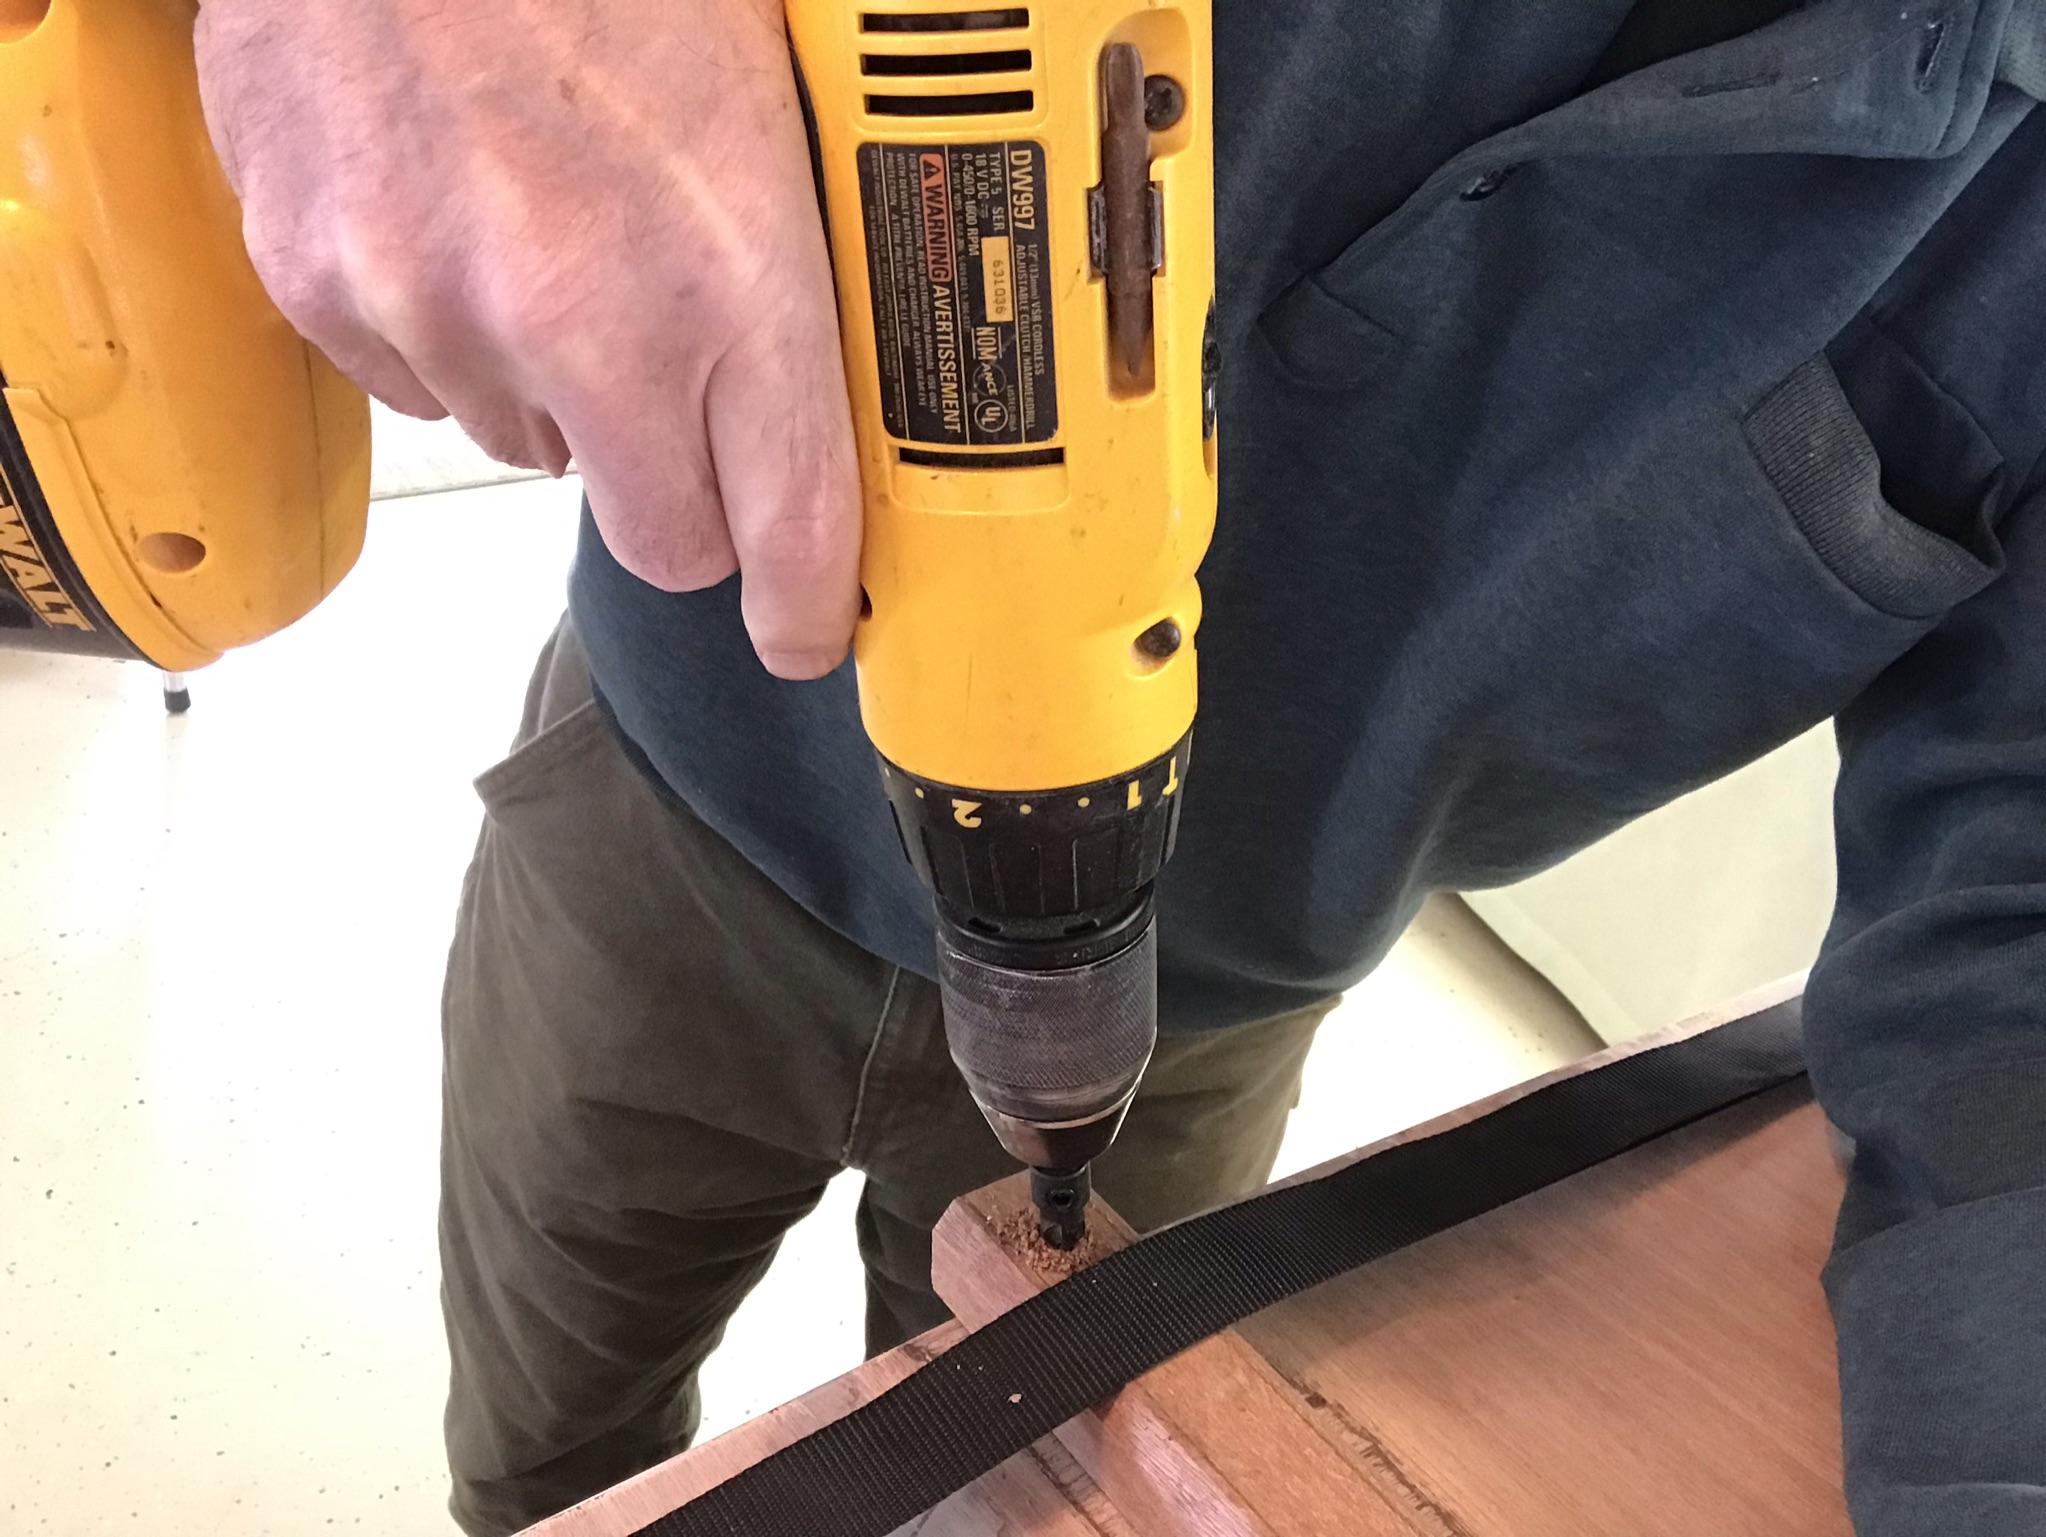
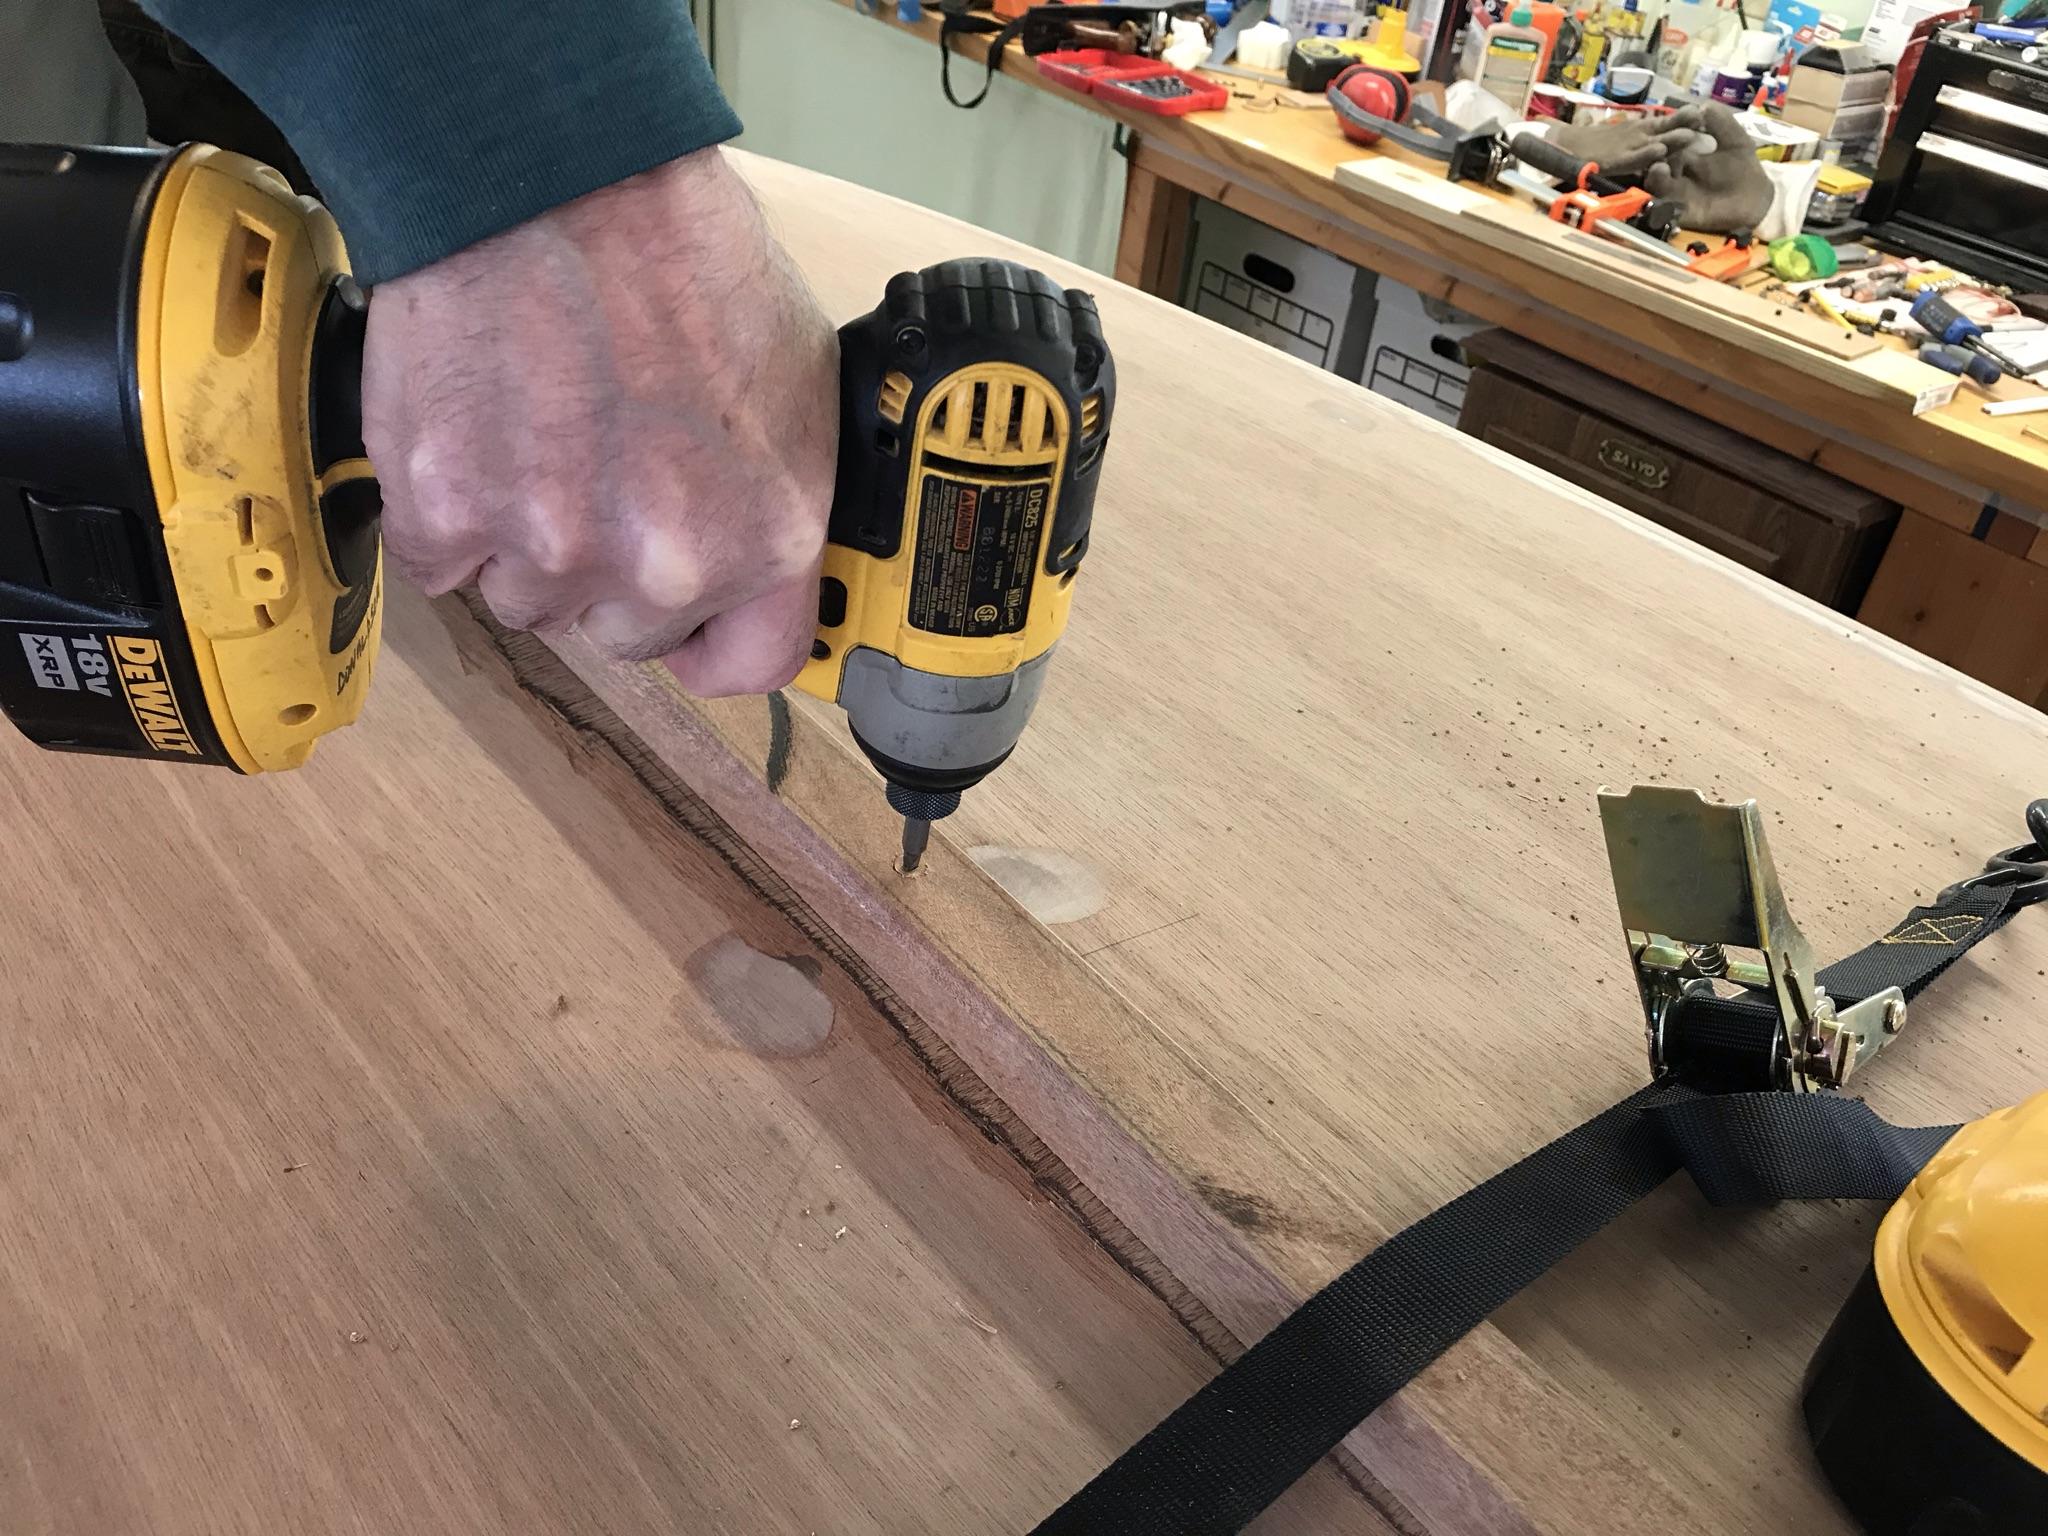
2/23/21 – I was able to use some strapping to hold down the keel while drilling pilot holes, starting in the stern and working forward.
Ratchet straps hold down the keel while drilling pilot hole.
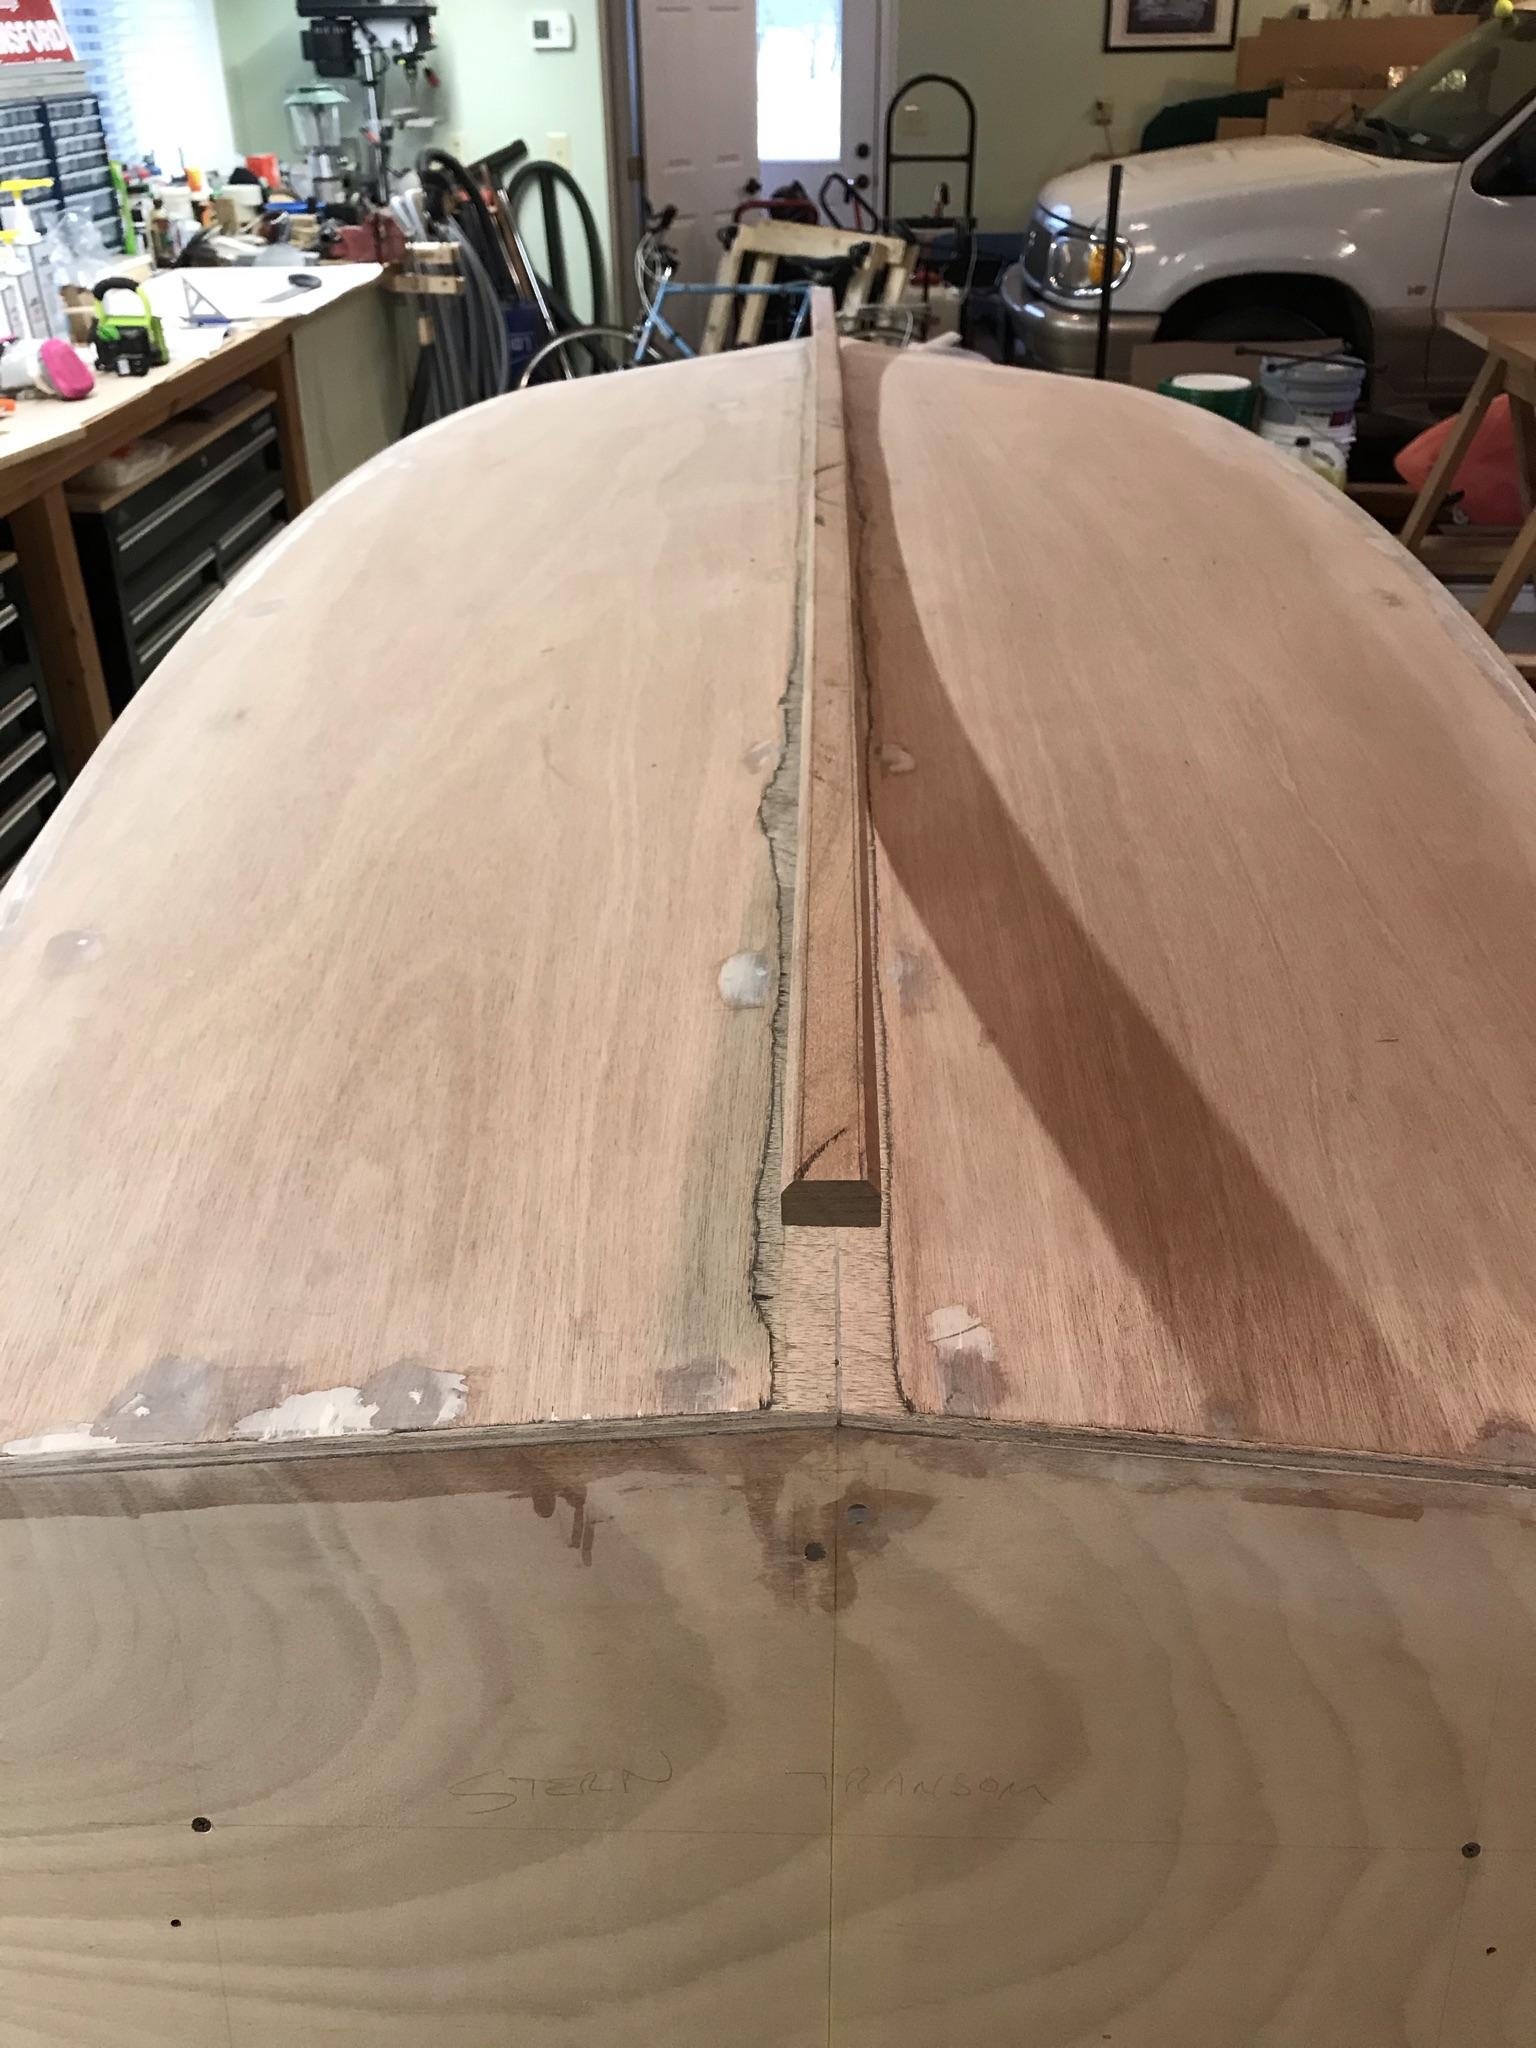
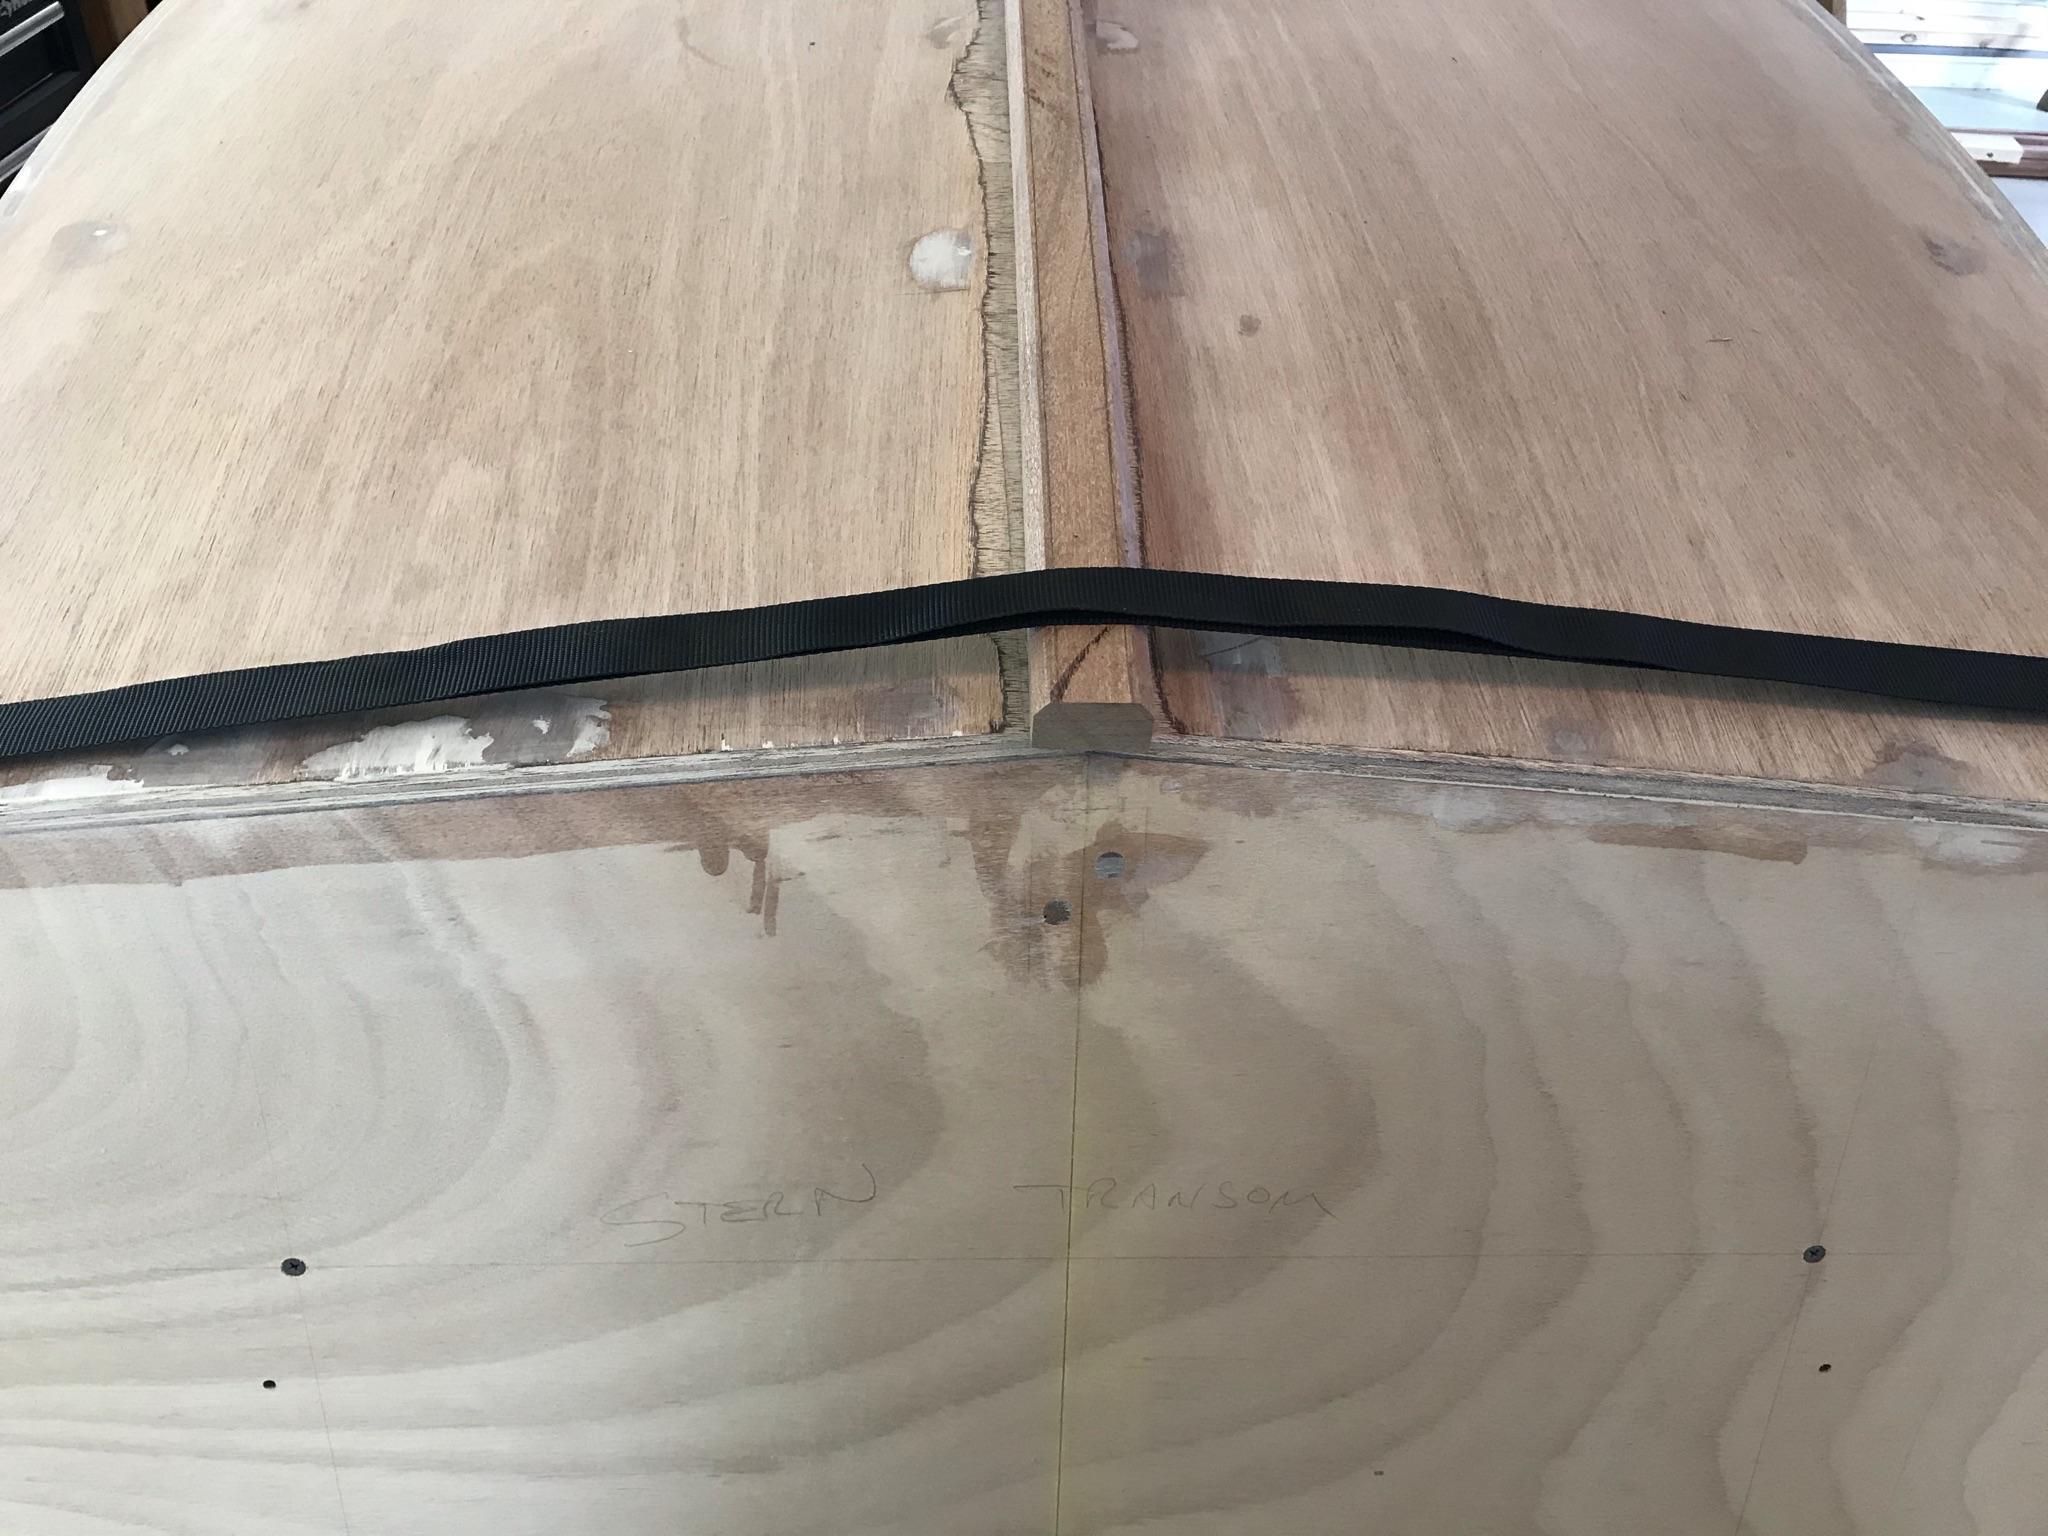
I left some overhang so it could be cutoff flush with the transom.
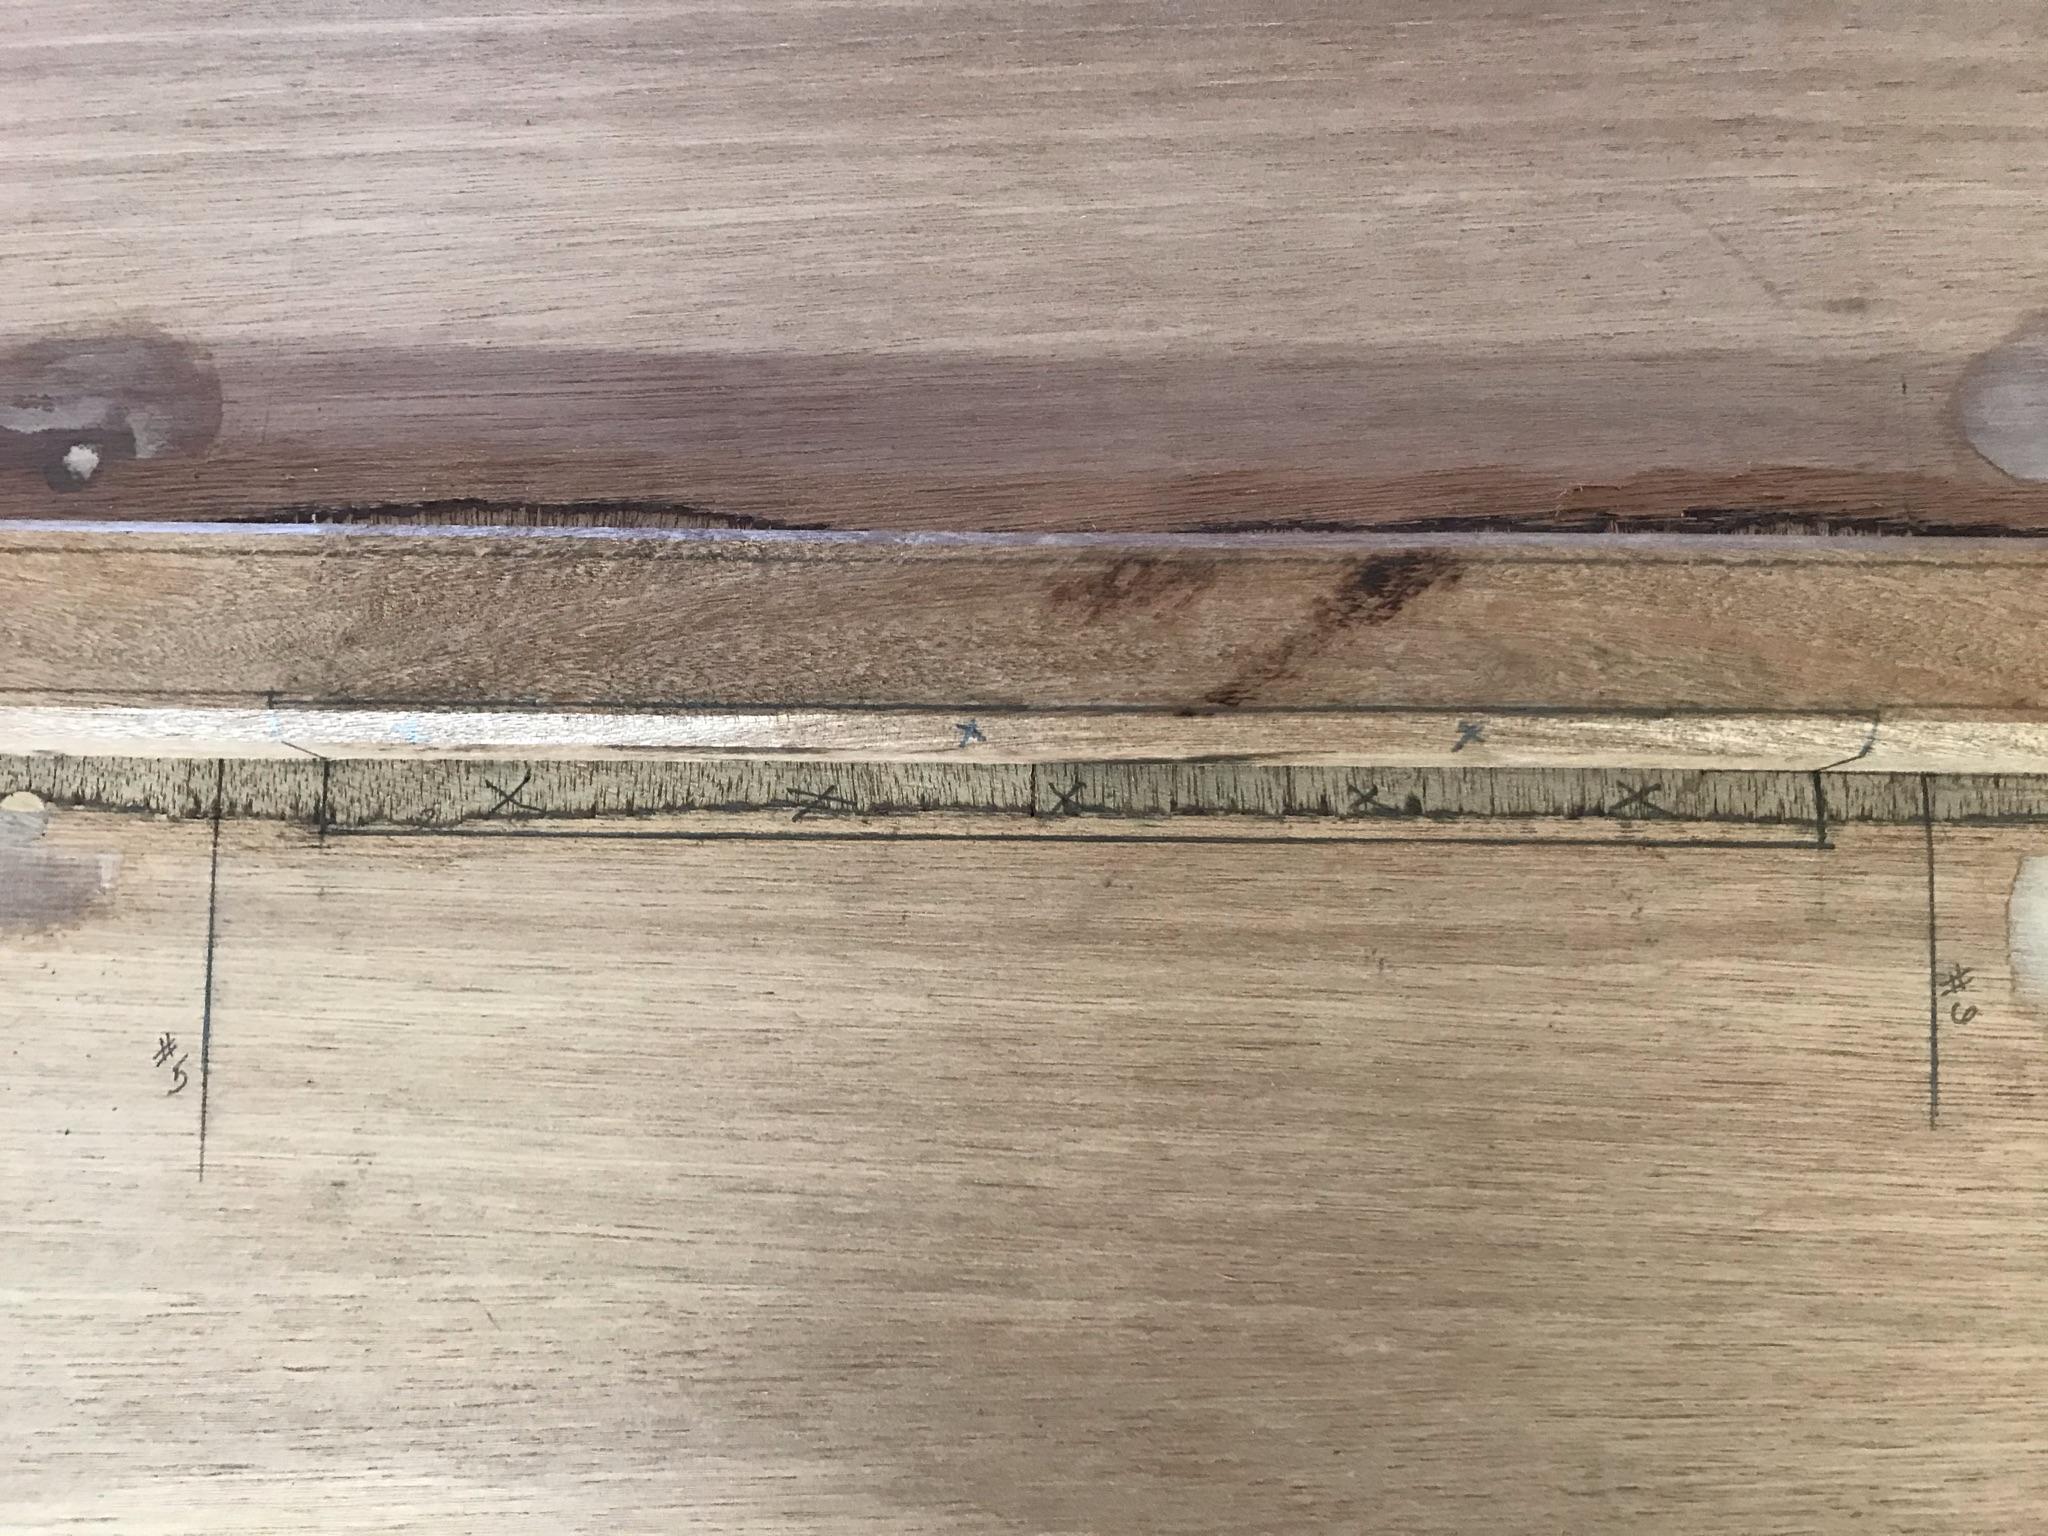
2:00 pm – I took the time to layout where the centerboard will come through the keel. The plans show it coming out between stations #5 & 6. I used a laser level to project where the stations will be on the bottom of the boat. Then I laid out the centerboard slot on the bottom. The plans show it is offset from the centerline with the board coming out through the edge of the keel, 1/4″ in from the edge.
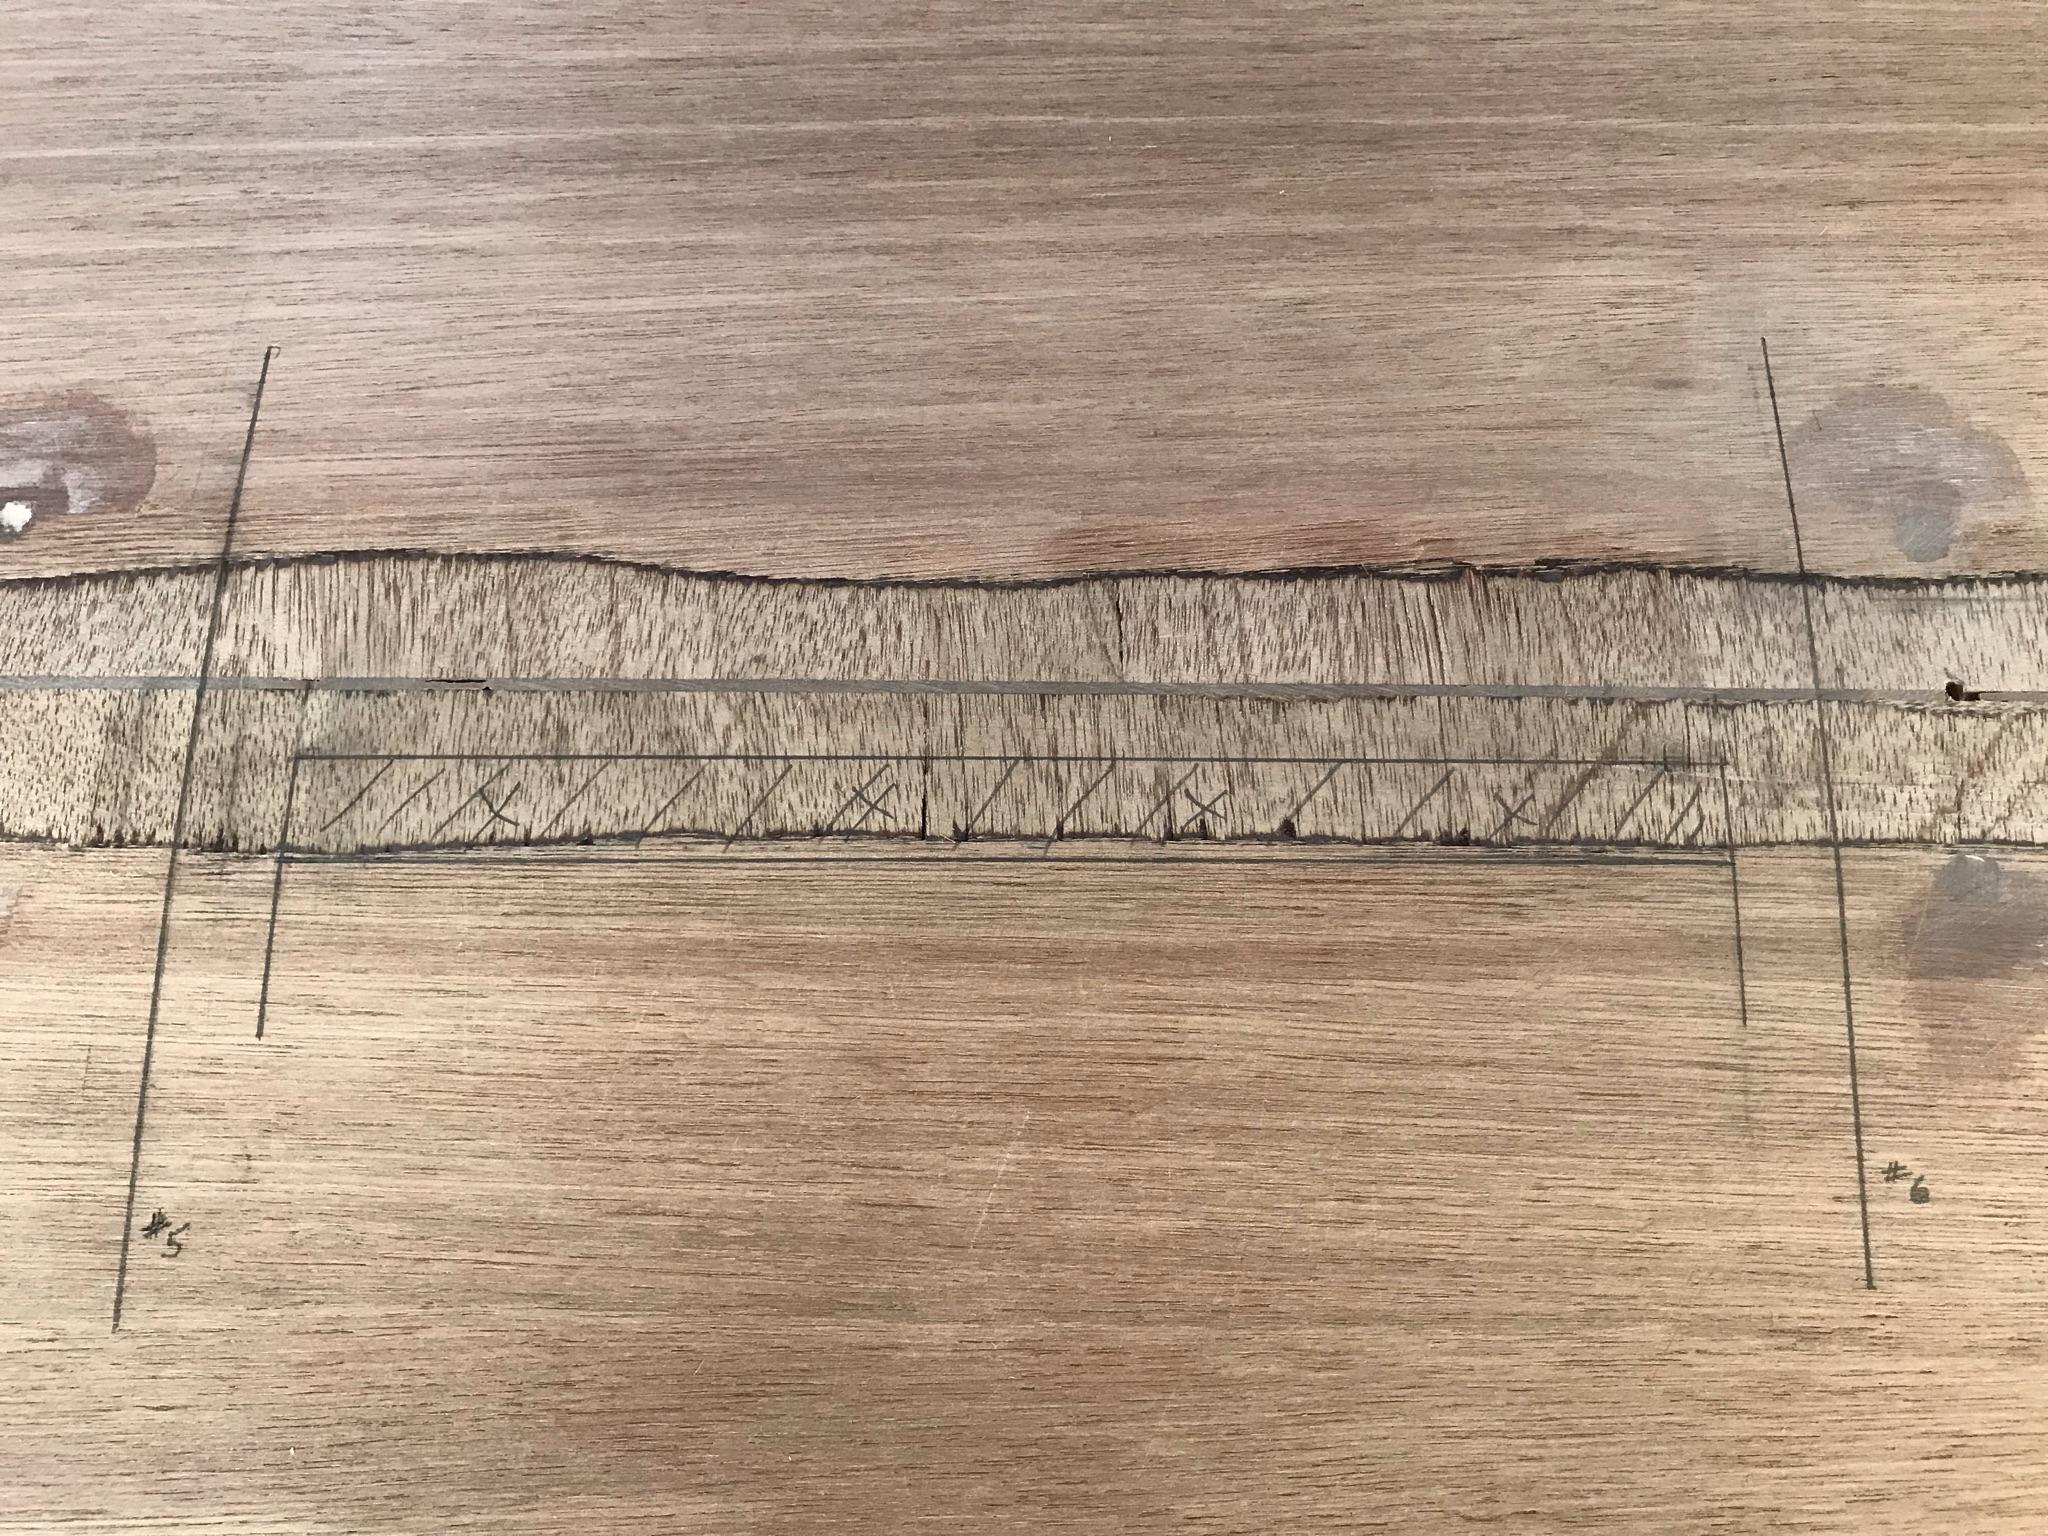
Now when I remove the keel to put on the Dynel, I will cut out the 1/4″ of the keel. Then when I fit the keel after the Dynel is applied, I will be able to use the notch in the keel to layout where the 3/4″ centerboard slot will go. The centerboard is 1/2″ and the plans show 1/8″ space on each side to give it room to move freely. I can then remove the keel and cut the centerboard hole unencumbered by the keel being in the way. Once the hole is cut, I can permenantly install the keel with epoxy.
Next step will be to remove the keel and apply the Dynel to the bottom.
2/24/21 – Removed the keel and did a once-over on he hull before applying the Dynel. Still had a low spot where the bottom plank was scarfed. Note: Follow the video instructions on scarfing. I did mine before the video came out and it was not as even as it should have been. This is one of the risks of working ahead of the videos, but I want the boat done in time to use it this summer, so waiting for the videos is not an option. Besides, errors can be fixed, it just takes more time.
Added another layer of 410 Microlight fairing filler with 207 hardner. Will sand smooth tomorrow.
-
-
AuthorPosts
- You must be logged in to reply to this topic.