Home › Forums › 11′ 10″ ARRIBA / OONAGH Dinghy – Official Step-by-Step Boatbuilders’ Forum › ARRIBA / OONAGH – 19 – Daggerboard & Rudder › Tiller & Daggerboard
- This topic has 0 replies, 1 voice, and was last updated 5 years ago by
 Bob Donaldson.
-
AuthorPosts
-
-
July 6, 2021 at 9:59 am #44015Bob DonaldsonParticipant
From my Blog: https://house-doc.net/Oonagh/?p=1261
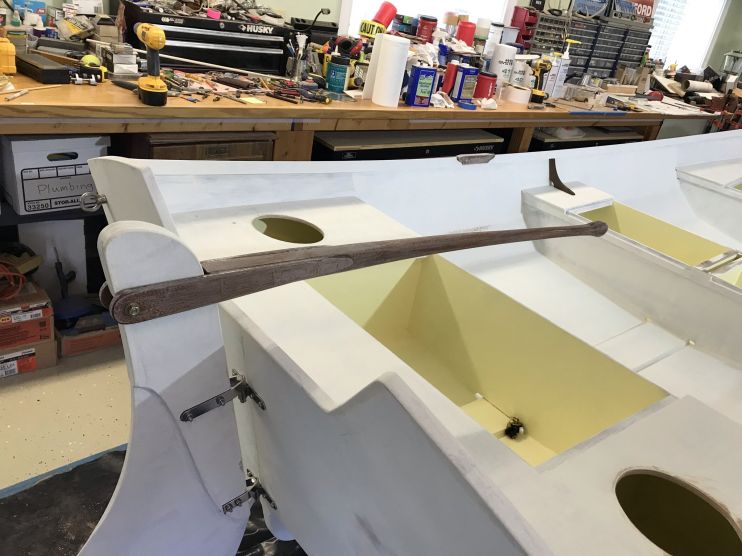
6/8/21 – Now that the rudder is in place, I can begin the work of making the tiller. I started with a block of African Mahogany the approximate length and width of the tiller template. I traced the outline of the tiller onto the mahogany and then cut it out with the jigsaw.
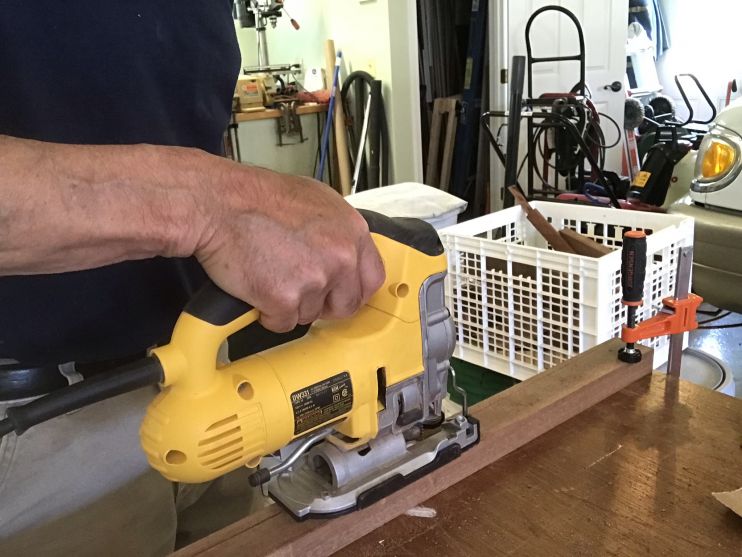
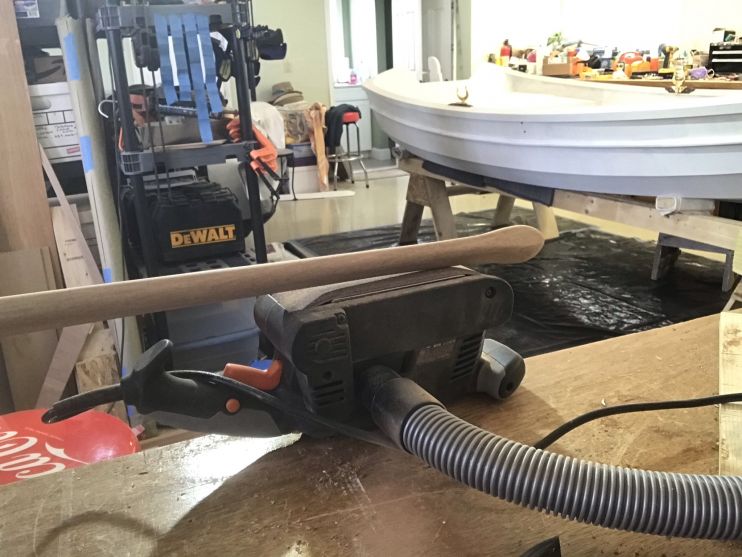
After cutting it out with the jigsaw, I then proceeded to shape it with a block plane, the belt sander, and finally with sandpaper.
Here is the tiller in roughly final shape.

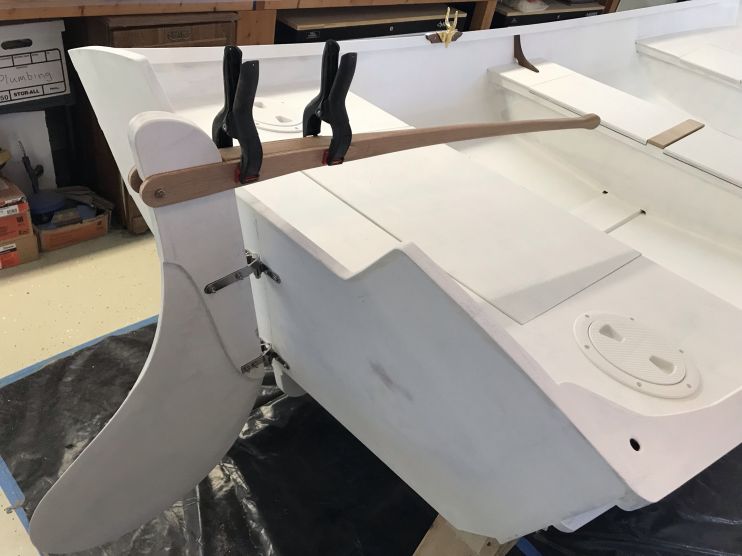
I have more sanding to do on the tiller and cheeks to smooth them out for final varnishing and painting.
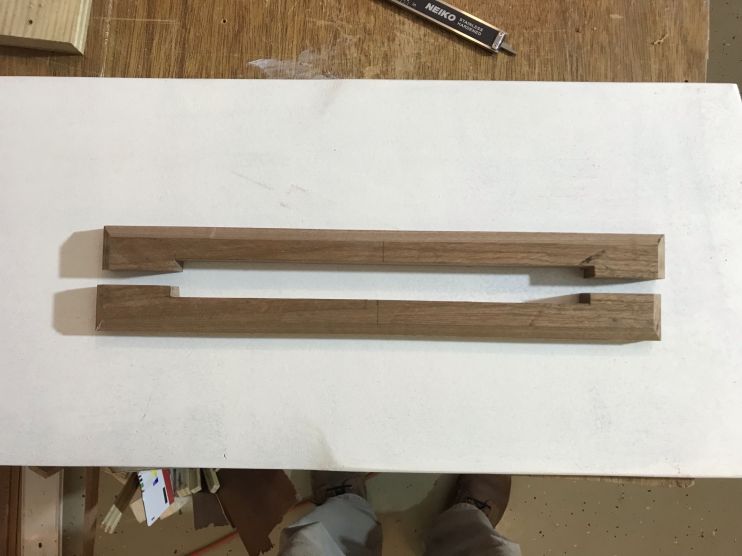
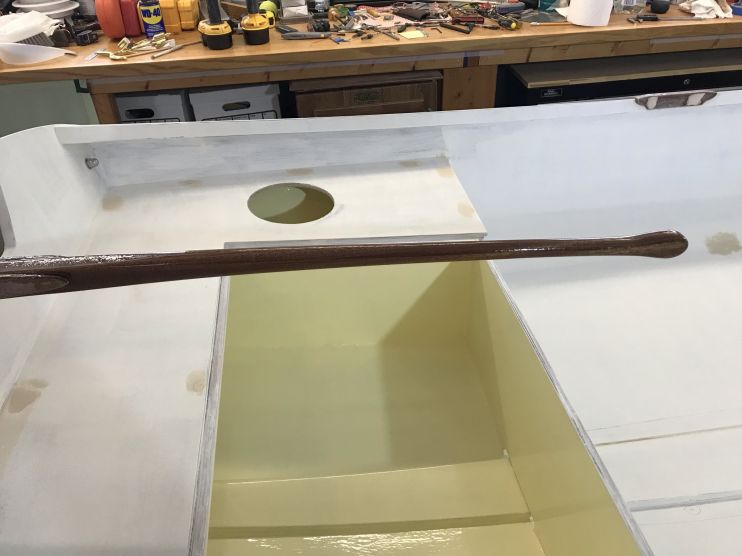
6/11/21 – I got to work on the top of the Daggerboard today. I previously made a block of mahogany that would fit between the center seat hatches and now I have to make a slot for the Daggerboard to fit into. I started by putting a 45-degree bevel all around the piece. Then I cut it in half so I could use the table saw to rough out the 1/2″ slot. I used the table saw to nibble away 1/4″ in each piece.

Then I had to use a hand saw to square off and clean up the corners.
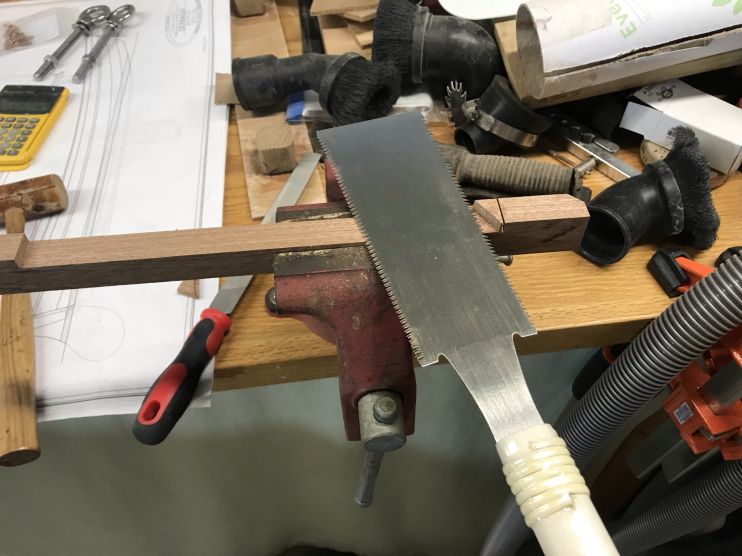
The result is two pieces that can fit around the daggerboard.
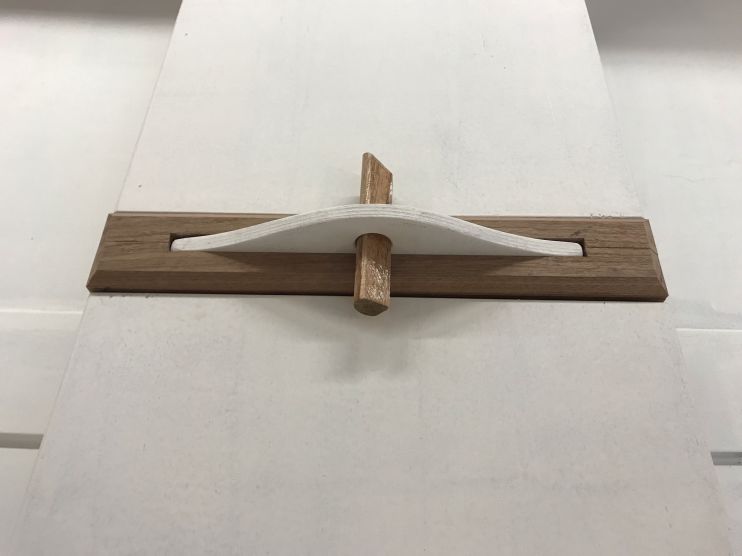
This is what it will look like when glued in place.
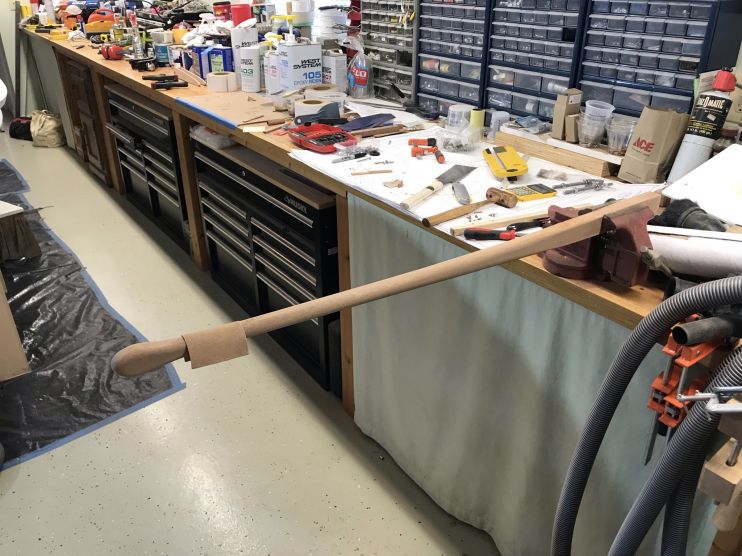
Next, I did some more work on the tiller. I used a spokeshave and some 60 grit sandpaper to thin out and round the shaft so it tapers from square to round.
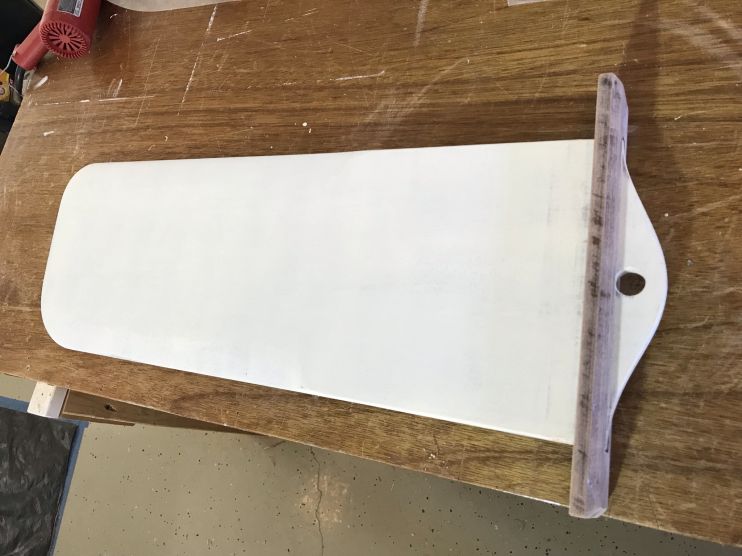
Next, it was time to put a coat of clear epoxy on all the pieces.
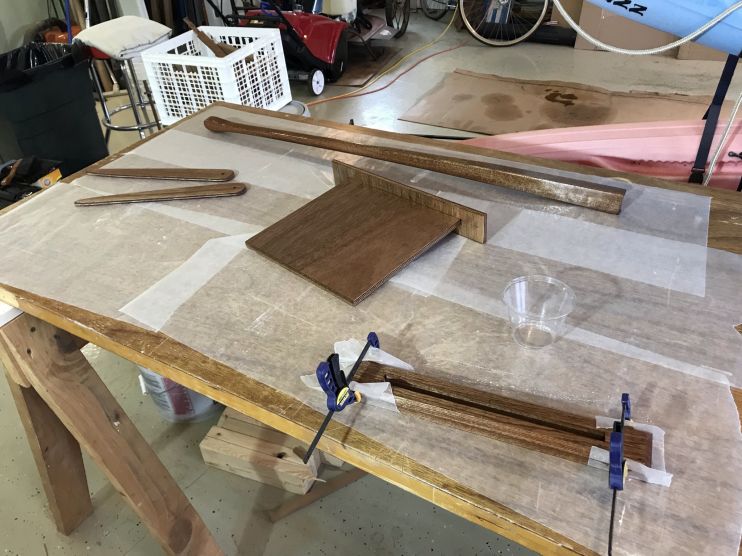
Once I glue up the Daggerboard and tiller parts, all that will be left is sanding and painting everything. Plus a lot of varnish on the spars and tiller.
6/13/21 – Today I glued up the tiller cheeks. I also re-glued the heal of my wife’s sneaker after it fell off.
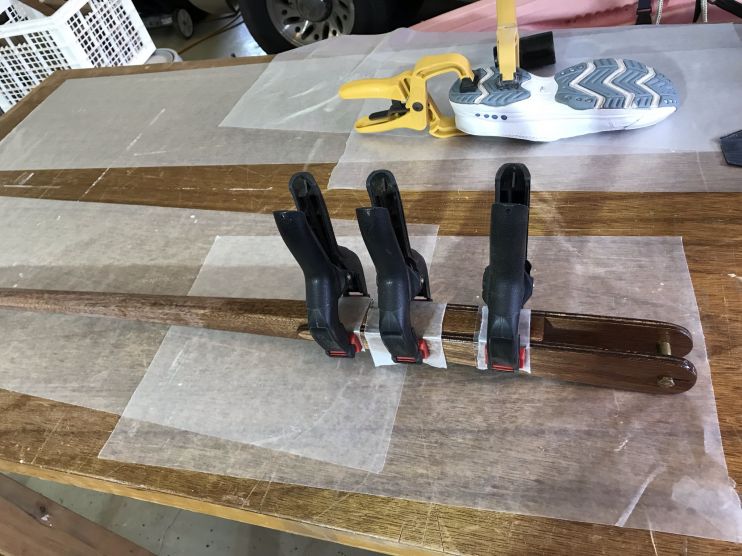
Then I epoxied the top support on the Daggerboard. I decided to let it dry while hanging vertically in the correct position to be sure I had it in the center of the daggerboard slot.

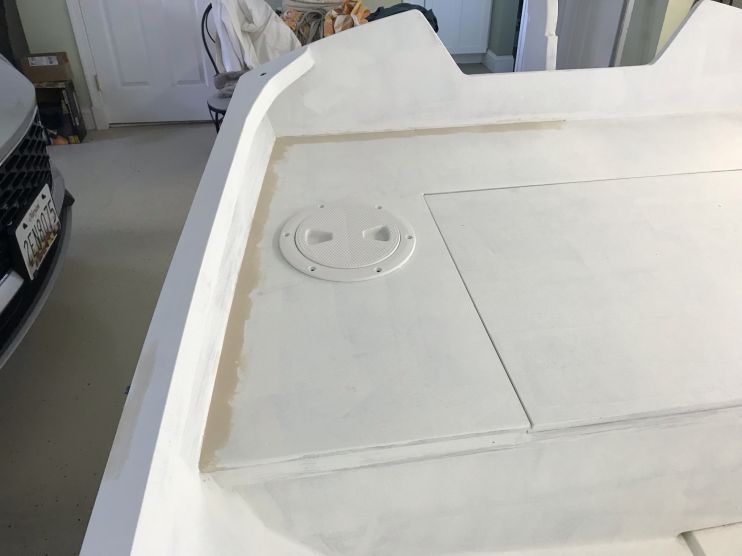
Finally, I used a fairing compound to fill the remaining screw holes and joints in the seats.
Next up, I will start painting the interior.
6/14/21 – After gluing up the Tiller and Daggerboard, I then had to prep them for painting and varnishing. I had a scary moment this morning when I went to pull out the Daggerboard. Even though I thought I taped up the underside so it wouldn’t stick to the slot, some of the epoxy leaked out and stuck it was. Fortunately, I was able to unstick it with my prybar and a hammer. Then, I was able to clean up the excess epoxy with the heat gun.
I will need to use some fairing compound to fill in around the top.

Next, I worked on sanding the tiller to prep it for varnish and paint on the cheeks.
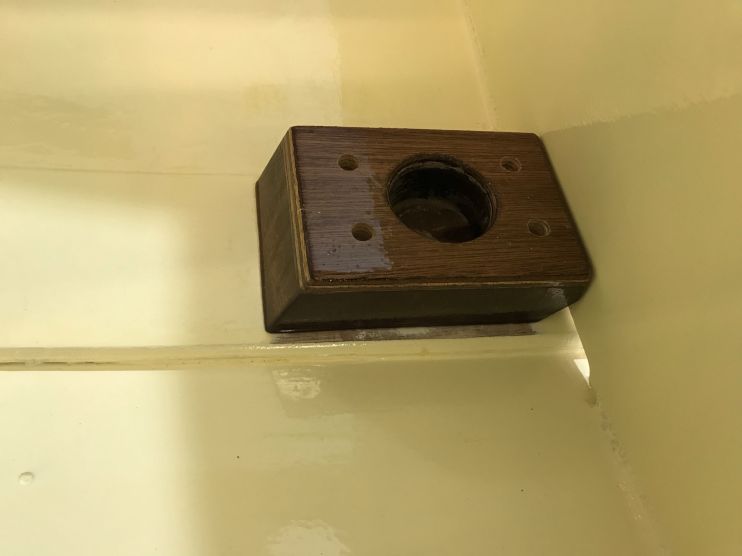
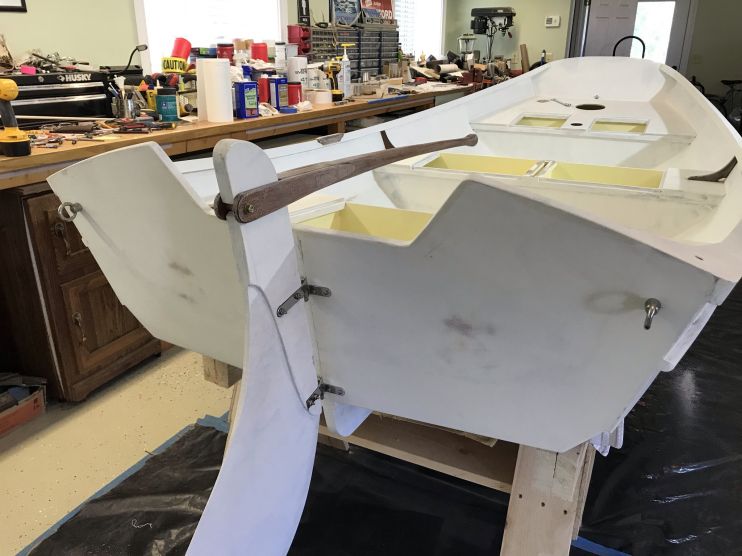
Next, I screwed down the mast step. I decided not to epoxy it in place until I am able to take the boat outside and try to set the mast, but at least with it screwed down, I will be able to check the mast angle.
My next project was to install a bow eye and two stern eyes so I can lift the boat on my davits. I couldn’t get eyes the right length, so I had to measure and cut them off.
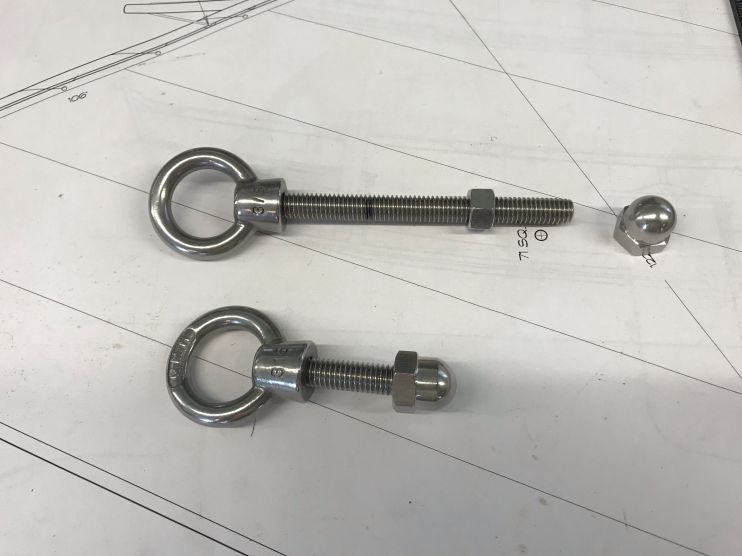
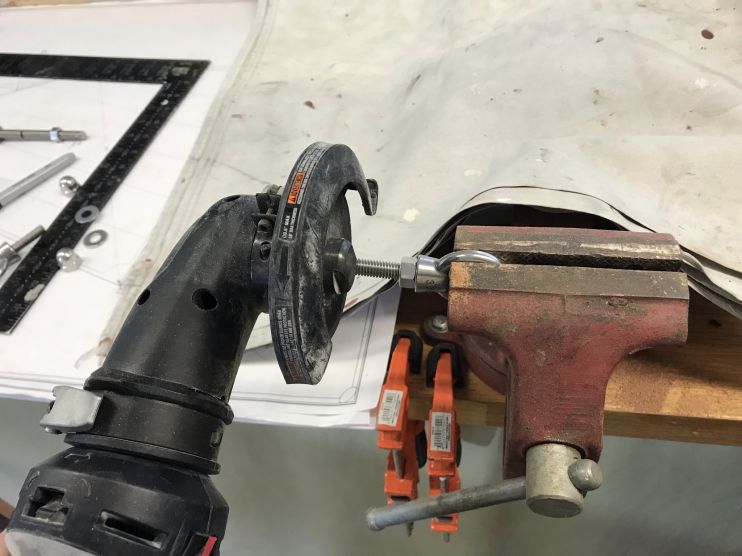
I used my Rotozip to cut the bolts to the correct length.
The eyes are 316 stainless and seem to blend right in.

I spent the rest of the day sanding and finding spots that need a little more filler.

Tomorrow, more fairing filler and another coat of epoxy on the tiller.
6/15/21 – Today I put another coat of epoxy on the tiller and filled the remaining screw holes with fairing filler. Tomorrow I can start painting.


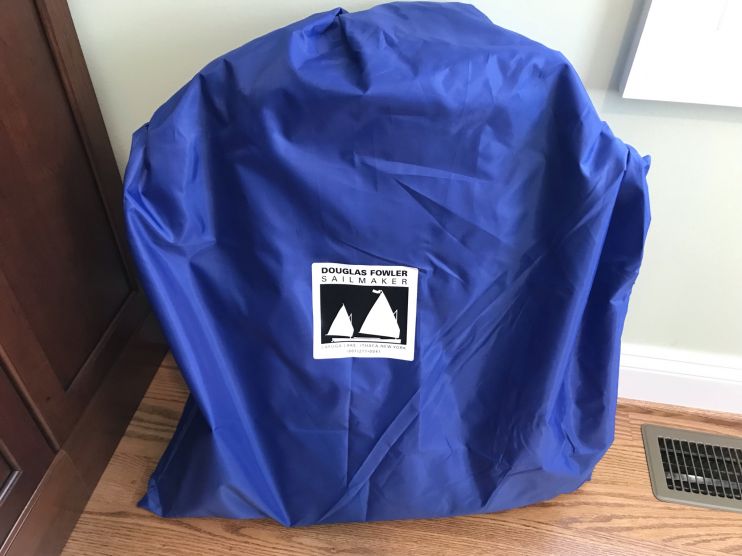
I received the sail today from Douglas Fowler, Sailmaker, Ithaca, NY. He said this was the 3 or 4th one he has done for Oonagh recently.
-
-
AuthorPosts
- You must be logged in to reply to this topic.