Home › Forums › 11′ 10″ ARRIBA / OONAGH Dinghy – Official Step-by-Step Boatbuilders’ Forum › ARRIBA / OONAGH – 17 – Transoms & Knees › Transoms, Knees & Inwales
- This topic has 0 replies, 1 voice, and was last updated 5 years, 2 months ago by
 Bob Donaldson.
-
AuthorPosts
-
-
April 23, 2021 at 8:34 am #43592Bob DonaldsonParticipant
From my Blog: https://house-doc.net/Oonagh/?p=882
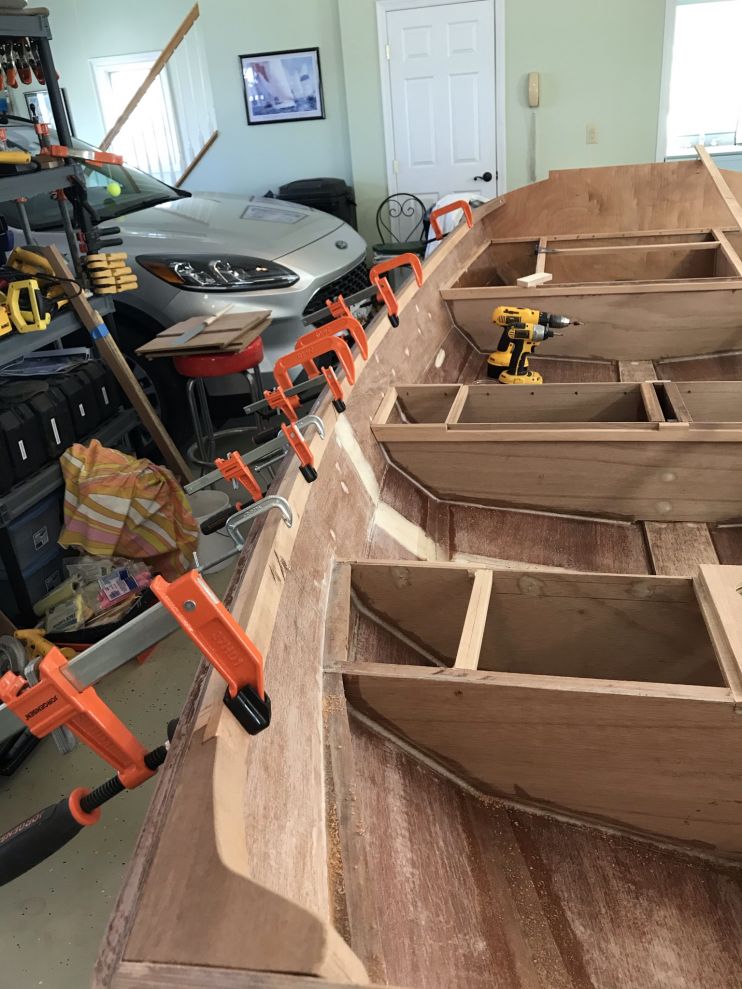
4/19/21 – Today, I worked on the bow transom and knees. It turned out to be a lot more complicated than I imagined because of all the steps to make the knees. My first step was to clamp a batten to the bow so I could cut it into a fair curve.

I didn’t cut the transom until after I finished the knees.
The next step was to create a template for the knee. My angle gauge was too clumsy to fit the angle, so I used two small off-cuts to capture the angle. Then I drew the outline on a scrap of plywood and cut it out with the jigsaw.
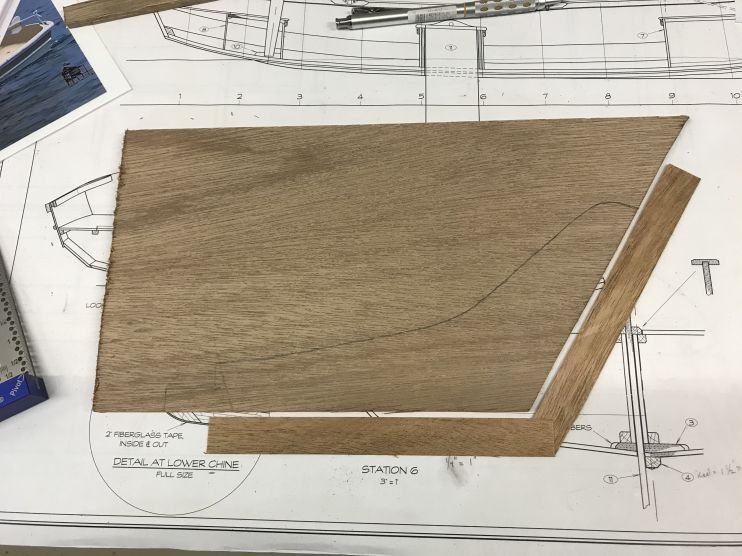
I got the measurements for the knees from the plans.
I started with a block of African mahogany that was rough-cut to 6″ wide by 1 1/2″ thick.
Since I don’t have a thickness planer, I had to get it down to 1 1/4″ thick ” using the table saw.
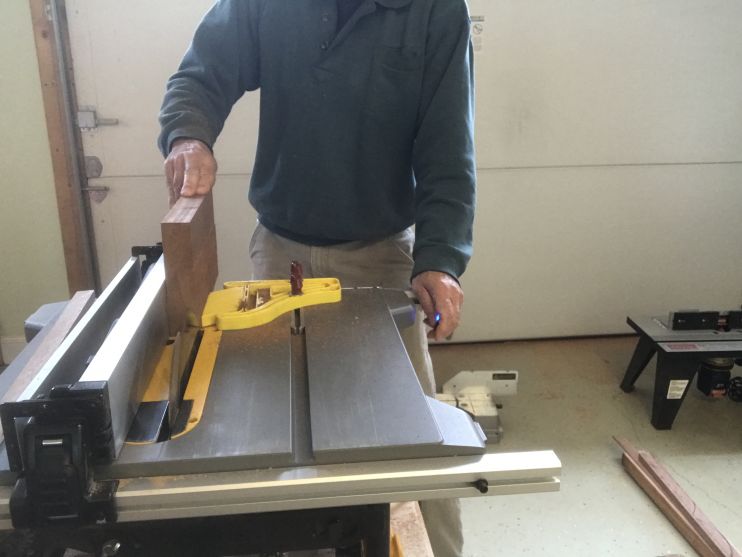
Fortunately, taking 1/8″ off each side left me the required thickness and took off all the rough edges.
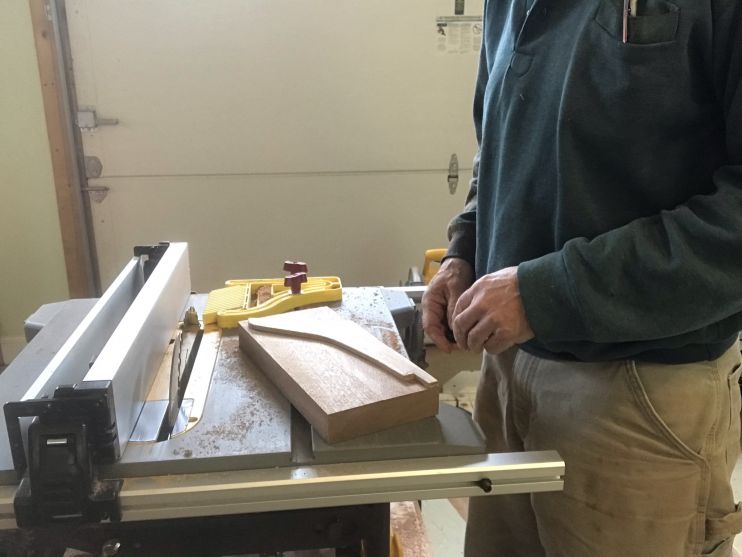
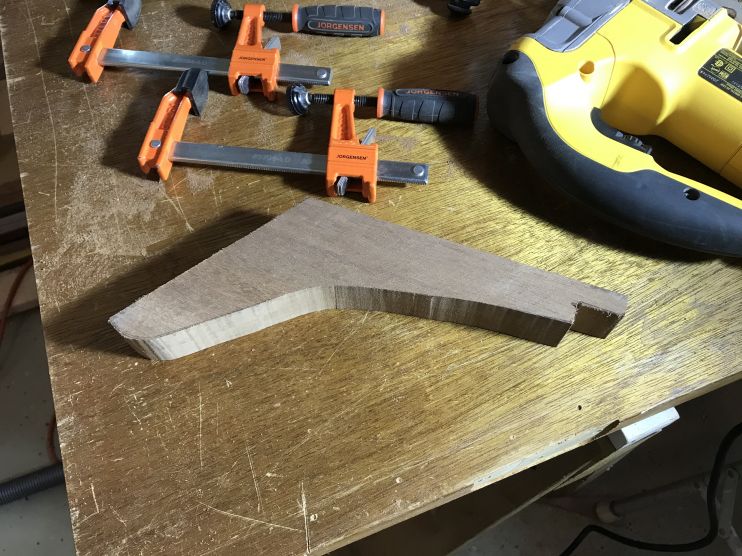
Then I cut out the rough outline with the jigsaw.

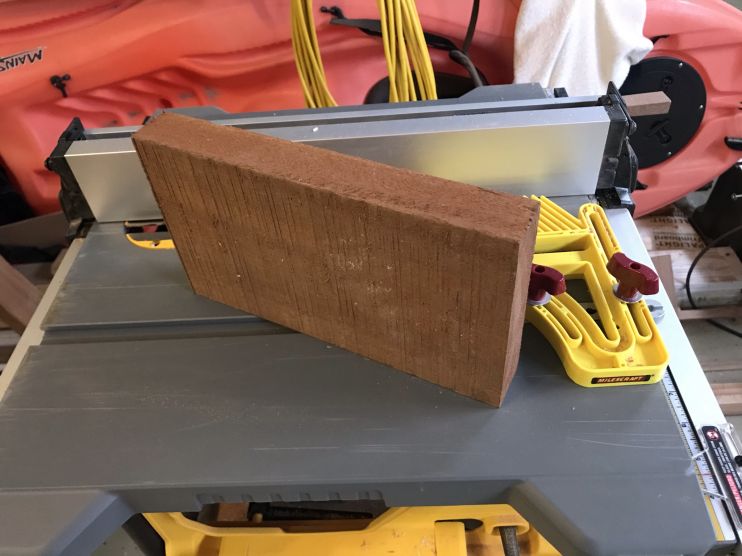
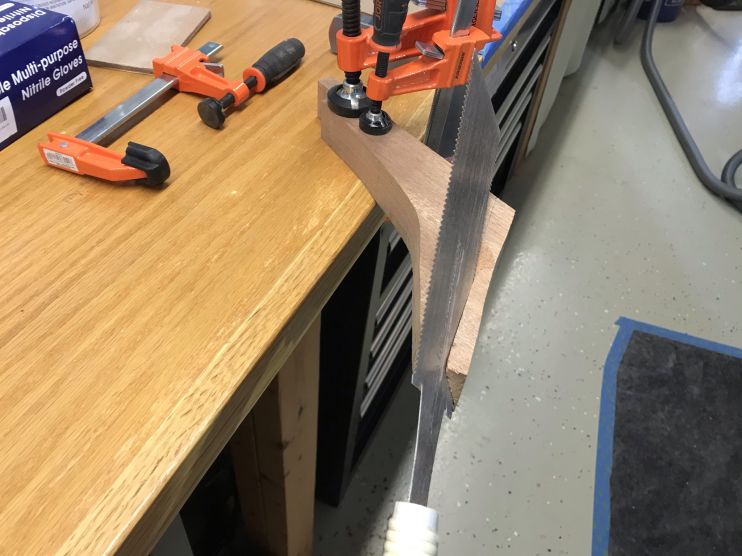
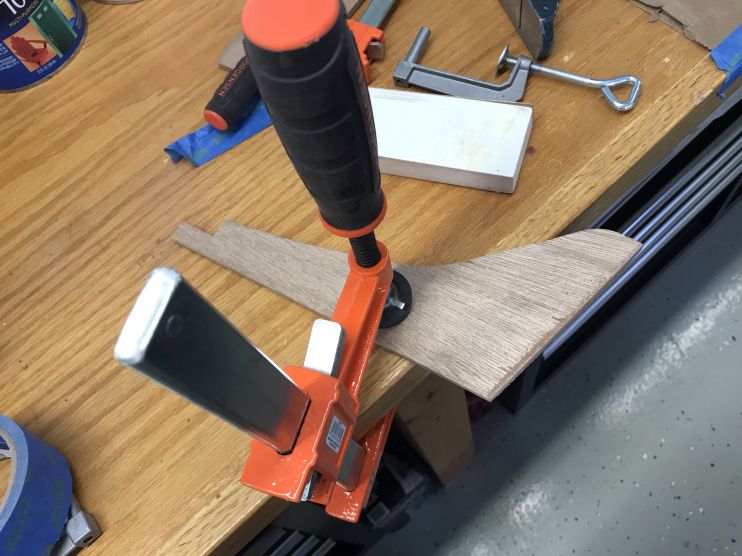
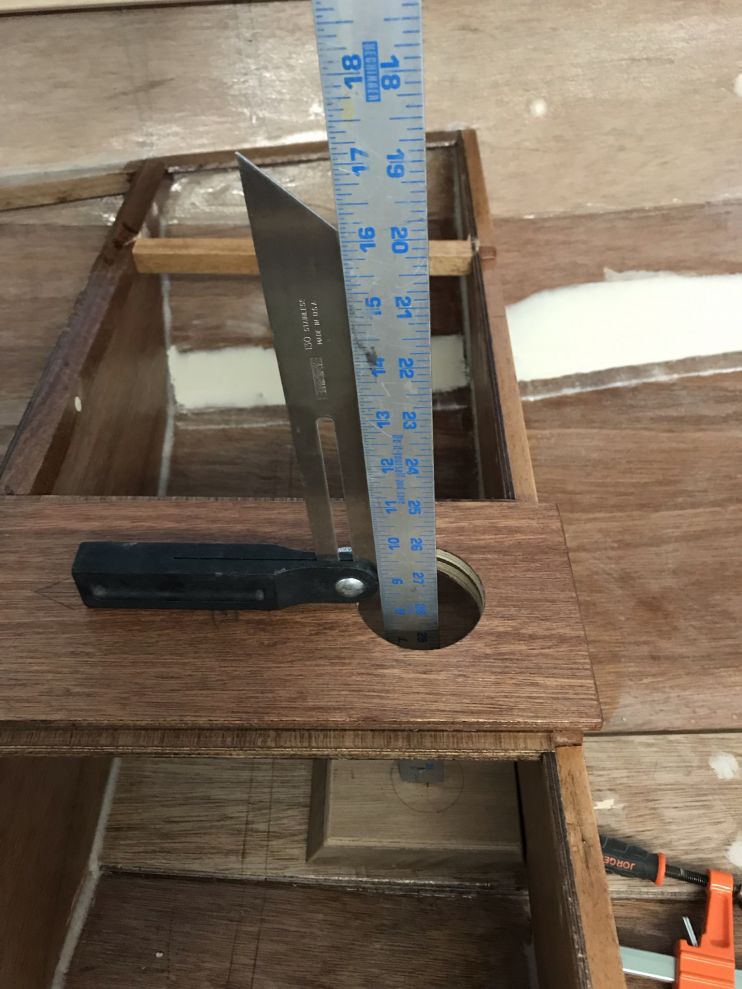
Next, I had to figure out the angle of the bow transom.
You can see the angle clearly from the edge.
I used a piece of scrap wood that was the right thickness to trace the line on the knee.
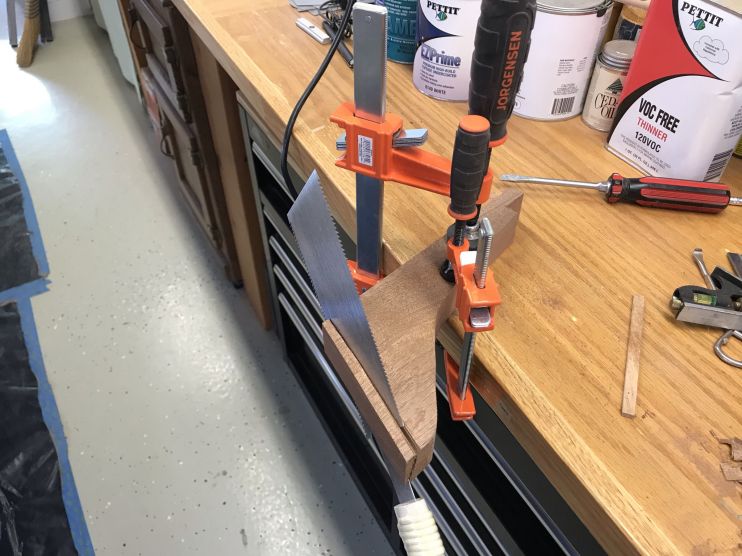
Next was the hard part. I had to use a hand saw to cut the compound angle.
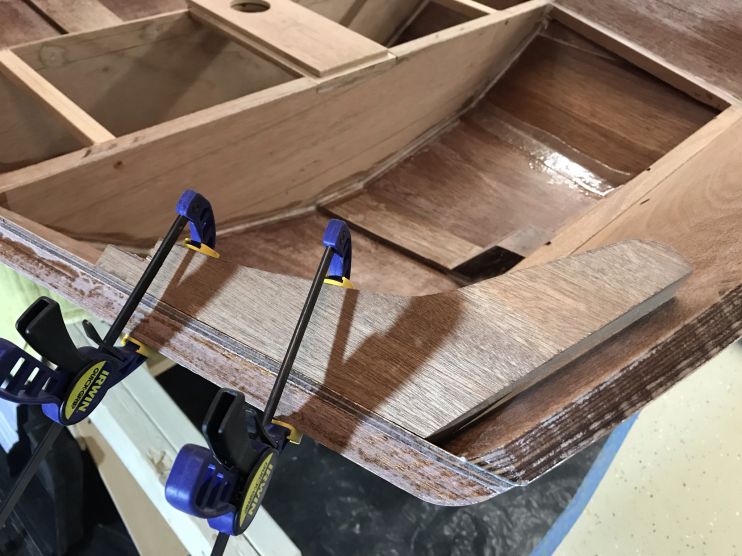
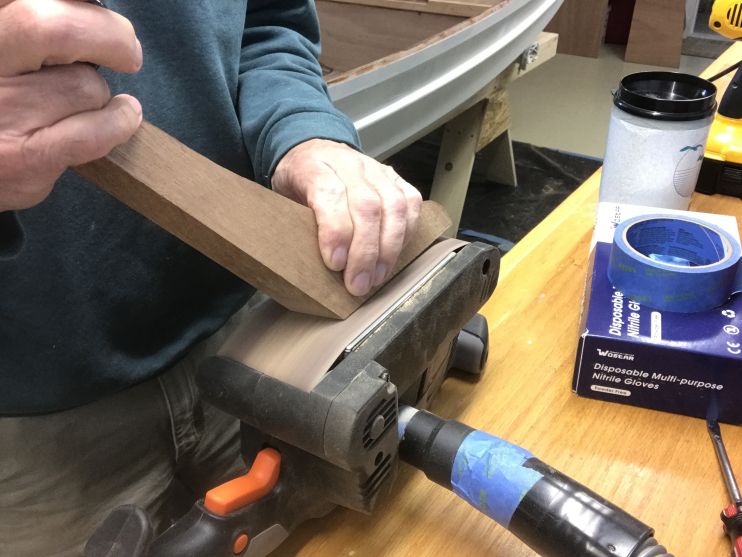
Then, several test fittings and touch-ups with the belt sander.
I countersink two screws to hold it in place.
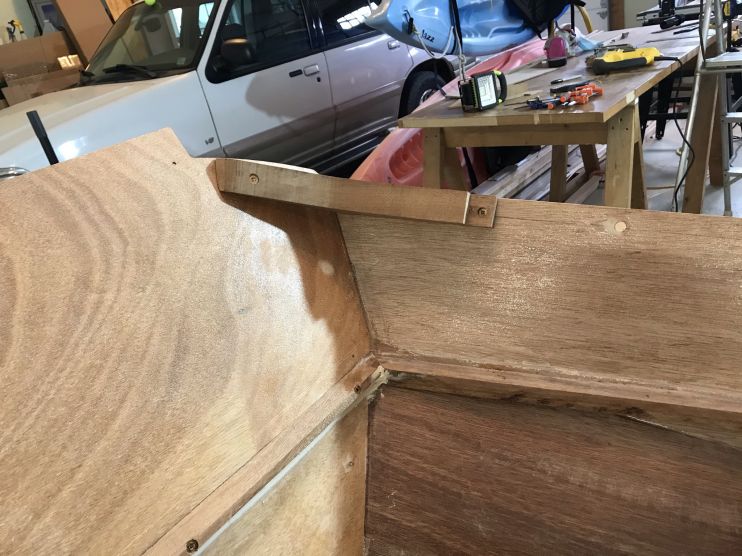

Now, I have to repeat the whole process for the other bow knee. Fortunately, I don’t have to make a new pattern. The stern knees, however, will require a new pattern.
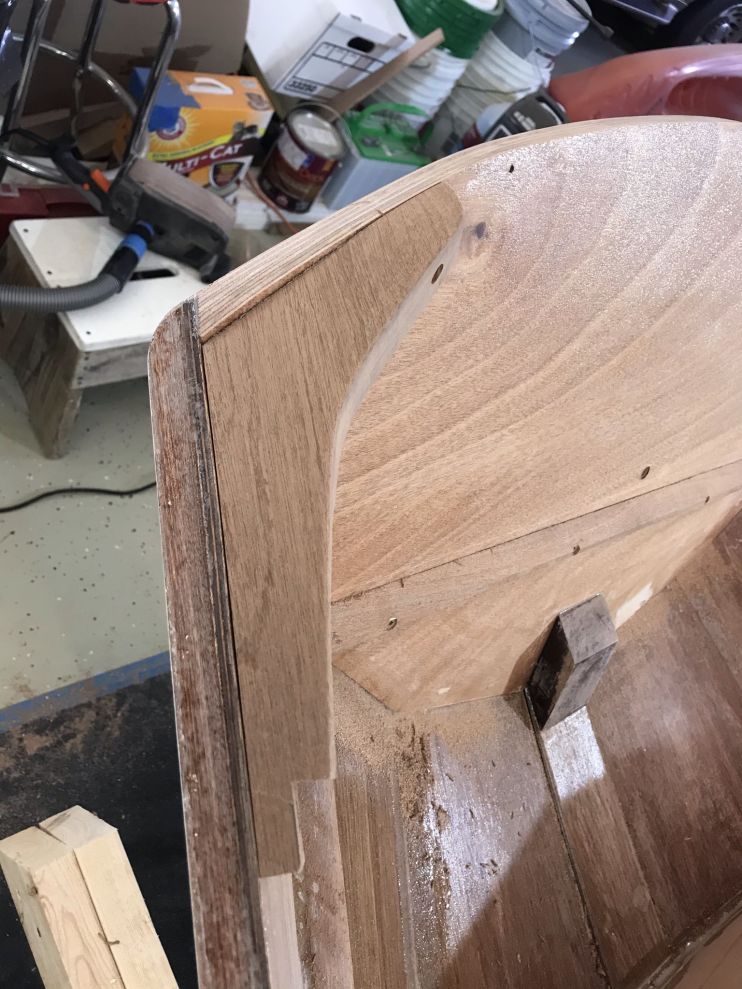
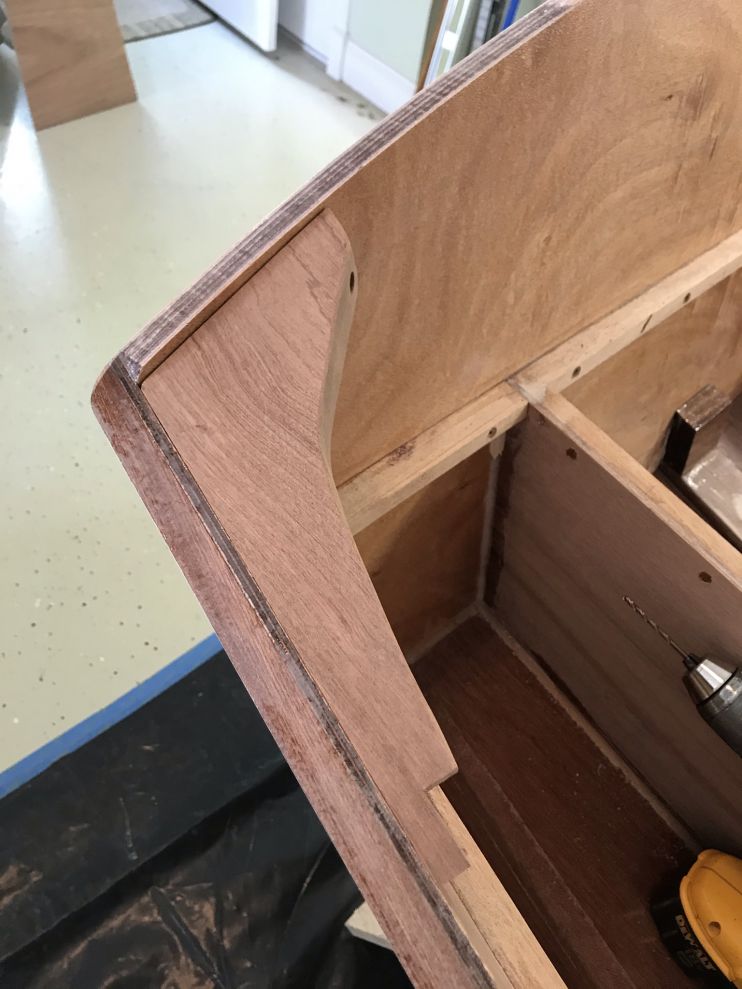
Once I knew where the knees would land, I adjusted my line on the bow transom and cut it out with the jigsaw. I then used my belt sander to even up the cut.

The final result looks pretty good.

Tomorrow, the stern knees.
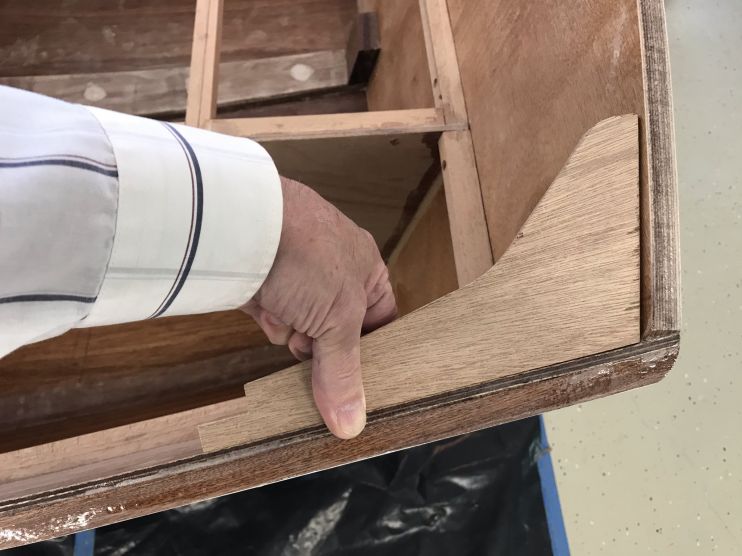
4/20/21 – Had to make a new template for the stern knees.
Test fitting the template.
After cutting out the knee from a block of African mahogany, it took several trips to the sander to get it to fit.
The third knee complete and attached.
I had to knock off early this afternoon to cut the grass. Back to it tomorrow.
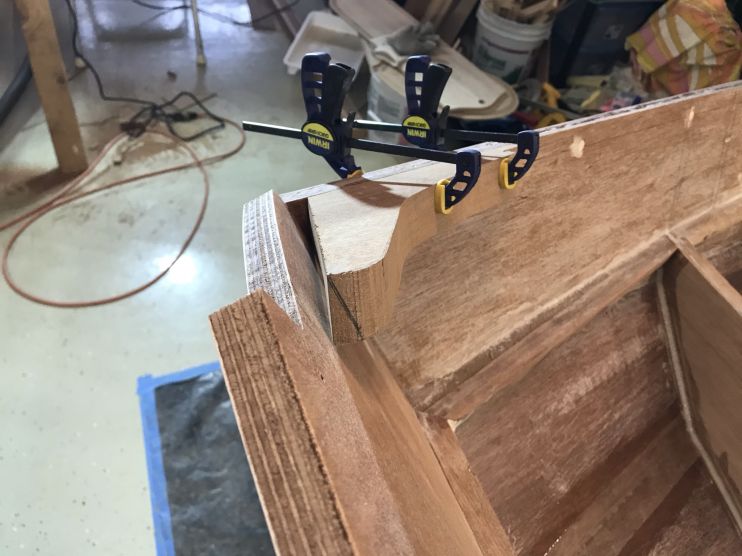
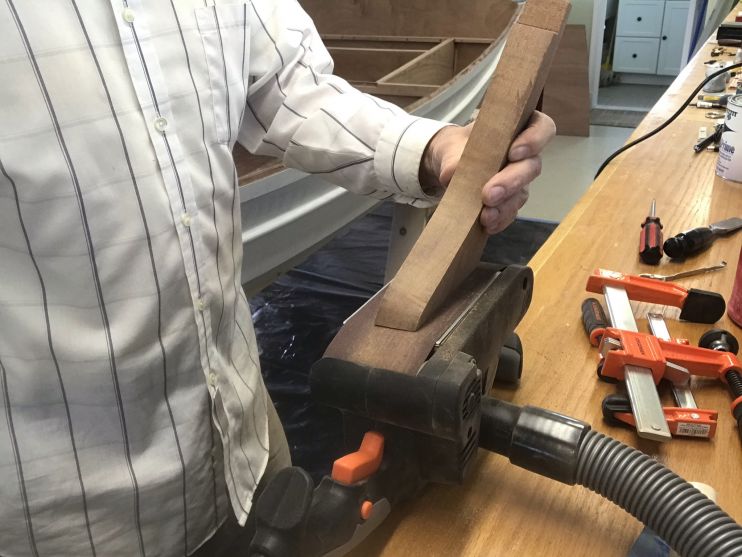
4/21/21 – Back to work on the 4th knee. Here cutting the stern transom angle.
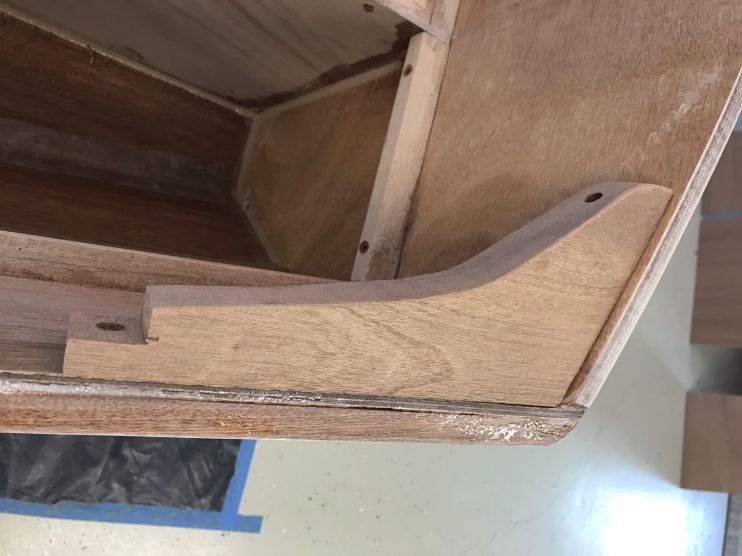
Final test fitting.
And the finished knee screwed in place.
Then I had to cut the inwales and spacers to their final width, 1 1/4″ and 1″ respectively.

Fitting the starboard side spacer.
After screwing in the spacer, I was able to test fit the starboard inwale.
I need to order more screws before I can finish the inwales.
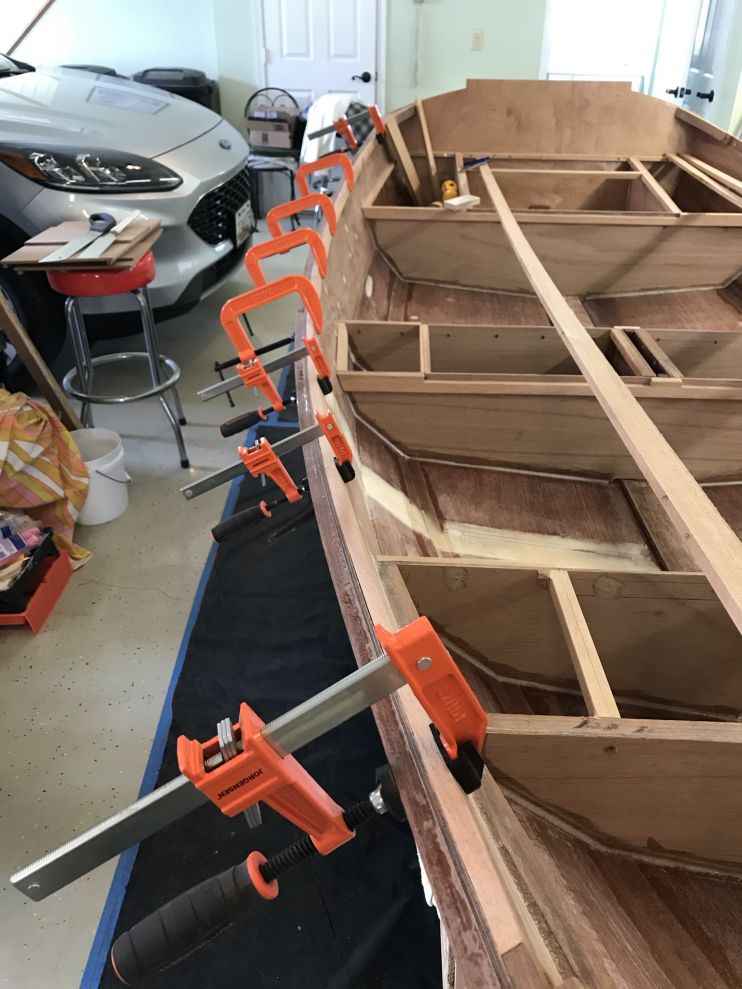
4/22/21 – Today I cut and fit the starboard side inwale. I had enough screws left to secure the starboard spacer but will have to wait until Monday or Tuesday for my additional screws to arrive before I can finish up. In the meantime, I plan to disassemble the knees and spacers and epoxy them in place. I also need to epoxy the center seat supports as well as put a clear coat of epoxy on the partitions.
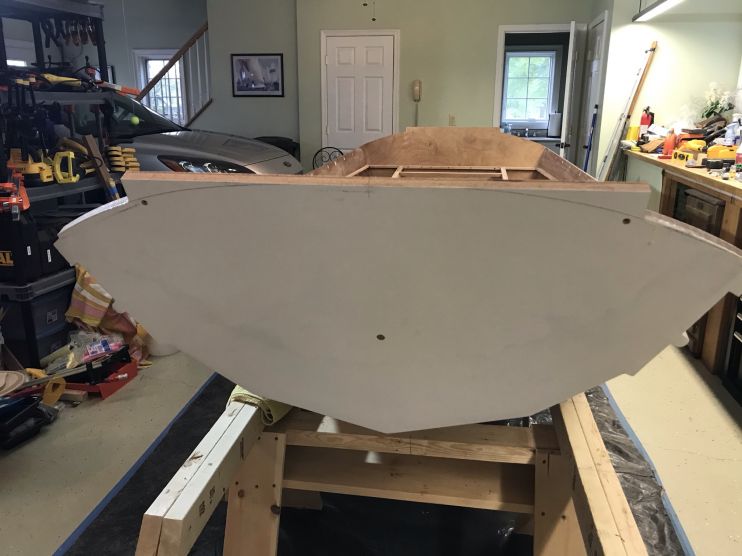
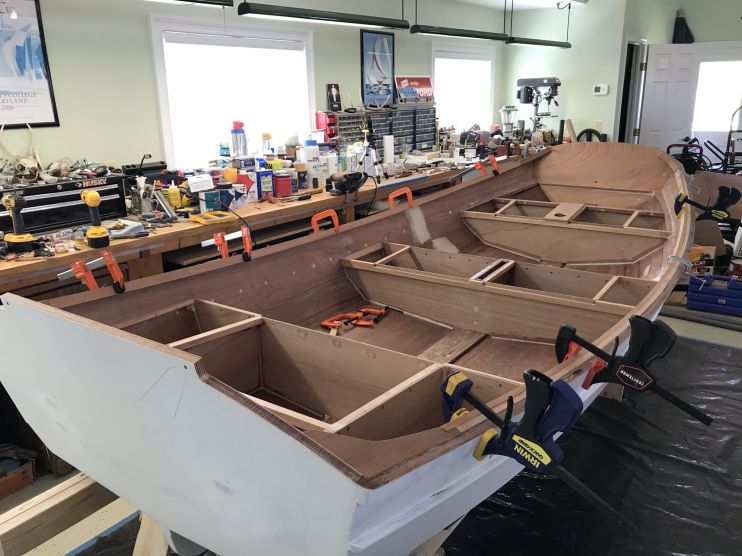
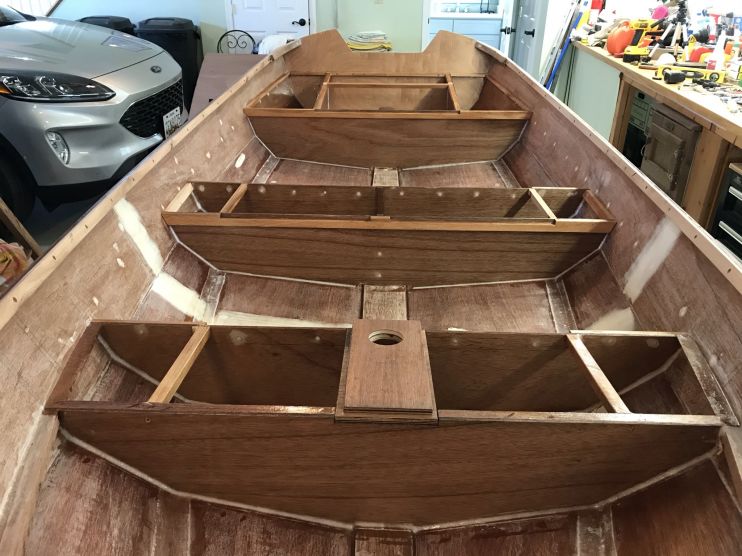
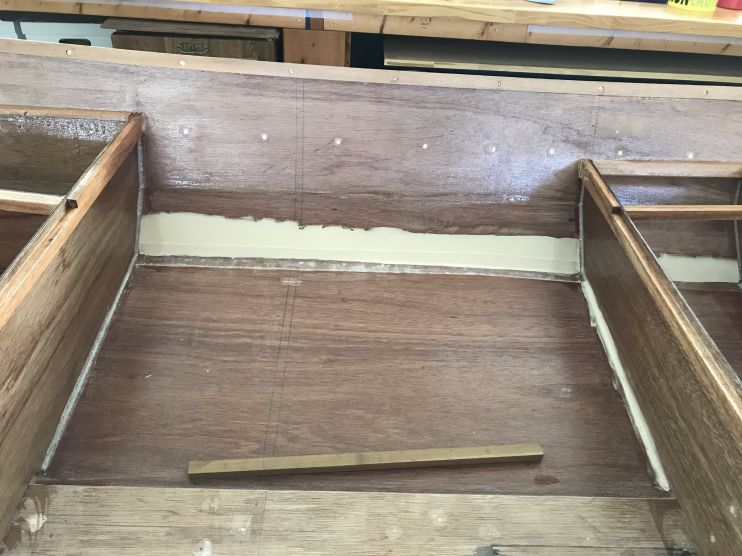
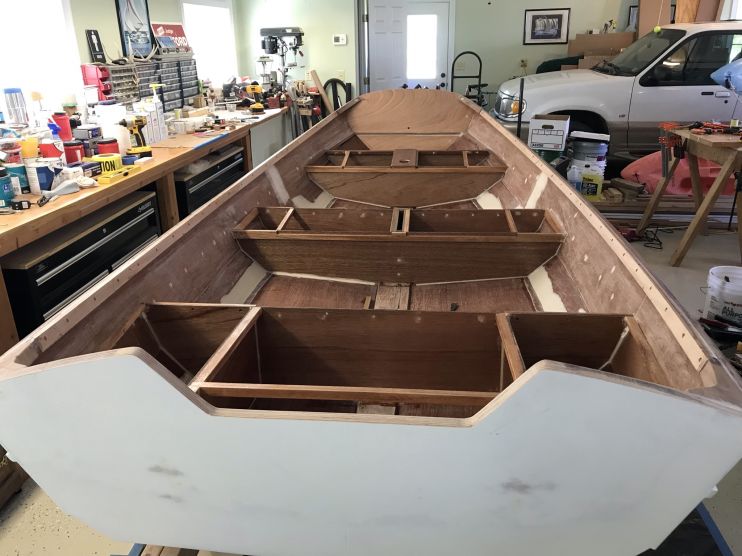
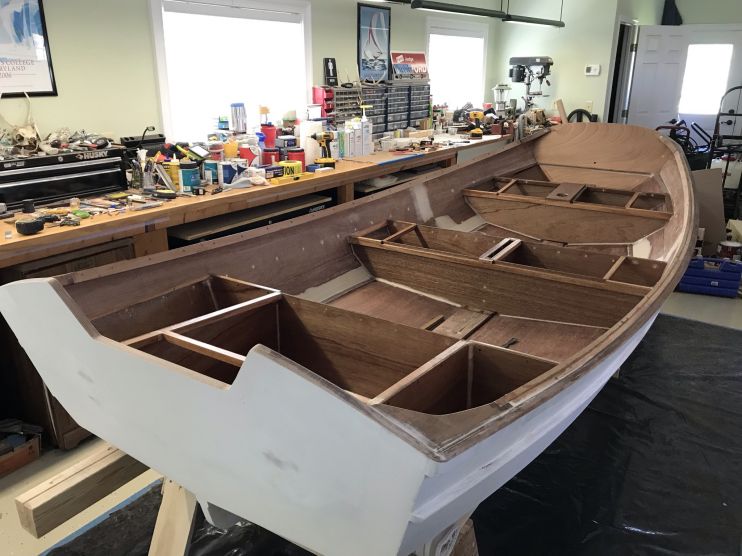
Here is the current state of the boat.
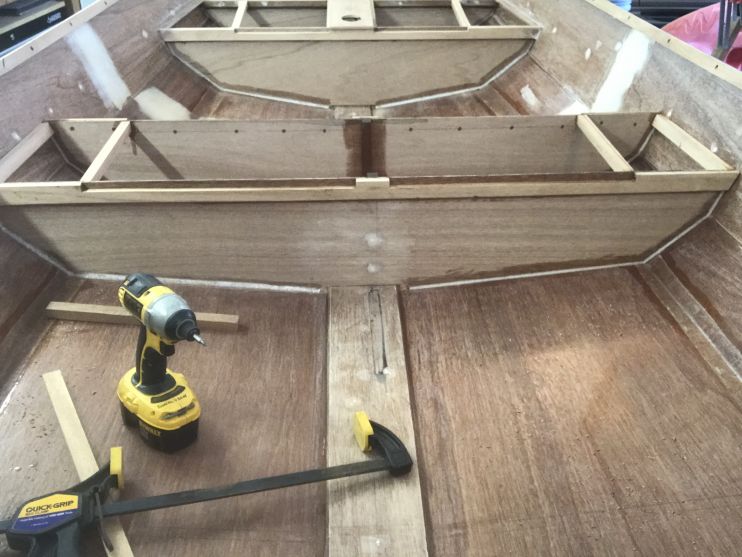
4/23/21 – I spent time this morning sanding a lot of parts that need to be epoxied. Then I epoxied the center seat parts.
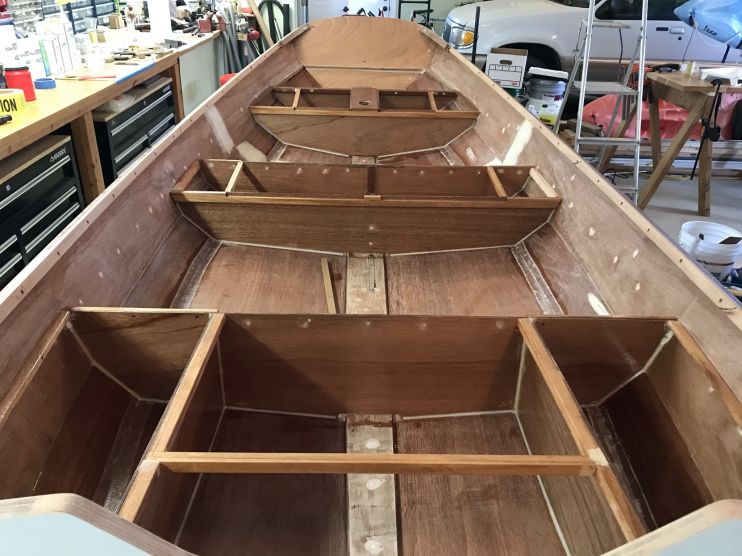
Here is the finished product.
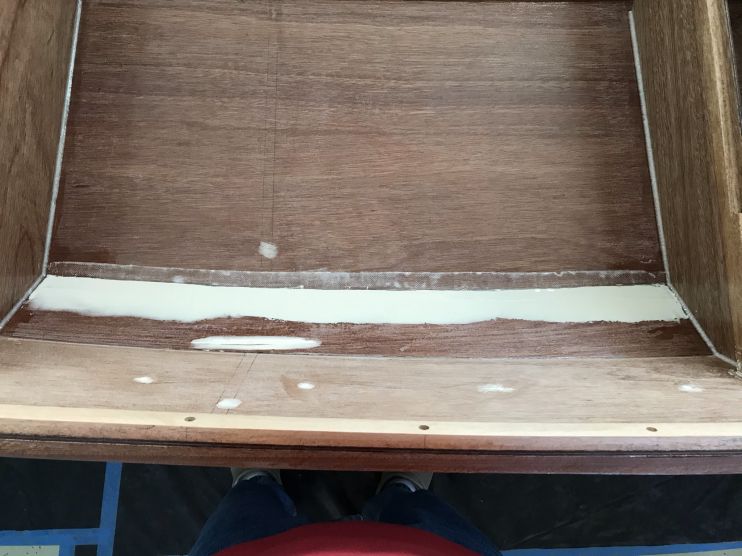
Now it is time to work on the transom.

I cut out the stern transom with my jigsaw and used my belt sander to clean it up.
Then I epoxied the knees and spacers. Here is the final result.


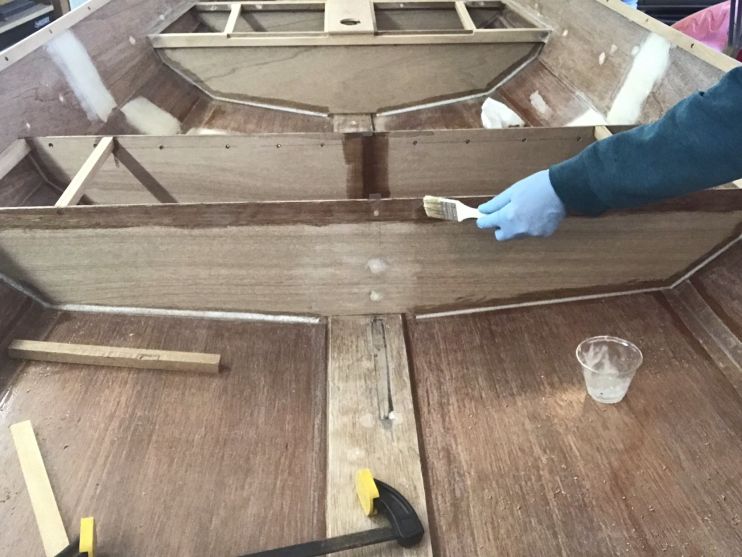
4/24/21 – Sanded the boat to prep for epoxying the remaining raw plywood partitions. I also put a second coat of epoxy on the daggerboard trunk partitions.
4/25/21 – Today I sanded the boat in preparation for epoxy coating. I put a clear coat of epoxy on all the remaining bare wood partitions.
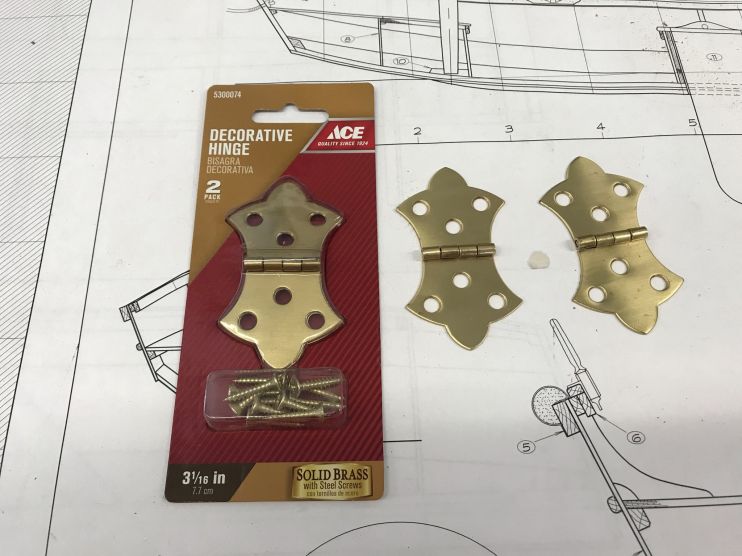
4/26/21 – Today I found some hinges for the 5 hatches.
I also started the process of covering the fiberglass with a fairing compound.
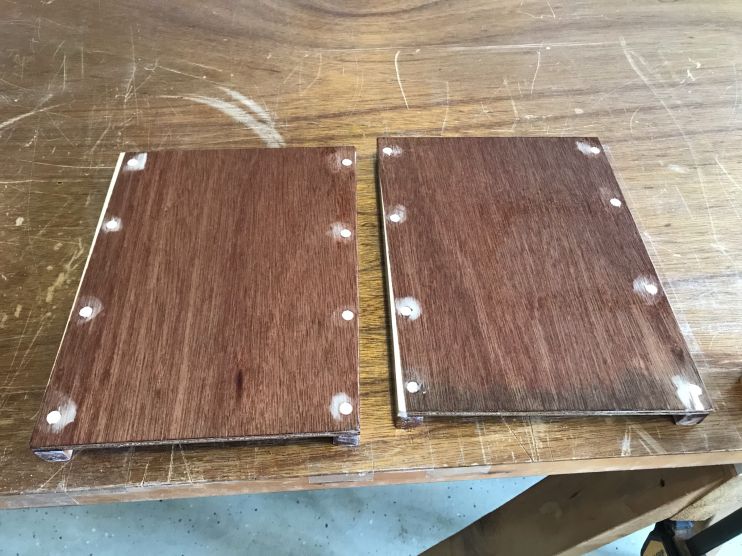
Then I started working on the mast step. Starting with a 3 1/2″ x 6″ block of mahogany, I cut the angles necessary and then epoxied a top layer of plywood to prevent splitting, per the plans.

Tomorrow, I will plane off the edges flush with the mahogany and cut a 2″ round hole 3/4 of the way through the block to seat the mast. I will have to figure out the correct angle to cut the hole so the mast goes in straight. The mast is on an angle to the boat and the boat is on an angle to everything.
4/27/21 – Today I planed and sanded the plywood epoxied to the mahogany and determined, by measurements from the plans, exactly where the foot of the mast should land on the mast step.

Then I verified that placement by taking the angle of the mast relative to the front seat and running a straight edge from the mast step through the center of the mast partner and matching the angle. It was right where it should be.
Tomorrow I will check the measurements again and cut the hole in the mast step.
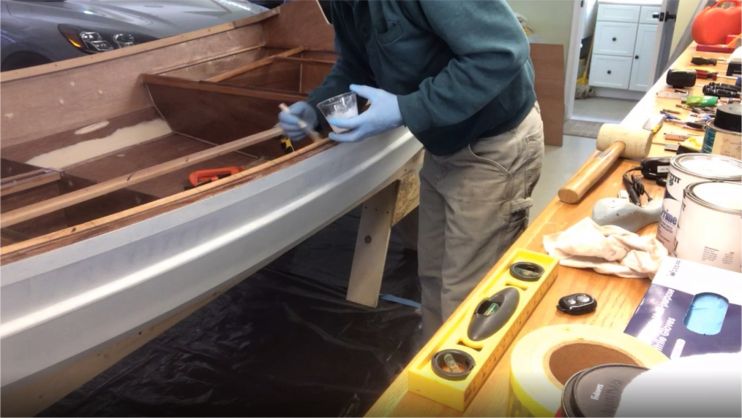
Next, I got my 1″ #8 screws last night so I can go ahead and finish installing the inwales. They have already been cut to fit and I sanded the bottom edges for a good finger hold. Today I drilled the screw holes and then epoxied them in place.
Here are the steps: 1. Countersink the screw holes. 2. Add unthickened epoxy to both surfaces, then thickened epoxy to the spacer.
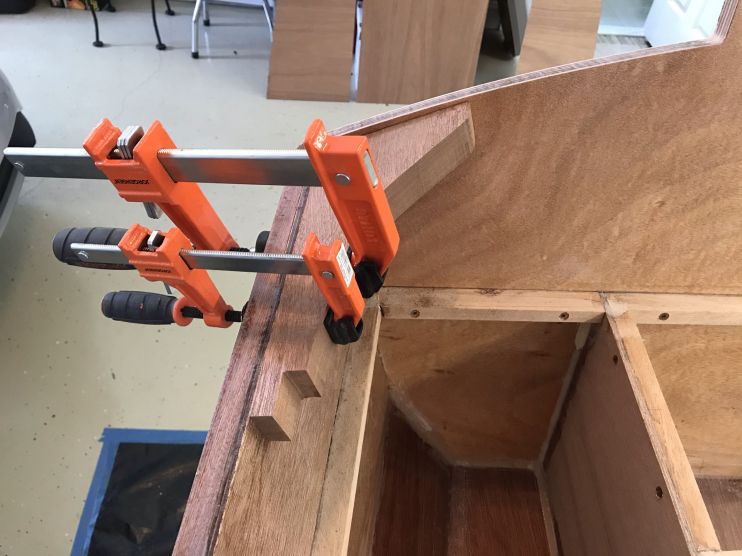
3. Then clamp the inwale to the spacer, lining up the marks.

4. Then insert the screws.

5. Then clean up the squeezed-out glue.

6. Then use alcohol on a rag to clean up under the inwale. This will reduce sanding later.

The finished inwales.
-
-
AuthorPosts
- You must be logged in to reply to this topic.