Guide Posts Email these Posts to a Friend
Guide Posts are written articles with accompanying still photos and/or video clips, usually written by our team of expert Guides and Founders, who each have many decades of experience.

Tom Robinson’s Solo Row Across the Pacific – Update #11 – Island Happenings
Tom Robinson’s Solo Row Across the Pacific – Update #11 – Island Happenings

Tom Robinson’s Solo Row Across the Pacific – Update #10 – Penrhyn Island – “Paradise under the Sun”
Tom Robinson’s Solo Row Across the Pacific – Update #10 – Penrhyn Island – “Paradise under the Sun”

Tom Robinson’s Solo Row Across the Pacific – Update #9 – Peru to Penrhyn Island: A Brief Recapitulation
Tom Robinson’s Solo Row Across the Pacific – Update #9 – Peru to Penrhyn Island: A Brief Recapitulation

Tom Robinson’s Solo Row Across the Pacific – Update #8 – Greetings from Tongareva
Tom Robinson’s Solo Row Across the Pacific – Update #8 – Greetings from Tongareva

Tom Robinson’s Solo Row Across the Pacific, Update #7
Tom Robinson’s Solo Row Across the Pacific, Update #7

Tom Robinson’s Solo Row Across the Pacific – Update #5 and #6 from Tom’s Shore Team
Tom Robinson’s Solo Row Across the Pacific – Update #5 and #6 from Tom’s Shore Team

Tom Robinson’s Solo Row Across the Pacific – Update #4 from Tom’s Shore Team
Tom Robinson’s Solo Row Across the Pacific – Update #4 from Tom’s Shore Team
Tom Robinson’s Solo Row Across the Pacific – Update #3 from Tom’s Shore Team
Tom Robinson’s Solo Row Across the Pacific – Update #3 from Tom’s Shore Team

Tom Robinson’s Solo Row Across the Pacific – Update #2 from Tom’s Shore Team
Tom Robinson’s Solo Row Across the Pacific – Update #2 from Tom’s Shore Team

Surprise Me


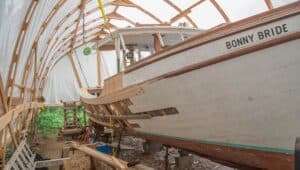
A DAY’S WORK, Part II—an excerpt: Some Small Boats
A DAY’S WORK, Part II—an excerpt: Some Small Boats

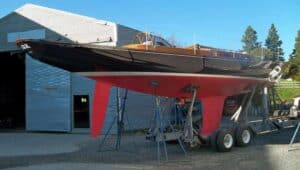
A DAY’S WORK, Part II—an excerpt: Friendship Sloops
A DAY’S WORK, Part II—an excerpt: Friendship Sloops

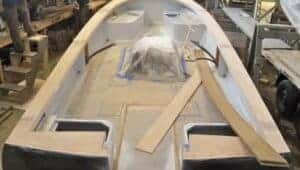
How to Install A Teak Boat Deck: Laying It Out and Laying It Down
How to Install A Teak Boat Deck: Laying It Out and Laying It Down